WTAF Healthy Chocolate Chip Cookies.

There’s no such thing as a reimagined-to-be-healthy recipe that’s as good as the original. Anyone who says otherwise is either delusional or magic. That’s my long-held belief, anyway–which is why I’m naming my recipe WTAF Healthy Chocolate Chip Cookies. If we’re in need of a bit of decoding, WTAF stands for “What The Actual F***,” a fitting exclamation of surprise at how perfect these cookies are. Why was I so surprised? Because, after months of experimenting with healthier cookie recipes, I had resigned myself to the fact that without AP flour, butter, sugar, and other highly-processed ingredients, healthier cookies would just never compare. Then I made these (!!!), drawing from a recipe I saw on Whole and Heavenly Oven. Maybe the trick is the making my own cashew butter (easier than it may sound), or that I’ve left in just enough brown sugar to be a *little* bad. But the first bite from my first batch was so damn good, these cookies earned their name and then some. If my mom’s chocolate chips are an 11 on a 1-to-10 cookie rating scale, I’m awarding these guys a solid 9.5. They meet all my cookie requirements: golden color, chewy texture, good chip distribution, and they taste pretty much perfect. PLEASE make them soon, and know true healthy dessert joy.

IMG_9476


INGREDIENTS

1 heaping cup raw cashews
1 heaping cup honey roasted cashews (or, cut out all the cashews completely and replace with 1 cup store-bought cashew butter, WITHOUT the oil layer on top stirred in, as this will likely make the cashew butter too liquidy)
scant 1/2 cup brown sugar
1 egg
1 tsp vanilla extract
1 tsp baking soda
1/4 tsp salt
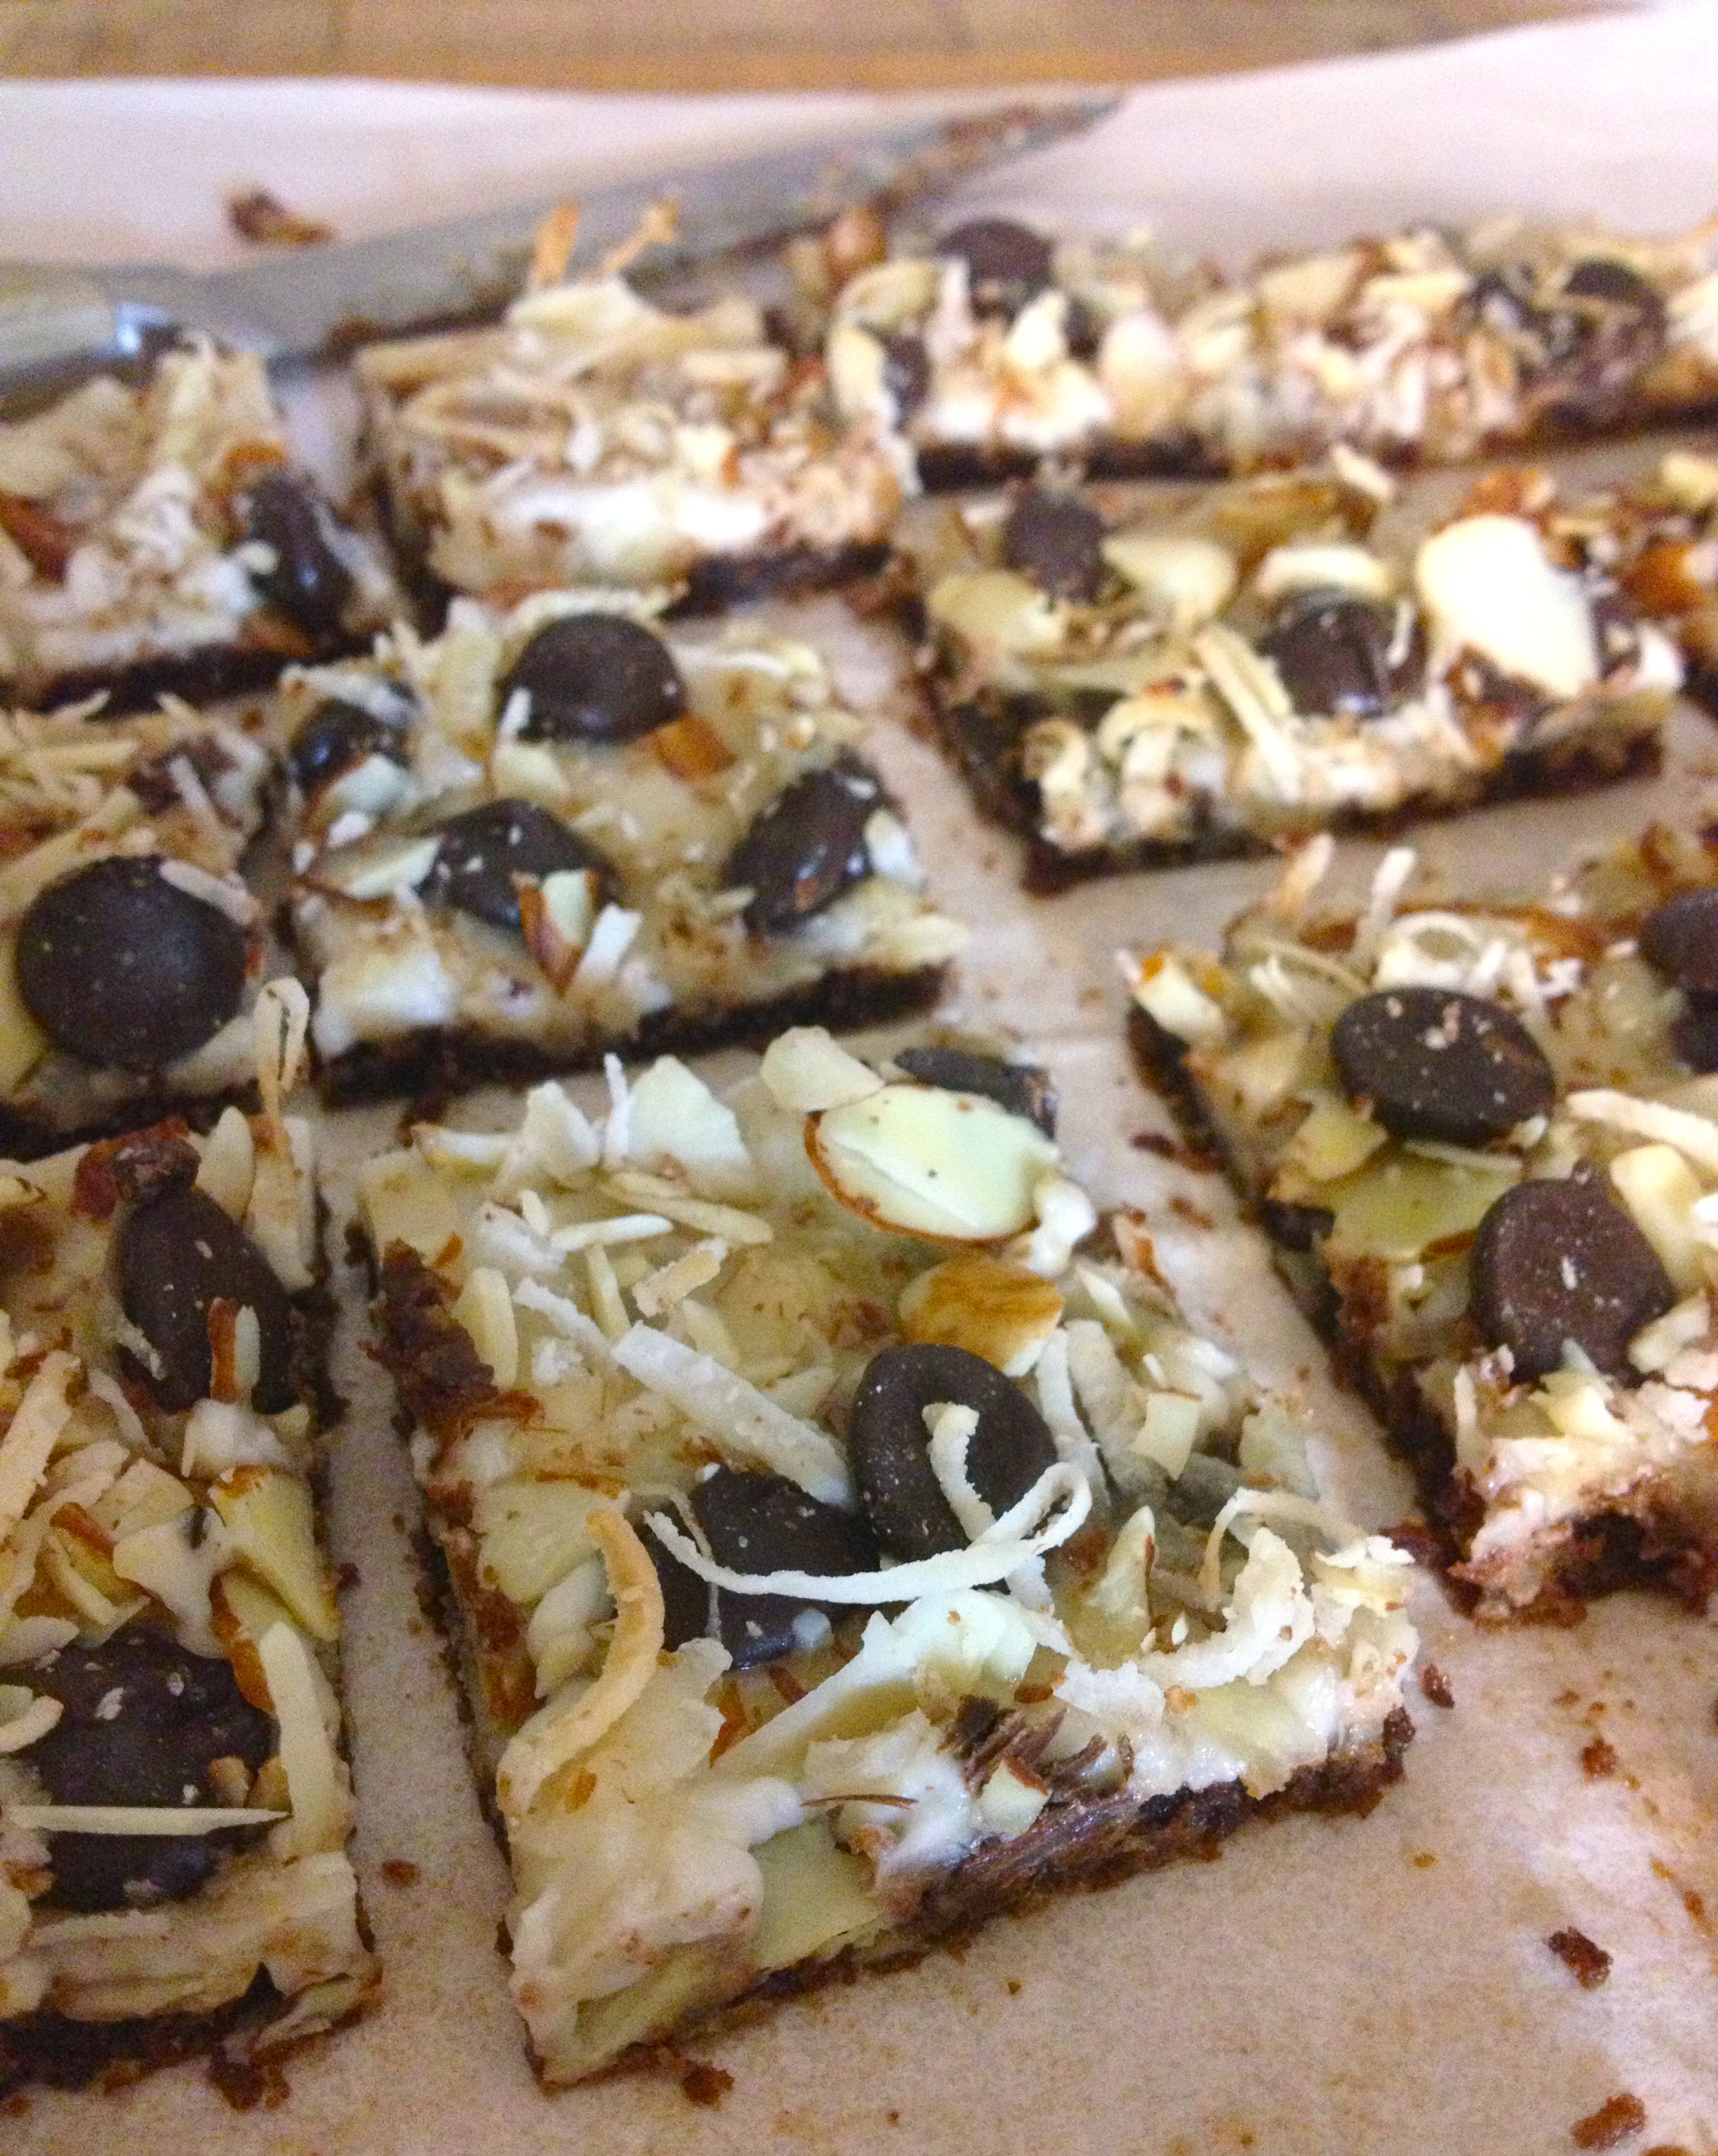
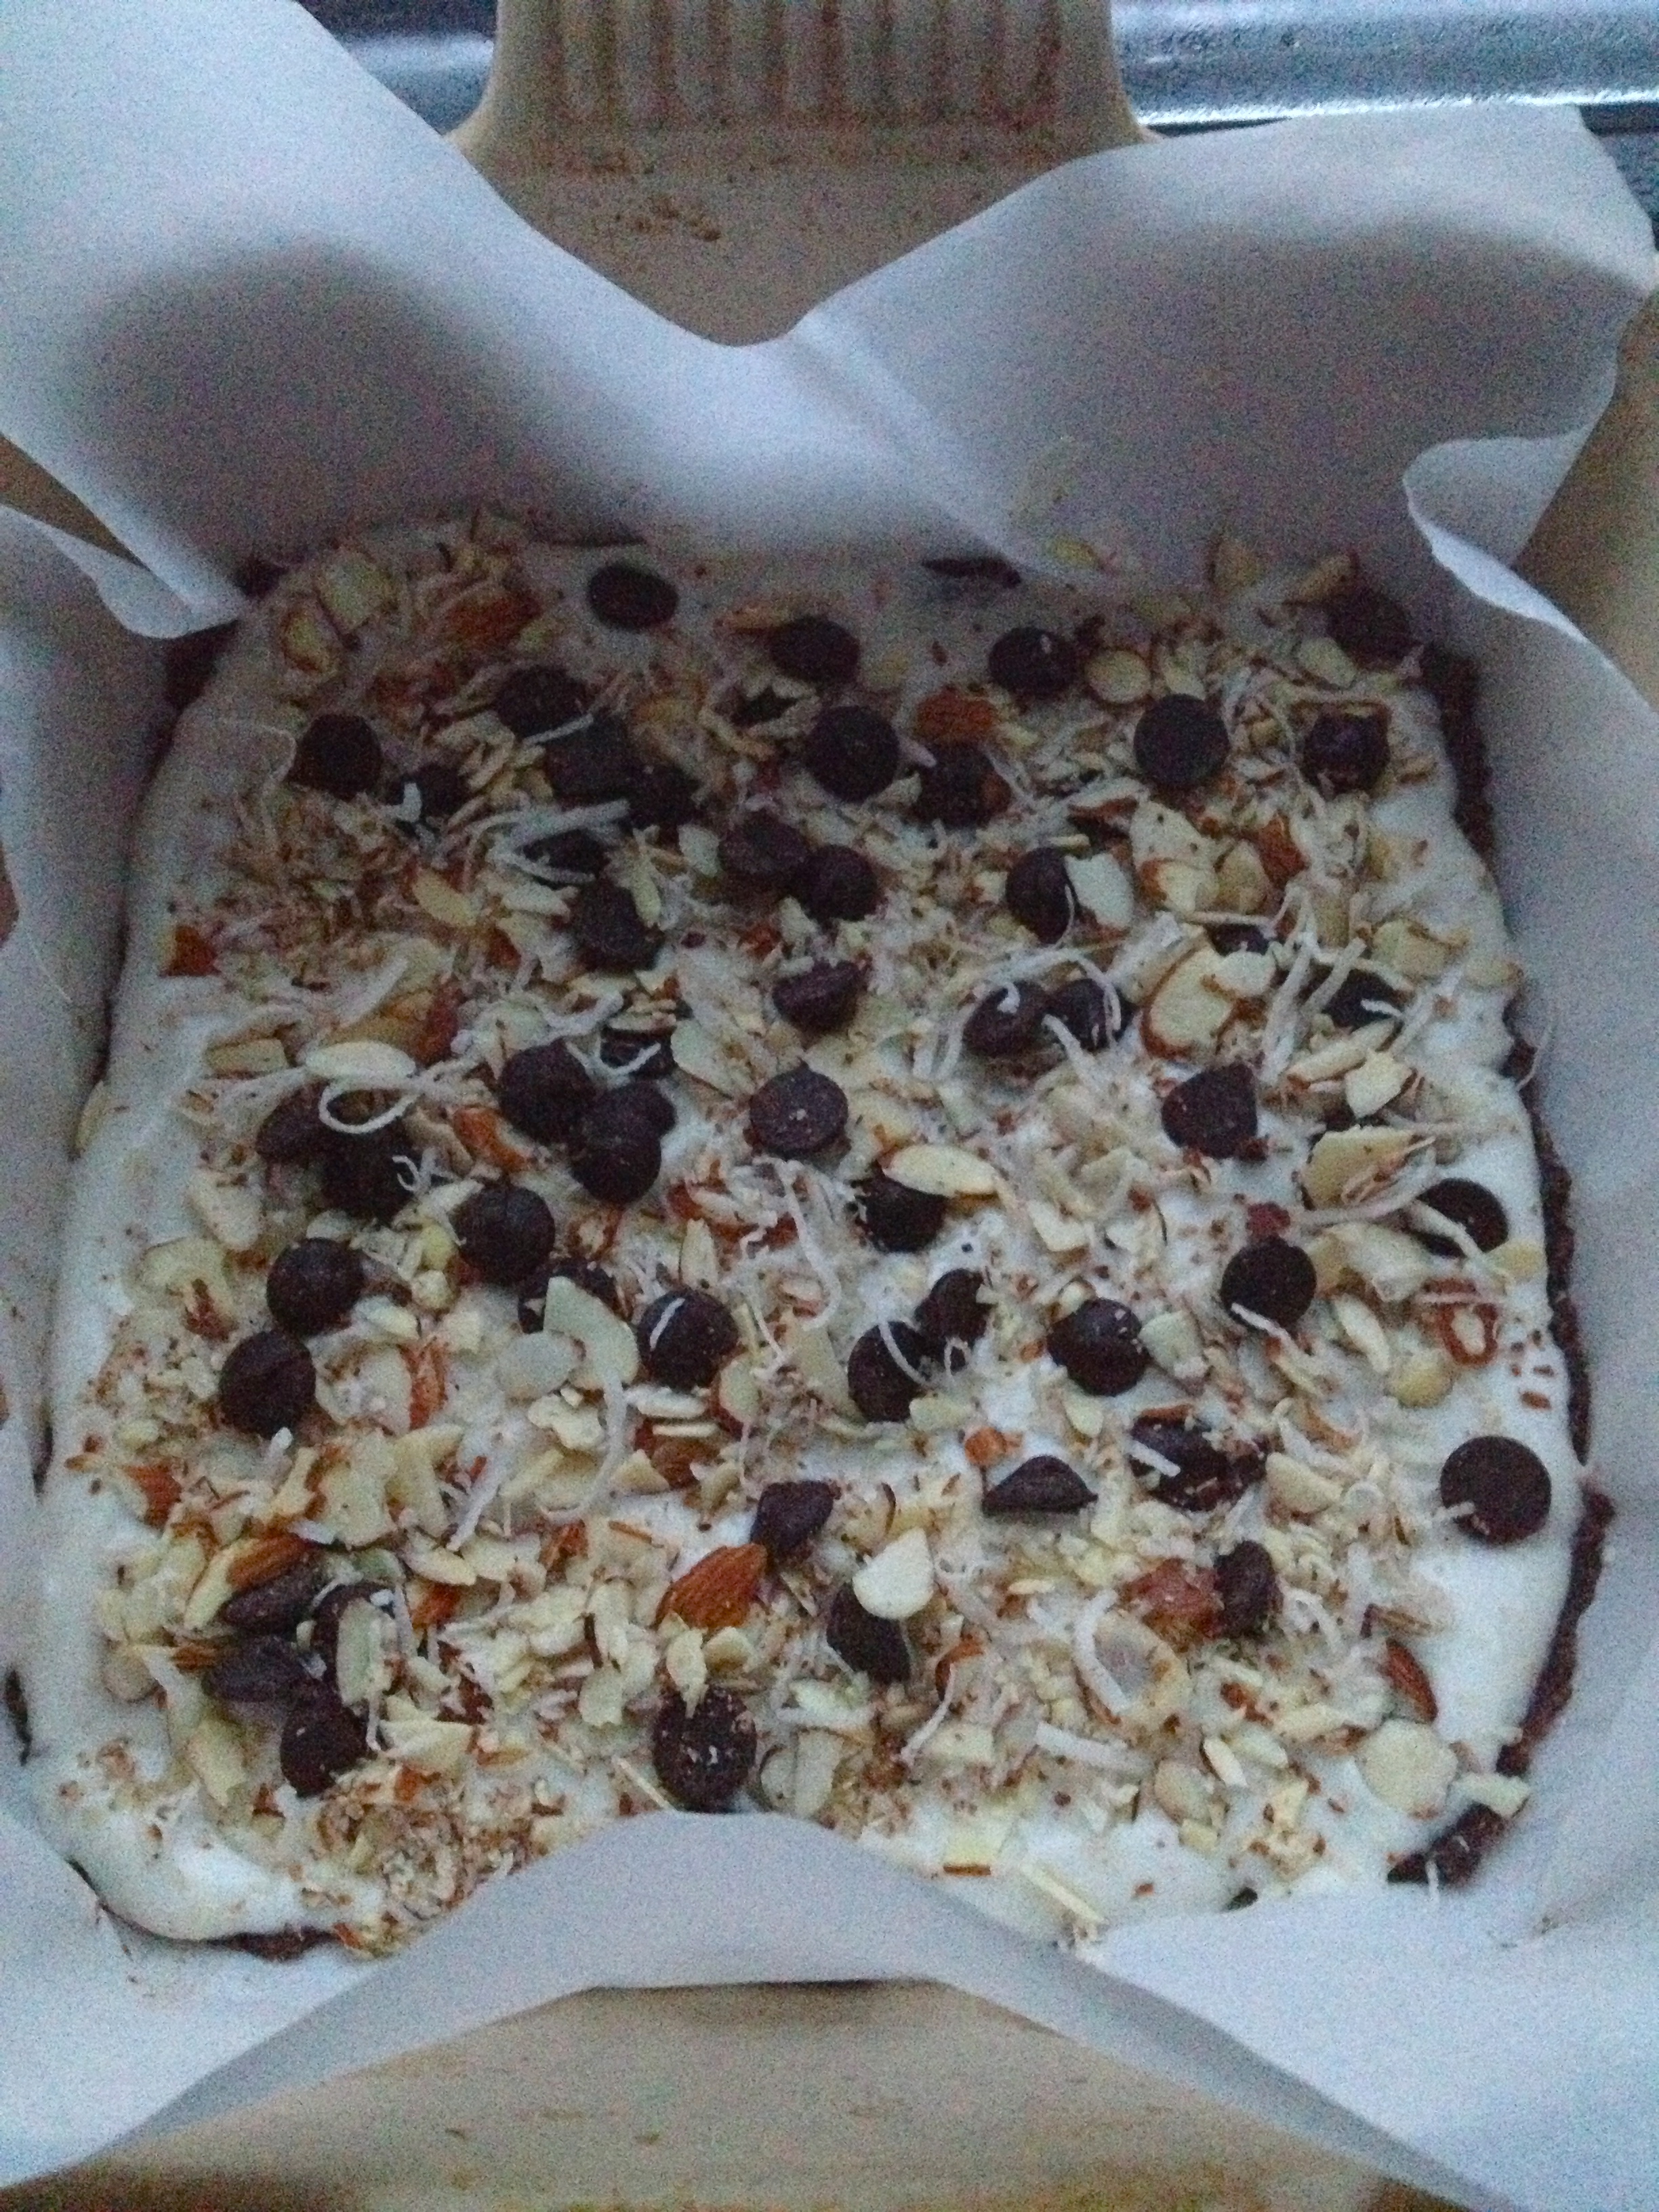
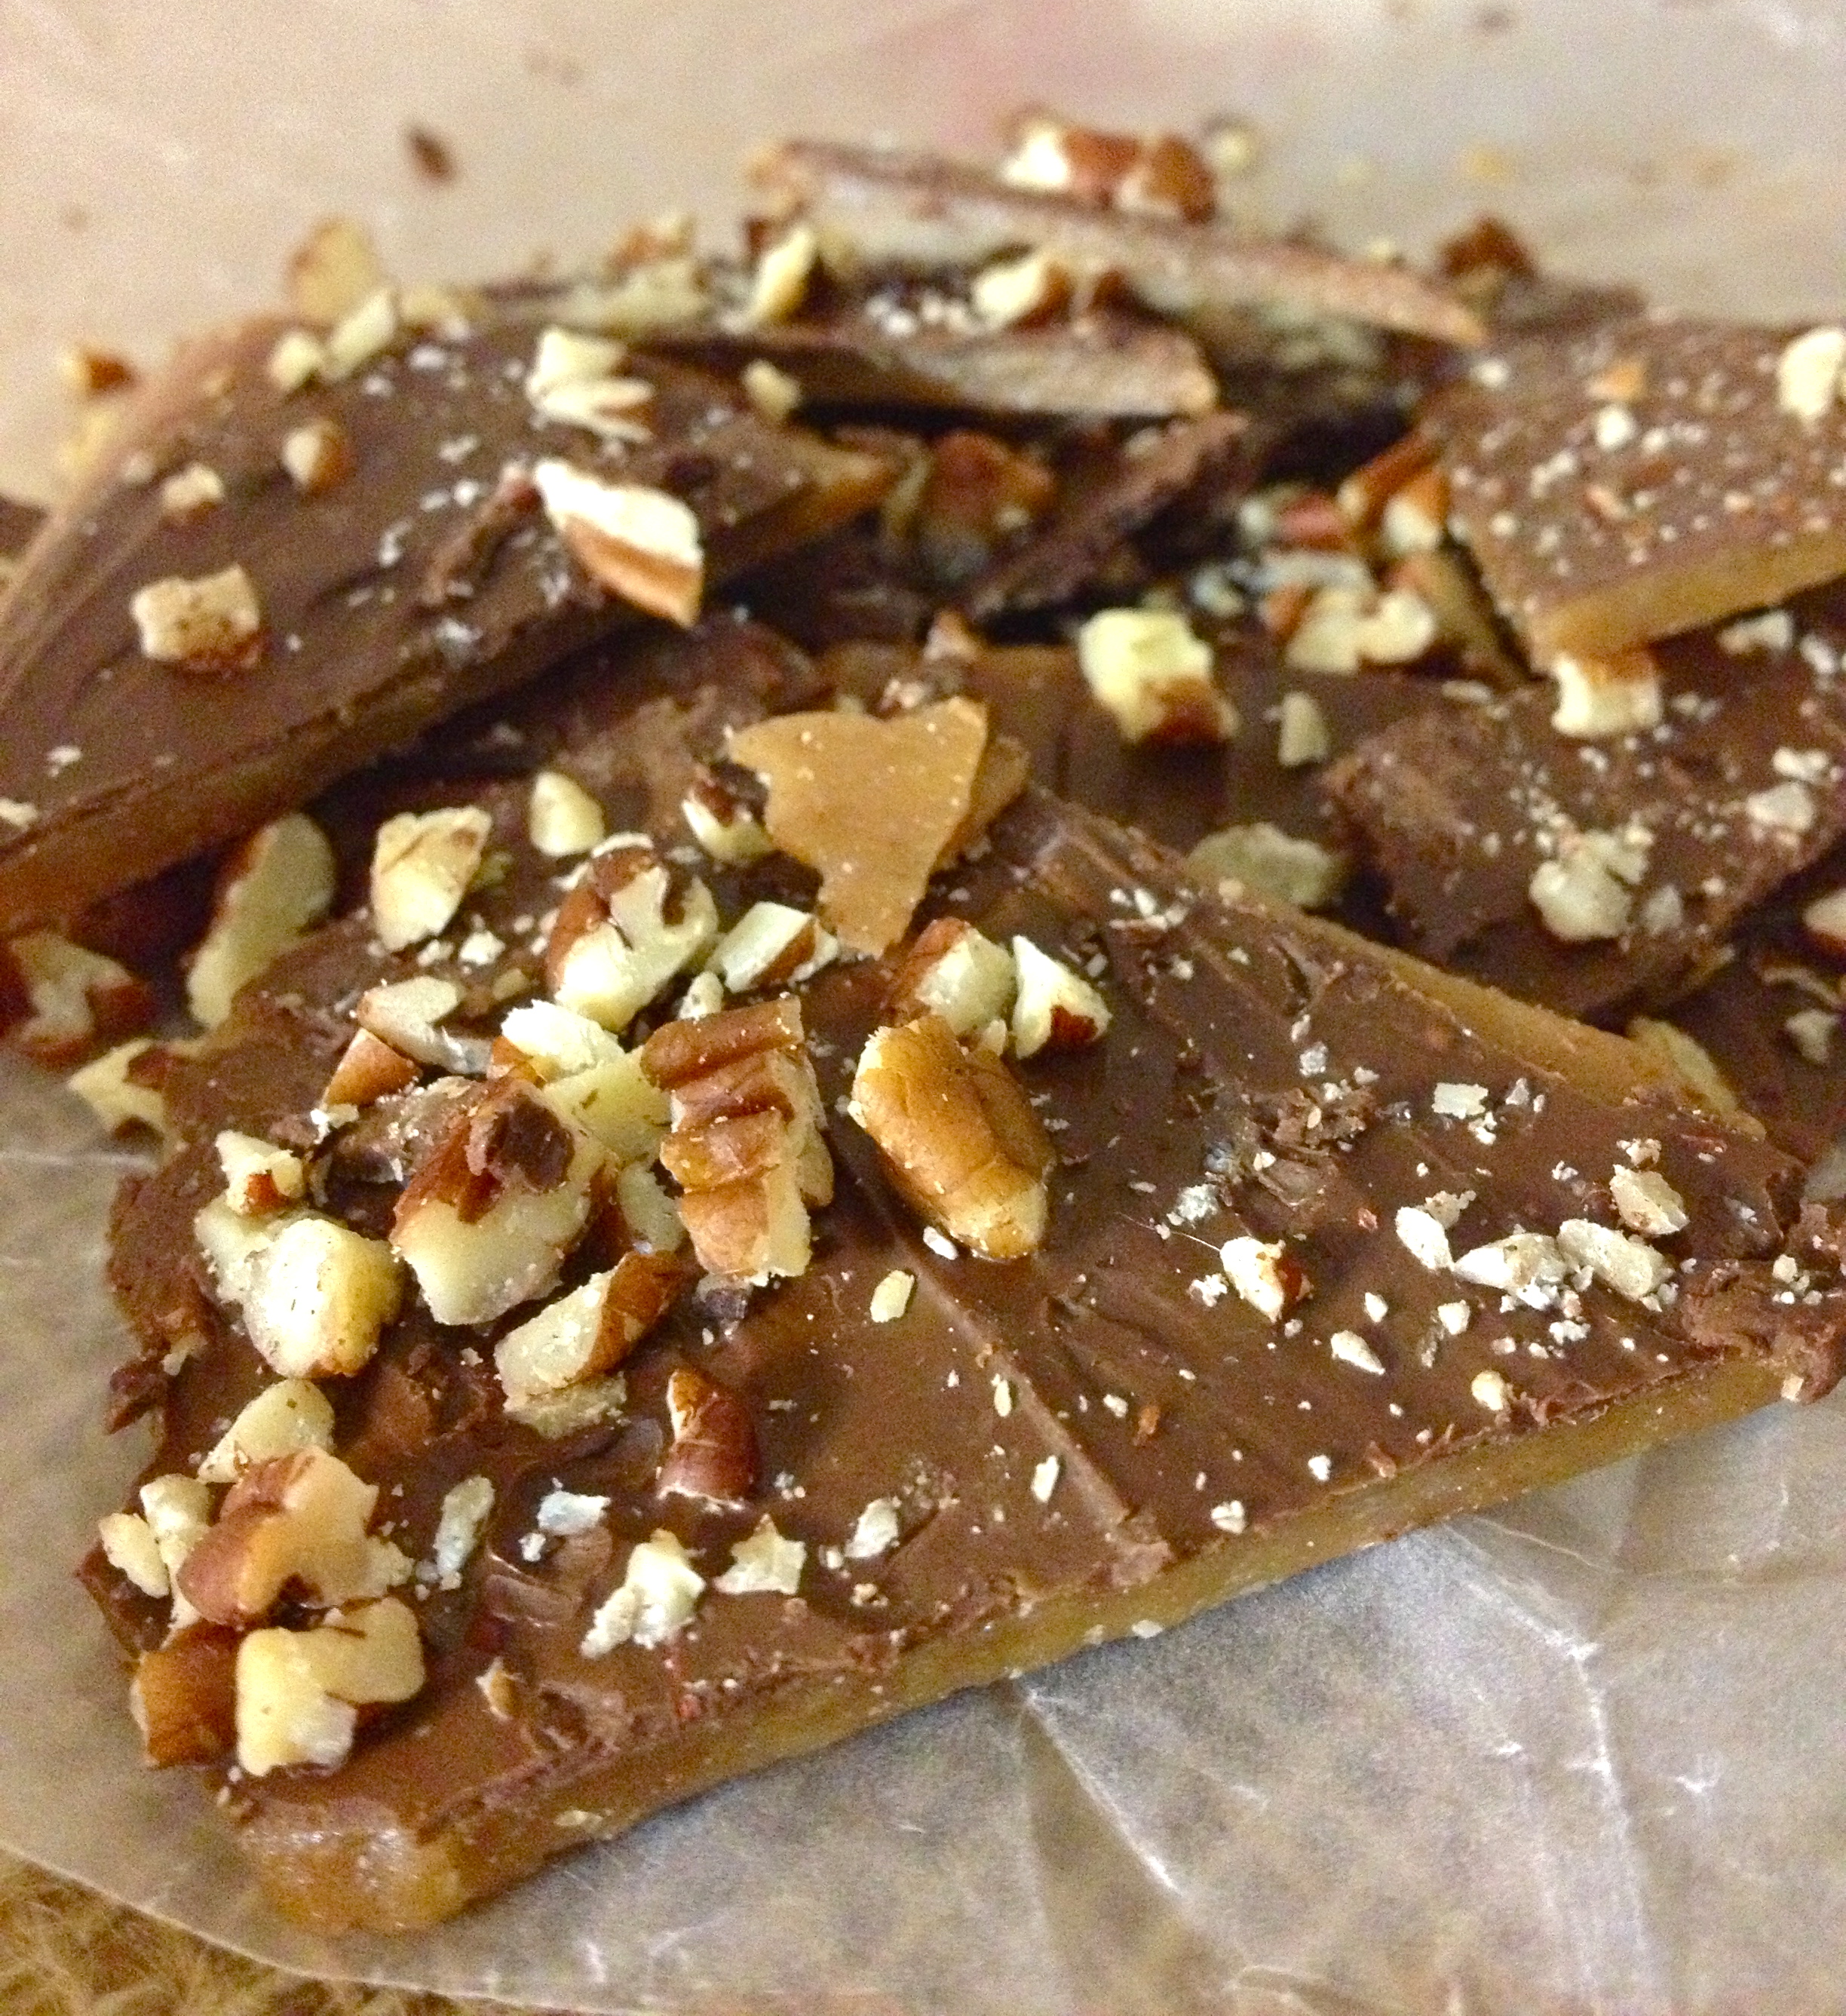
1/2 cup mini chocolate chips (I like to go lighter on chips (…I know…) so feel free to add more)

*Note on replacements: This recipe doesn’t turn out anywhere near as good if you omit the raw cashews and replace them with another cup of roasted cashews. For whatever reason, it throws the texture off. Stick with 1 cup raw and 1 cup roasted.

DIRECTIONS

Preheat oven to 350 F. Line a baking sheet with a baking mat or parchment paper.

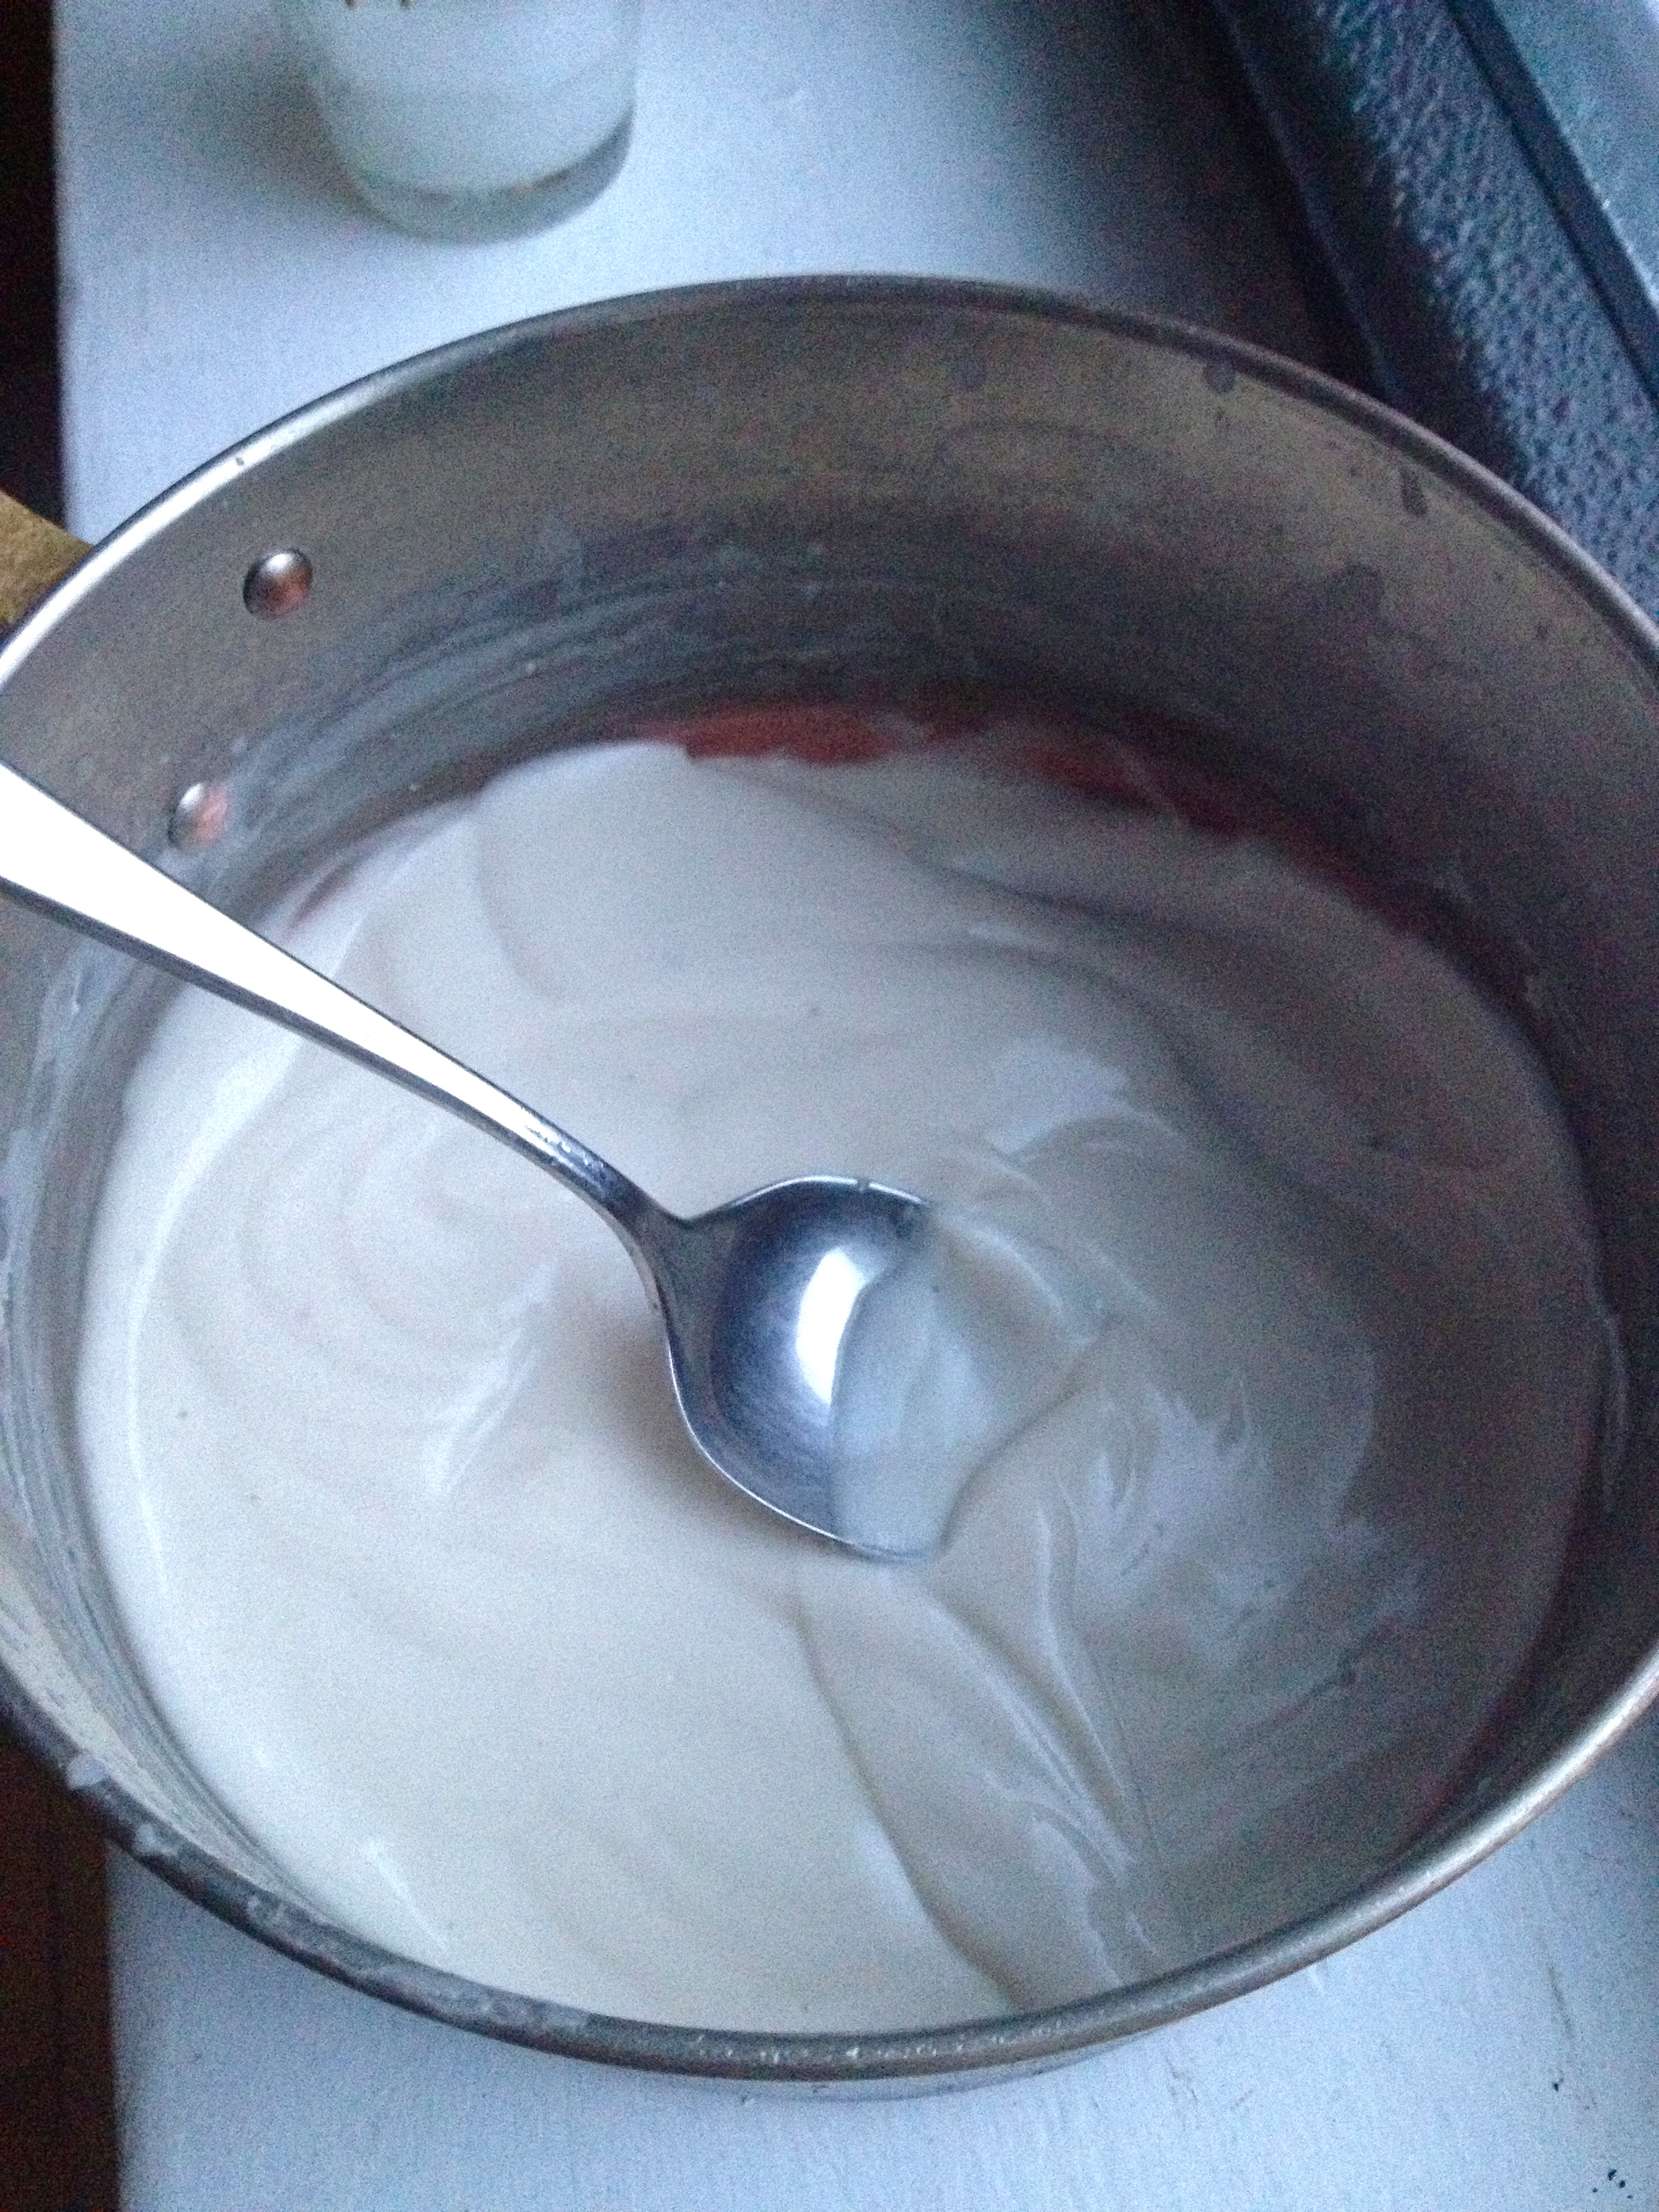
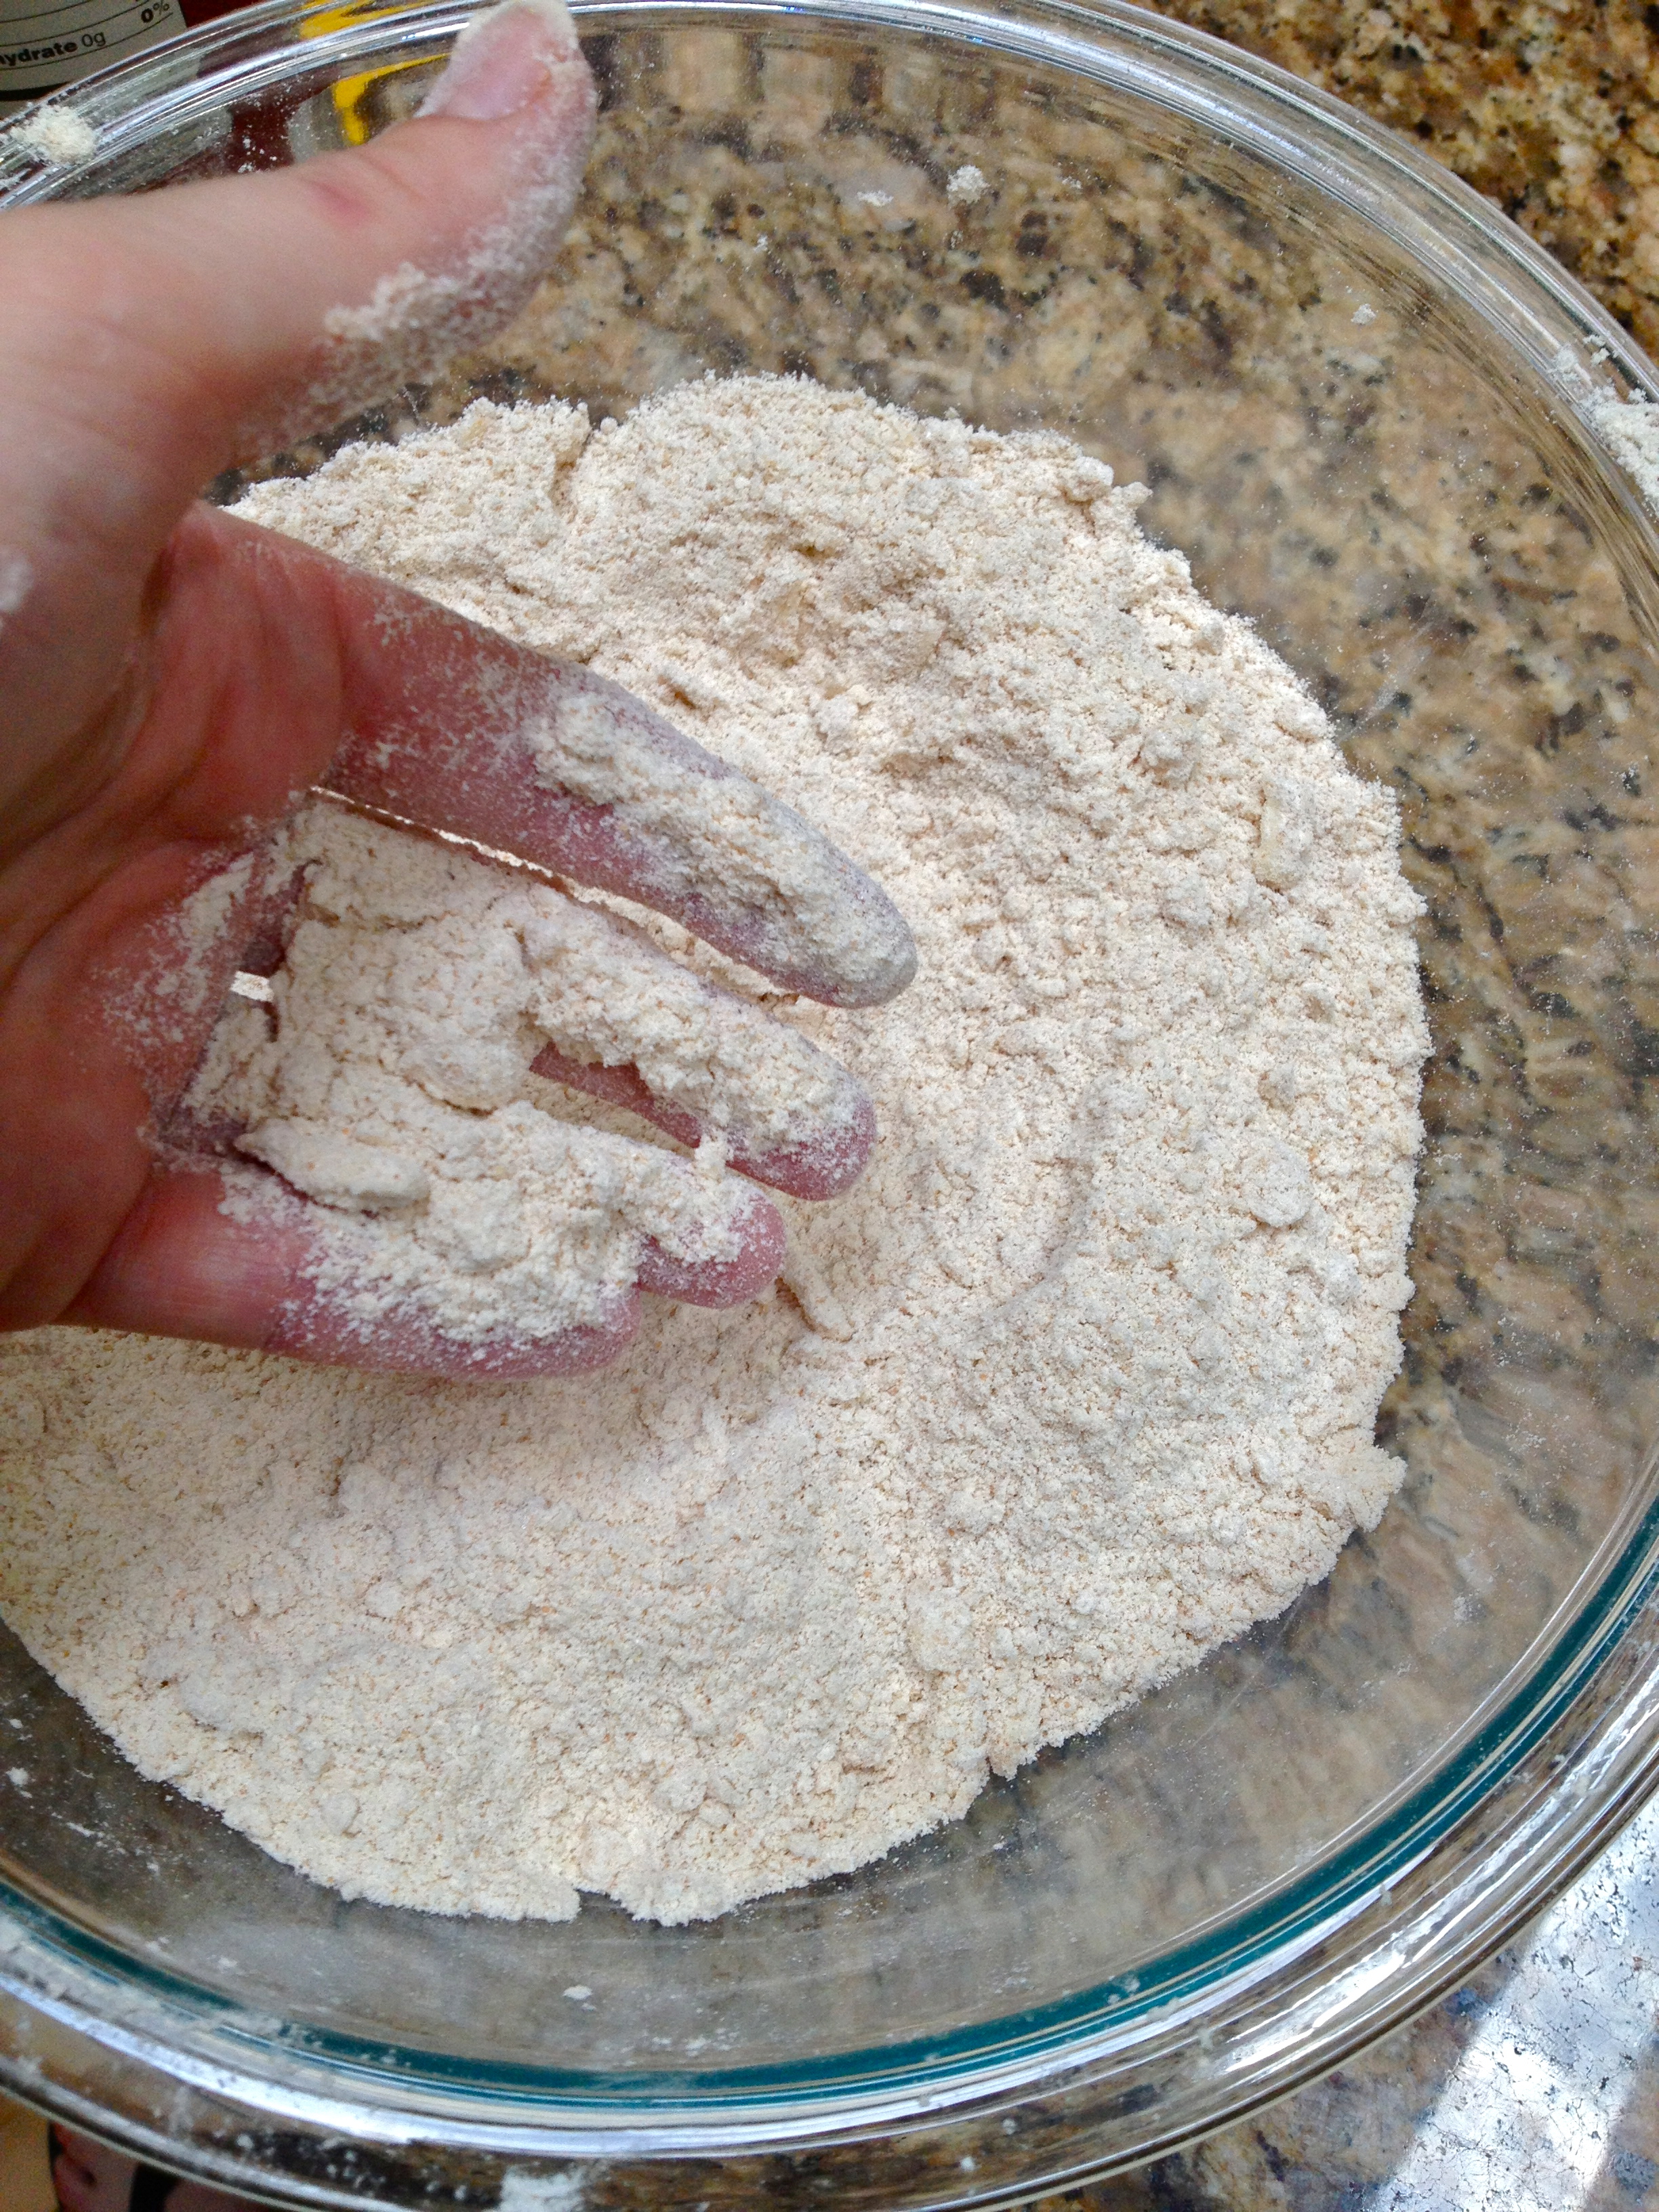
In a food processor or bender, add both types of cashews and grind them into nut butter. It takes my food processor about 5 minutes to get to the right stage: completely pulverized and able to hold together as a ball (read: a thick, just-barely-spreadable nut butter), but not liquidy.

Measure out 1 cup of the cashew butter (you should have just about that amount in your food processor, with maybe a little left over) and transfer it to a mixing bowl. Add the brown sugar, egg, vanilla, baking soda, and salt, and stir until combined. Finally, stir in the chocolate chips. Your batter will be sticky.

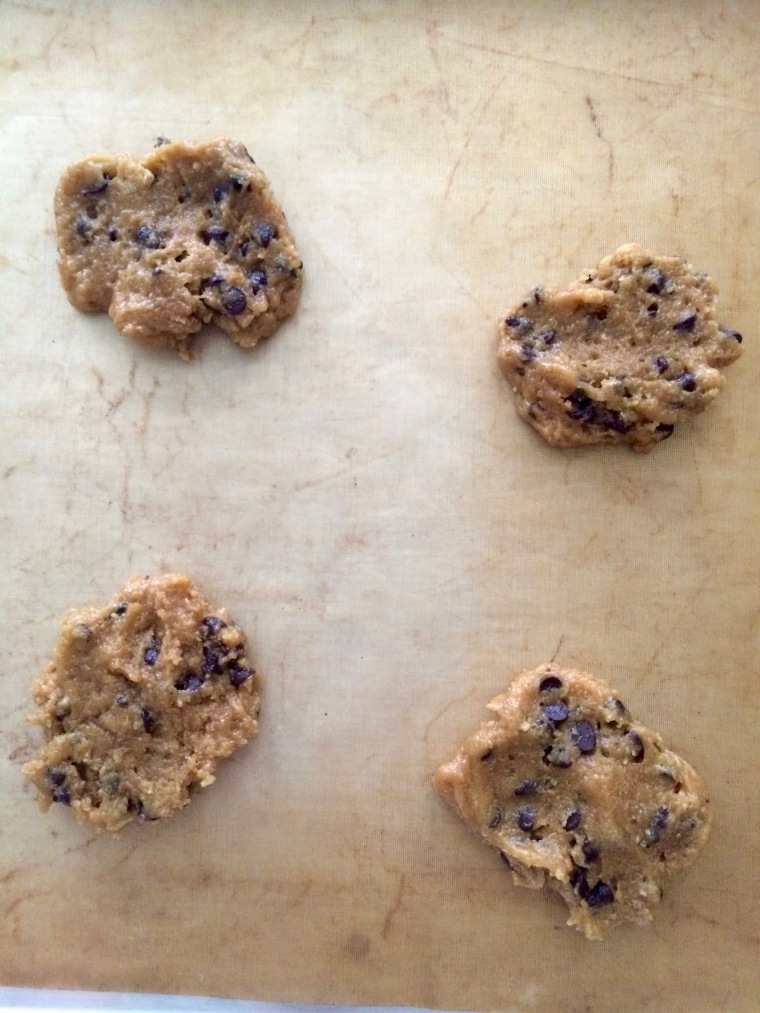
Scoop the dough into small balls and press them flat onto the baking sheet–not too close, as they do spread just a little bit. Then, pop them in the oven.

IMG_9484

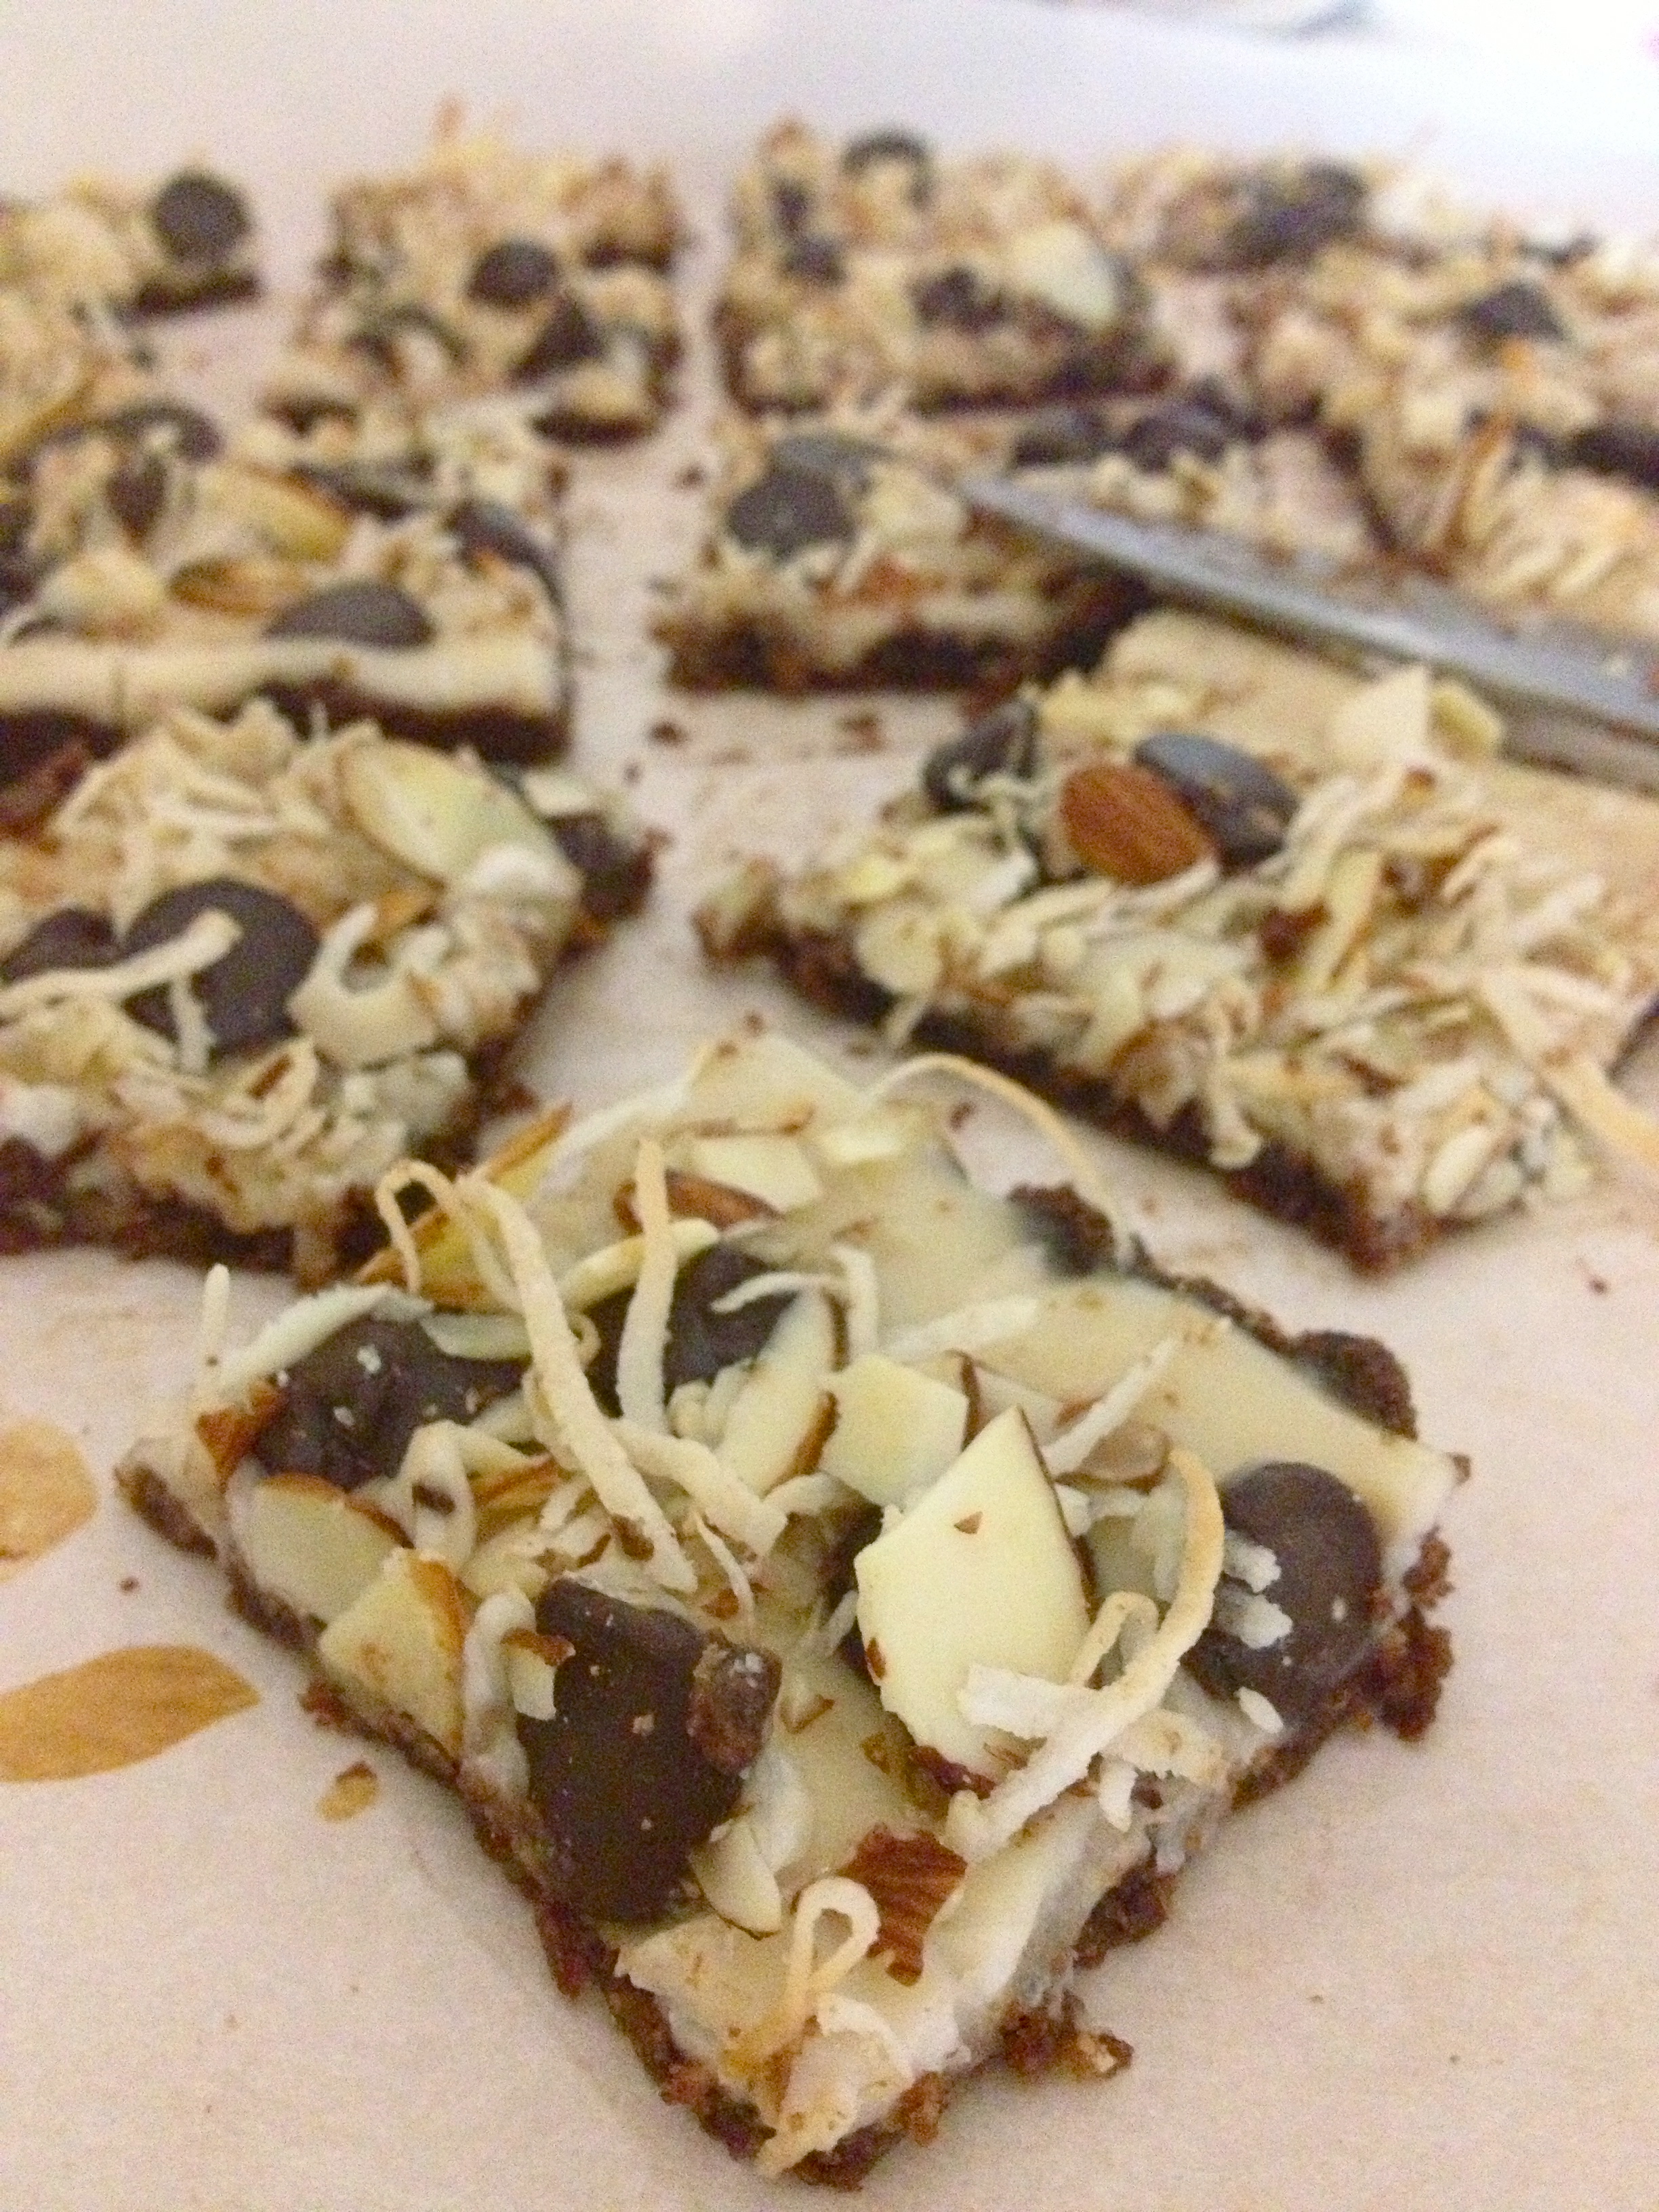
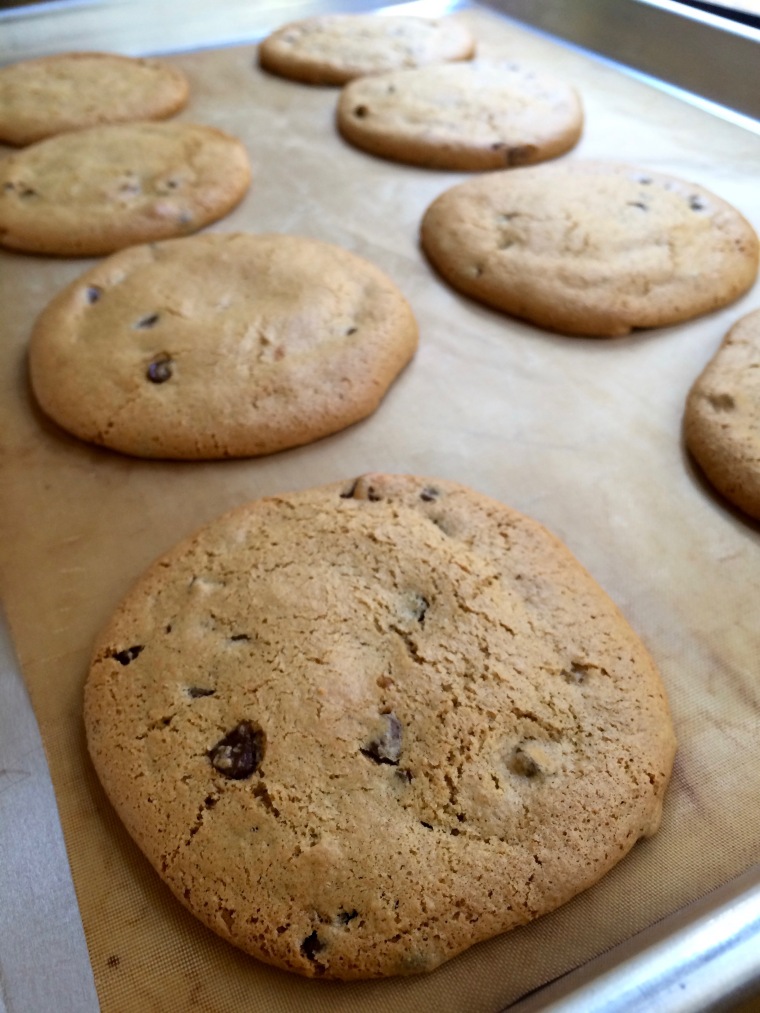
After about 6 minutes, bang the bottom of the cookie sheet onto the oven door a few times to deflate the cookies (this step will help result in cookies that are more chewy than cakey–I HATE cake-y). Continue to bake for 4-6 more minutes, til the cookies have turned a gorgeous golden brown color. Let them cool for 2 minutes on the baking sheet, then transfer to a cooling rack.

IMG_9478

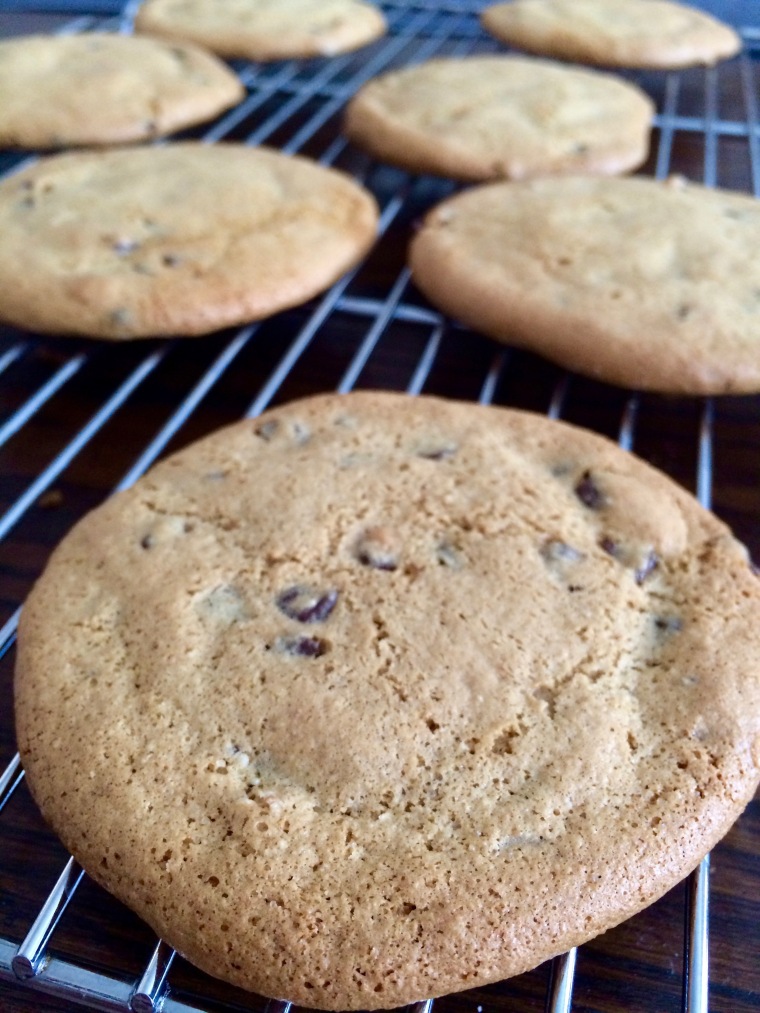
Like all chocolate chip cookies, they’re at their most amazing while still warm, right out of the oven. If you do have any leftovers, keep them sealed and they’ll last up to a week.

IMPORTANT SERVING NOTE: I have also successfully baked these pressed into mini-skillets with a scoop of ice cream on top. Highly recommended.

Advertisement

Chocolate Pretzel Shortbread Bars.

Pretzels: hands-down, a top-5 snack food. So simple, so good, so surprisingly versatile (just ask Auntie Anne). For me, pretzels get really interesting when you think of them as an ingredient, as the start of something, rather than the end of it. I’ve posted a pretzel-transformation recipe before, and I wasn’t surprised to discover that other bloggers had the same idea. Adrianna from A Cozy Kitchen has got a real knack with pretzels, as evidenced by these insane pancakes.  And Molly from My Name is Yeh‘s pretzel shortbread cookies looked so good, I barely changed anything in the riff I’m sharing with you today–just a slight tweak in ingredients and process. But it’s an important change, where I sub in one of my all-time favorite ingredients besides pretzels: brown sugar. Damn. Enjoy.

Chocolate Pretzel Shortbread Bars | KellyintheKitchen.net | pretzels, butter, flour, brown sugar, chocolate chips, canola oil

INGREDIENTS

1 cup (2 sticks) butter, softened to room temperature
2/3 cup brown sugar, packed
200 g pretzels (any kind)
1/3 cup all-purpose flour
1/3 cup semi-sweet chocolate chips
1 tsp canola oil

DIRECTIONS

Preheat oven to 350 F.

Start by making the “pretzel flour.” Using a food processor (or a plastic bag and a rolling pin, if you’re very patient), pulverize the pretzels until they are utterly dusted. It should look like light brown flour. **Don’t underestimate this step; it took me at least 20 minutes to process the pretzels, pass the flour through a sifter to catch the bigger crumbs, process those crumbs again, and repeat the whole thing. And don’t skip this step – if you have big crunchy crumbs in your batter, it will make for weirdly crunchy, sandy-textured cookies. If it doesn’t take you as long to get to the flour stage, then you’ve got a better food processor than I do.**

In a mixing bowl, cream together the butter and brown sugar.

Chocolate Pretzel Shortbread Bars | KellyintheKitchen.net | pretzels, butter, flour, brown sugar, chocolate chips, canola oil

Stir the pretzel flour and all-purpose flour into the butter mixture. Eat a tiny bite of the batter, because it’s sooooo good.

Press the somewhat crumbly batter into whatever pan you’re using (I used what I think of as a “brownie pan”) so that it’s evenly packed. Then, use a knife to cut the batter into bars. Do this before you bake, because if you try to cut them after baking, you’ll probably end up with a pan full of crumbs. Poke a few holes in the tops of the bars with a fork (make a pattern if you’re feeling cute).

Chocolate Pretzel Shortbread Bars | KellyintheKitchen.net | pretzels, butter, flour, brown sugar, chocolate chips, canola oil

Bake for 25-35 minutes, until just starting to brown. Savor the scent of your kitchen…it will smell divine.

When the bars are done baking, remove from the oven and let cool in the pan for 5 minutes. Use a knife to retrace the lines you cut before the bars baked; it should be easy to do. Let cool completely in the pan.

Once the bars are cool, melt the chocolate chips and oil together in a small bowl. I popped them in the microwave for about 40 seconds, stirring halfway through, but you can use a double boiler if you’re fancy. Take a spoon and drizzle the chocolate in whatever pattern you want. I went for free-form marble and I’m pretty happy with it.

Chocolate Pretzel Shortbread Bars | KellyintheKitchen.net | pretzels, butter, flour, brown sugar, chocolate chips, canola oil

Let the chocolate set. That’s it! Enjoy the salty-savory-sweetness.

Sweet Coconut Milk Bars.

“Healthy desserts.” Let’s be honest for a second: I’ve tried making a lot of healthy and healthy-esque dessert recipes at this point, and I’m convinced that they’ll just never be as good as the really decadent stuff they’re supposed to replace. Because, surprise! other fats don’t taste as good as butter, other sweeteners don’t cut it when compared to sugar, etc. Since I do have a sweet tooth, but don’t want to “splurge” every time I crave something sweet, I try to work with what I’ve got by making something that hits the spot without sabotaging my otherwise healthy day. So if you’re looking for a recipe that rivals key lime pie or chocolate chip cookies in its delectable sweet treat power, I’ll level with you—this is probably not gonna be it. But if you’re looking for a really good low-sugar, low-carb dessert option, then I highly highly recommend these Sweet Coconut Milk Bars! Inspired by a recipe from a great blog called Living Healthy with Chocolate, these are creamy and rich and just sweet enough to do the trick, with a bunch of nuts and very little added sugars. Good stuff. I’m looking at you, New Years Resolution-Makers!

IMG_0545

INGREDIENTS

1 can full-fat coconut milk (this is a different type of coconut milk than the stuff you get in a carton – do not substitute)
1 1/2 tbsp honey
1/4 cup walnuts, toasted in a pan and ground to a fine meal in a food processor
3/4 cup ground almond meal
½ teaspoon vanilla extract
3 tablespoons butter, melted (or use coconut oil)
2 tablespoons cocoa powder
1/4 cup sliced almonds
1/4 cup sweetened shredded coconut
1/4 cup chocolate chips

Just the Recipe link: Sweet Coconut Milk Bars

DIRECTIONS

First, get the sweetened condensed coconut milk going. Empty the can of coconut milk into a sauce pan and stir in the honey. Bring to a boil, stirring pretty consistently, and then reduce to a mellow simmer. Stir occasionally and cook for about an hour and 15 minutes, until the mixture has reduced by half and has darkened slightly in color. It should coat a spoon thickly and be the consistency of gently whipped cream.

IMG_0529

To prepare the crust, first preheat oven to 350 F. Mix together ground walnuts, almond meal, vanilla extract, butter, and cocoa powder. Line a small baking dish with parchment paper and transfer the crust mixture to the dish. Use your fingers to press the crust into a thin layer that covers the bottom of the pan. Bake for 5 minutes.

To assemble the filling, mix together the almonds, shredded coconut, and chocolate chips. Spread the condensed coconut milk over the crust and sprinkle the chocolate chip mixture over the top. Bake for 15 minutes.

IMG_0531

Take the bars out of the oven and carefully lift the parchment paper up and out of the pan and set it on a wire rack to cool for one hour. Then transfer to the refrigerator. Let them set in the fridge for at least an hour before cutting into squares. To make sure the squares hold their shape and don’t fall apart, keep them refrigerated.

IMG_0547

Irish Coffee Toffee.

Merry Christmas Eve! This is the fifth time I’ve made toffee in the past 2 weeks, and each time I make it I’m amazed at how simple it is. It takes just three steps: whisk the ingredients over heat, spread the hot sugar mixture over a pan, and top it with whatever you want. A breeze. But the reason I say “simple” and not “easy” is because there is a bit of technique and elbow grease required: stirring non-stop for 10 minutes might give you unhappy risotto flashbacks, and the cold water candy test (detailed below) probably means this shouldn’t be a beginner’s first recipe. That said, once you have your toffee-legs, which are the toffee version of when a sailor gets his sea-legs, you’ll find this recipe really is a breeze. I use the same exact process here that I used in my Butter Rum Toffee recipe–the only difference is I’ve Irish-ed up the ingredients with coffee and whiskey. The amount of coffee crystals I used here keeps the coffee flavor on the mellow side, but if you want to punch it up, use a whole teaspoon. Just go to town on this thing.

IMG_0388

INGREDIENTS

1 cup butter
1 cup sugar
1/2 tsp instant coffee crystals
1/4 tsp salt
1 1/2 tbsp whiskey
1 cup semi-sweet chocolate chips
almonds, toasted and chopped (hazelnuts would rock here, too)

Just the Recipe link: Irish Coffee Toffee

DIRECTIONS

Line a sheet pan with a silicon mat or parchment paper. Set aside; youʼll need it ready, because the caramelizing process moves pretty quickly.

Melt butter in a saucepan over medium heat. Then whisk in the sugar, coffee crystals, salt, and whiskey, and continue to stir with the whisk while the mixture comes to a bubble. Be very careful not to touch the mixture at any point in this process; itʼll give you an incredibly nasty burn. Cook over medium flame, stirring constantly, for 7-10 minutes, until the mixture is almond-colored and passes this consistency test: take a glass of cold water and drizzle in a few drops of the mixture. If it turns into brittle strings and crystallizes at the bottom of the glass (reach in and test the piece with your fingers), it’s ready to go. If it’s still soft and malleable, continue to cook and stir, and test again in a minute or two. Be careful not to let it burn.

When itʼs ready, immediately pour onto the sheet thatʼs lining your sheet pan. Use a spatula to spread the mixture pretty thinly, and let cool for 2 minutes.

IMG_0369

*Clean-up tip: After you’ve spread the toffee onto the pan to start cooling, fill the saucepan with water and bring to a boil. This will dissolve the hard, sticky caramel and make it WAY easier to clean. You can also stir the whisk around in the boiling water, to break down any sugar stuck on its wires.*

Next, sprinkle over the chocolate chips. Give them a few minutes to melt, and then use a spatula to gently spread the melted chocolate over the top of the toffee, covering the whole surface. If you find that the chocolate chips arenʼt melting completely, pop the pan into a hot oven for 20 seconds, and the chocolate will be easily spreadable.

While the chocolate is still melty, sprinkle with almonds. Let the whole thing set completely, for at least two hours.

IMG_0372

When it’s completely set, break it up into chunky, uneven pieces. Store in a cool place where the chocolate won’t melt. Give as gifts or keep for yourself – and try not to eat it all in one day!

IMG_0390

Butter Rum Toffee.

Everything around me feels festive: My neighborhood takes holiday decorating pretty seriously, and for Christmas they’re breaking out all the seasonal decor, from lights and garlands to inflatable Snoopies sleeping on their doghouses. The five or so inches of snow I see from my window add a real coziness factor to a Sunday spent in the kitchen. And my first-ever grown-up Kelly’s Very Own Christmas Tree in my front window brings me a pride and joy so thoroughly adult that I almost want to keep the tree up til spring. As the song says, “it’s the most wonderful time of the year.” And I really believe that! I love the cooking, the singing, the decorating, the smiles, the spirit. This is a holiday that–at least in its modern, pseudo-secular incarnation–is all about generosity, sharing, and love. When you give a gift, the recipient feels awesome, you feel awesome, and through this bond the world gets a little more awesome for a little while. That’s pretty beautiful, whether you buy into the Bible stories or not.

IMG_0330

This is where toffee comes in. Whenever I receive a little bag of toffee as a Christmas present, I just get so excited about it. It’s so good. Sweet, buttery, crunchy, chewy, sticky…it’s everything a Christmas treat should be. So I’m planning to share a few yummy toffee recipes this Christmas season, starting with this, a lusciously warm and toasty Butter Rum Toffee.

IMG_0333

INGREDIENTS

1 cup butter
1 cup sugar
1 1/2 tbsp rum
1/2 tsp vanilla extract
1/4 tsp salt, plus a pinch or two more for sprinkling
1 cup semi-sweet milk chocolate chips (if you want it really chocolatey, add another 1/2 cup)
pecans, toasted and chopped

Just the Recipe link: Butter Rum Toffee

DIRECTIONS

Line a sheet pan with a silicon mat or parchment paper. Set aside; you’ll need it ready, because the caramelizing process moves pretty quickly.

Melt the butter in a saucepan over medium heat. Then whisk in the sugar, rum, vanilla, and salt, and continue to stir with the whisk while the mixture comes to a bubble. Be very careful not to touch the mixture at any point in this process; it’ll give you an incredibly nasty burn. Cook over medium flame, stirring constantly, for 7-10 minutes, until the mixture is almond-colored and passes this consistency test: take a glass of cold water and drizzle in a few drops of the mixture. If it turns into brittle strings and crystallizes at the bottom of the glass (reach in and test the piece with your fingers), it’s ready to go. If it’s still soft and malleable, continue to cook and stir, and test again in a minute or two. Be careful not to let it burn.

IMG_0306

Once it’s ready, immediately pour the toffee onto the silicone mat or parchment paper that’s lining your sheet pan. Use a spatula to spread the mixture pretty thinly – don’t worry if it’s uneven, it’s all part of the magic of toffee. Let cool for 2 minutes.

*Clean-up tip: After you’ve spread the toffee onto the pan to start cooling, fill the saucepan with water and bring to a boil. This will dissolve the hard, sticky caramel and make it WAY easier to clean. You can also stir the whisk around in the boiling water, to break down any sugar stuck on its wires.*

Next, sprinkle over the chocolate chips. Give them a few minutes to melt, and then use a spatula to gently spread the melted chocolate over the top of the toffee, covering the whole surface. If you find that the chocolate chips aren’t melting completely, pop the pan into a hot oven for 20 seconds, and the chocolate will be easily spreadable.

While the chocolate is still melty, sprinkle with pecans and a bit more salt. I topped half my toffee with pecans and salt, and the other half with just salt, so that a nut-free birthday girl could eat it.

IMG_0315

Let the whole thing set completely, for at least two hours. Then break it up into chunky, uneven pieces. Eat some of them (you gotta make sure it’s good, right?), and give the rest away as gifts before you eat it all yourself.IMG_0312

Pretzel Milk and Chocolate Chip Scones.

On a cute and crazy-creative blog called “A Cozy Kitchen, ” I saw blogger/pancake expert Adrianna do something magical: she made pretzel milk pancakes. This is one of the most food-genius things I’ve seen in a long time: she roasted pretzels in the oven, soaked them in milk, and then strained them out so that the milk was left in faintly golden pretzel-flavored perfection, making her pancakes deliciously pretzely. I was mesmerized by this idea, and initially wanted to make a cookie using the pretzel milk method. I’m still working on the cookie version of this recipe, but for now, these scones are pretty amazing. Pretzel milk – I am so glad we’ve found each other. The lightly golden milk gives the finished product the most unusual and profound savoriness—not in-your-face pretzely, but more of a welcome note of something warm and deep. It’s pretty special.

I have a question for my beloved readers: what to do with the milk-steeped pretzels you’re left with after making the pretzel milk? I ate a few (they’re actually good, in a weird, slightly soggy kind of way), but there’s got to be something interesting they could be used for. Crush them up and stir them into muffin batter, or even cookie dough? Or food-processer them with lots butter and maple syrup, shape the butter mixture into a log, toss it in the fridge, and a few hours later you’ve got maitre d’ maple pretzel butter for toast and waffles and all those goodies? If you come up with a good use for them, let me know! And PS – when they’re in the oven, watch these more carefully than I did….my scones got a little bit toastier than I would have liked. Still awesome though!

IMG_9058

INGREDIENTS

3 cups pretzels
1 1/2 cups cream or half-and-half
1 cup all-purpose flour
1 cup whole wheat flour (feel free to use all A-P flour if you prefer)
1 tbsp baking powder
4 tbsp sugar
1/2 tsp salt
5 tbsp unsalted butter, chilled and cut into little cubes
1/2 cup chocolate, chopped into small bits (I used semi-sweet)
optional: turbinado sugar, for sprinkling

Just the Recipe link: Pretzel Milk and Chocolate Chip Scones

DIRECTIONS

Preheat oven to 350 F. Spread pretzels onto a sheet pan in a single layer and roast until they turn a nice dark brown, about 10 minutes. Let them cool completely (don’t worry, they cool very quickly).

IMG_9042

Preheat the oven to 450 F.

Transfer the cooled pretzels to the cream or half-and-half and let them soak for about 15 minutes. Then strain, leaving just the beautiful pretzel-y cream. The pretzels will have soaked up some of the liquid; you’ll need just 1 cup total for this recipe. If you have any leftover milk, keep it on hand and maybe dip the scones into it once they’re baked. This stuff is amazing.

IMG_9045

Place flour, baking powder, sugar, and salt in a mixing bowl or food processor. Whisk or pulse together until combined. Add the butter; if using your fingers, quickly rub the flour mixture into the butter until the mixture resembles coarse sand, handling the butter as little as possible and careful not to melt it as you go. If you’re using a food processor, pulse together until the mixture resembles coarse sand.

IMG_9040

Add the chocolate bits and stir or pulse briefly to combine. Transfer mixture to a mixing bowl if it was in a food processor. Stir in the pretzel milk until the dough starts to come together. Then turn it out onto a floured workspace.

IMG_9046

Knead the dough a few times gently with your hands, just until it comes together in a ball – the less you work the dough, the better, since you don’t want the heat of your hands to melt the butter.

Flatten the dough into the shape of a rectangle (roughly….), about 3/4 inch -thick. Okay fine, so this dough is obviously not in a rectangle. I took this picture before I decided what shape I wanted the scones to be. Whatever.

IMG_9047

Cut the dough into squares. Then cut each square diagonally in half, to make little triangles…..Or, cut them however you want!

IMG_9050

If you like, sprinkle each scone with a bit of turbinado sugar. It’s sweet and gives the scones a little bit of crunch. And it’s pretty.

IMG_9051

Place sconces on a baking sheet and bake until light brown, about 12-15 minutes. Cool slightly before serving. These more than rock with sweet cream butter and a cup of black tea.

IMG_9053

And seriously – any ideas what to do with these already-steeped pretzels??

IMG_9043