Raspberry Chocolate Chunk Sorbet.

Raaaaaspberry sorbet. The kind you find in a secondhand store. For me, raspberries are about as good as berries get. I rank them at the very berry top, the pinnacle of berry perfection. So, of course, my first use of my ice cream maker this season had to be raspberry. Their vibrant fruity flavor is the star here, and they’re so sweet on their own that this recipe doesn’t need much added sugar. Which is exactly how I like it. I mean, if you add minimal sugar, that gives you free rein to add all the chocolate chunks you want!

Raspberry Chocolate Chunk Sorbet | KellyintheKitchen| Ingredients: water, sugar, raspberries, lemon juice, vanilla extract, chocolate

INGREDIENTS

2 cups water
3/4 cup granulated sugar (or substitute half a cup agave nectar if you want to skip a step, see below)
1 lb. (about 4 cups) raspberries (I used fresh, but frozen will work, too)
1 1/2 tbsp lemon juice
1 tsp vanilla extract
3/4 cup chocolate, chopped (I used milk chocolate chips. Dark chocolate would also be a great decision.)

DIRECTIONS

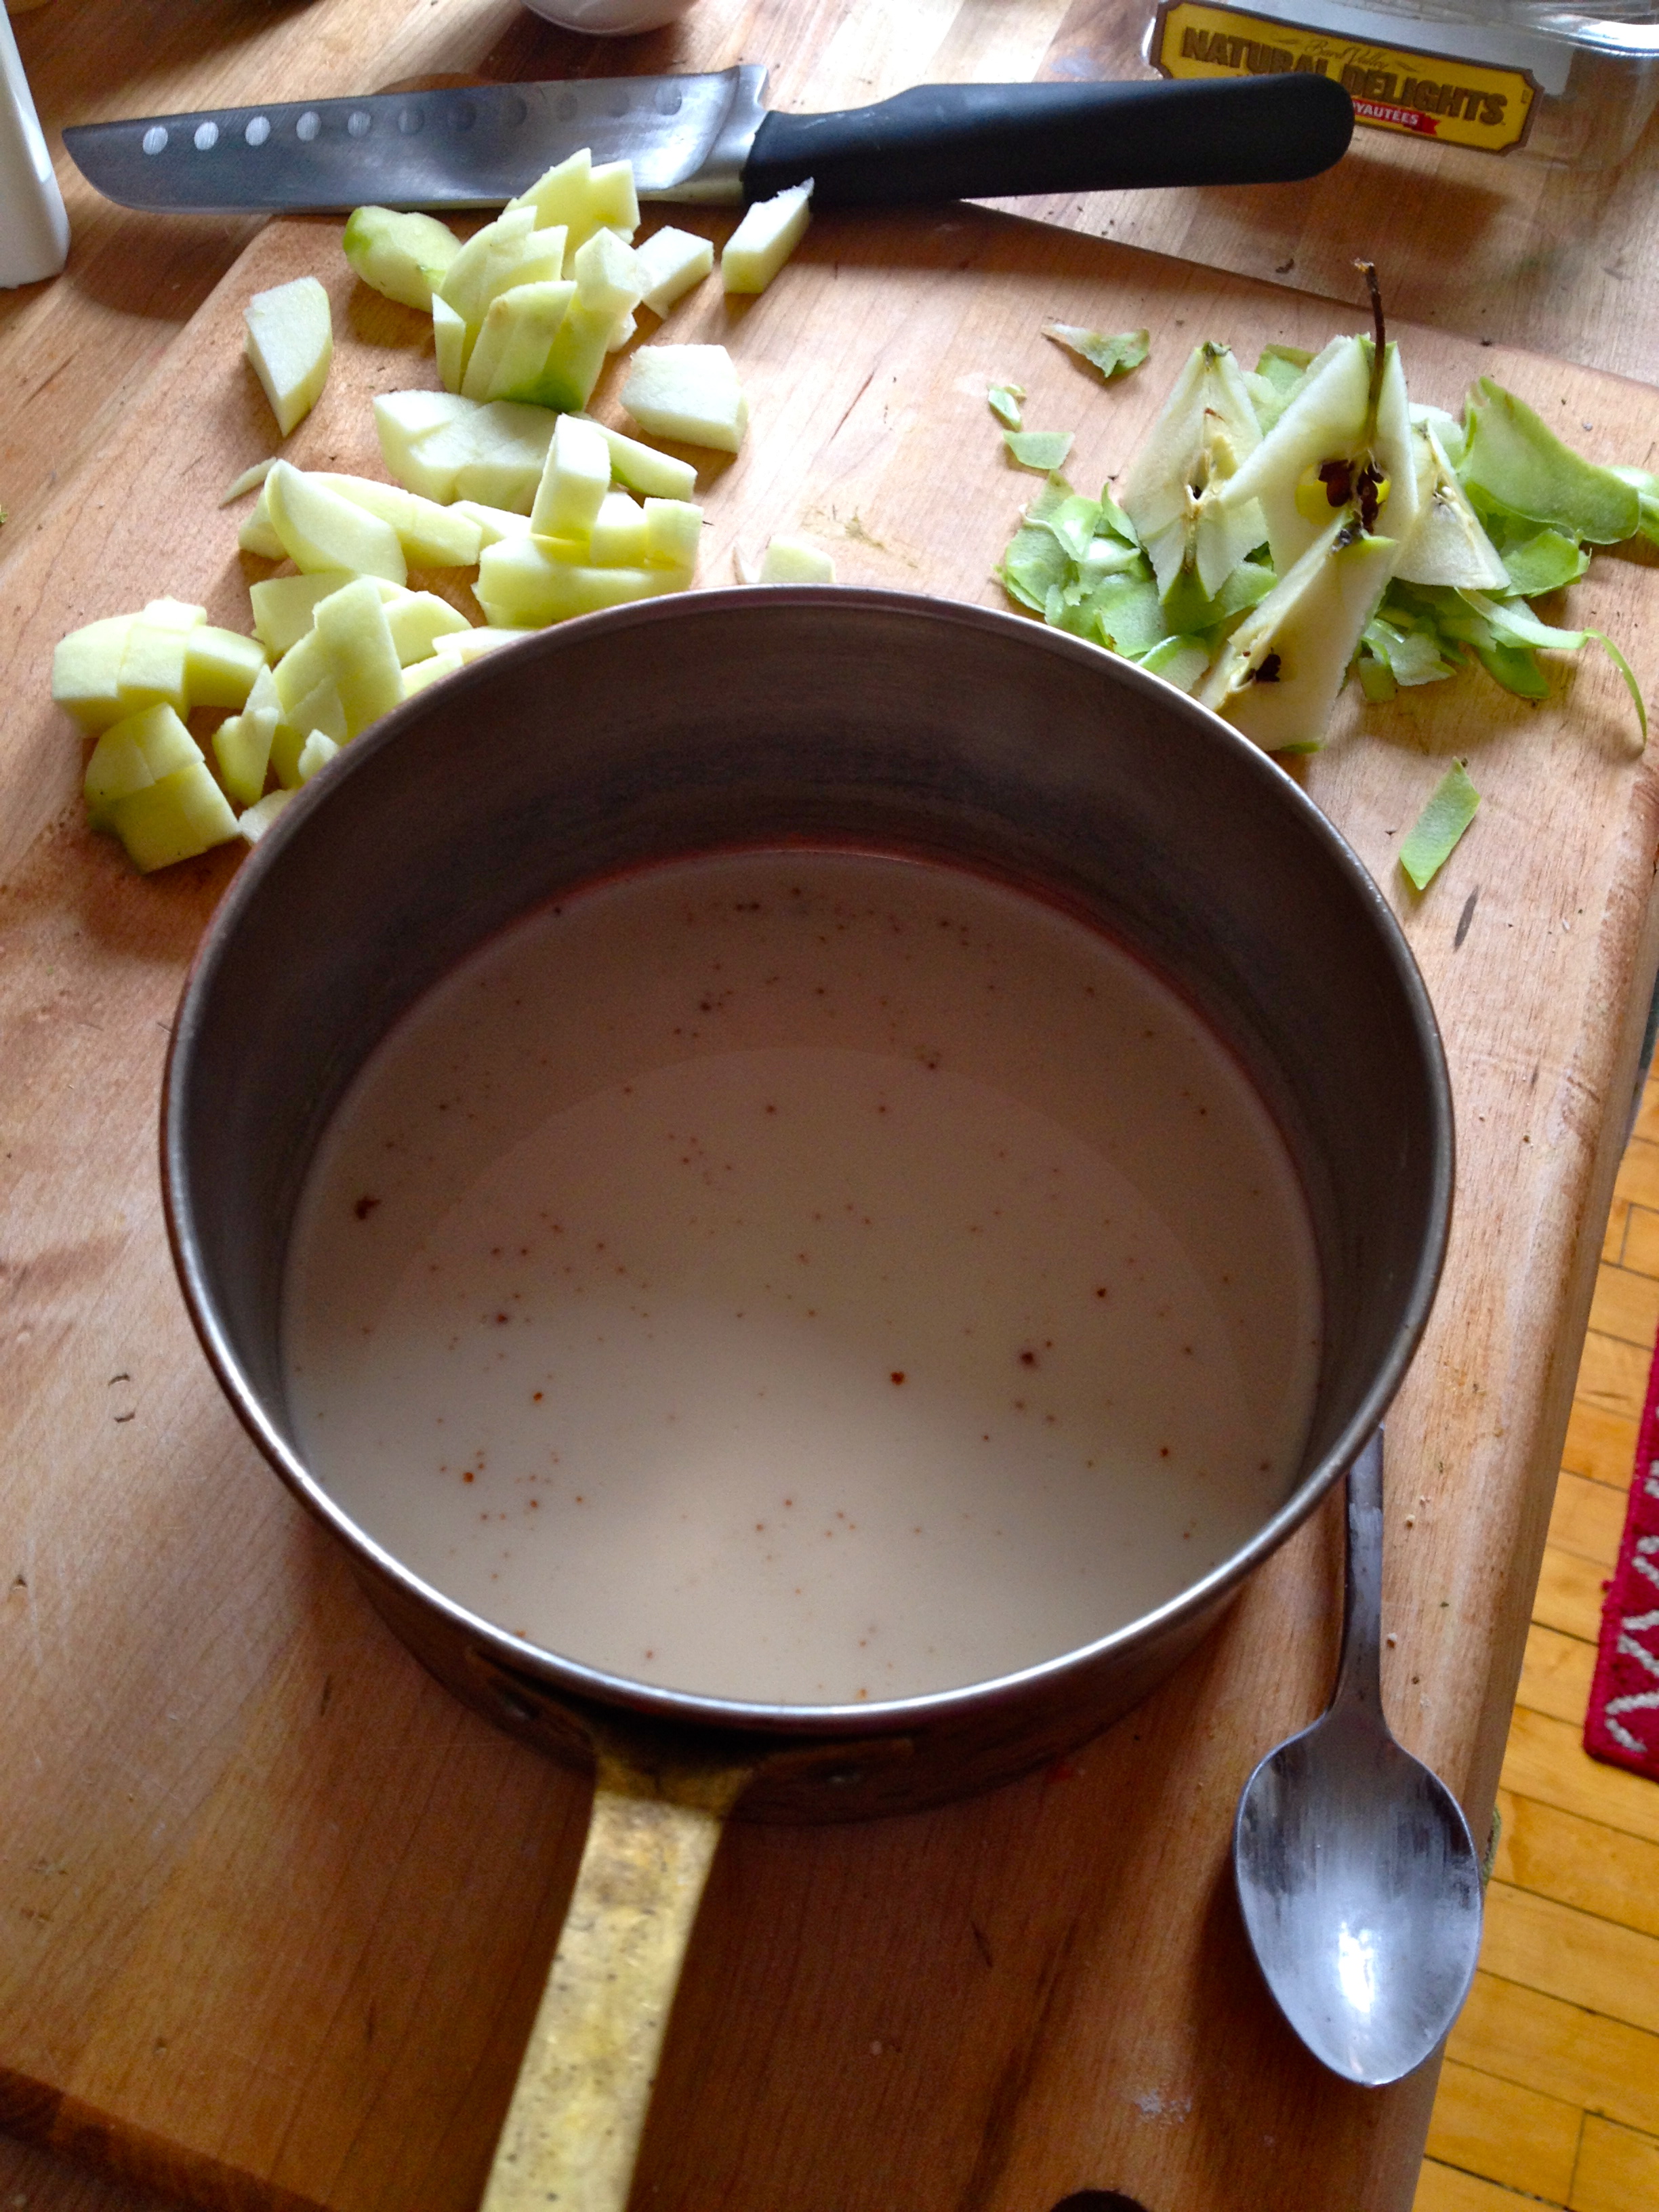
If you’re using sugar and not agave nectar, start by combining the water and sugar in a saucepan over high heat. Bring to a boil, then turn down and simmer for 5 minutes. In a food processor or blender, blitz the raspberries, lemon juice, and vanilla. Pour mixture through a mesh strainer into a large bowl. Stir in the sugar syrup or the agave nctar and refrigerate at least 30 minutes (the longer the better).

IMG_5348

When the mixture has cooled, churn it according to your ice cream maker’s instructions. I didn’t actually keep track of how long I churned the sorbet for – it was less than one full episode of LOST…around 25 minutes, probably.

IMG_5360

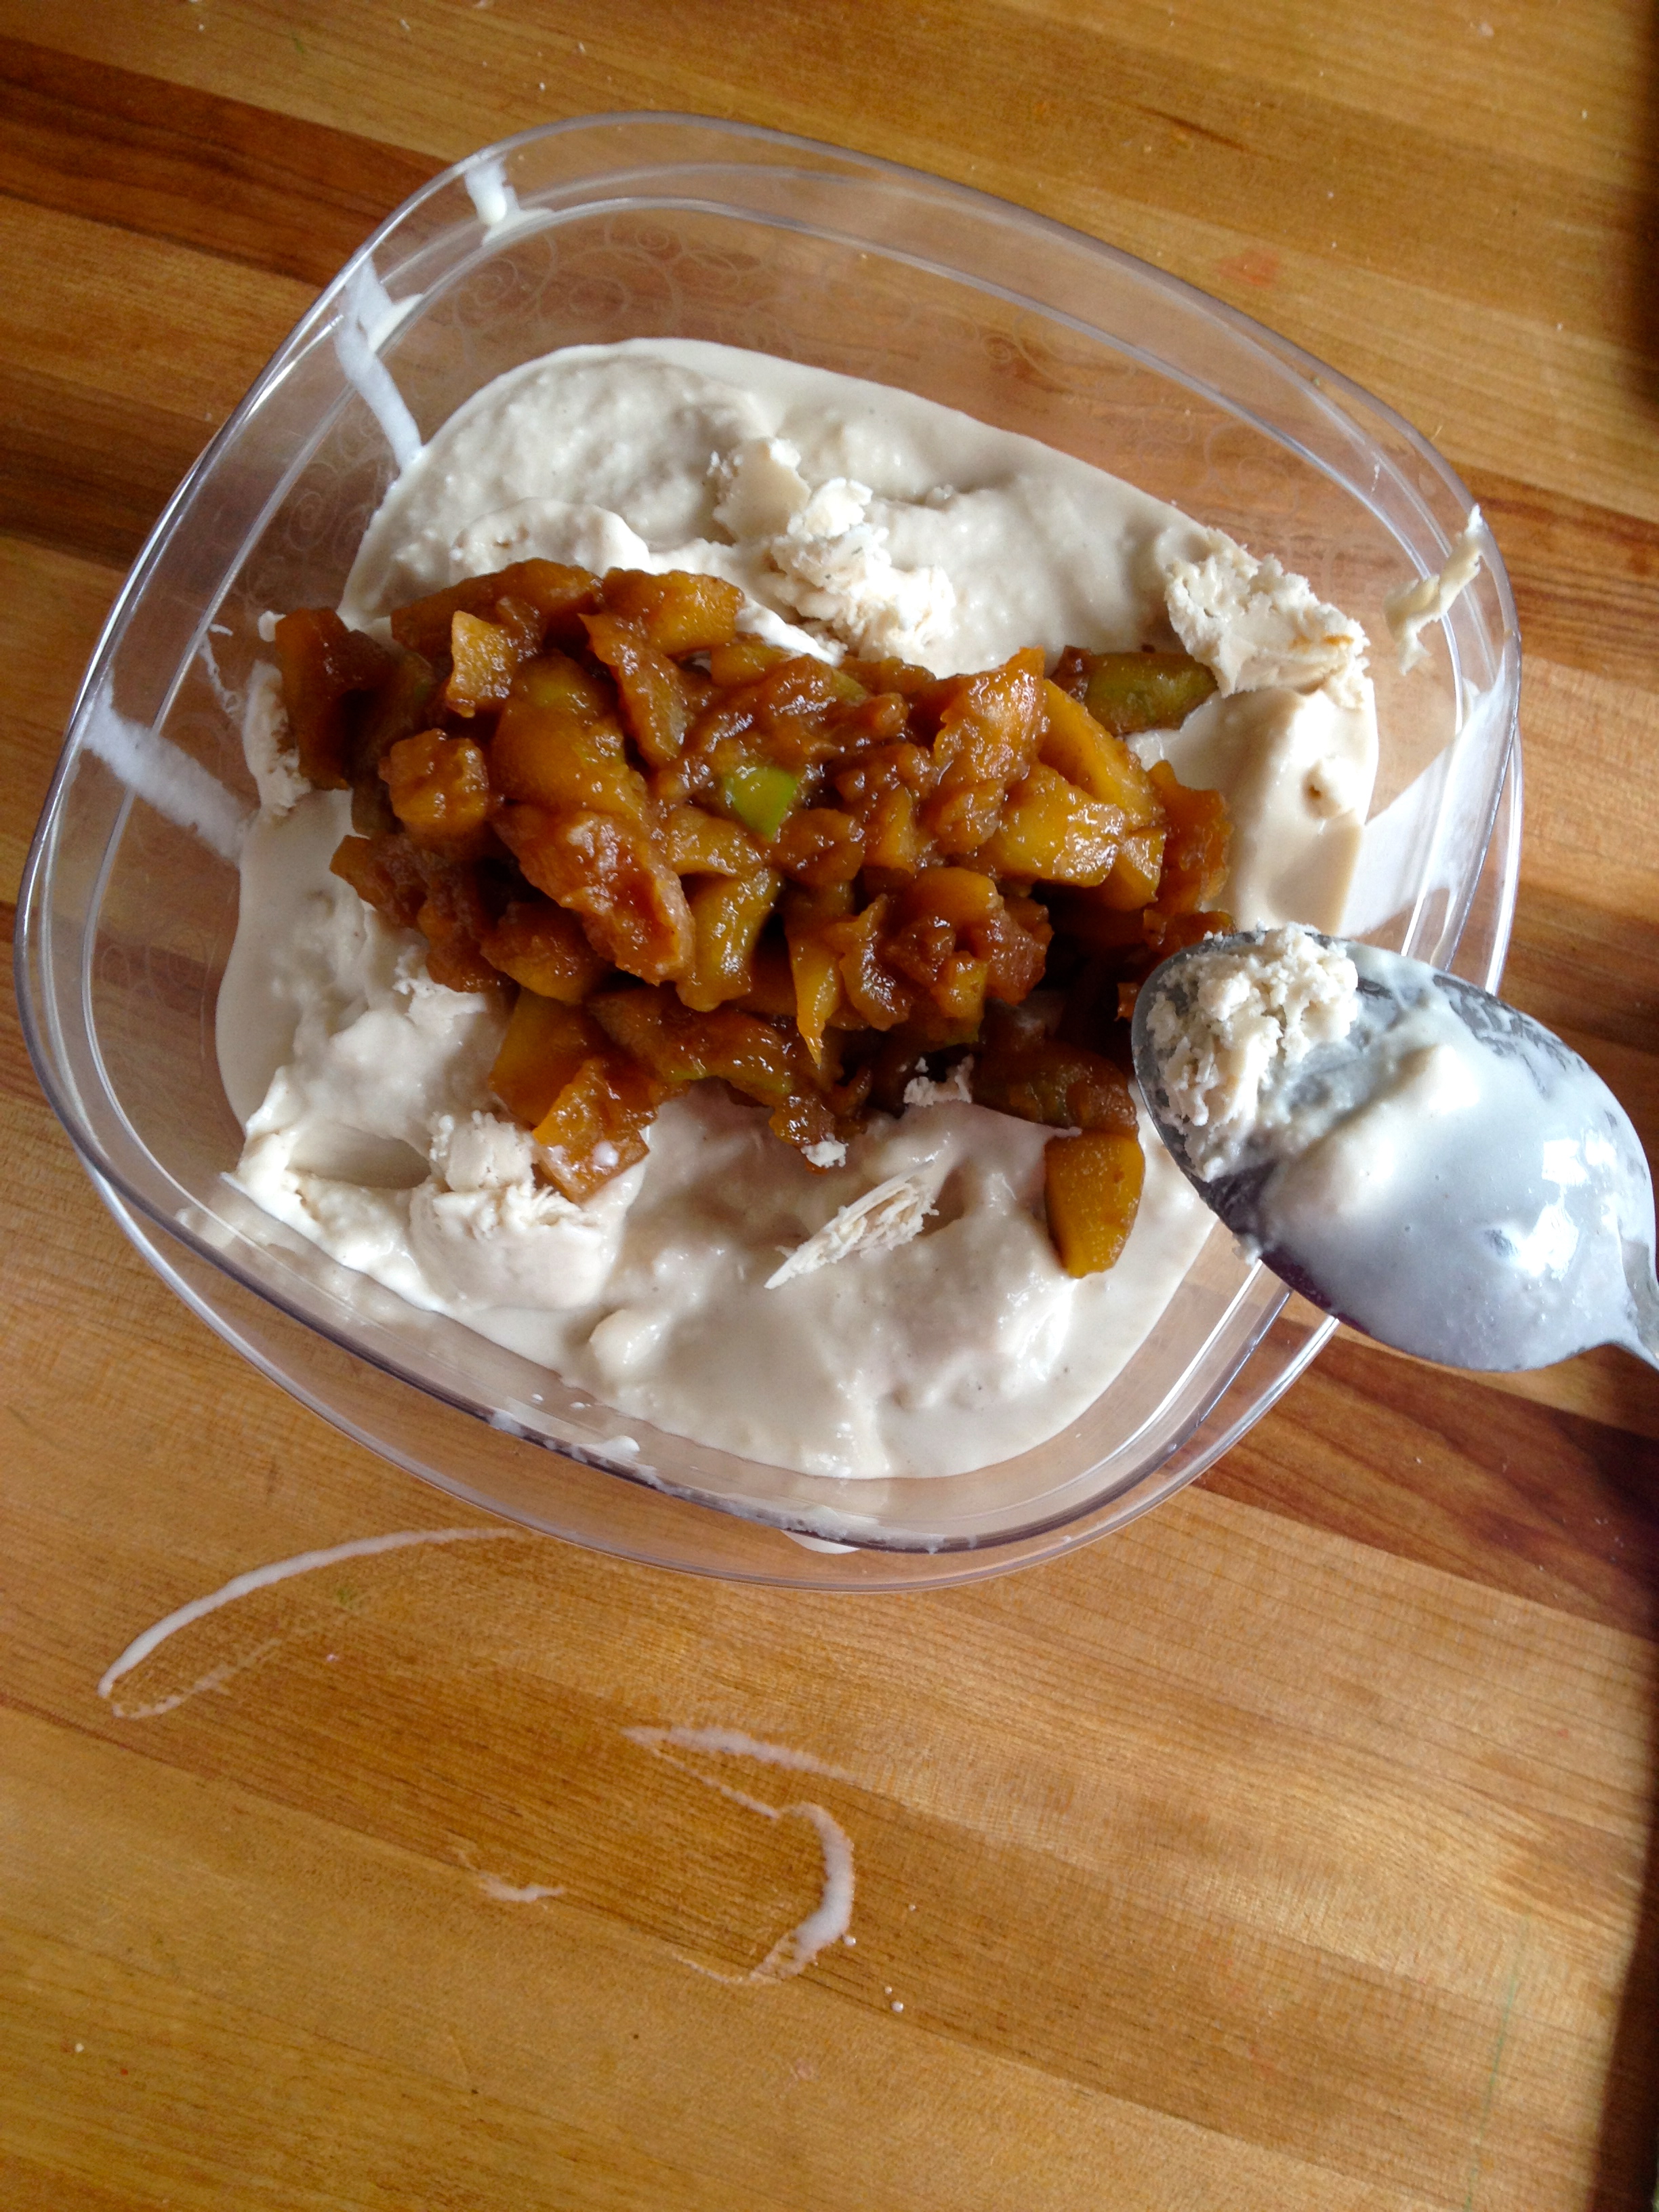
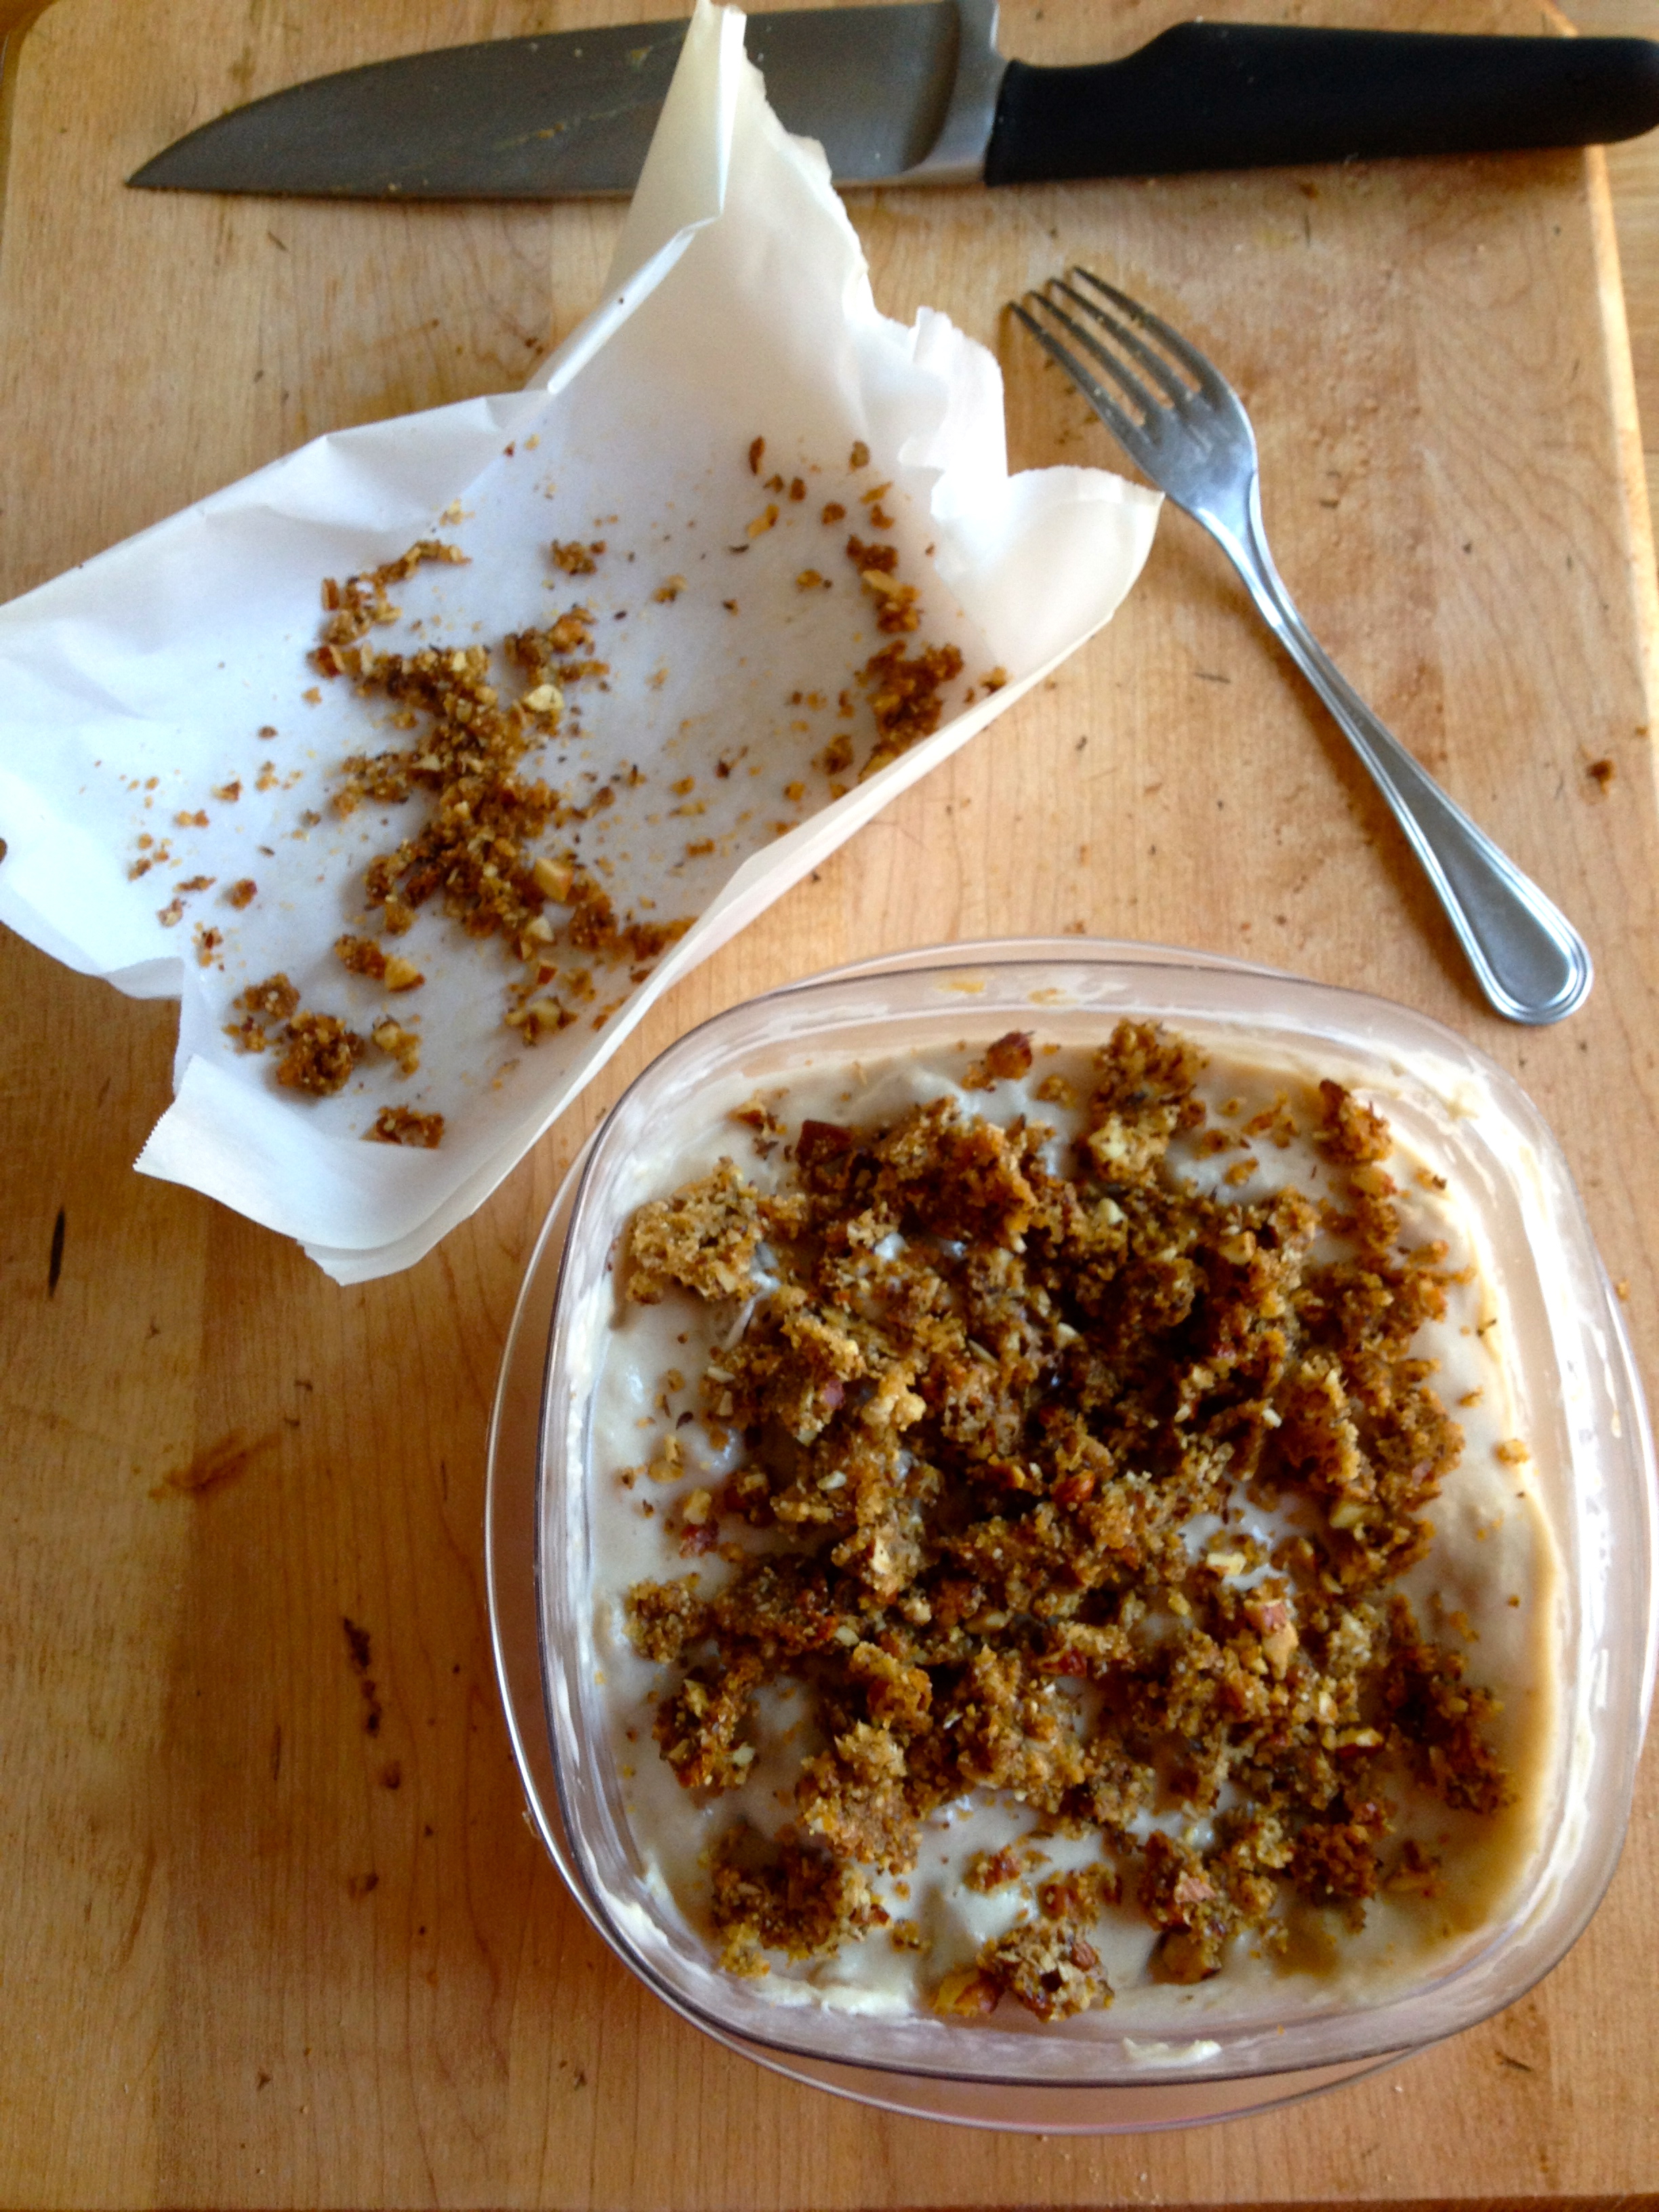
When the sorbet is thick and churned, it will have a “soft serve” consistency. Pour it into the container you’ll be freezing it in, and stir in the chocolate chunks. Freeze a few hours or overnight.

IMG_5362

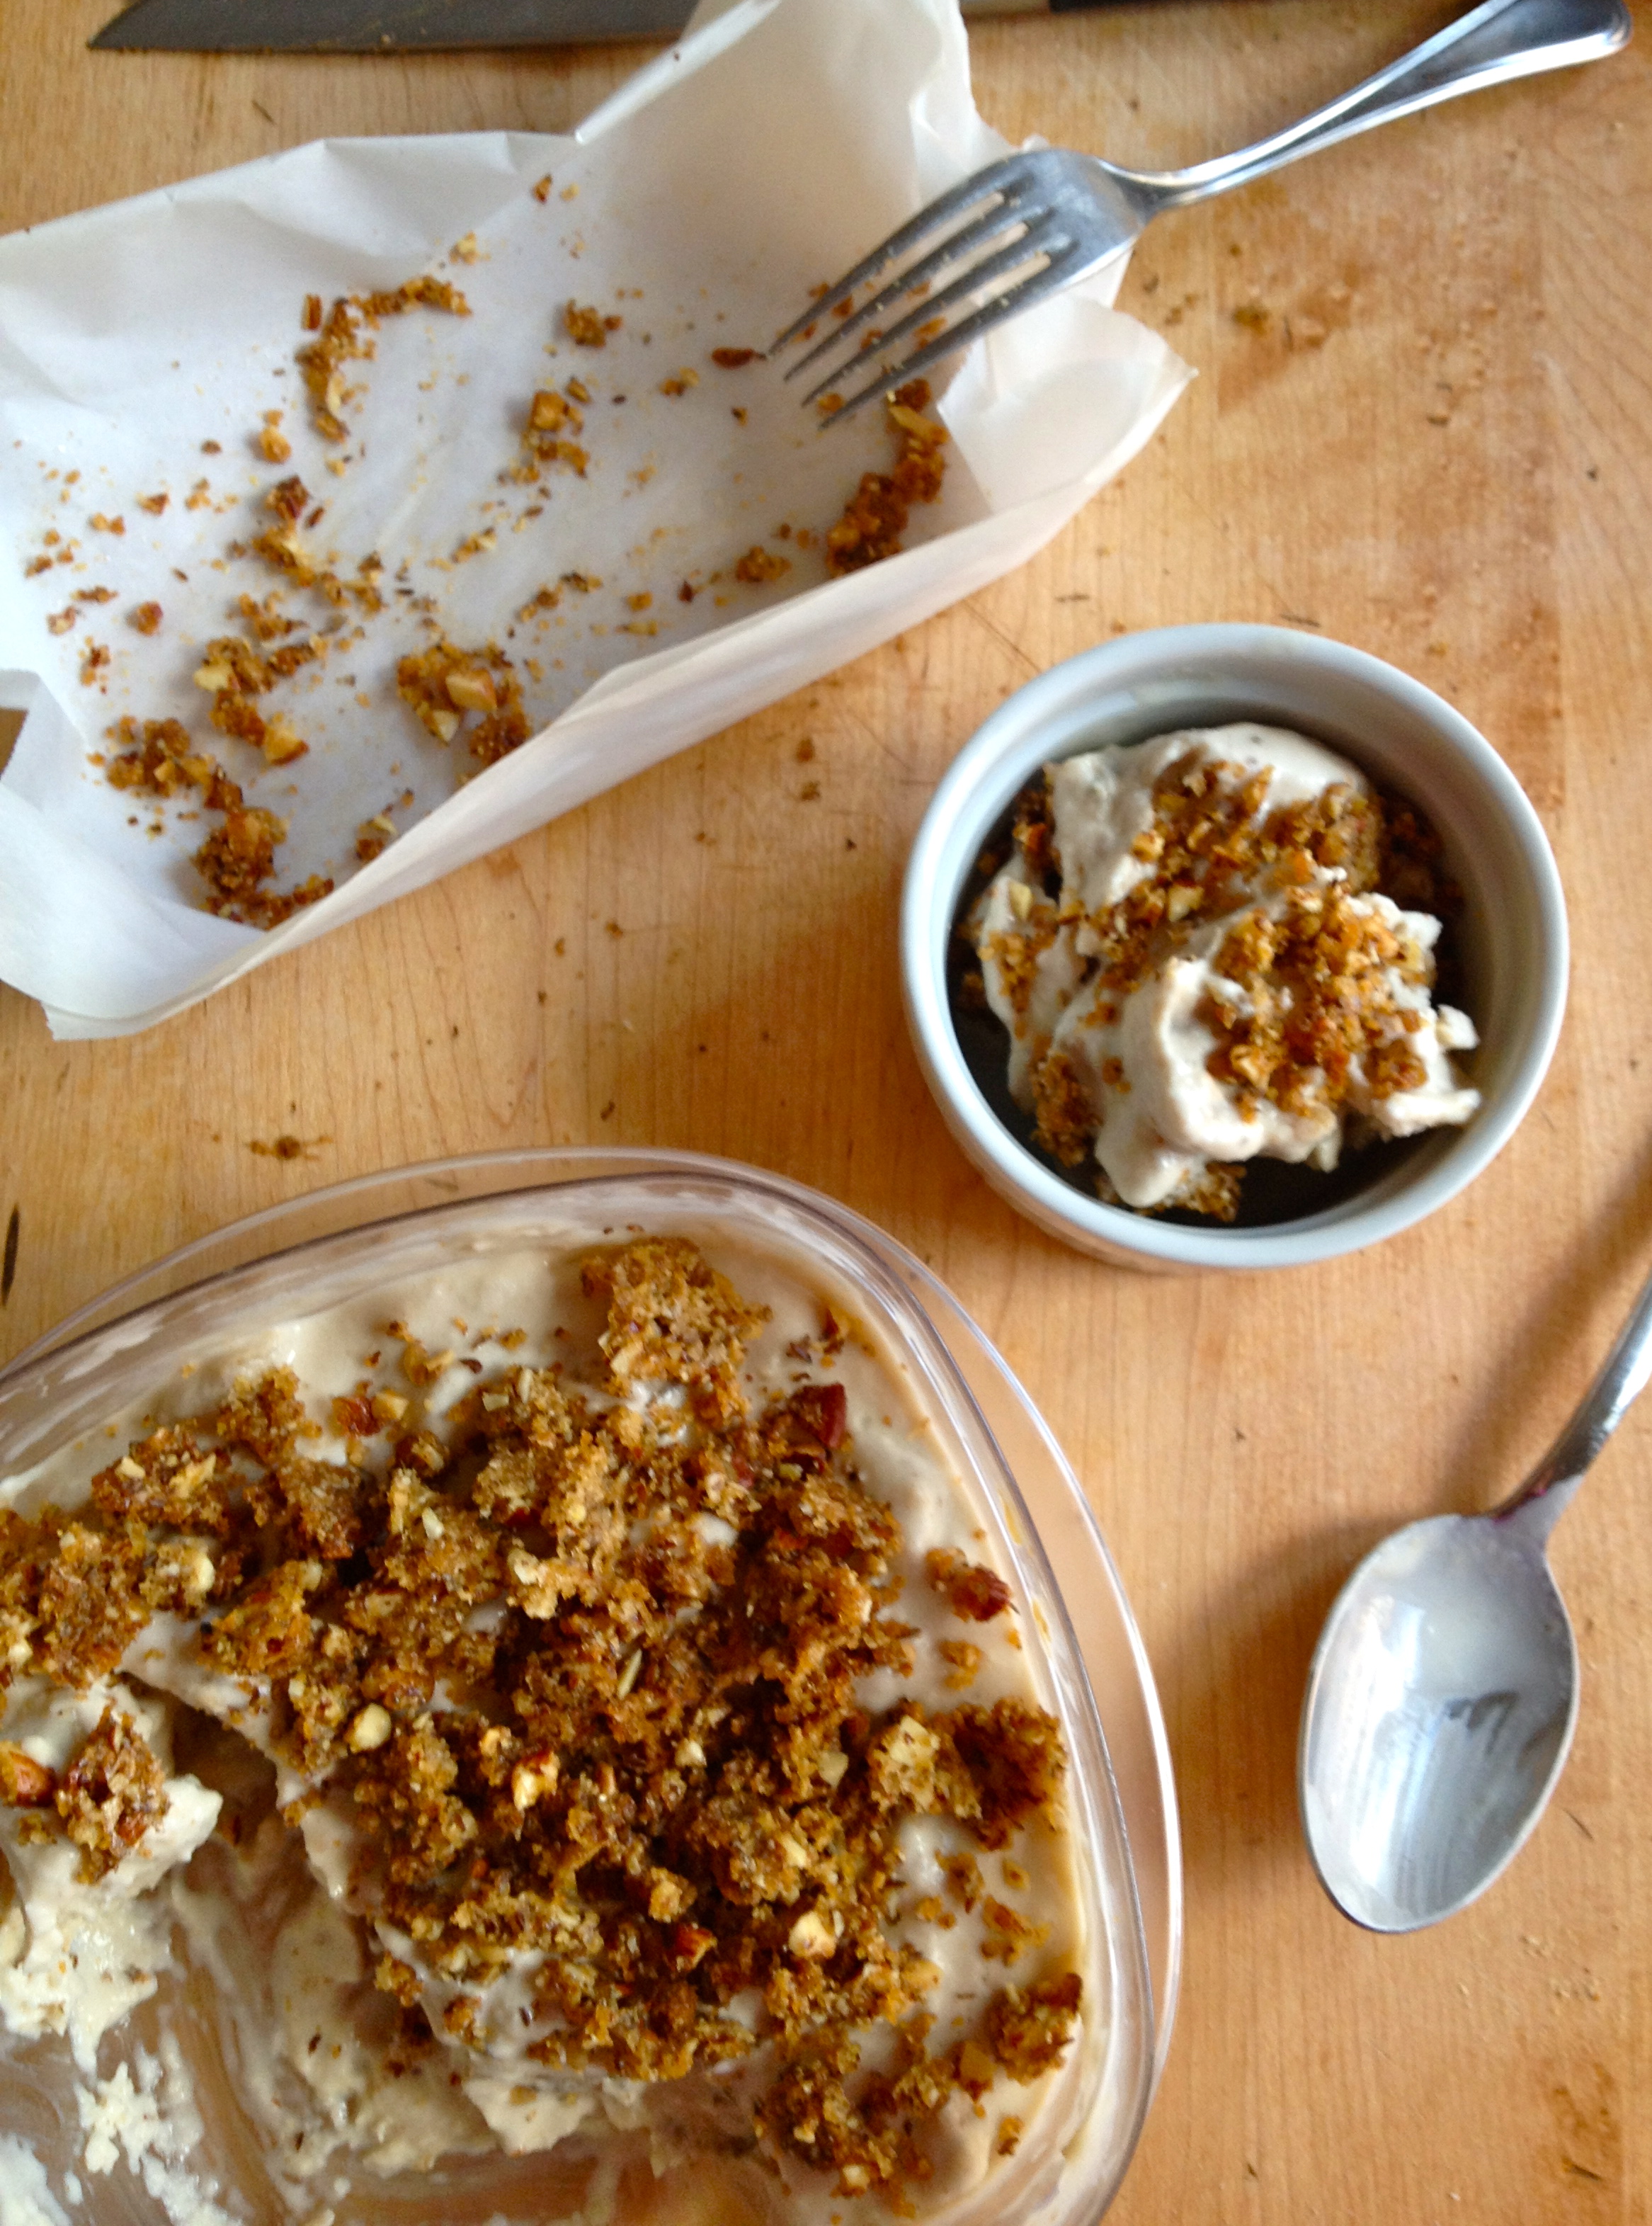
When your sorbet is set and frozen, it’s ready to go! Scoop it into pretty cups and tell yourself “This is fruit, it’s fine to have seconds.”

Raspberry Chocolate Chunk Sorbet | KellyintheKitchen| Ingredients: water, sugar, raspberries, lemon juice, vanilla extract, chocolate

Advertisement

Apple Crumble Ice Cream.

I try to make sure that most of the recipes I post here–and most of the recipes I make in general–are not overly complicated, difficult, or time-consuming. I try to keep the process simple and the active attention time to under an hour. I try to keep the dish-dirtying and utensil-using to a minimum. It’s just not practical to expect anyone to devote hours to cooking one recipe, at least not on a regular basis.

But every once in a while, I think of a recipe that means a commitment of time an effort, and today, I’m unapologetically sharing one of those. There are three separate components to this finished product: an ice cream base, an apple “filling,” and a crumble topping. And you’ll use a saucepan (twice), three bowls, an ice cream maker, and a baking dish before we’re finished. So when you read the recipe and raise your eyebrows a little bit, don’t say I didn’t warn you. Just know that I’m so absolutely crazy about this apple crumble ice cream that I’ll happily go through the process again and again, because I know the finished product is so damn good.

IMG_1190

INGREDIENTS

for ice cream:
1 can full-fat coconut milk
3 tbsp brown sugar
pinch of cinnamon
1 tbsp vanilla extract

for apple “filling”:
1 apple, peeled and diced
1/2 cup water

for crumble topping:
1 tbsp almond meal
2 tbsp chopped almonds
1 tbsp ground flax seeds
1 tbsp brown sugar
pinch of salt
1 tbsp cold butter (I left it out of the fridge for 15 minutes before working with it)

DIRECTIONS

First, make sure your ice cream maker is ready to go, according to its directions. For me, that means the bowl of the ice cream maker has been in the freezer for at least 24 hours before I even start the recipe.

Once you’re ready to go, start with the ice cream base. In a saucepan over medium heat, combine coconut milk, brown sugar, cinnamon, and vanilla extract. Heat gently for about 5 minutes, stirring occasionally, just so the ingredients come together.

IMG_1150

Transfer to a bowl and put in the refrigerator overnight, or at least 4 hours. Some people seem to get away with shorter cooling times when they’re making ice cream, so maybe it’s just my ice cream maker, but for me it’s gotta be overnight.

Next, the apple “filling.” Rinse out the sauce pan and add the apples and ¼ cup of the water. Cook over medium low heat, adding more water to the pan if the apples start to dry out. Cook for 40-45 minutes, stirring occasionally, until the apples are browned and softened. Be patient – this step isn’t a quick one, but it’s worth it.

Once the apples are done, transfer to a bowl and put in the fridge. They should also be fully cooled before you start the next step.

Once everything is cooled, you’re ready for the ice cream maker. Make sure you follow your ice cream maker’s directions for churning.

When the ice cream is churned, transfer to a container with a lid, stir in the apples, put the lid on the container, and freeze.

IMG_1168

Last step is the crumble topping. Preheat oven to 350 F.

Mix together all remaining ingredients except the butter. Then use a fork to work the butter into the nut mixture. Line a baking dish with parchment paper and pour in the crumble, and bake for about 15 minutes, until golden brown. Refrigerate to cool.

Okay, the home stretch! Use a fork to break up the crumble topping into, well, crumbles. You can either sprinkle over the whole portion of ice cream, like I do, or keep it separate and sprinkle over each individual serving.

IMG_1187

Yes, I know, it’s a long recipe with a ton of steps and a lot of waiting, but ohmygod is the result fantastic.

IMG_1194