Blueberry Almond Crisp in a Skillet.

I was up in the suburbs for some errands and visiting my family on Saturday, and it was the year’s first really gorgeous day of spring in Chicago. My mom and I did yoga outside while our nearly-two-year-old black lab did her best to interrupt us. It’s hard to be graceful in an inversion or a balancing pose when a 70-pound dog is sitting under you. Later, I decided I needed to make a blueberry crisp for dessert, since we had a huge bag of them in the freezer. Blueberries are definitely not my favorite fruit, and recipes like this are really the only ways I enjoy them. And how could you not? The blueberries bubble into a tart and juicy sauce and the topping is golden and buttery and good. Compared to your average fruit crisp, I’ve reduced the added sugars a wee bit, but feel free to add more. And if you like a lot of topping on your fruit crisps–as in, you want the fruit to be fully, thoroughly covered in the good stuff–you could add another 1/2 cup or so of almonds and another tablespoon or two of butter. I was trying to be well-behaved here, but my usual approach to topping a fruit crisp is the more, the merrier. Same goes for all that sun today – bring on the warm weather!

Blueberry Almond Crisp | KellyintheKitchen

INGREDIENTS

3/4 cup almonds
3 tbsp brown sugar
1/4 tsp salt
4 tbsp cold butter, cubed
splash of vanilla
4 cups frozen blueberries
1 tsp lemon juice
2 tbsp granulated sugar
1 tsp corn starch

DIRECTIONS

Preheat oven to 375 F.

In a food processor, blitz almonds, brown sugar, and salt until the almonds are ground to about the size of small pebbles, crumbly but not powdery. Add the butter and vanilla and blitz again, until the butter is broken up into the almonds and no big hunks of butter remain. Set aside (or, if it’s gonna be a while, keep it in the fridge so the butter doesn’t melt).

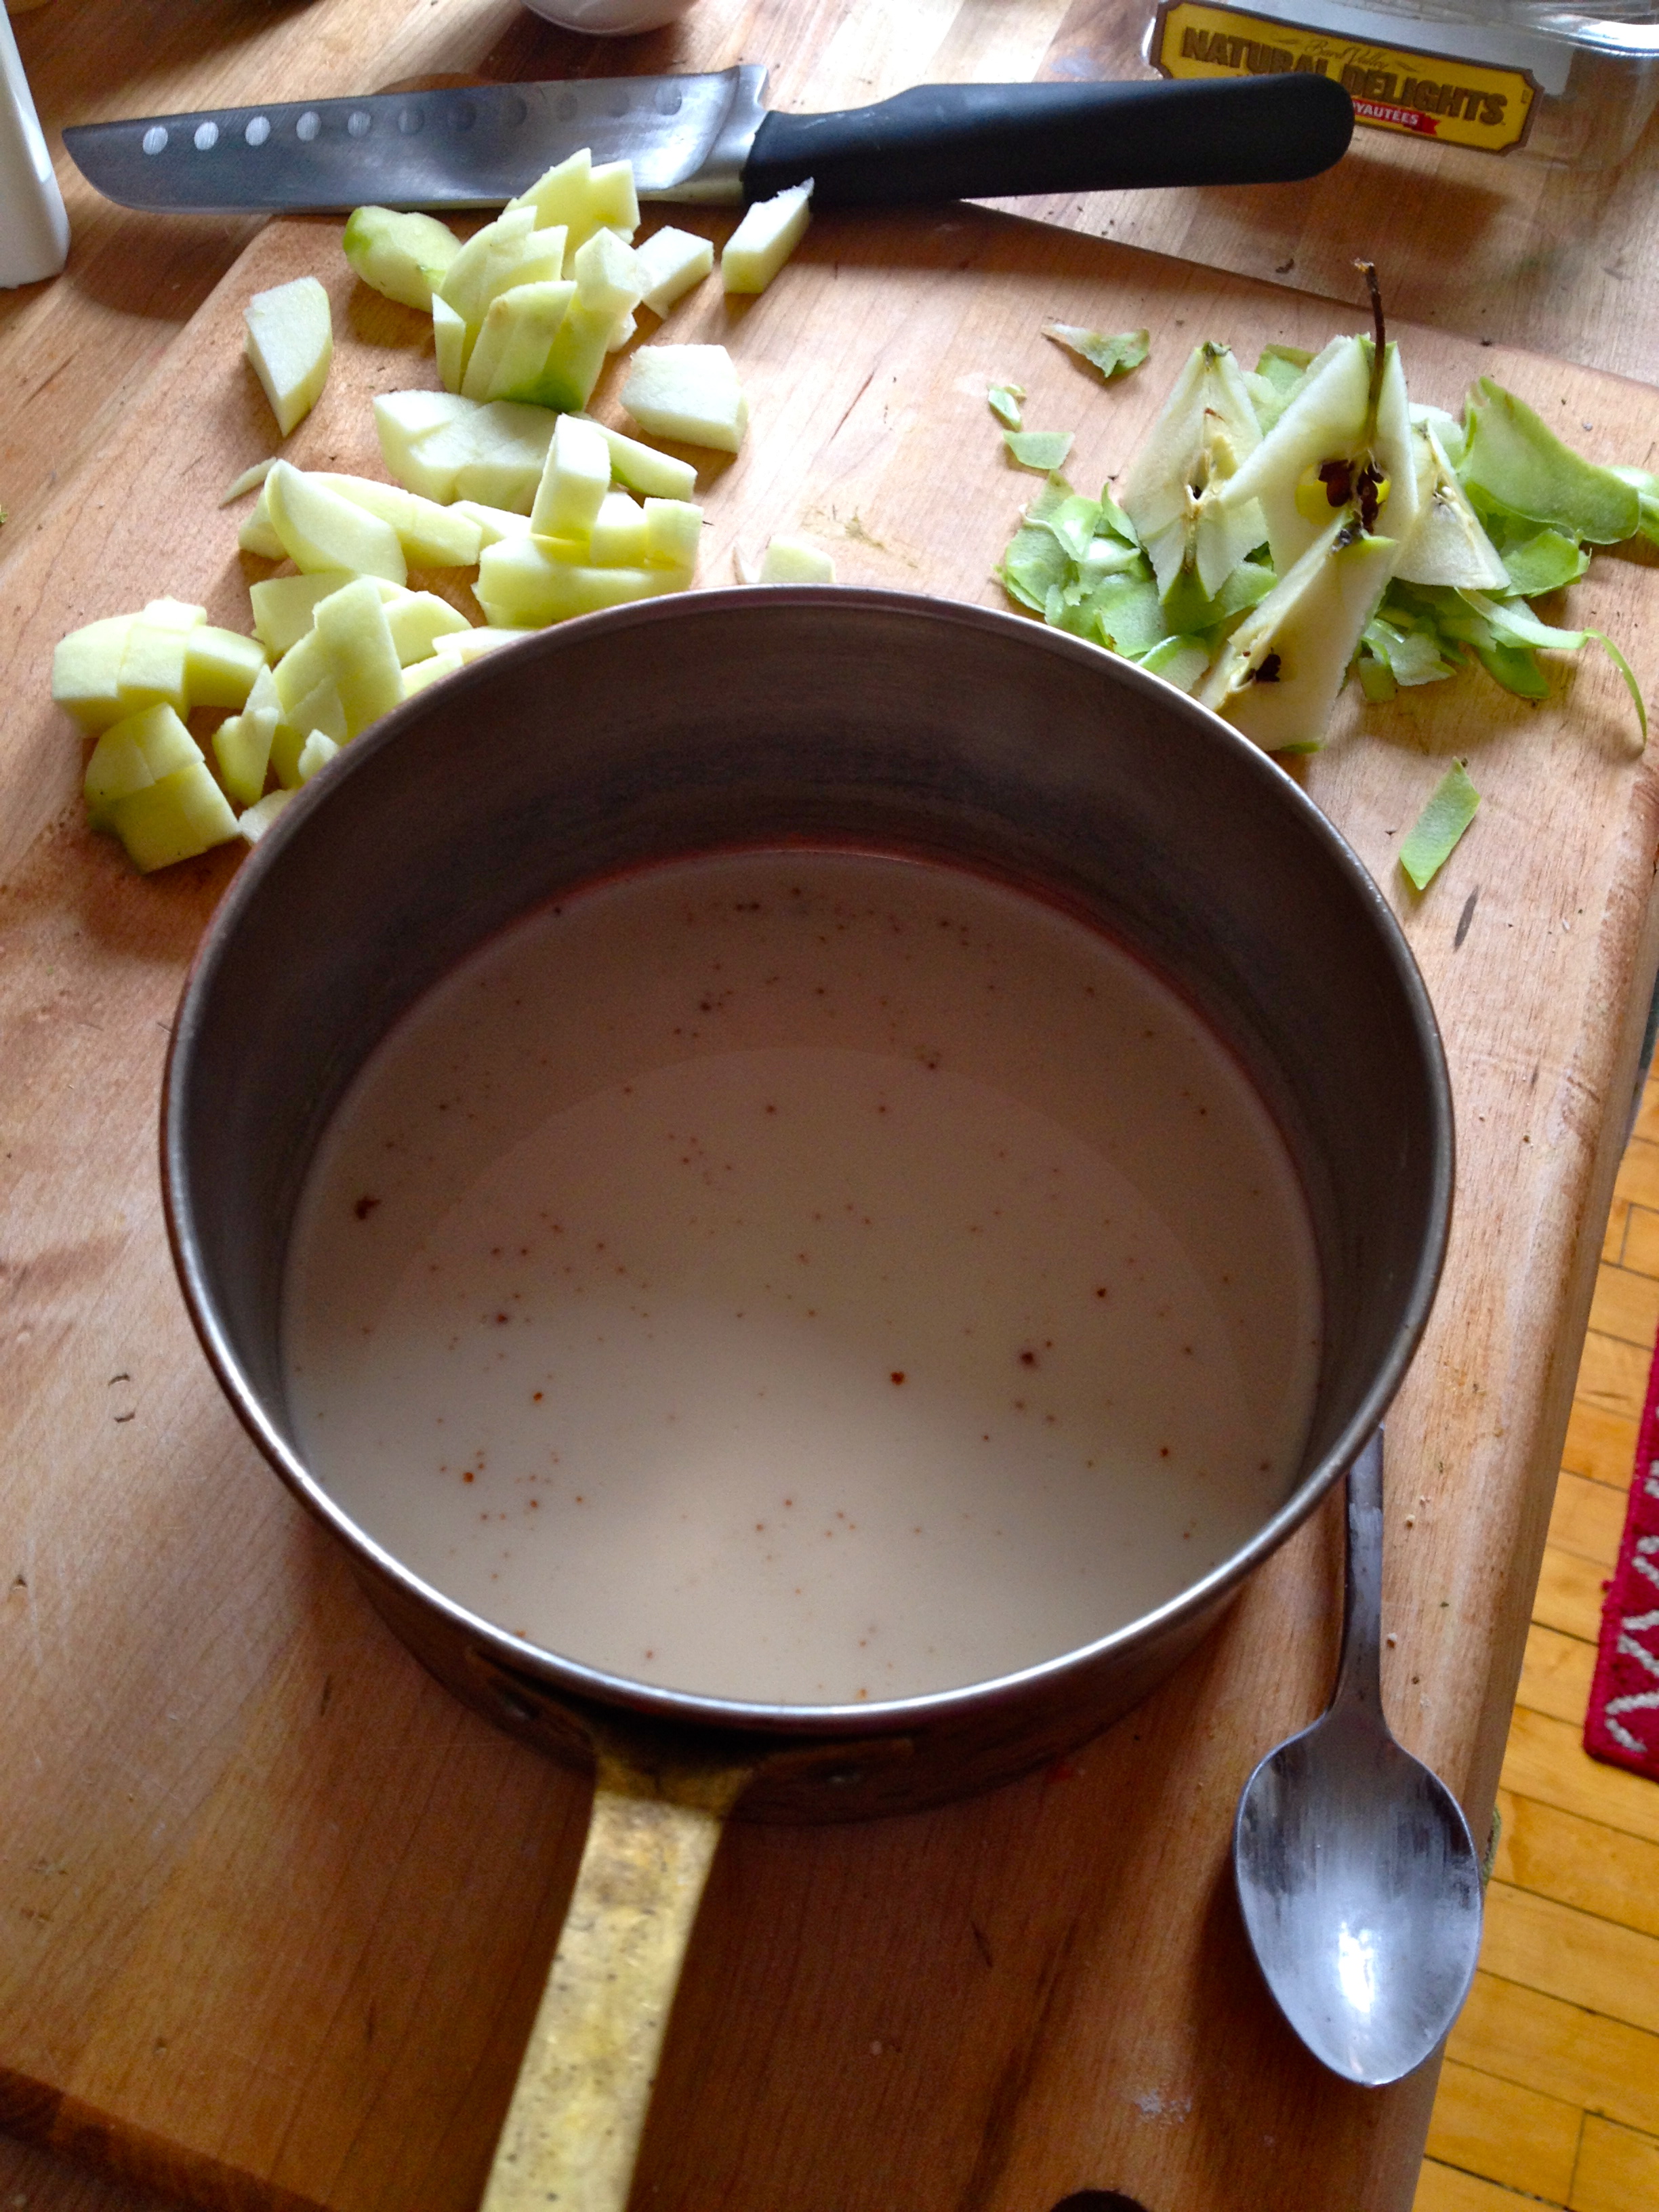
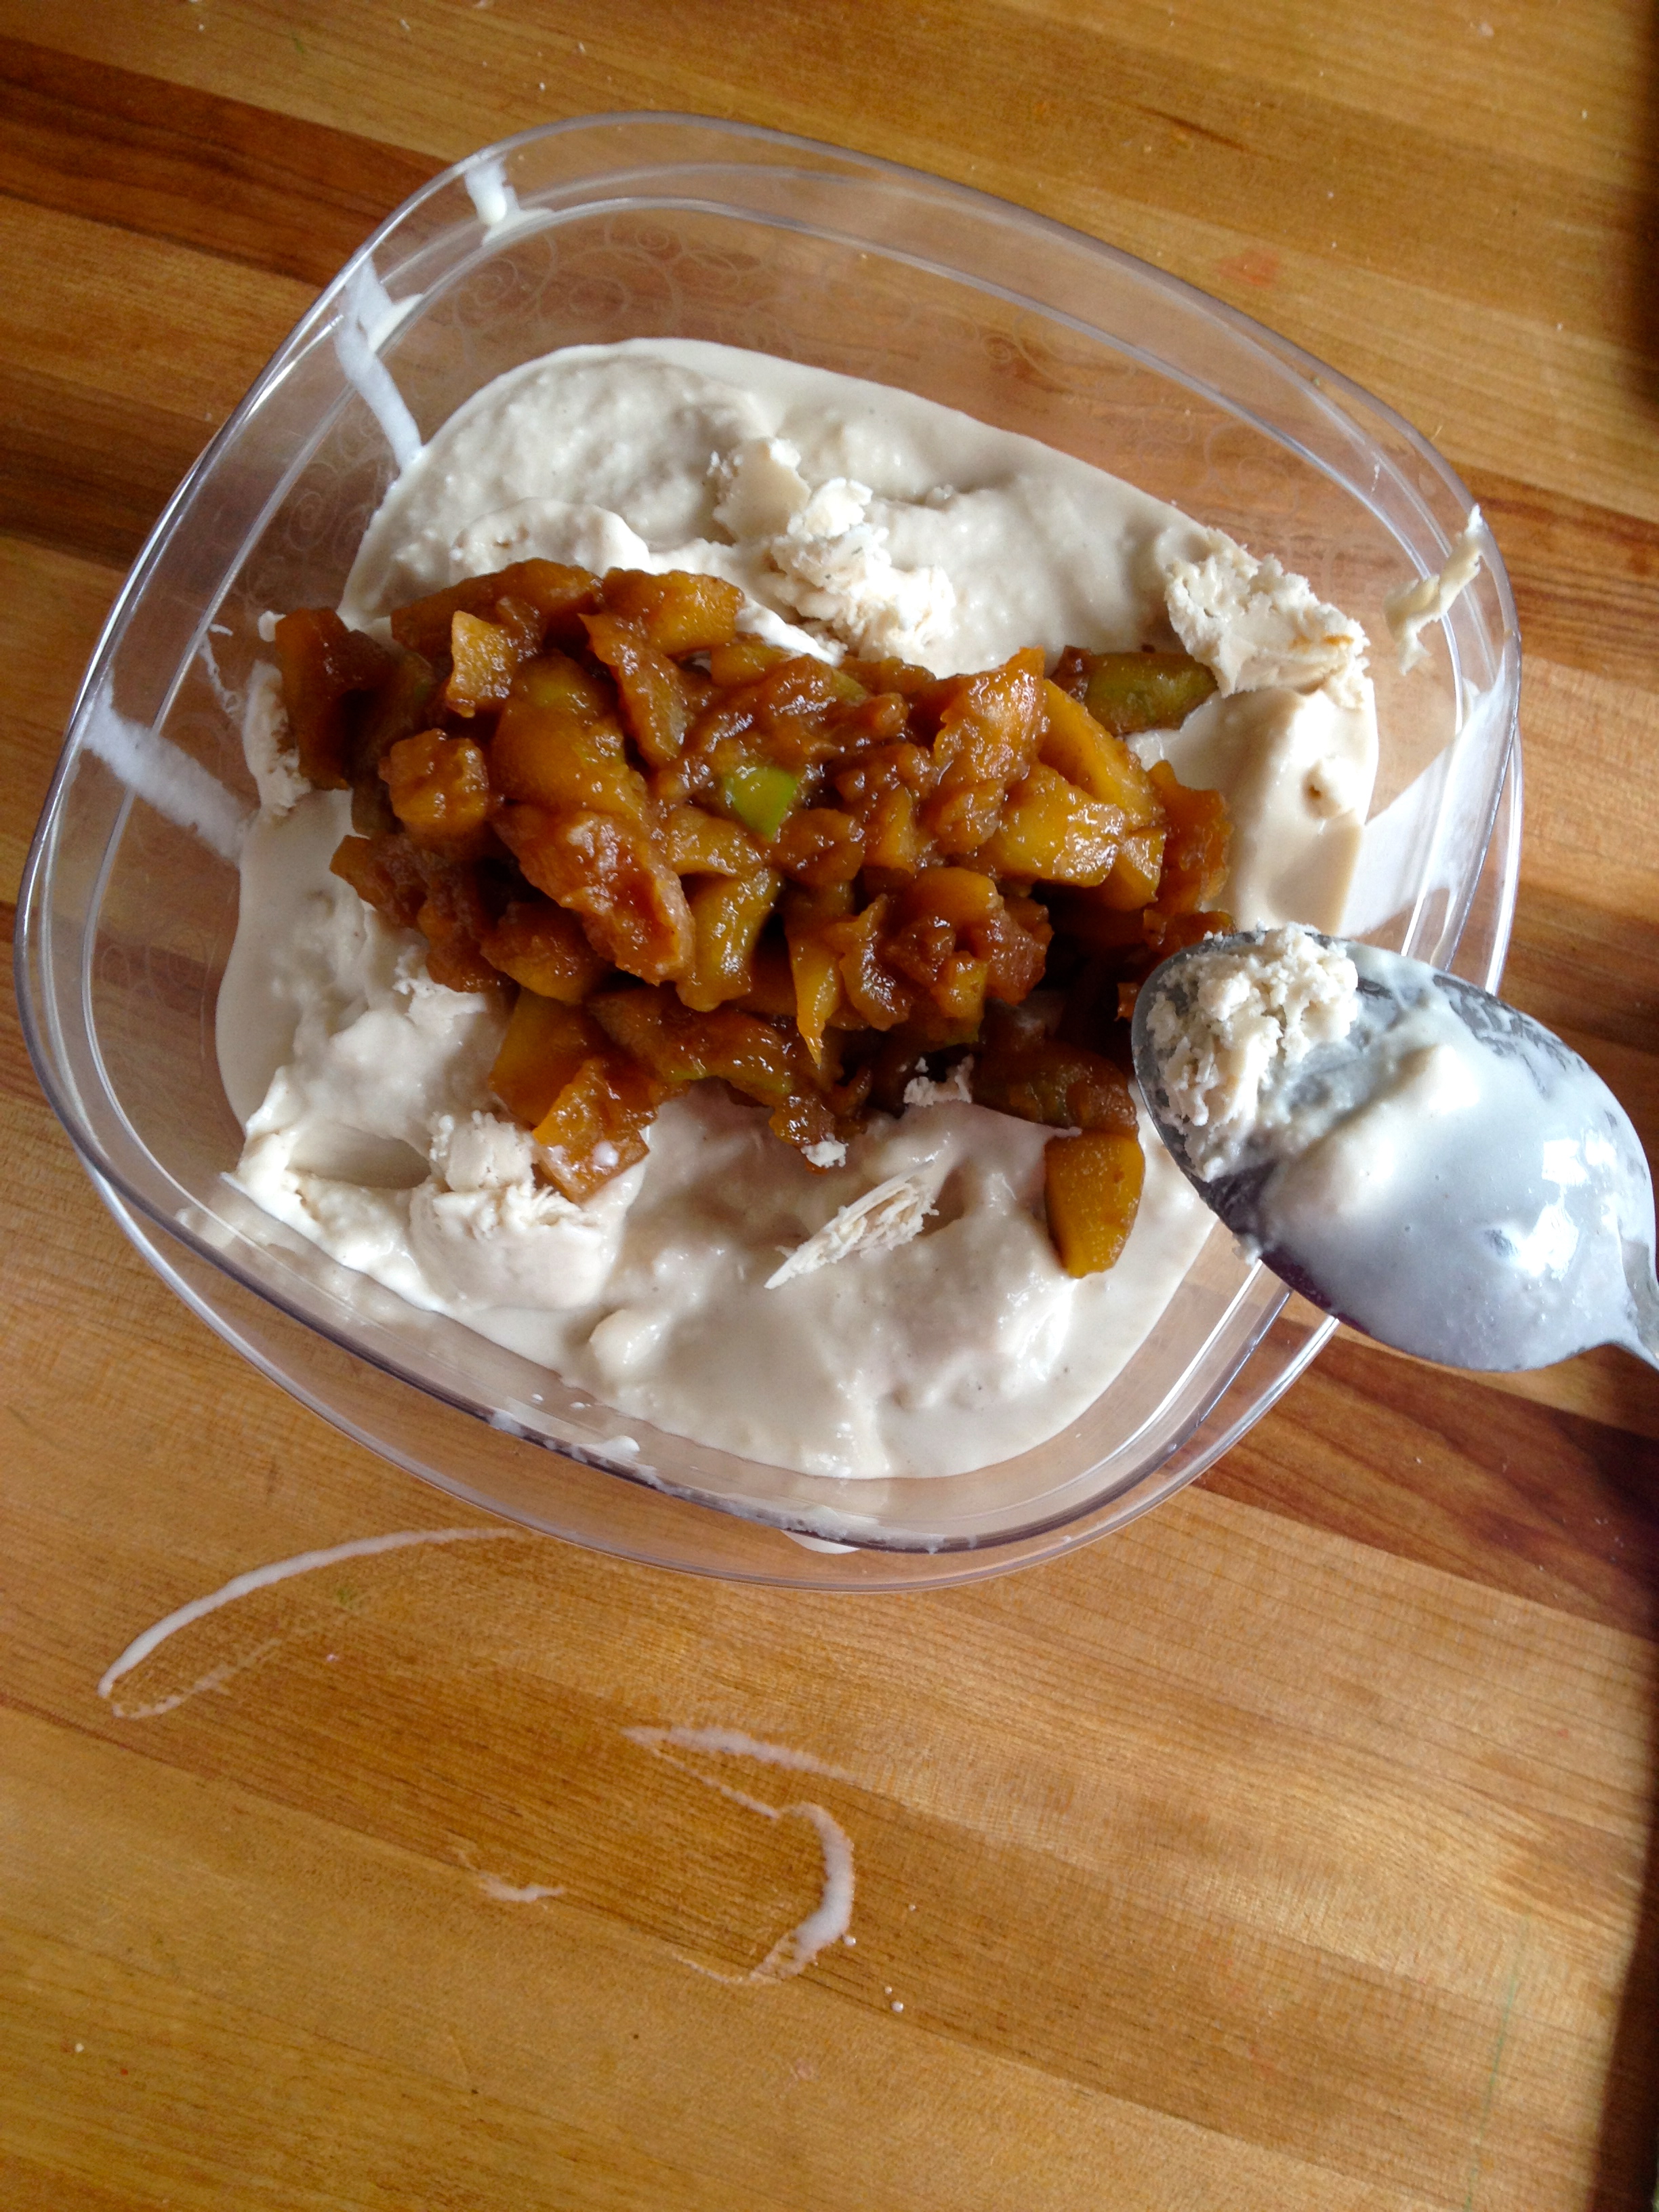
Grease a cast iron skillet (or pie dish) and pour in the blueberries. Squeeze over the lemon juice and then toss with the sugar and corn starch.

IMG_1353

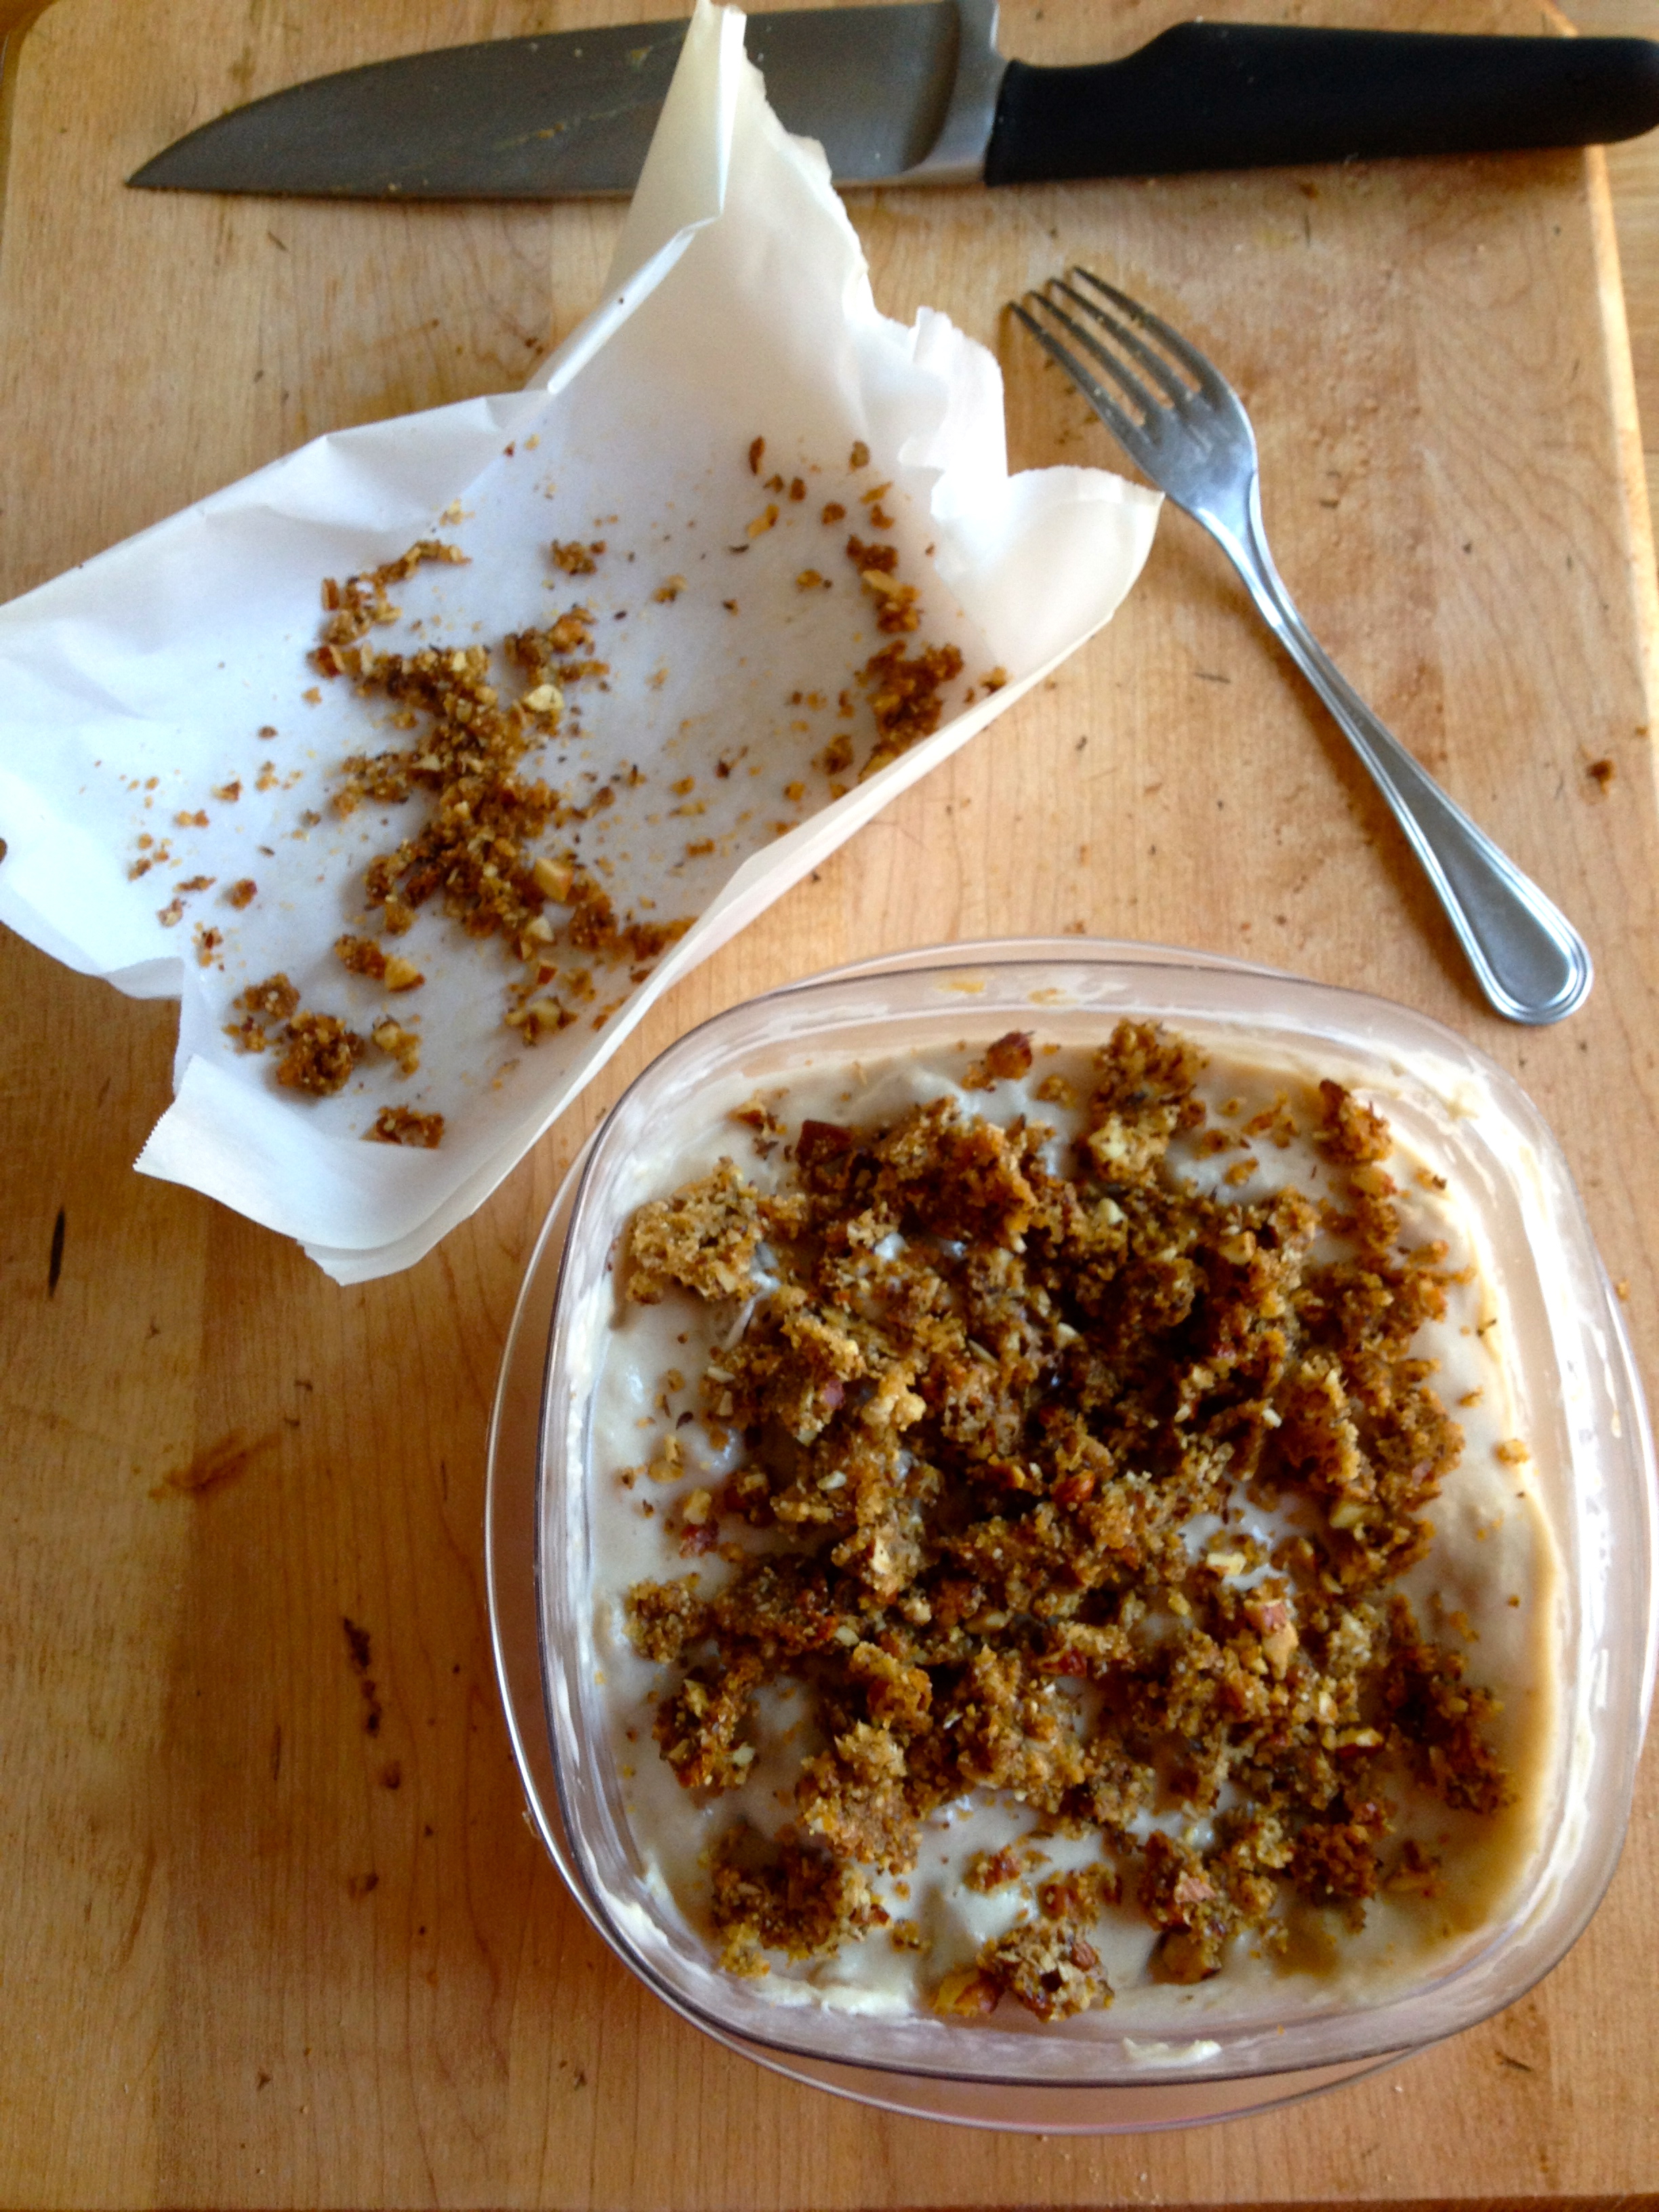
Sprinkle the topping over the blueberries, starting at the edges and working your way inward. Bake for 25-30 minutes or until the fruit is bubbly and the top is golden brown. If your topping starts to brown too quickly (mine did), just lay a sheet of tinfoil over the pan. Don’t tuck the foil over the pan, but just lightly tent it.

IMG_1357

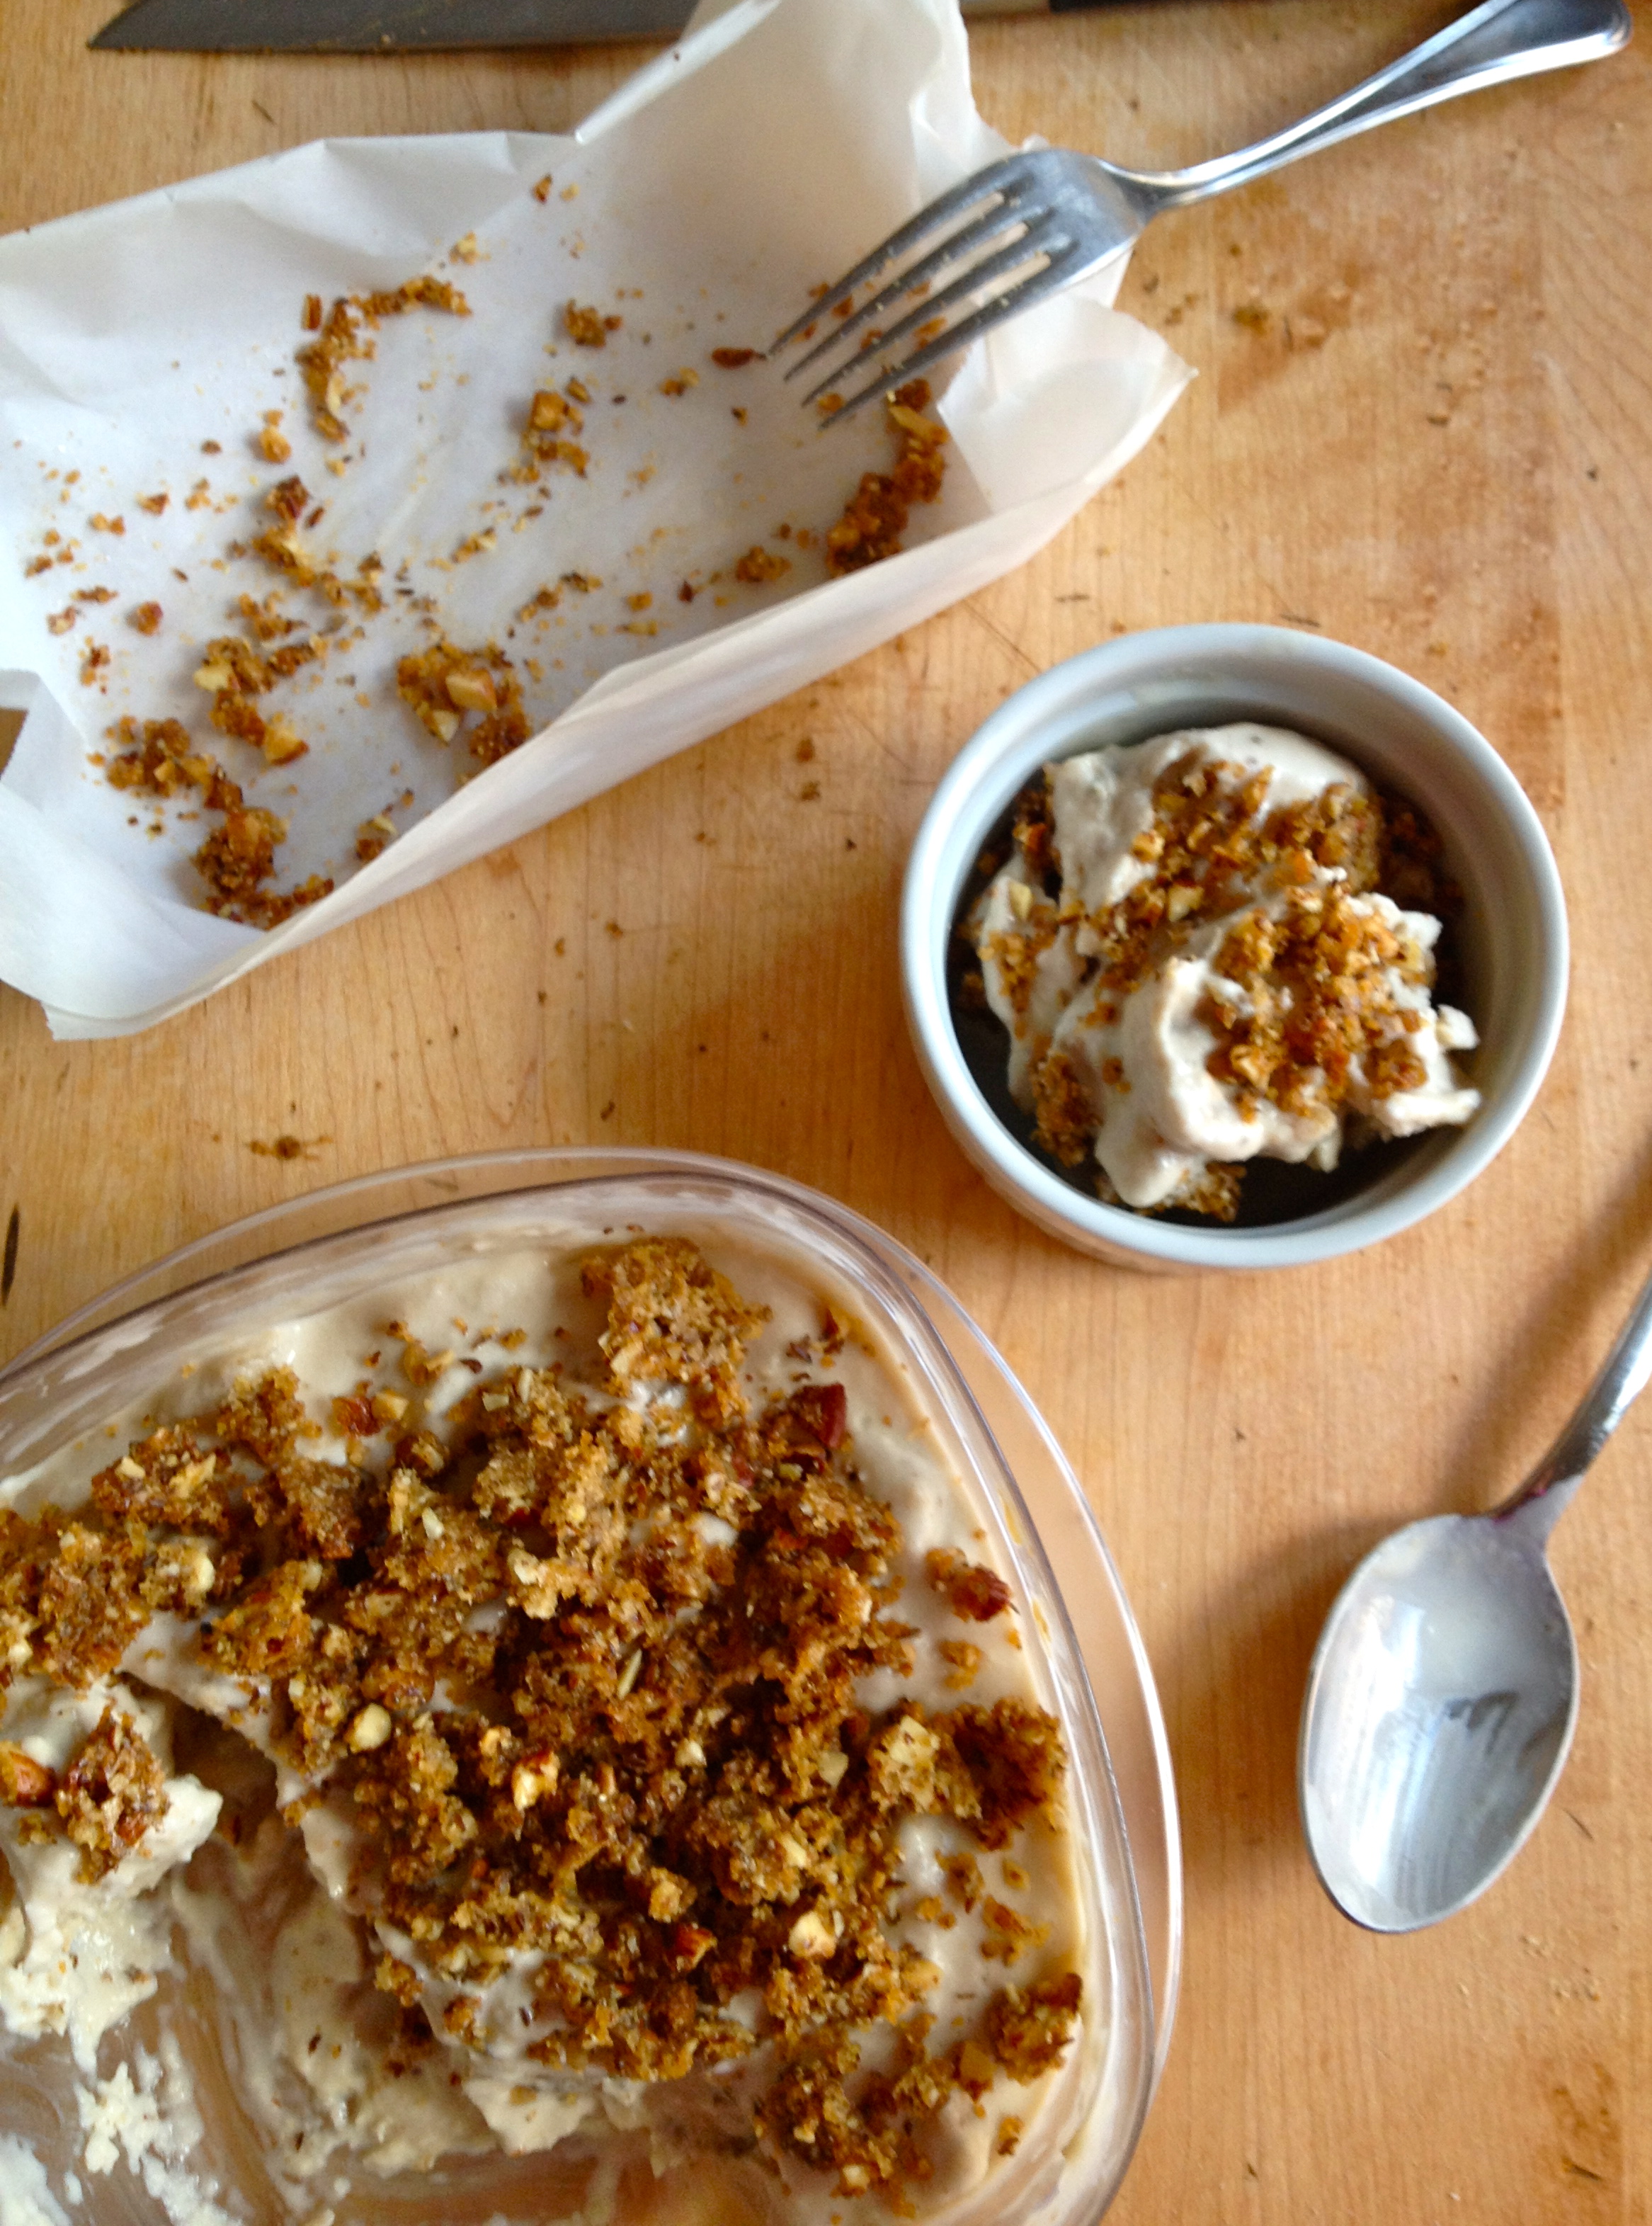
When the crisp is done, take it out of the oven and let it cool until it’s out of the “molten” stage. I love to eat blueberry crisp hot with a scoop of ice cream, but it’s good at room temperature, too. Whatever floats your boat. Yum.

IMG_1367

Advertisement

Balsamic Chicken with Sauteed Vegetables and Lentils.

Can we talk about lentils? Why don’t we eat more lentils in this life we lead? I realize I’m speaking for you, readers, when really I should just speak for myself…maybe you eat a lot of lentils already, or maybe you’re allergic to lentils and I’m being insensitive to your needs. Sorry. But everyone else, why aren’t lentils a bigger part of our lives?! They are cheap, good for you, SO easy to make, and incredibly versatile. They can be the star of a dish, the sidekick, or the background canvas for another ingredient’s greatness. And let me repeat how cheap they are. Most stores in my neighborhood sell a pound bag of lentils for less than a dollar, and since they do plump when you cook ’em, you end up with a LOT of lentils for very little money. They are also a great high-protein substitute for rice if that’s your thang, and since you prepare them basically the same way you prepare rice, it’s not hard to learn to make lentils. Also they taste great. Are you convinced? Good. Make this. IMG_1270 INGREDIENTS

for chicken:
3 small chicken breasts
fav all-purpose spice rub (there are 2 kinds of people: those who know that Back-of-the-Yards rub from the Spice House is the best seasoning ever, and those who haven’t tried it yet)
salt and pepper
balsamic vinegar
butter

for lentils:
1/2 lb lentils
1 cup chicken stock
3 cups water
pinch of parsley
pinch of rosemary
pinch of thyme

for veggies:
1/4 onion, diced
2 carrots, peeled and diced
1 garlic clove, minced
2 cups spinach leaves, chopped
salt and pepper
lemon juice (optional)

DIRECTIONS

IMG_1281 I believe marinades are an art, not a science. With that in mind, have a bowl or plastic bag handy and rub the chicken breasts with some spice rub and salt and pepper. Put the chicken in the bowl or bag and pour in a few teaspoons of balsamic vinegar. Let this concoction marinate in the fridge for at least 20 minutes, or as long as overnight.

The lentils take a little while, so get them going next. Sort through and pick out any stones or weird looking ones, and rinse the remaining beauties. In a small pot, combine lentils, chicken stock, water, parsley, rosemary, and thyme. Bring to a boil and turn down to a simmer and cover. Cook until tender, and drain any remaining liquid. Set the lentils aside.

When you’re almost ready to cook the chicken, preheat the oven to 350 F.

To cook the chicken, heat a skillet or other stove-to-oven-safe pan over medium high heat. Add some butter to the pan and let it melt, and then add the chicken breasts. I like to move each one around a little bit in the butter so that I know they’ve all had their turn in the good stuff. Make sure the chicken breasts are not touching or crowded too closely (we don’t want them to steam or braise).

When one side of the chicken has browned nicely, flip the chicken over and get some color on the second side. Once you’ve got some good color on both sides, turn off the heat and finish cooking the chicken all the way through in the oven. It’s done when the center is white, not pink, and the juices run clear. Remove from the pan and set chicken aside.

But don’t do anything to that wonderful pan! It has awesome flavor in it from the chicken. So put the pan back on the stove and turn the heat to medium low. It should still be a pretty hot pan, so add the onions, carrots, and garlic, and stir around to pick up the beautiful browned bits of flavor. Cook until softened and add the spinach, cooking just until wilted. Squeeze over a bit of lemon juice if you like.

Then add the lentils into the pan and stir to create a beautiful mottled mosaic of colorful veggies. Taste for salt and pepper, and then top with your chicken breasts for a gorgeous, rustic meal!

IMG_1284 This lasted me a few days of lunches at work, and man was it good. Lentils are just awesome. IMG_1236

Apple Crumble Ice Cream.

I try to make sure that most of the recipes I post here–and most of the recipes I make in general–are not overly complicated, difficult, or time-consuming. I try to keep the process simple and the active attention time to under an hour. I try to keep the dish-dirtying and utensil-using to a minimum. It’s just not practical to expect anyone to devote hours to cooking one recipe, at least not on a regular basis.

But every once in a while, I think of a recipe that means a commitment of time an effort, and today, I’m unapologetically sharing one of those. There are three separate components to this finished product: an ice cream base, an apple “filling,” and a crumble topping. And you’ll use a saucepan (twice), three bowls, an ice cream maker, and a baking dish before we’re finished. So when you read the recipe and raise your eyebrows a little bit, don’t say I didn’t warn you. Just know that I’m so absolutely crazy about this apple crumble ice cream that I’ll happily go through the process again and again, because I know the finished product is so damn good.

IMG_1190

INGREDIENTS

for ice cream:
1 can full-fat coconut milk
3 tbsp brown sugar
pinch of cinnamon
1 tbsp vanilla extract

for apple “filling”:
1 apple, peeled and diced
1/2 cup water

for crumble topping:
1 tbsp almond meal
2 tbsp chopped almonds
1 tbsp ground flax seeds
1 tbsp brown sugar
pinch of salt
1 tbsp cold butter (I left it out of the fridge for 15 minutes before working with it)

DIRECTIONS

First, make sure your ice cream maker is ready to go, according to its directions. For me, that means the bowl of the ice cream maker has been in the freezer for at least 24 hours before I even start the recipe.

Once you’re ready to go, start with the ice cream base. In a saucepan over medium heat, combine coconut milk, brown sugar, cinnamon, and vanilla extract. Heat gently for about 5 minutes, stirring occasionally, just so the ingredients come together.

IMG_1150

Transfer to a bowl and put in the refrigerator overnight, or at least 4 hours. Some people seem to get away with shorter cooling times when they’re making ice cream, so maybe it’s just my ice cream maker, but for me it’s gotta be overnight.

Next, the apple “filling.” Rinse out the sauce pan and add the apples and ¼ cup of the water. Cook over medium low heat, adding more water to the pan if the apples start to dry out. Cook for 40-45 minutes, stirring occasionally, until the apples are browned and softened. Be patient – this step isn’t a quick one, but it’s worth it.

Once the apples are done, transfer to a bowl and put in the fridge. They should also be fully cooled before you start the next step.

Once everything is cooled, you’re ready for the ice cream maker. Make sure you follow your ice cream maker’s directions for churning.

When the ice cream is churned, transfer to a container with a lid, stir in the apples, put the lid on the container, and freeze.

IMG_1168

Last step is the crumble topping. Preheat oven to 350 F.

Mix together all remaining ingredients except the butter. Then use a fork to work the butter into the nut mixture. Line a baking dish with parchment paper and pour in the crumble, and bake for about 15 minutes, until golden brown. Refrigerate to cool.

Okay, the home stretch! Use a fork to break up the crumble topping into, well, crumbles. You can either sprinkle over the whole portion of ice cream, like I do, or keep it separate and sprinkle over each individual serving.

IMG_1187

Yes, I know, it’s a long recipe with a ton of steps and a lot of waiting, but ohmygod is the result fantastic.

IMG_1194

Mini Cheesecake Cupcakes.

I’ve been doing some experimentation with healthier crusts for the desserts in my life. My main criteria are that the recipe must taste amazing, be low in carbs and sugars, and be free of any processed ingredients. Ground almonds really fit the bill; when combined with butter, they hold the crust together very well, can be flavored however you like, and don’t need much in the way of sweetening. And while nobody loves a good graham cracker crust more than I do, I’ve found that this buttery almond crust rocks in its own right. Filled with creamy, tangy cheesecake awesomeness that has just a hint of coffee flavor, I think I need to start stockpiling cream cheese so I can make these whenever I want. Score another one for the low-impact dessert category!

IMG_1123

INGREDIENTS

1/2 cup almonds, ground to powder in the food processor (or use a scant cup of almond meal)
6 tbsp butter, room temperature
1-2 tsp honey, to taste
12 oz cream cheese, room temperature (if it’s cold, it won’t mix smoothly)
1 tsp vanilla extract
1 1/2 tsp coffee (this is a very subtle flavor here. But if coffee’s not your thing, you could substitute with Kahlua, Bailey’s, or any other peppy flavoring you like… or a little bit more vanilla)
2-3 tbsp honey, to taste
2 eggs

DIRECTIONS

Preheat oven to 350 F. Line a cupcake pan with paper liners. Set aside.

In a small bowl, mix together ground almonds, butter, and honey. Spoon mixture into bottom of cupcake liners and bake for about 8 minutes. You may see little bubbles in the crust as some of the liquid evaporates – this is fine. When the crust smells nutty and good and is starting to brown and set, remove the pan from the oven and set aside while you make the filling.

IMG_1108

To make the filling, use a fork to break up the cream cheese and make sure it’s totally smooth and creamy. Stir in the vanilla, coffee, & honey, and taste. Add more honey if you want it sweeter. Then add one egg and stir until combined before repeating with the second egg.

Spoon filling into cups, and fill as high as you like – these don’t rise as they cook, so need to worry about expansion or overflow. Bake for 12-18 minutes, until the tops are just barely set and starting to take on a golden color.

Let the baked cheesecakes cool in their pan for 2 minutes before taking them out. Then move them to the fridge for at least 2 hours (overnight is best, but that’s asking a lot of your self-control!). They taste good at any temperature, but if not given their proper cooling time, the crust won’t hold together as well and the cheesecake filling won’t be as satisfyingly creamy.

IMG_1127

I considered melting a bit of chocolate or topping with a raspberry or in some way dressing ’em up, but they really can stand on their own as a yummy dessert you can feel good about eating.

Chicken, White Bean, and Brussels Sprouts Salad.

Here’s a quick and simple dinner recipe that I love to make on weeknights (you can tell from the poor lighting in my photos that I really do make this on work nights!). Shredded Brussels sprouts salads are so popular right now, but for me, they’re only really special when they check a few specific boxes: the dressing needs to have a creaminess factor, supplied by a bit of mayo here. The tart-sweet balance has to be just right – so I’ve paired apple cider vinegar with honey. And though I hate to say it, the protein must come from something other than bacon (as is so often the case with Brussels sprouts salads). This is a dinner salad, not a side salad, so the beans and chicken are essential and so so good. Here’s how you know this is an awesome dish: I always make twice as much as I’ll need, so that I can bring the leftovers to work for lunch the next day. But once or twice I have eaten the whole thing and had to think of something else to bring for lunch. What can I say…it’s healthy and tastes fantastic!

IMG_0831

INGREDIENTS

1 1/2 tbsp mayo
3 tbsp extra virgin olive oil
1/4 tsp garlic powder
1/4 tsp parsley
pinch of cayenne pepper (or a squeeze of hot sauce)
1/4 tsp Dijon mustard
1 tbsp apple cider vinegar
1 tsp honey
salt and pepper to taste
2 chicken breasts, cooked and shredded
3 cups shredded Brussels sprouts
1/2 cup canned white beans, drained and rinsed (I used great northern beans)
2-3 tbsp chopped roasted almonds

DIRECTIONS

In a small bowl, stir together mayo, olive oil, garlic powder, cayenne pepper, parsley, mustard, vinegar, honey, salt, and pepper.

In a larger bowl, toss Brussels sprouts, beans, chicken, and almonds with dressing. C’est tout!

IMG_0828

Creamy Chocolate-Coffee Tart with an Almond Crust.

Yogurt is good. Chocolate is good. Coffee is good. Almonds are good. Chocolate is really good. So naturally, this recipe is good. The buttery almond crust is like the delicious nutty cousin of your standard graham cracker crust, but it’s much easier on us carb-avoiders and any gluten-free peeps among us. And the creamy chocolate-coffee filling is just sweet and decadent enough, without going sugar-overboard. It’s a quick and easy road to creamy nutty goodness. I like to give it a sprinkling of chocolate chips, but it would be pretty groovy to drizzle some melted chocolate over the top and really up that glamor factor.

NOTE: This isn’t a good dessert to make far in advance. It will last in the fridge about 36 hours before the yogurt starts to dry out from air exposure. The good news is, it doesn’t take long to make, but if you need to do some prep ahead of time, make and bake the crust and keep it in the fridge. Then, a few hours before you’ll need it, mix up the filling and assemble the tart.

IMG_0742

INGREDIENTS

for crust:
4 tbsp butter, melted
1 tbsp honey
1 1/2 cups almond meal
1/2 tsp salt
1/2 tsp cinnamon

for filling:
1 1/2 cups Greek yogurt (I use Fage because it’s SUBLIME)
2 1/2 tbsp cocoa powder
1 tsp instant coffee granules (not coffee grounds!)
2 tbsp hot water (the point of the hot water plus instant coffee granules is to get 2 tbsp coffee, so if you want, skip the granules and hot water step and just use 2 tbsp coffee)
2 tbsp brown sugar
chocolate chips

DIRECTIONS

Preheat oven to 350 F.

Stir honey into melted butter. In a mixing bowl, combine butter and honey with almonds, salt, and cinnamon. Press into a tart shell or pie dish. Bake for 15-20 minutes, until it’s a medium brown color. I would tell you to wait for it to be “golden brown,” but it’s pretty much golden brown before it even starts cooking. If it starts to brown too quickly (mine did), tent the crust with tinfoil to protect it from burning. When the crust is done, remove it from the oven and let it cool at least half an hour.

While the crust cools, prepare the filling. Dissolve the coffee granules in the hot water. Stir together the Greek yogurt, coffee, cocoa powder, and brown sugar. Keep it in the fridge until the crust has cooled.

IMG_0738

Once the crust is cooled, spread the yogurt filling evenly over it. Sprinkle with chocolate chips and dig in!

IMG_0745