Butter Rum Toffee.

Everything around me feels festive: My neighborhood takes holiday decorating pretty seriously, and for Christmas they’re breaking out all the seasonal decor, from lights and garlands to inflatable Snoopies sleeping on their doghouses. The five or so inches of snow I see from my window add a real coziness factor to a Sunday spent in the kitchen. And my first-ever grown-up Kelly’s Very Own Christmas Tree in my front window brings me a pride and joy so thoroughly adult that I almost want to keep the tree up til spring. As the song says, “it’s the most wonderful time of the year.” And I really believe that! I love the cooking, the singing, the decorating, the smiles, the spirit. This is a holiday that–at least in its modern, pseudo-secular incarnation–is all about generosity, sharing, and love. When you give a gift, the recipient feels awesome, you feel awesome, and through this bond the world gets a little more awesome for a little while. That’s pretty beautiful, whether you buy into the Bible stories or not.

IMG_0330

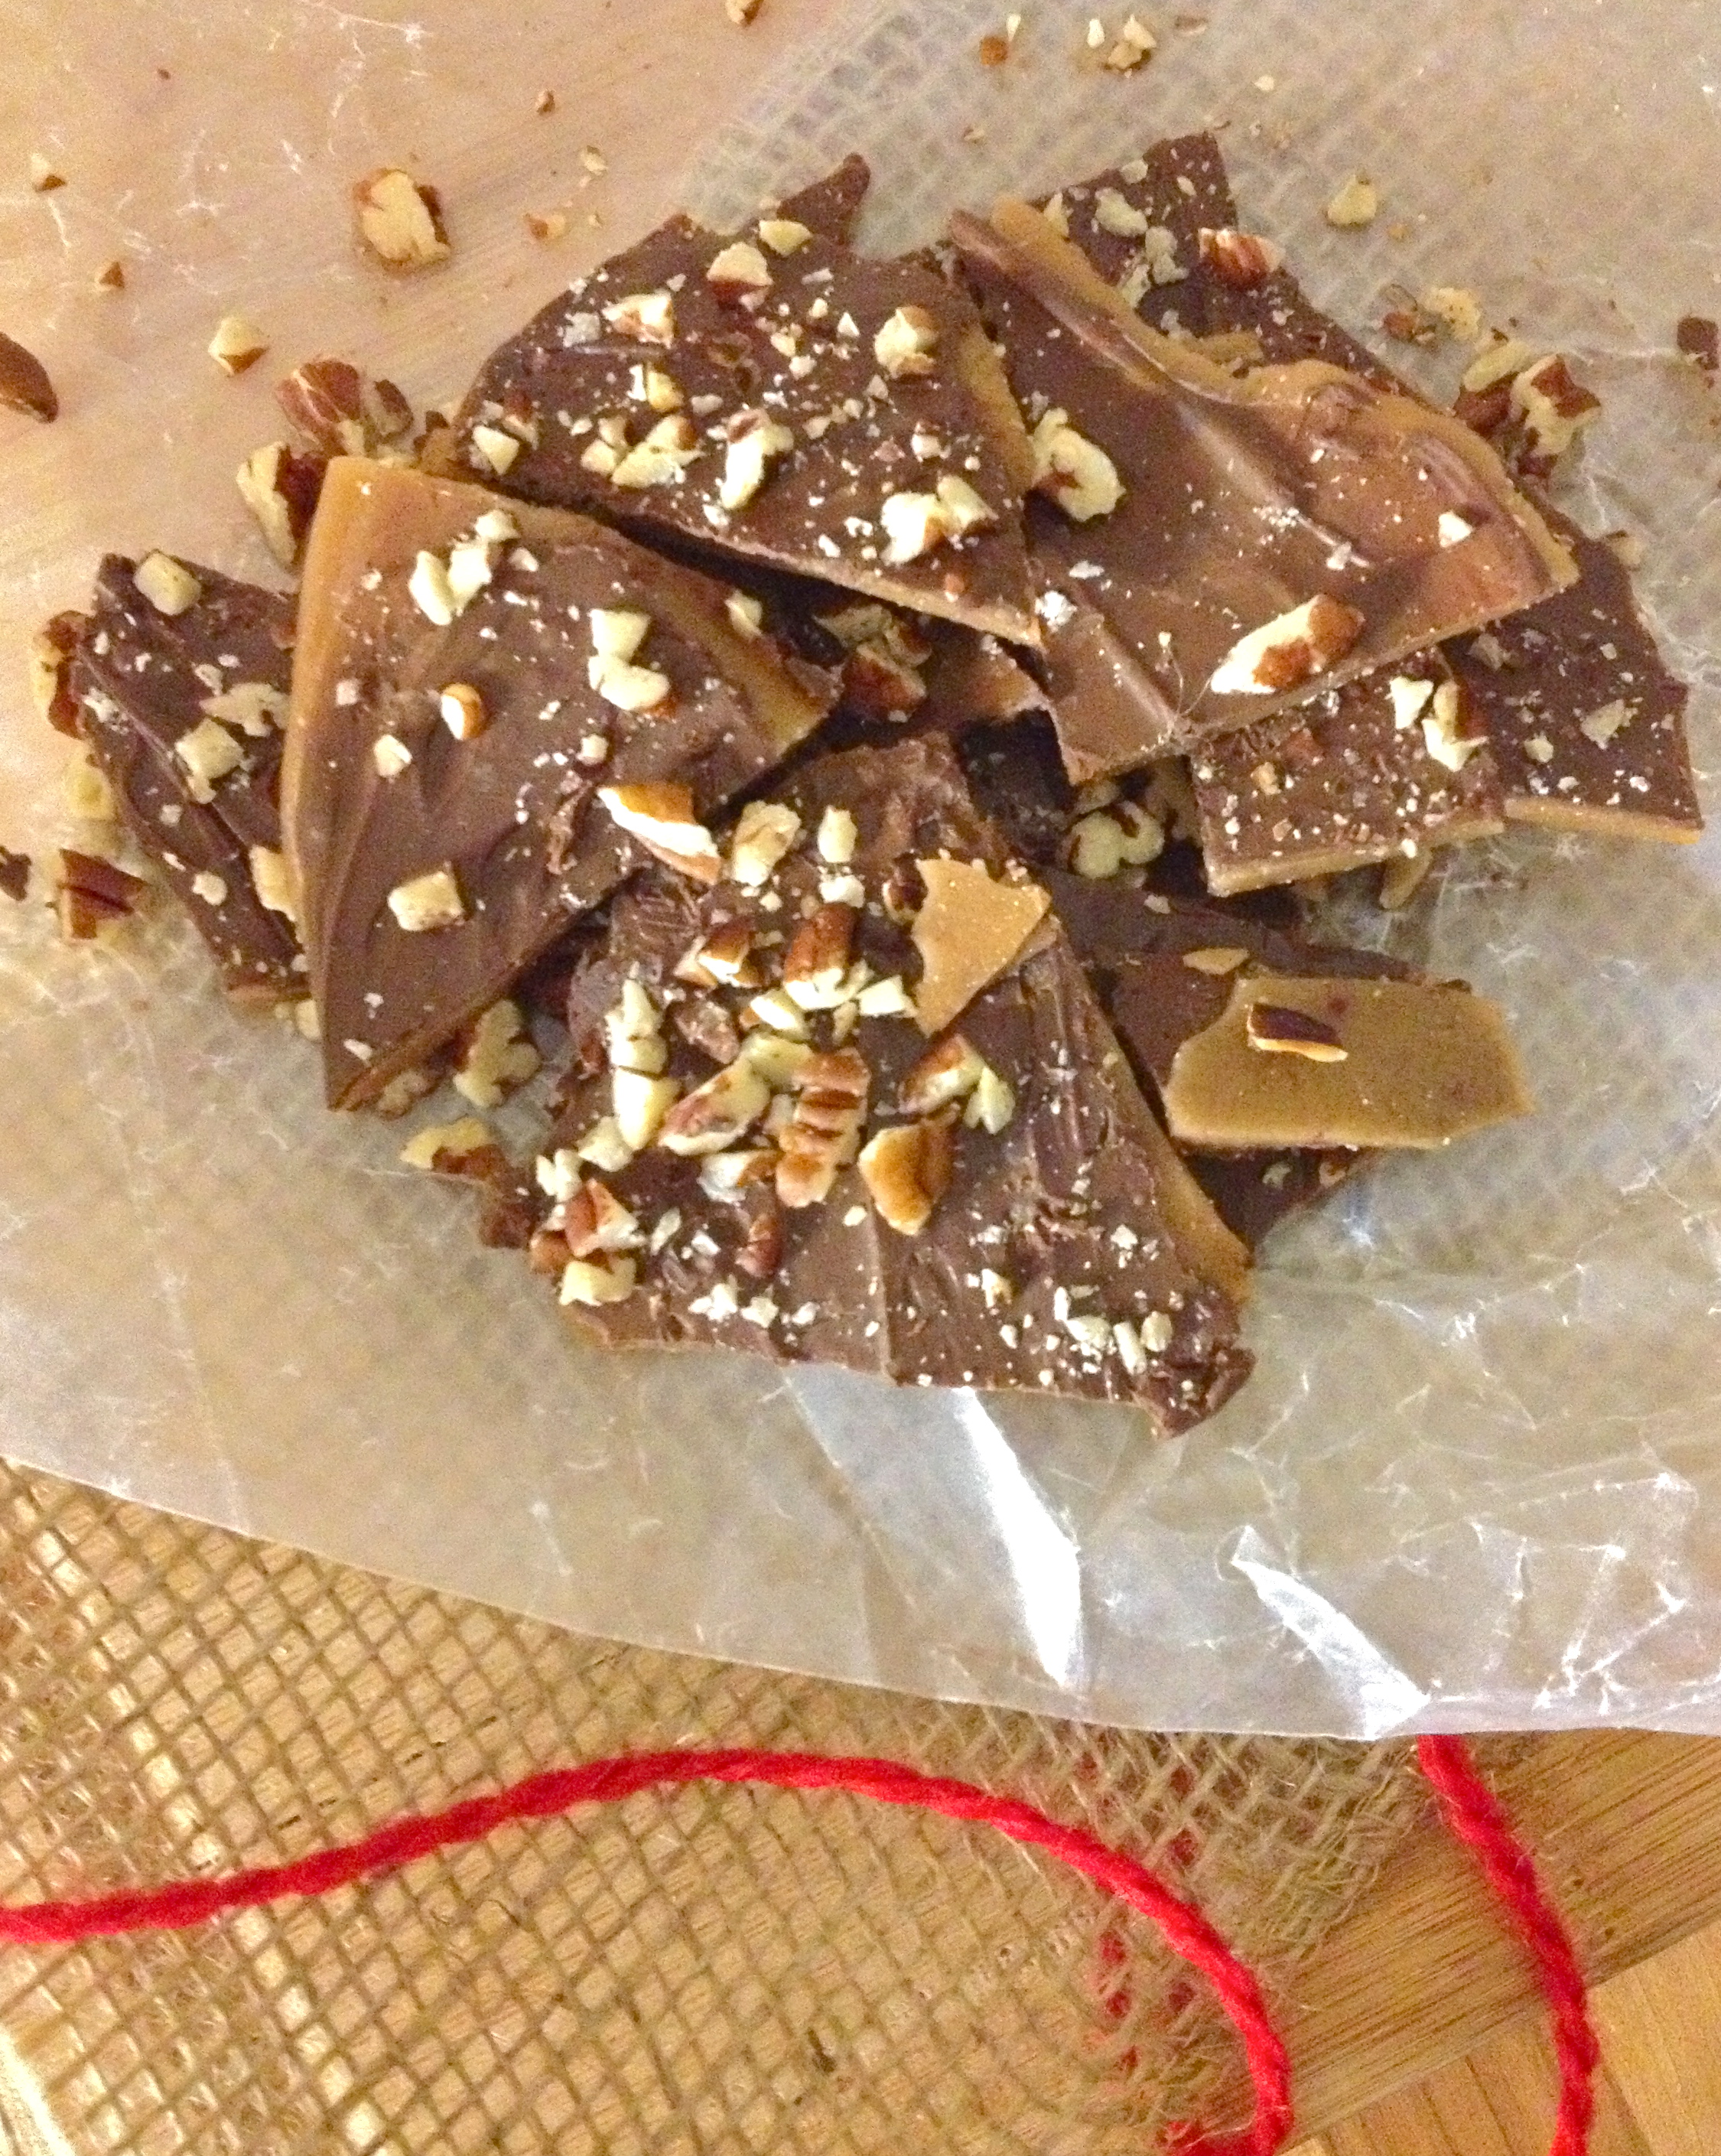
This is where toffee comes in. Whenever I receive a little bag of toffee as a Christmas present, I just get so excited about it. It’s so good. Sweet, buttery, crunchy, chewy, sticky…it’s everything a Christmas treat should be. So I’m planning to share a few yummy toffee recipes this Christmas season, starting with this, a lusciously warm and toasty Butter Rum Toffee.

IMG_0333

INGREDIENTS

1 cup butter
1 cup sugar
1 1/2 tbsp rum
1/2 tsp vanilla extract
1/4 tsp salt, plus a pinch or two more for sprinkling
1 cup semi-sweet milk chocolate chips (if you want it really chocolatey, add another 1/2 cup)
pecans, toasted and chopped

Just the Recipe link: Butter Rum Toffee

DIRECTIONS

Line a sheet pan with a silicon mat or parchment paper. Set aside; you’ll need it ready, because the caramelizing process moves pretty quickly.

Melt the butter in a saucepan over medium heat. Then whisk in the sugar, rum, vanilla, and salt, and continue to stir with the whisk while the mixture comes to a bubble. Be very careful not to touch the mixture at any point in this process; it’ll give you an incredibly nasty burn. Cook over medium flame, stirring constantly, for 7-10 minutes, until the mixture is almond-colored and passes this consistency test: take a glass of cold water and drizzle in a few drops of the mixture. If it turns into brittle strings and crystallizes at the bottom of the glass (reach in and test the piece with your fingers), it’s ready to go. If it’s still soft and malleable, continue to cook and stir, and test again in a minute or two. Be careful not to let it burn.

IMG_0306

Once it’s ready, immediately pour the toffee onto the silicone mat or parchment paper that’s lining your sheet pan. Use a spatula to spread the mixture pretty thinly – don’t worry if it’s uneven, it’s all part of the magic of toffee. Let cool for 2 minutes.

*Clean-up tip: After you’ve spread the toffee onto the pan to start cooling, fill the saucepan with water and bring to a boil. This will dissolve the hard, sticky caramel and make it WAY easier to clean. You can also stir the whisk around in the boiling water, to break down any sugar stuck on its wires.*

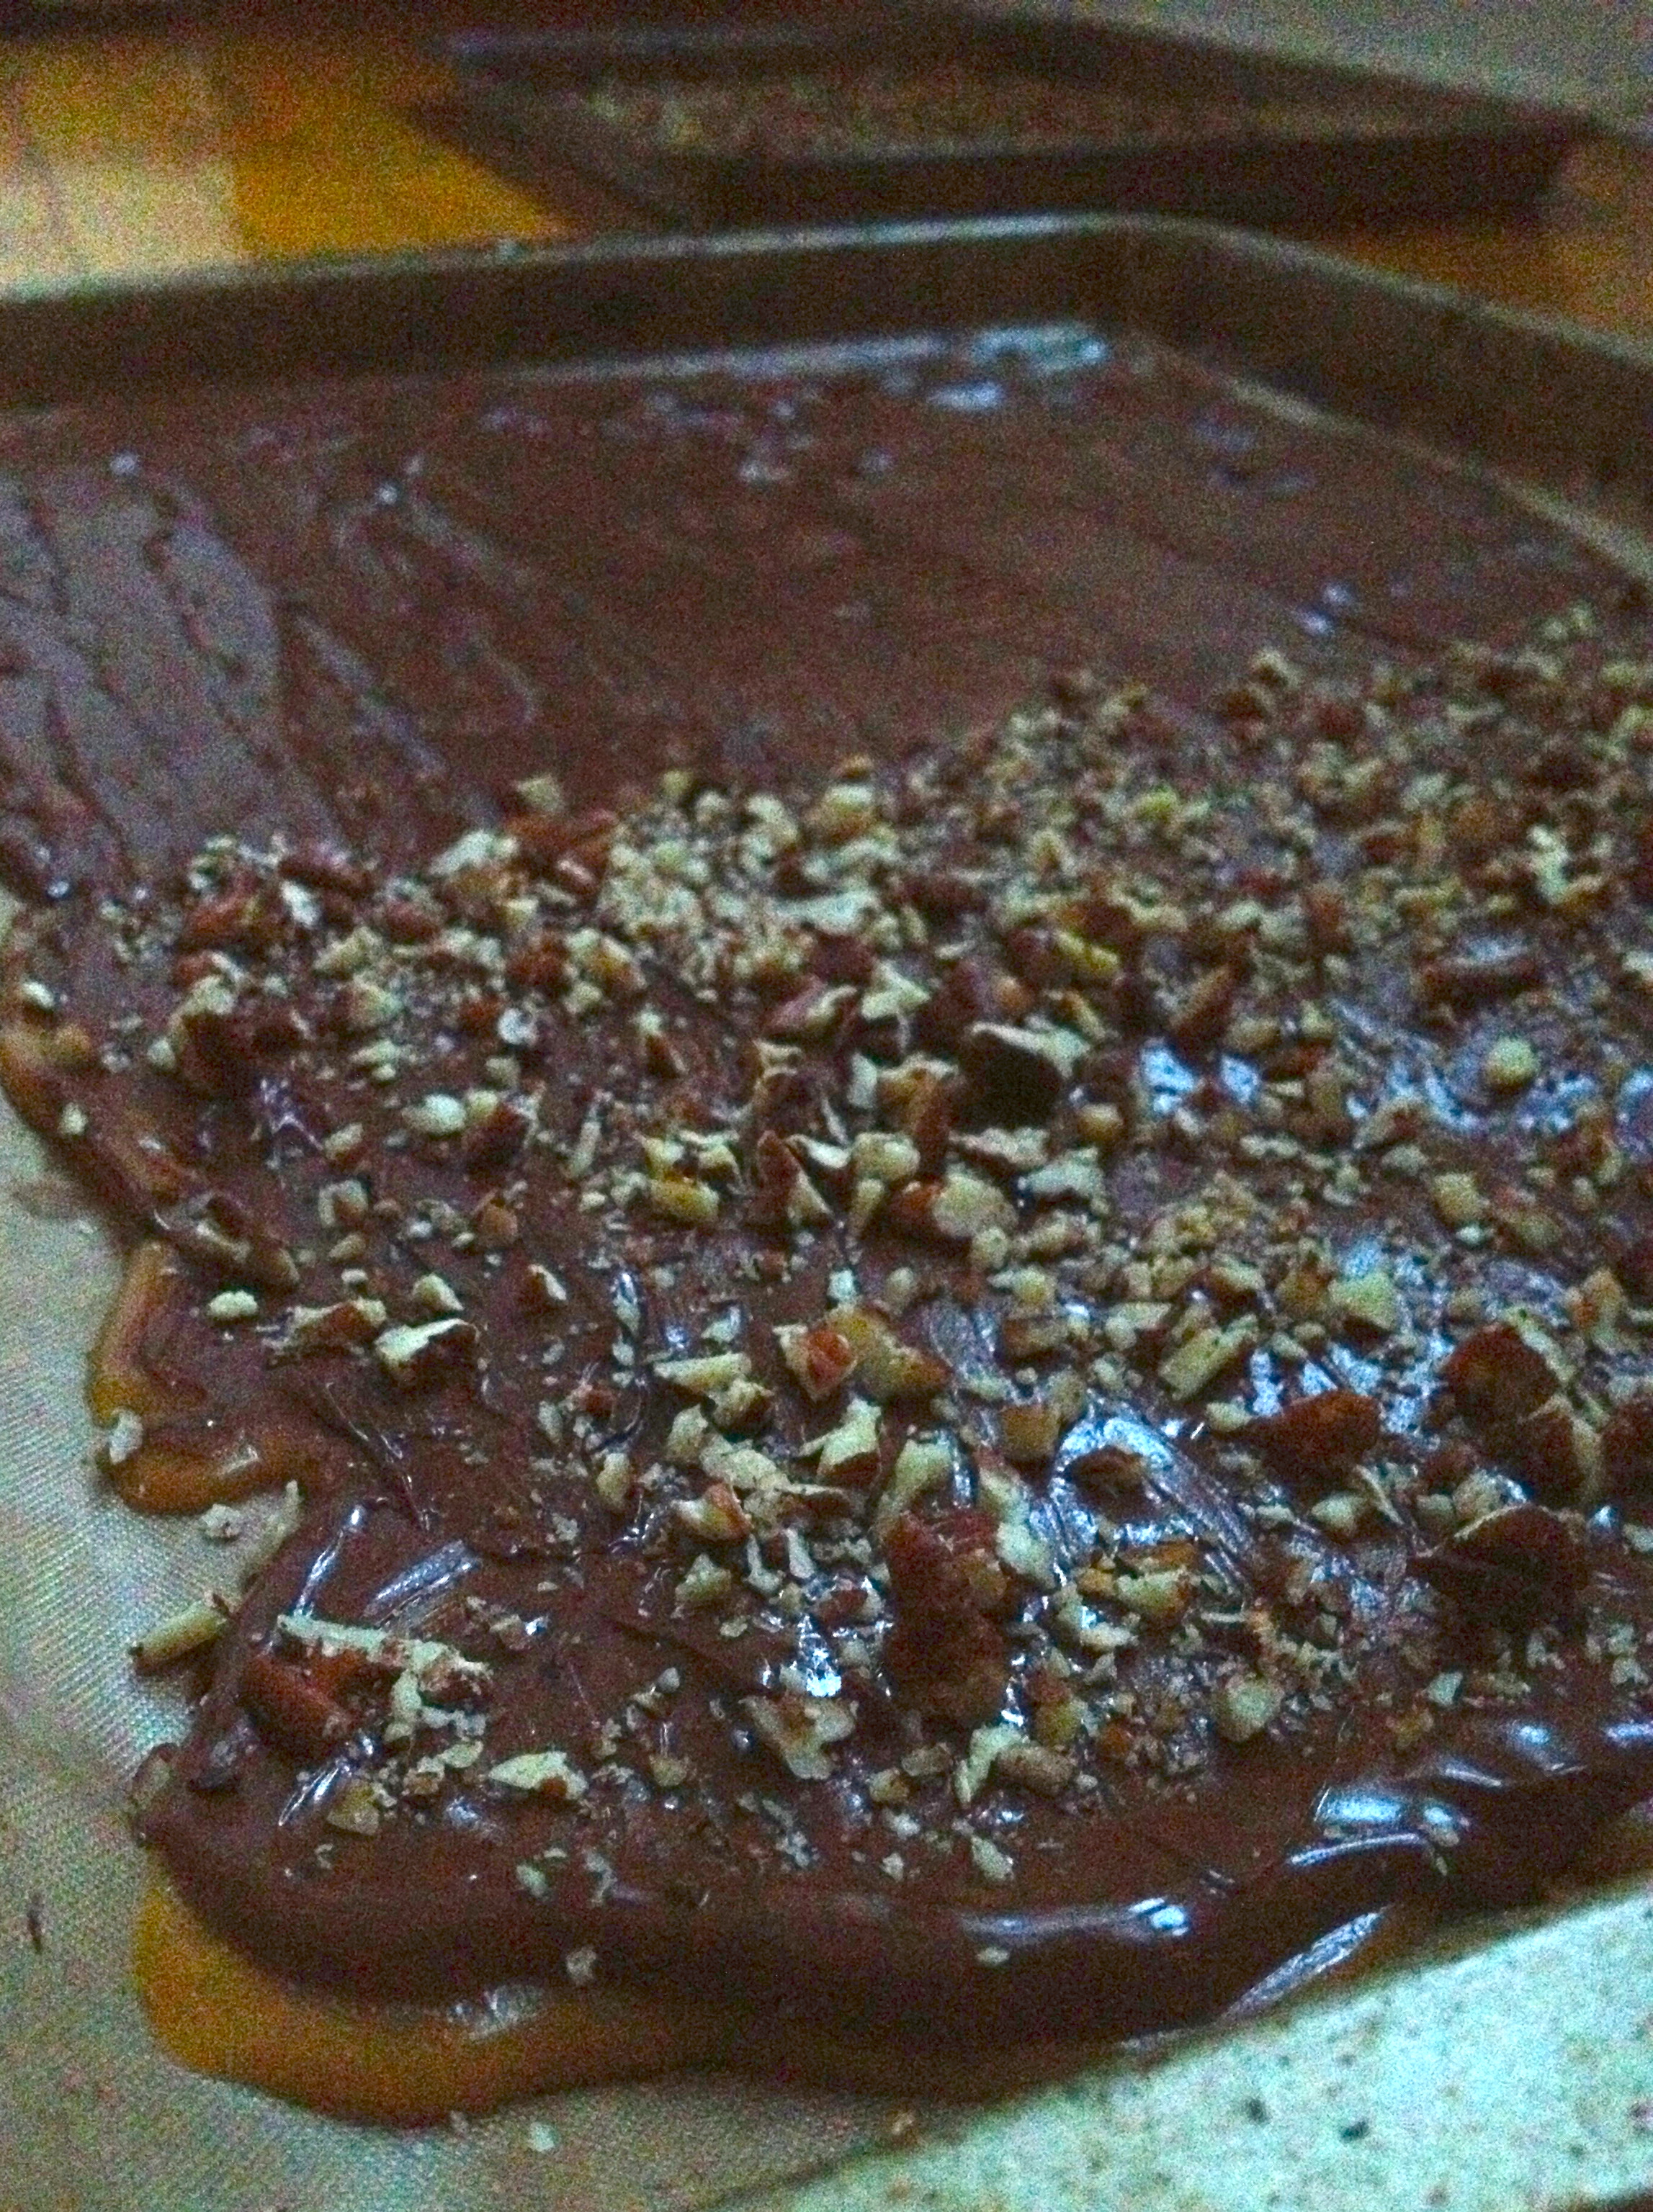
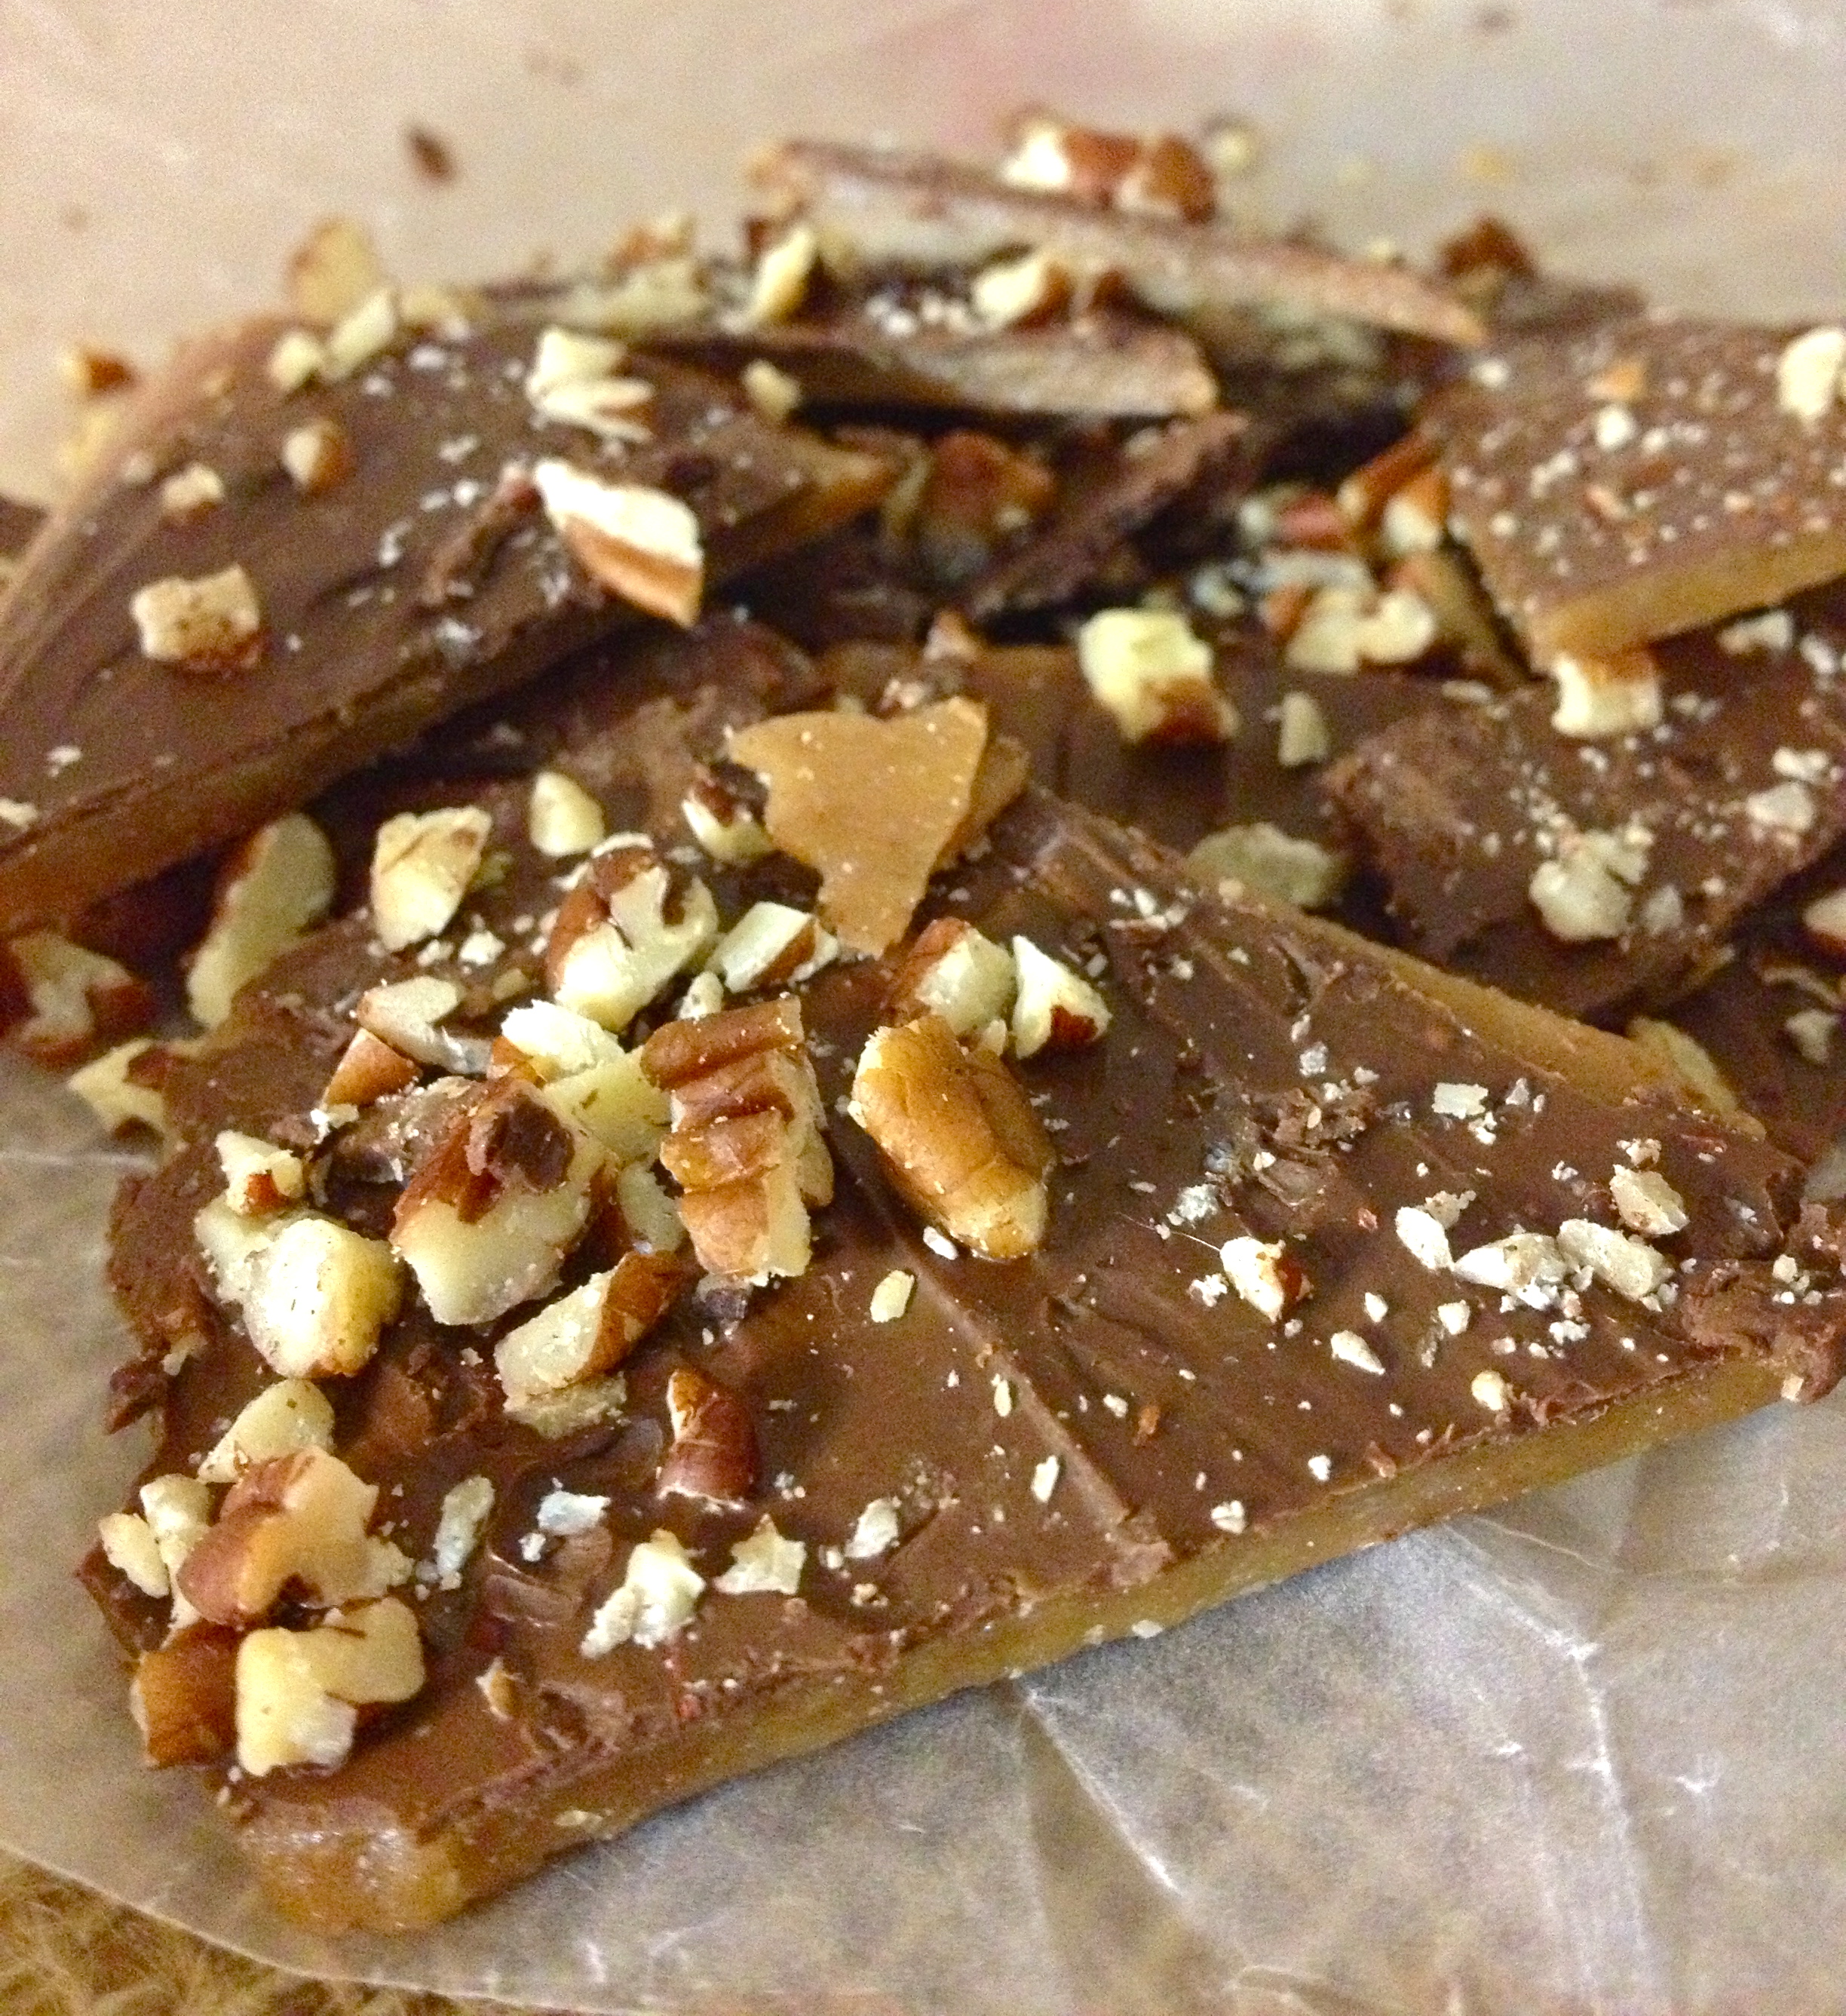
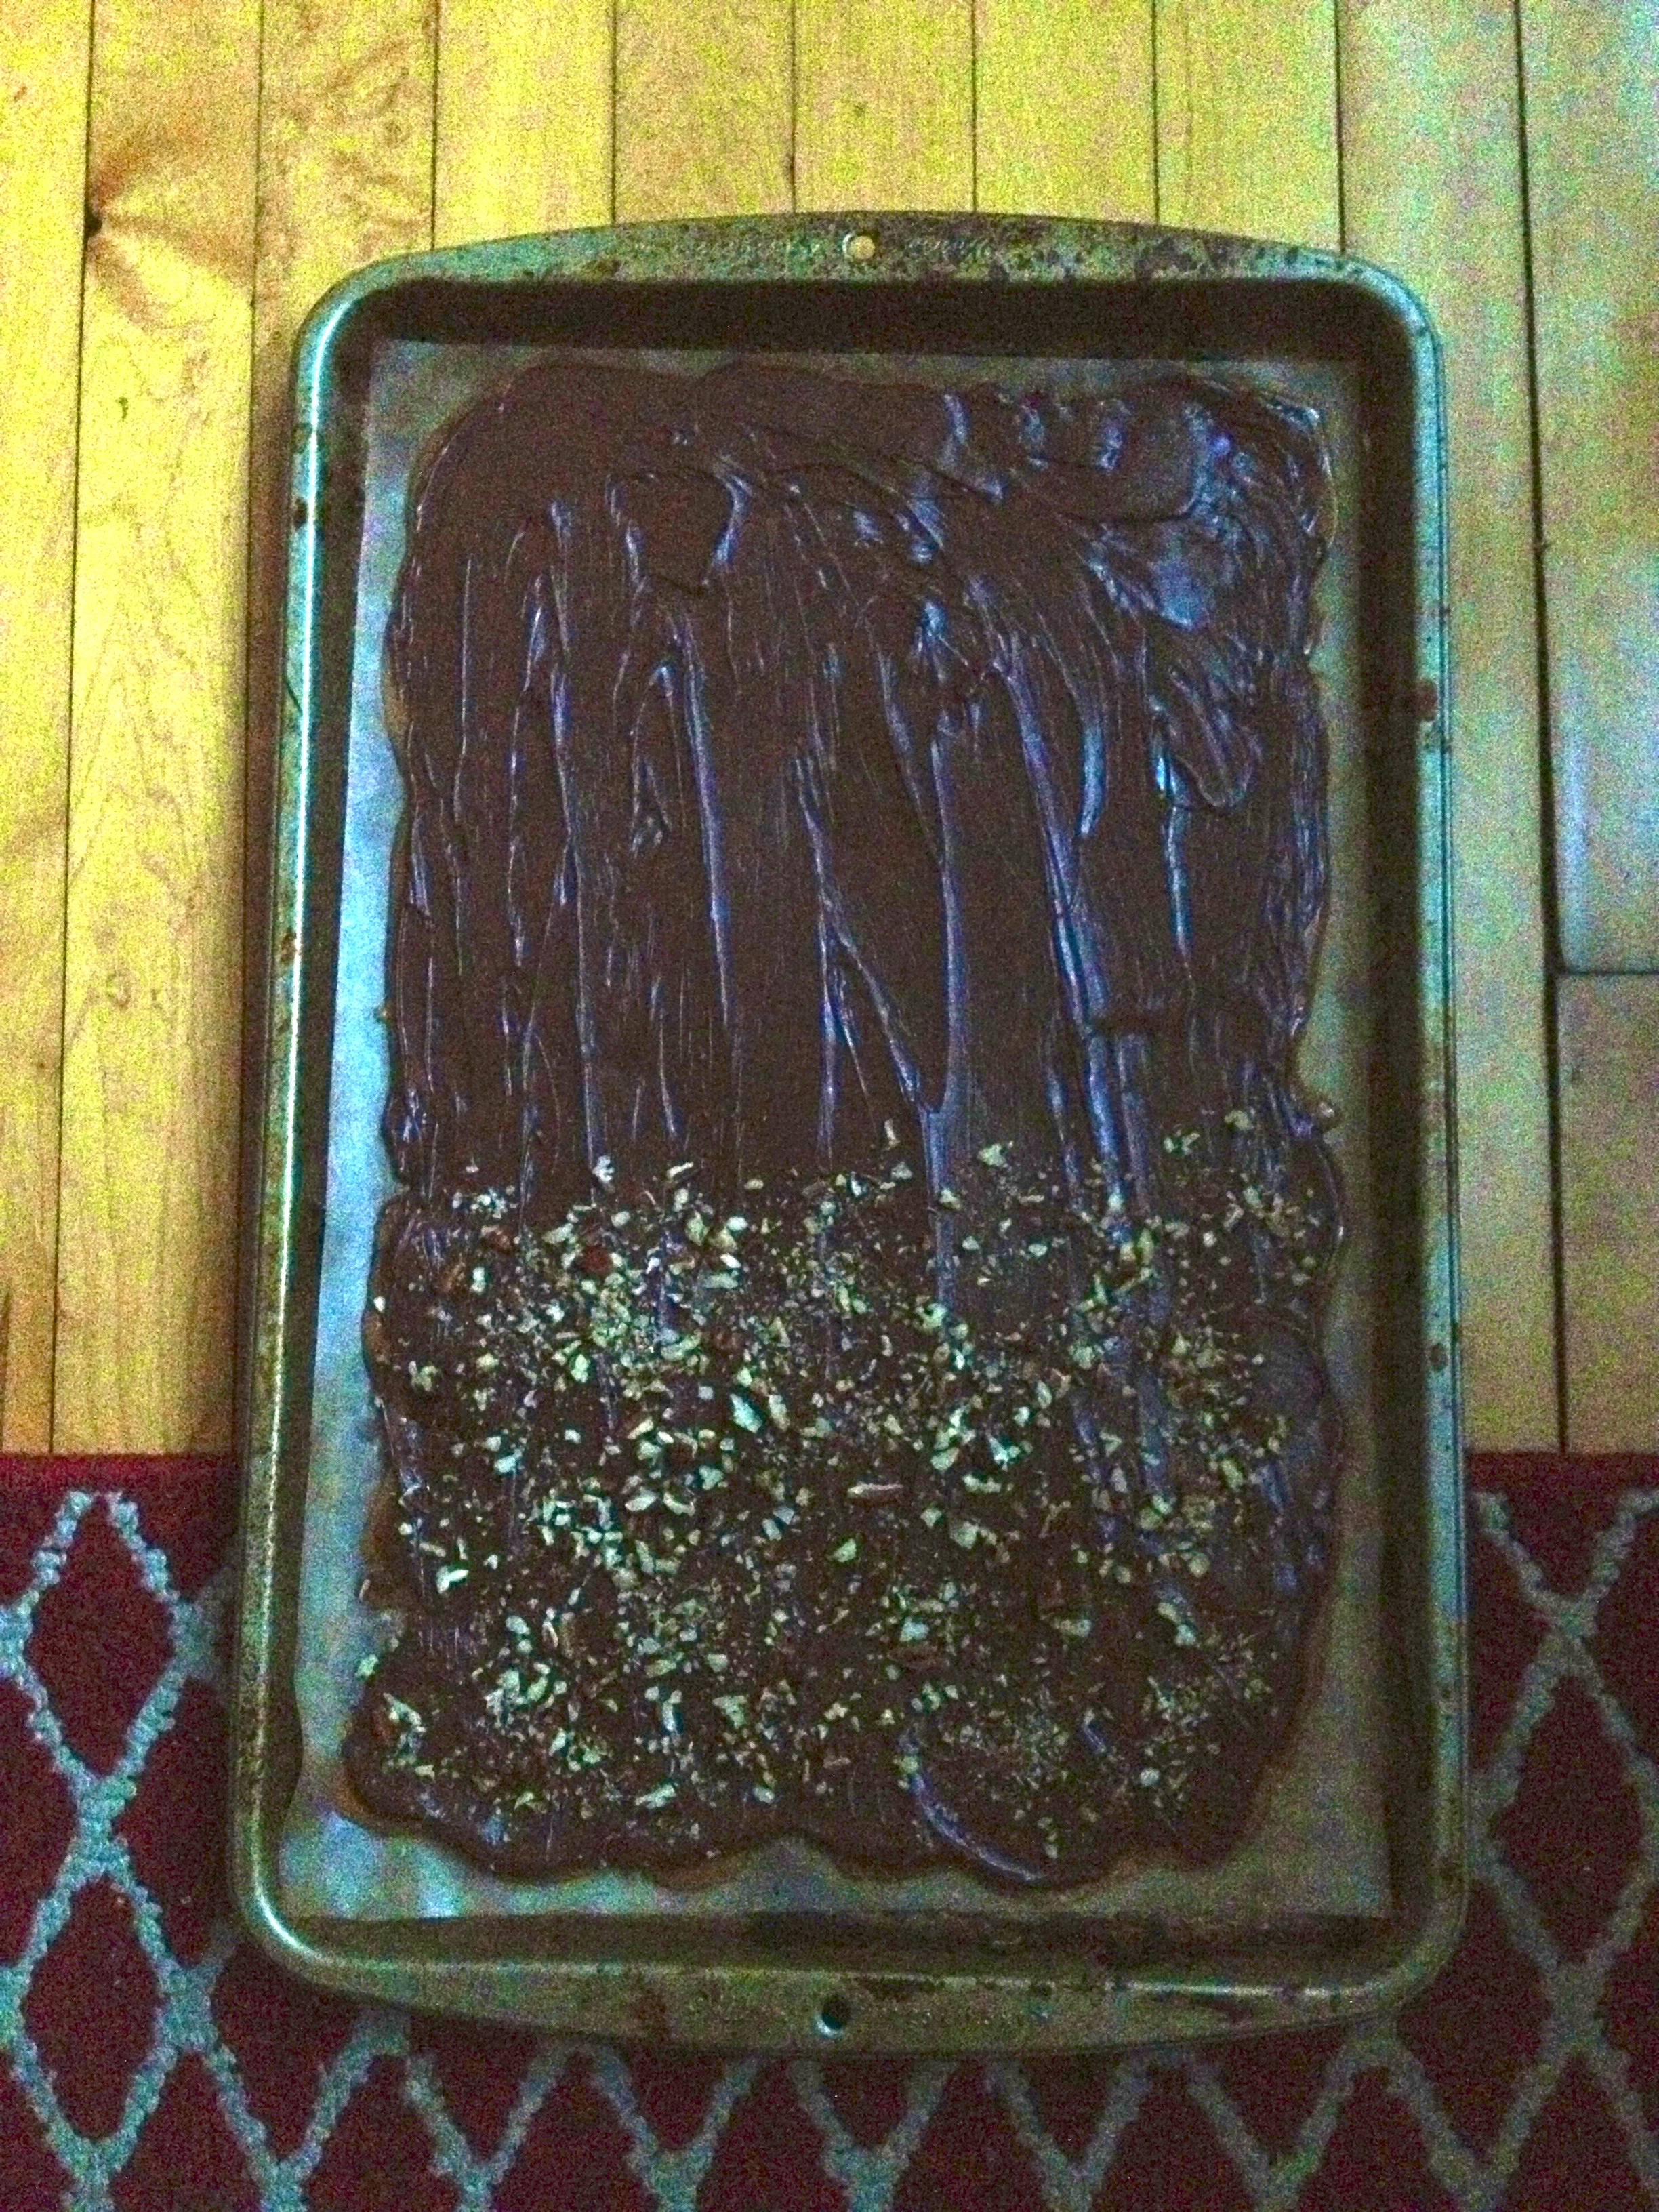
Next, sprinkle over the chocolate chips. Give them a few minutes to melt, and then use a spatula to gently spread the melted chocolate over the top of the toffee, covering the whole surface. If you find that the chocolate chips aren’t melting completely, pop the pan into a hot oven for 20 seconds, and the chocolate will be easily spreadable.

While the chocolate is still melty, sprinkle with pecans and a bit more salt. I topped half my toffee with pecans and salt, and the other half with just salt, so that a nut-free birthday girl could eat it.

IMG_0315

Let the whole thing set completely, for at least two hours. Then break it up into chunky, uneven pieces. Eat some of them (you gotta make sure it’s good, right?), and give the rest away as gifts before you eat it all yourself.IMG_0312

Czech Goulash: Updated Recipe.

Four years ago when I went to Prague, I ordered a dish of goulash at a little restaurant near our hostel. It was my first taste of goulash–my first heavenly taste of that paprika-y, hearty stuff–and I’ve loved it ever since. In fact, my goulash might be the first recipe I ever made that I can claim as a Kelly original. That recipe has lived through a few delicious incarnations as I’ve re-worked it through the years; I think this posting is the third version. And it’s by far my favorite. I’ve kept it simple and focused on my favorite flavors, most importantly the deep deep warmth of paprika, which absolutely rocks on a chilly winter day. An homage to my Bohemian relatives and a sweet memory of my trip to Prague, here is my updated recipe for Czech goulash!

Czech Goulash | KellyintheKitchen | olive oil, 1 large onion, 3 carrots, bay leaf, 2 lb stew beef, cubed, 3 cloves garlic, 3-4 tsp paprika, 2 tsp caraway seed, 1 tsp dried thyme, 15 oz canned crushed tomato, 4-6 cups cold water or stock, salt and pepper to taste, 2 tbsp corn starch, and garnishes: sour cream, green onion, marjoram/parsley

INGREDIENTS

olive oil
1 large onion, chopped
3 carrots, peeled and chopped
bay leaf
2 lb stew beef, cubed
3 cloves garlic
3-4 tsp paprika
2 tsp caraway seed
1 tsp dried thyme
15 oz canned crushed tomato
4-6 cups cold water or stock
salt, pepper to taste
2 tbsp corn starch
sour cream, green onion, and marjoram or parsley for serving

DIRECTIONS

Heat oil over medium in Dutch oven or other large soup pot. Add onions, carrots, and bay leaf, and cook until transparent. Then add the beef and cook until browned.

Stir in the garlic, paprika, thyme, and caraway seed. Cook for 2 minutes, until fragrant.

IMG_0182

Pour in the tomatoes and 4 cups of stock and add salt and pepper to taste. Bring to a boil, then lower the heat to a simmer. Cover and cook for 2 hours, stirring occasionally and adding more stock if necessary.

IMG_0196

After 2 1/2 hours, stir in the corn starch. Cook for another hour at least; I like to cook the goulash for a total of 4-5 hours if I have the time. We’re going for fall-apart tender beef that could almost float away in the broth/gravy/stew juices (or whatever they’re called).

Remove from heat and fish out the bay leaf. Serve with a scoop of sour cream and a sprinkling of green onion and parsley or marjoram. This stuff is amazing right out of the pot and only gets better as it sits in the fridge!

Czech Goulash | KellyintheKitchen | olive oil, 1 large onion, 3 carrots, bay leaf, 2 lb stew beef, cubed, 3 cloves garlic, 3-4 tsp paprika, 2 tsp caraway seed, 1 tsp dried thyme, 15 oz canned crushed tomato, 4-6 cups cold water or stock, salt and pepper to taste, 2 tbsp corn starch, and garnishes: sour cream, green onion, marjoram/parsley

Eternally-Fresh Berries and Greek Yogurt.

This is definitely not a “recipe” in my usual sense. It’s more of a favorite technique, and I’m sharing it with you because ever since I started doing it, I’ve saved money by not letting fruit go to waste and I’ve made my breakfasts a lot healthier and better-tasting. I used to eat those single-serve yogurts that come with a layer of sugary fruit to stir in, which is of course delicious and convenient, but not such a great way to start the morning. Then I started doing fruit and yogurt this way instead, and man is it ever good! Here’s the basics of why this method rocks:

  • the berries last longer because I wash and dry them before they go in the fridge/freezer, which helps fend off mold/mushiness
  • my berries are washed and ready to go whenever I need them, so I never have to eat wet and drippy berries
  • I freeze half, so I have gorgeous berries on hand all the time
  • The fresh berries are (obviously) delicious, and the frozen berries break up easily when stirred into yogurt (just like the sugary stuff, only healthier!)

Convinced? Because I love this stuff berry much. Now orange you laughing at my fruit jokes?

INGREDIENTS

2 packets of fresh berries – raspberries are my favorite, and blackberries are great too, but any berry you like should work
Greek yogurt (let me HEARTILY suggest Fage brand yogurt. I’ve reached the point where if it isn’t Fage, I don’t even want it. Seriously unbeatable stuff)

DIRECTIONS

As soon as you get home with your berries, rinse them under cold water. Then turn them out onto a towel and flip each one upside-down; if you’re using raspberries, for example, turn them so that they’re standing up on their hollow end. This helps them dry completely, which is what we’re going for. Leave the berries for an hour or two, until dry.

IMG_0181

When the berries are dry, put them back in their little plastic basket or other similar container (which should also be dry).

IMG_0191

Put one of the containers in the fridge and use within 2-3 days. Not only can you eat these on the go, without stopping to rinse them and then have them wet and drippy, but they also last a lot longer when they’ve gotten a chance to dry before they get piled on top of each other in the fridge.

Put the other container of berries in the freezer. Because they are dry, the berries will freeze individually, without sticking to one another, and they’ll keep their perfect picturesque berry shape.

IMG_0193

Here’s how I use the frozen berries: before I leave for work, I spoon a portion of Fage Greek yogurt into a tupperware and toss in 8 or so of these frozen gems. By the time I get to work and dig into the yogurt, the berries have defrosted and gone a little bit soft. They’re the perfect consistency to crush up with my spoon and stir into the creamy yogurt. I LOVE this because it’s just as delicious as one of those yogurt-and-fruit single serving cups, but it’s so pure and healthy!

IMG_0195

Here’s what it looks like once I get it to the office and stir everything up. Best easy workday breakfast ever!

IMG_0205

Black Bean and Goat Cheese Dip.

After a month hiatus from blogging, I’m back! It’s been a very busy, fun month which included a fantastic ten day vacation in Paris! Hopefully this Europe-trip-in-the-Fall thing is starting to become an annual habit for me – at about the same time last year, I was heading off to Scotland for 10 days of Highland hijinks. Paris was so lovely, and it was wonderful to get to spend a full ten days in the city. We were really able to combine sightseeing with relaxation in the best possible way, while sprinkling in lots of amazing eating! Here are some highlights of the trip, before we get into recipe-land.

One of many, many patisserie visits, we had kick-butt hot chocolate and baba au rhum at Angelina, near the Tuileries:

IMG_9928

A big culinary highlight of the trip was dinner at the art nouveau dreamworld Brasserie Julien. I was lucky enough to discover this place on a previous visit to Paris, and I couldn’t wait to bring my friends back to enjoy it this time. We enjoyed plate after amazing plate of their beautiful food—Julien delivered again. For my main course, I had this shrimp and salmon dish in a light lime cream sauce:

BYQjjL2IEAE58o2

I love the ubiquity of Paris cafes – they mean instant peace and a full tummy, with a side of people-watching. The intermittent Fall rain was a great excuse to drop in.

IMG_9955

Probably my favorite pastry of all time is the buttery, chocolate-filled croissant-like bun known as pain au chocolat. Pair it with a cup of black tea and you’ve got a breakfast of champions right here. SO GOOD.

IMG_9950

And not pictured: a HEFTY daily dose of macaroons that would rival the excesses of Versailles. Nothing beats a chocolate macaroon. Except 5 chocolate macaroons.

And now, folks, for the recipe: a creamy, spicy, delicious black bean and goat cheese dip.

IMG_0078

INGREDIENTS

olive oil or bacon grease
1 small onion, chopped
1 clove garlic, minced
1 tsp ground cumin
2 (15 oz) cans black beans, drained and rinsed
1 cup vegetable stock (chicken stock or even water would work here, too)
1 (4 oz) can green chiles, chopped
2/3 cup Greek yogurt (or sour cream will do)
1/2 tsp oregano
salt and pepper to taste
2 oz goat cheese
sriracha or other hot sauce
1/2 cup green onion, chopped
tortilla chips, pita bread, or carrot and cucumber slices for dipping

Just the Recipe link: Black Bean and Goat Cheese Dip

DIRECTIONS

Preheat oven to 375 F.

In a bigger saucepan than the inexplicably small one I chose to use for this, heat olive oil or bacon grease over medium flame. Saute the onion and garlic until soft, about 5 minutes. Stir in the cumin and cook another minute, and then pour in the first can of black beans. Mash with a potato masher.

IMG_0062

Stir in the vegetable stock and green chiles. Simmer until most of the liquid has evaporated.

IMG_0069

Then add the second can of beans and mash again, a little more coarsely this time. Remove from heat.

Stir in the Greek yogurt, oregano, salt, and pepper. Transfer the bean mixture to a baking dish.

IMG_0072

Break up the goat cheese into small pieces and press them into the dip, speckling the top with the little white gems. Drizzle sriracha or other hot sauce over the top.

IMG_0073

Bake for 20 minutes. As the dip bubbles, it might bubble over, so make sure you have a pan or a sheet of foil to catch any drips. When the 20 minutes are up, remove from the oven.

IMG_0074

This stuff is great both hot and room temperature. Just before you serve it, sprinkle with chopped green onion. Serve with tortilla chips or pita bread, or do what I did and cut up some carrots and cucumber for dippin’.

IMG_0079

Nutty Cinnamon Cream of No-Wheat, a.k.a. “Faux-tmeal”

Cream of No-Wheat: a hot cereal made with nuts, dried fruit, seeds, and cinnamon – but with no wheat and no oats. Considering how I’ve altered the way I eat pretty dramatically over the past few months, moving away from processed grains and sugar and toward protein, fruits, veggies, and the like, this recipe is the answer to my breakfast dreams! That’s because, while I really haven’t looked back following these big changes, I have to admit that there are a few things I have truly, truly missed, and one of those things is my morning oatmeal.  When I saw a recipe from A Girl Worth Saving via salixisme that looked like a great hot cereal compromise, I had to give it a try. And it is absolutely delicious: creamy, nutty, with just enough sweetness from the dates, and a slightly chewier consistency from the nuts and seeds. It’s a very flexible recipe, and you can swap various ingredients in or out as you like: pumpkin seeds, wheat germ, pecans, dried apples, or brown sugar would all do a little something special if you wanted to try them out in here. And because this recipe makes about 8 servings, you can prep the “oatmeal” dry mix ahead of time, and just cook however many servings you need that morning. I calculated it out, just to see what this dish looks like from a protein perspective: each 3/4 cup serving has about 8g of protein, plus about 10g from the milk, making this a breakfast with about 18g of protein. Yay for hot breakfast!

UPDATE: I recently made another version of this – I was out of sunflower seeds, so instead of the 1/2 cup of sunflower seeds, I used about 3 tbsp of chia seeds and an additional 1/4 cup of chopped walnuts. The chia seeds were awesome here, thickening the consistency to that it more closely resembled cream of wheat. I’m definitely adding chia seeds to this every time I make it from now on!

IMG_9564

INGREDIENTS:

the dry mix*:
1/2 cup roasted sunflower seeds, chopped
1/2 cup flaxseed meal (or use whole flax seeds and grind them)
1/2 cup walnuts, chopped
1/2 cup almonds, slivered
1/2 lb pitted dates, chopped
1/2 tsp salt
1/2 tsp ground cinnamon
1/2 tsp vanilla extract
*NOTE: chop your ingredients finer if you want a smoother, more cream-of-wheat-esque finished product, or leave them bigger for a chunkier consistency. I tried to opt for a middle ground.

to cook the oatmeal:
3/4 cups of dry mix per person
1 1/4 cup milk per person (dairy milk, almond milk, whatever you like)

Just the Recipe link: Nutty Cinnamon Cream of No-Wheat, a.k.a. “Faux-tmeal”

DIRECTIONS

Combine all the dry mix ingredients in a bowl and stir together.

IMG_9553

Measure out the amount you’d like to make now (about 3/4 cups per person should do it), and store the rest in an air-tight container in the fridge, for future use.

IMG_9554

To cook the oatmeal, bring the milk to a gentle bubble on the stove and stir in the dry mix.

IMG_9558

Stirring occasionally, simmer gently until thickened to your liking (mine took about 10 minutes, give or take). Remove from heat.

IMG_9560

Spoon the good stuff into a bowl and stir in any extras you like – more milk, fruit, nuts, whatever! Then dig in.

IMG_9563

Savory Braised Short Ribs.

What’s not to love about short ribs? They’re pretty cheap, super meaty, and easy to cook because after a bit of prep, you can just walk away and forget about them. My kind of meal. These short ribs are fantastic and feature one of my all-time favorite flavors in the world ever in the history of the universe: Worcestershire sauce. I’ve loved it since I was little (though we did break up for a short time, when I discovered “anchovies” on the ingredients list. But I got over it and we’re back together). I love cumin and bay leaf with Worcestershire, so they got thrown into the mix, and thyme is always a good time/thyme., so he’s here, too. As far as side dishes go, I like to add petit pois at the end of the cooking process and make a sort of one-pot meal, but short ribs also go great with mashed potatoes, grits, or some delicious buttery rolls. Just go carnivore-nuts on their deep amber goodness.

IMG_9445

INGREDIENTS

5-6 short ribs (I actually prefer boneless short ribs, but my store was sold out, so I used bone-in. Boneless usually don’t need to cook quite as long, so keep that in mind if you go for boneless.)
butter
olive oil
salt and pepper to taste
2 small onions (or 1 large onion), diced
1 1/3 cups carrots, sliced into segments
2 cloves garlic, minced
1/4 tsp ground cumin
pinch of red pepper flakes (or to taste)
1/2 tsp dried thyme
1 bay leaf
1 tbsp Worcestershire sauce
4 cups stock (beef stock would be best, but all I have is my homemade chicken stock, and it does the trick)
optional: 1 1/2 cups frozen peas (J‘adore les petits pois.)

Just the Recipe link: Savory Braised Short Ribs

DIRECTIONS

Preheat the oven to 350 F.

In a Dutch oven or other large, stovetop- and oven-safe pot with a lid, heat butter and olive oil on medium high. Season each side of the short ribs with salt and pepper, and brown them in batches, careful not to crowd the pan. Don’t worry about cooking them through; we’re just trying to get some color on these babies. Once all the short ribs have had their time to brown, set them aside.

IMG_9434

Turn the heat down to medium and add more oil to the pan if necessary. Toss in the carrots, onions, and garlic. Cook until softened, and then stir in the cumin, red pepper flakes, thyme, and bay leaf.

IMG_9439

Cook until fragrant, and then pour in the Worcestershire sauce. Stir the veggies around as it steams, and then nestle the short ribs back into the pan. Pour in the stock and bring to a bubble. Taste for seasoning, and add salt as needed.

IMG_9442

Place the top on the pot and put the whole thing in the oven. Cook for 2 1/2 hours, checking occasionally to make sure you have enough liquid to keep things good and moist.

Once they’re falling-off-the-bone tender, the short ribs are done, so take the dish out of the oven and remove the bay leaf.  Use a large spoon to remove some of the fat from the top of the juices. Then, if you love peas as much as I do, stir them in now and then re-cover the pot, letting the heat cook them through.

IMG_9446

That’s it! Dig in and let the tender melty goodness fall right off the bone and into your heart/stomach. And watch out for little canine stomachs, who might want to steal a bite.

IMG_9443