On a cute and crazy-creative blog called “A Cozy Kitchen, ” I saw blogger/pancake expert Adrianna do something magical: she made pretzel milk pancakes. This is one of the most food-genius things I’ve seen in a long time: she roasted pretzels in the oven, soaked them in milk, and then strained them out so that the milk was left in faintly golden pretzel-flavored perfection, making her pancakes deliciously pretzely. I was mesmerized by this idea, and initially wanted to make a cookie using the pretzel milk method. I’m still working on the cookie version of this recipe, but for now, these scones are pretty amazing. Pretzel milk – I am so glad we’ve found each other. The lightly golden milk gives the finished product the most unusual and profound savoriness—not in-your-face pretzely, but more of a welcome note of something warm and deep. It’s pretty special.
I have a question for my beloved readers: what to do with the milk-steeped pretzels you’re left with after making the pretzel milk? I ate a few (they’re actually good, in a weird, slightly soggy kind of way), but there’s got to be something interesting they could be used for. Crush them up and stir them into muffin batter, or even cookie dough? Or food-processer them with lots butter and maple syrup, shape the butter mixture into a log, toss it in the fridge, and a few hours later you’ve got maitre d’ maple pretzel butter for toast and waffles and all those goodies? If you come up with a good use for them, let me know! And PS – when they’re in the oven, watch these more carefully than I did….my scones got a little bit toastier than I would have liked. Still awesome though!

INGREDIENTS
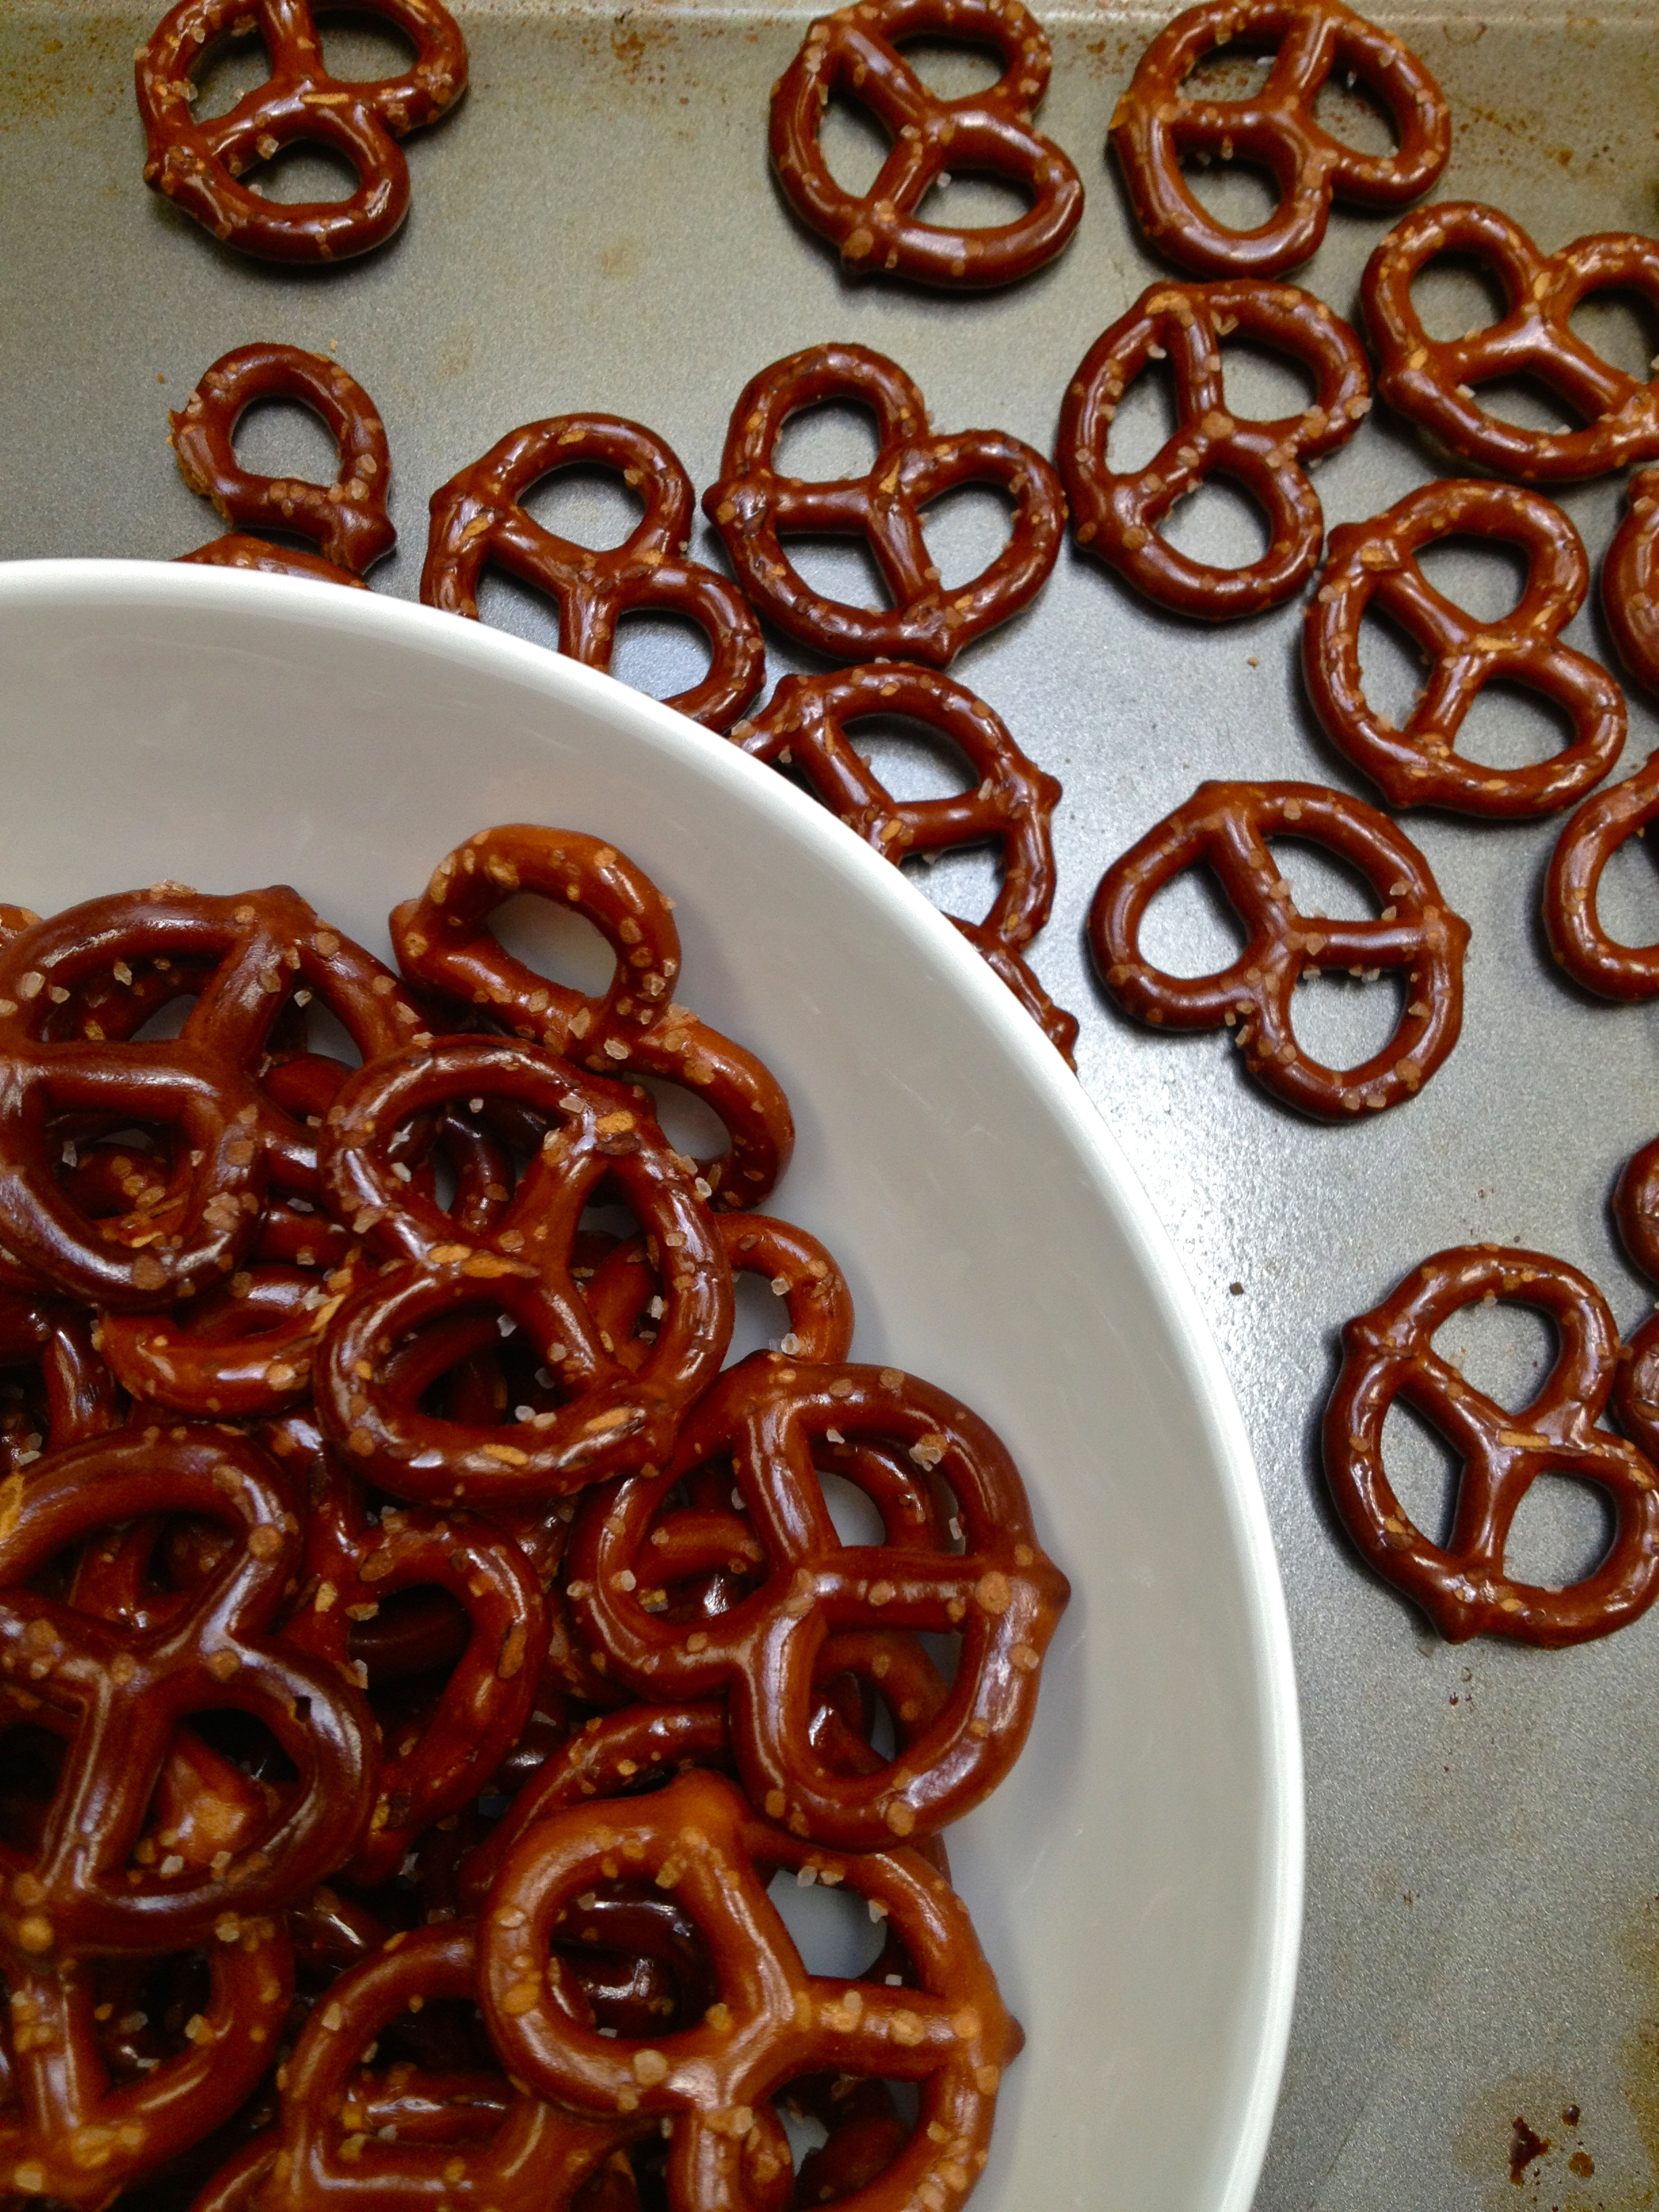
3 cups pretzels
1 1/2 cups cream or half-and-half
1 cup all-purpose flour
1 cup whole wheat flour (feel free to use all A-P flour if you prefer)
1 tbsp baking powder
4 tbsp sugar
1/2 tsp salt
5 tbsp unsalted butter, chilled and cut into little cubes
1/2 cup chocolate, chopped into small bits (I used semi-sweet)
optional: turbinado sugar, for sprinkling
Just the Recipe link: Pretzel Milk and Chocolate Chip Scones
DIRECTIONS
Preheat oven to 350 F. Spread pretzels onto a sheet pan in a single layer and roast until they turn a nice dark brown, about 10 minutes. Let them cool completely (don’t worry, they cool very quickly).
Preheat the oven to 450 F.
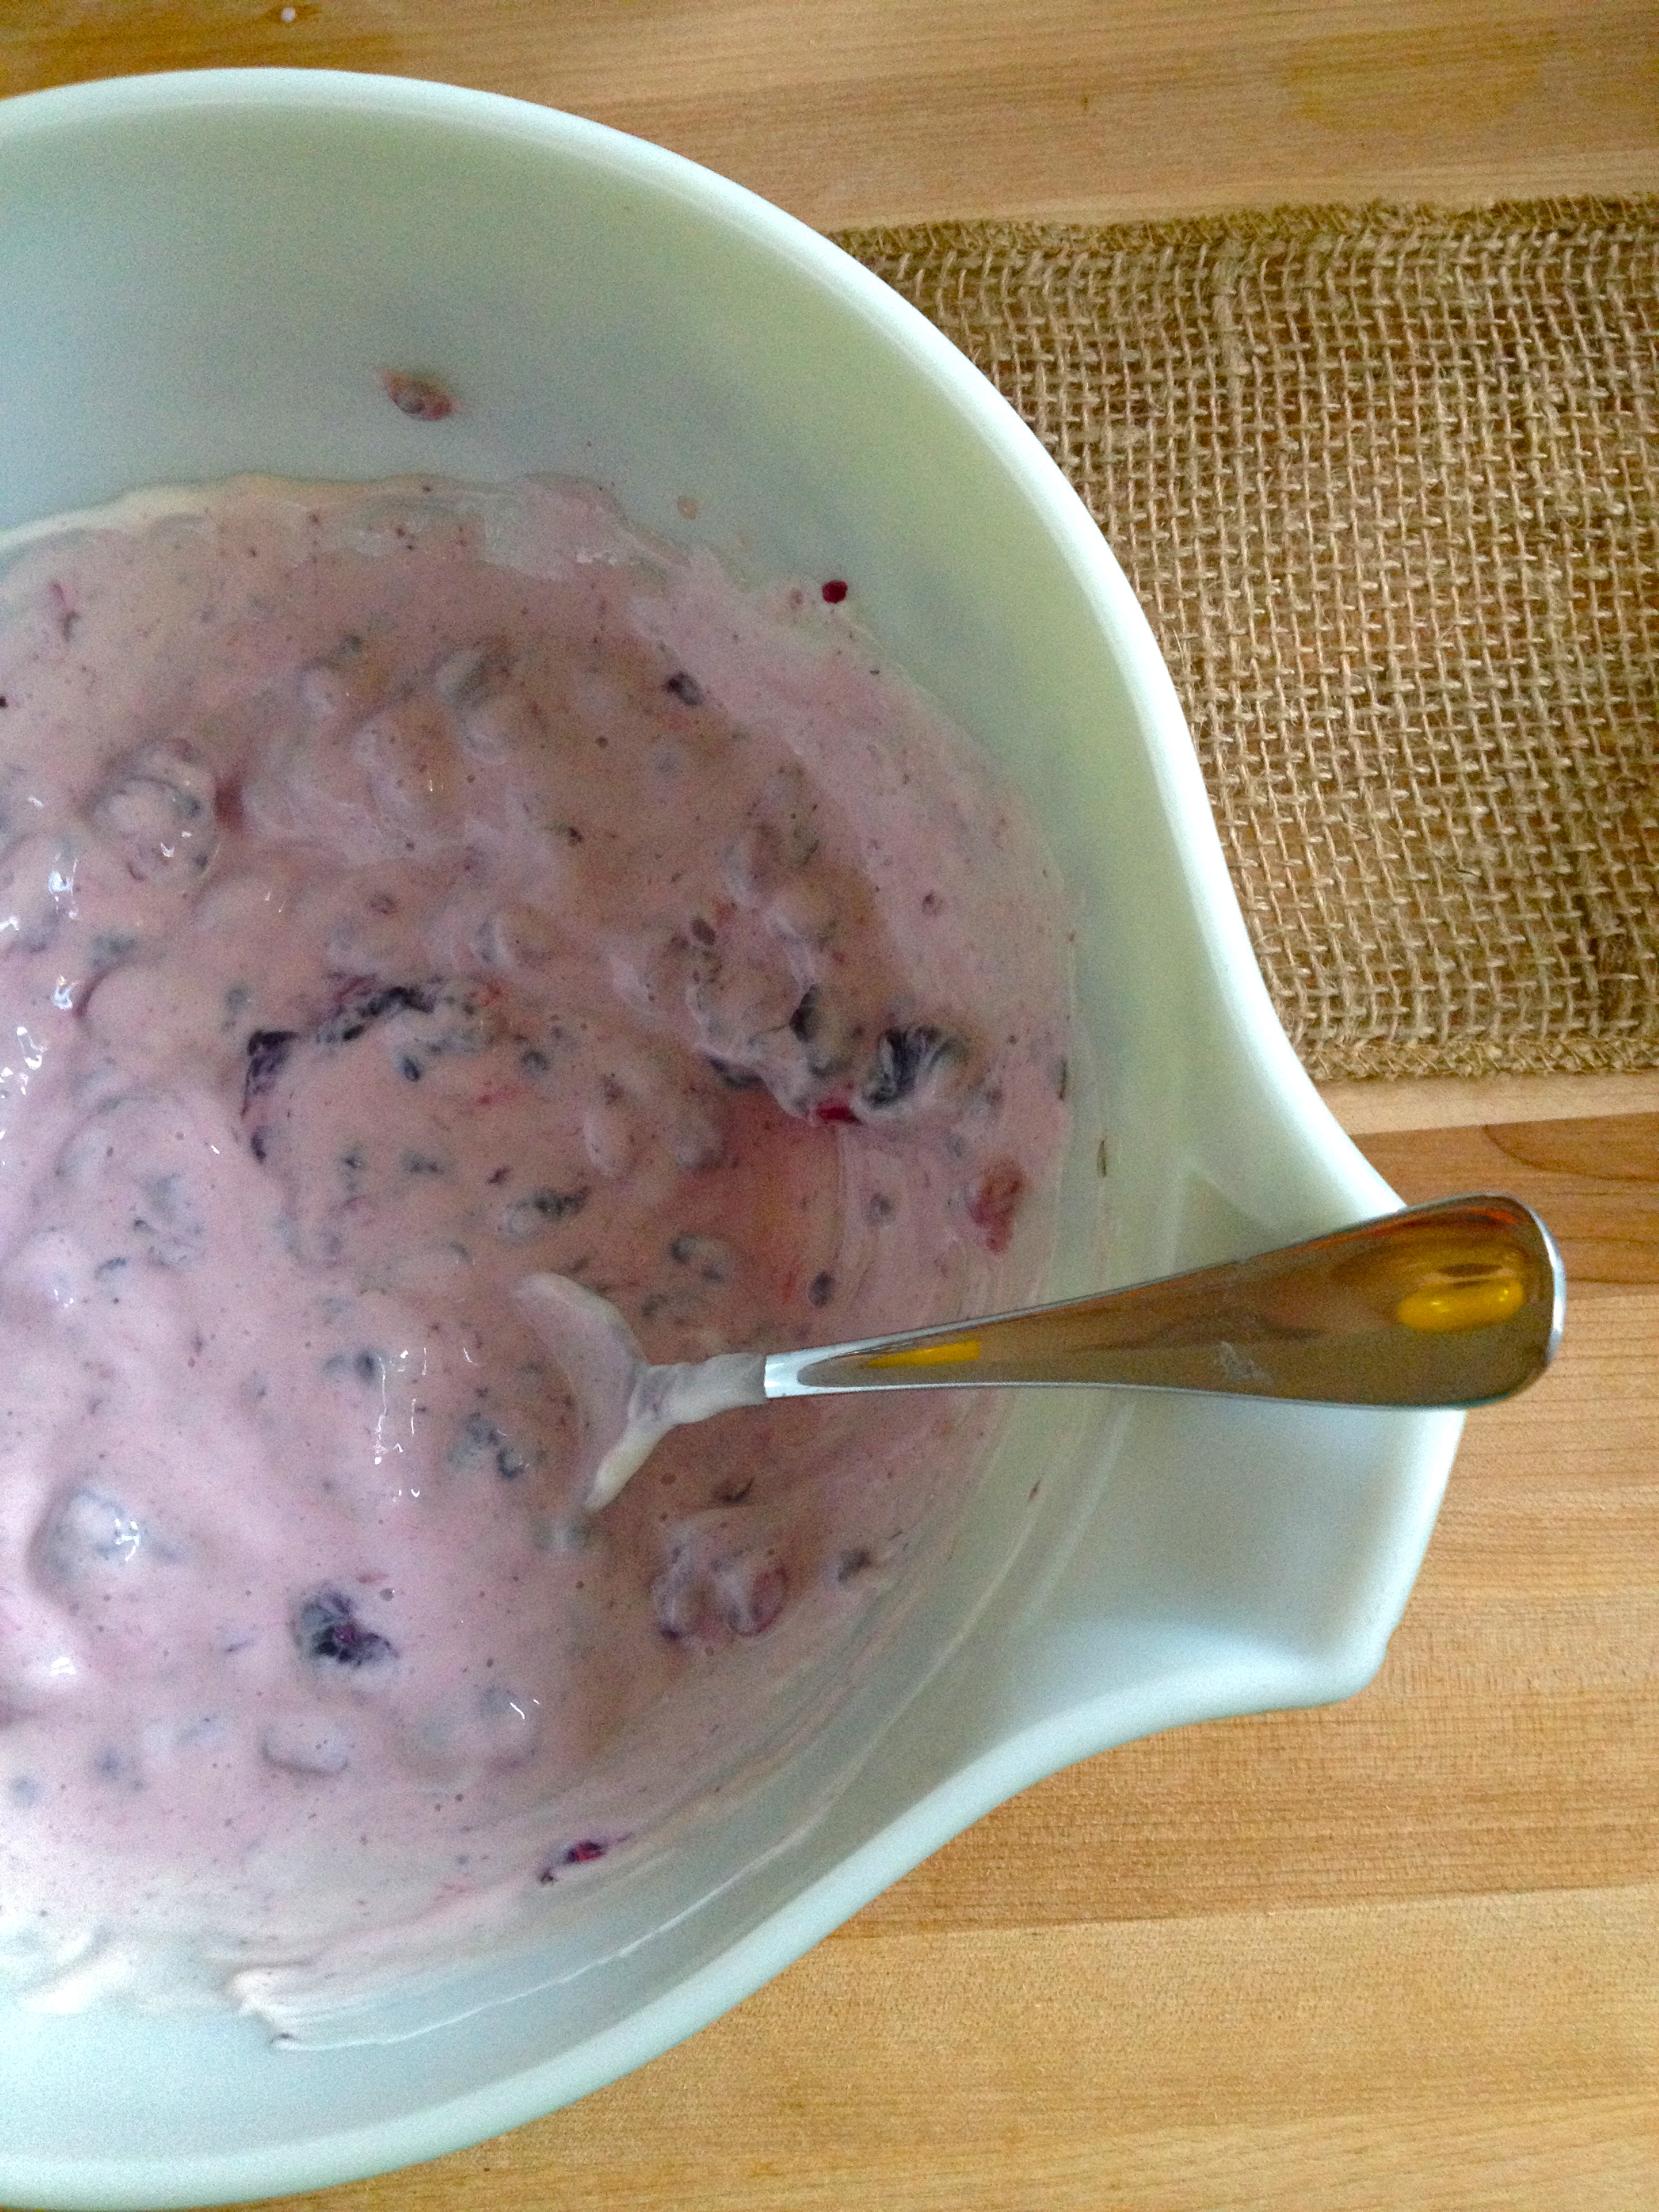
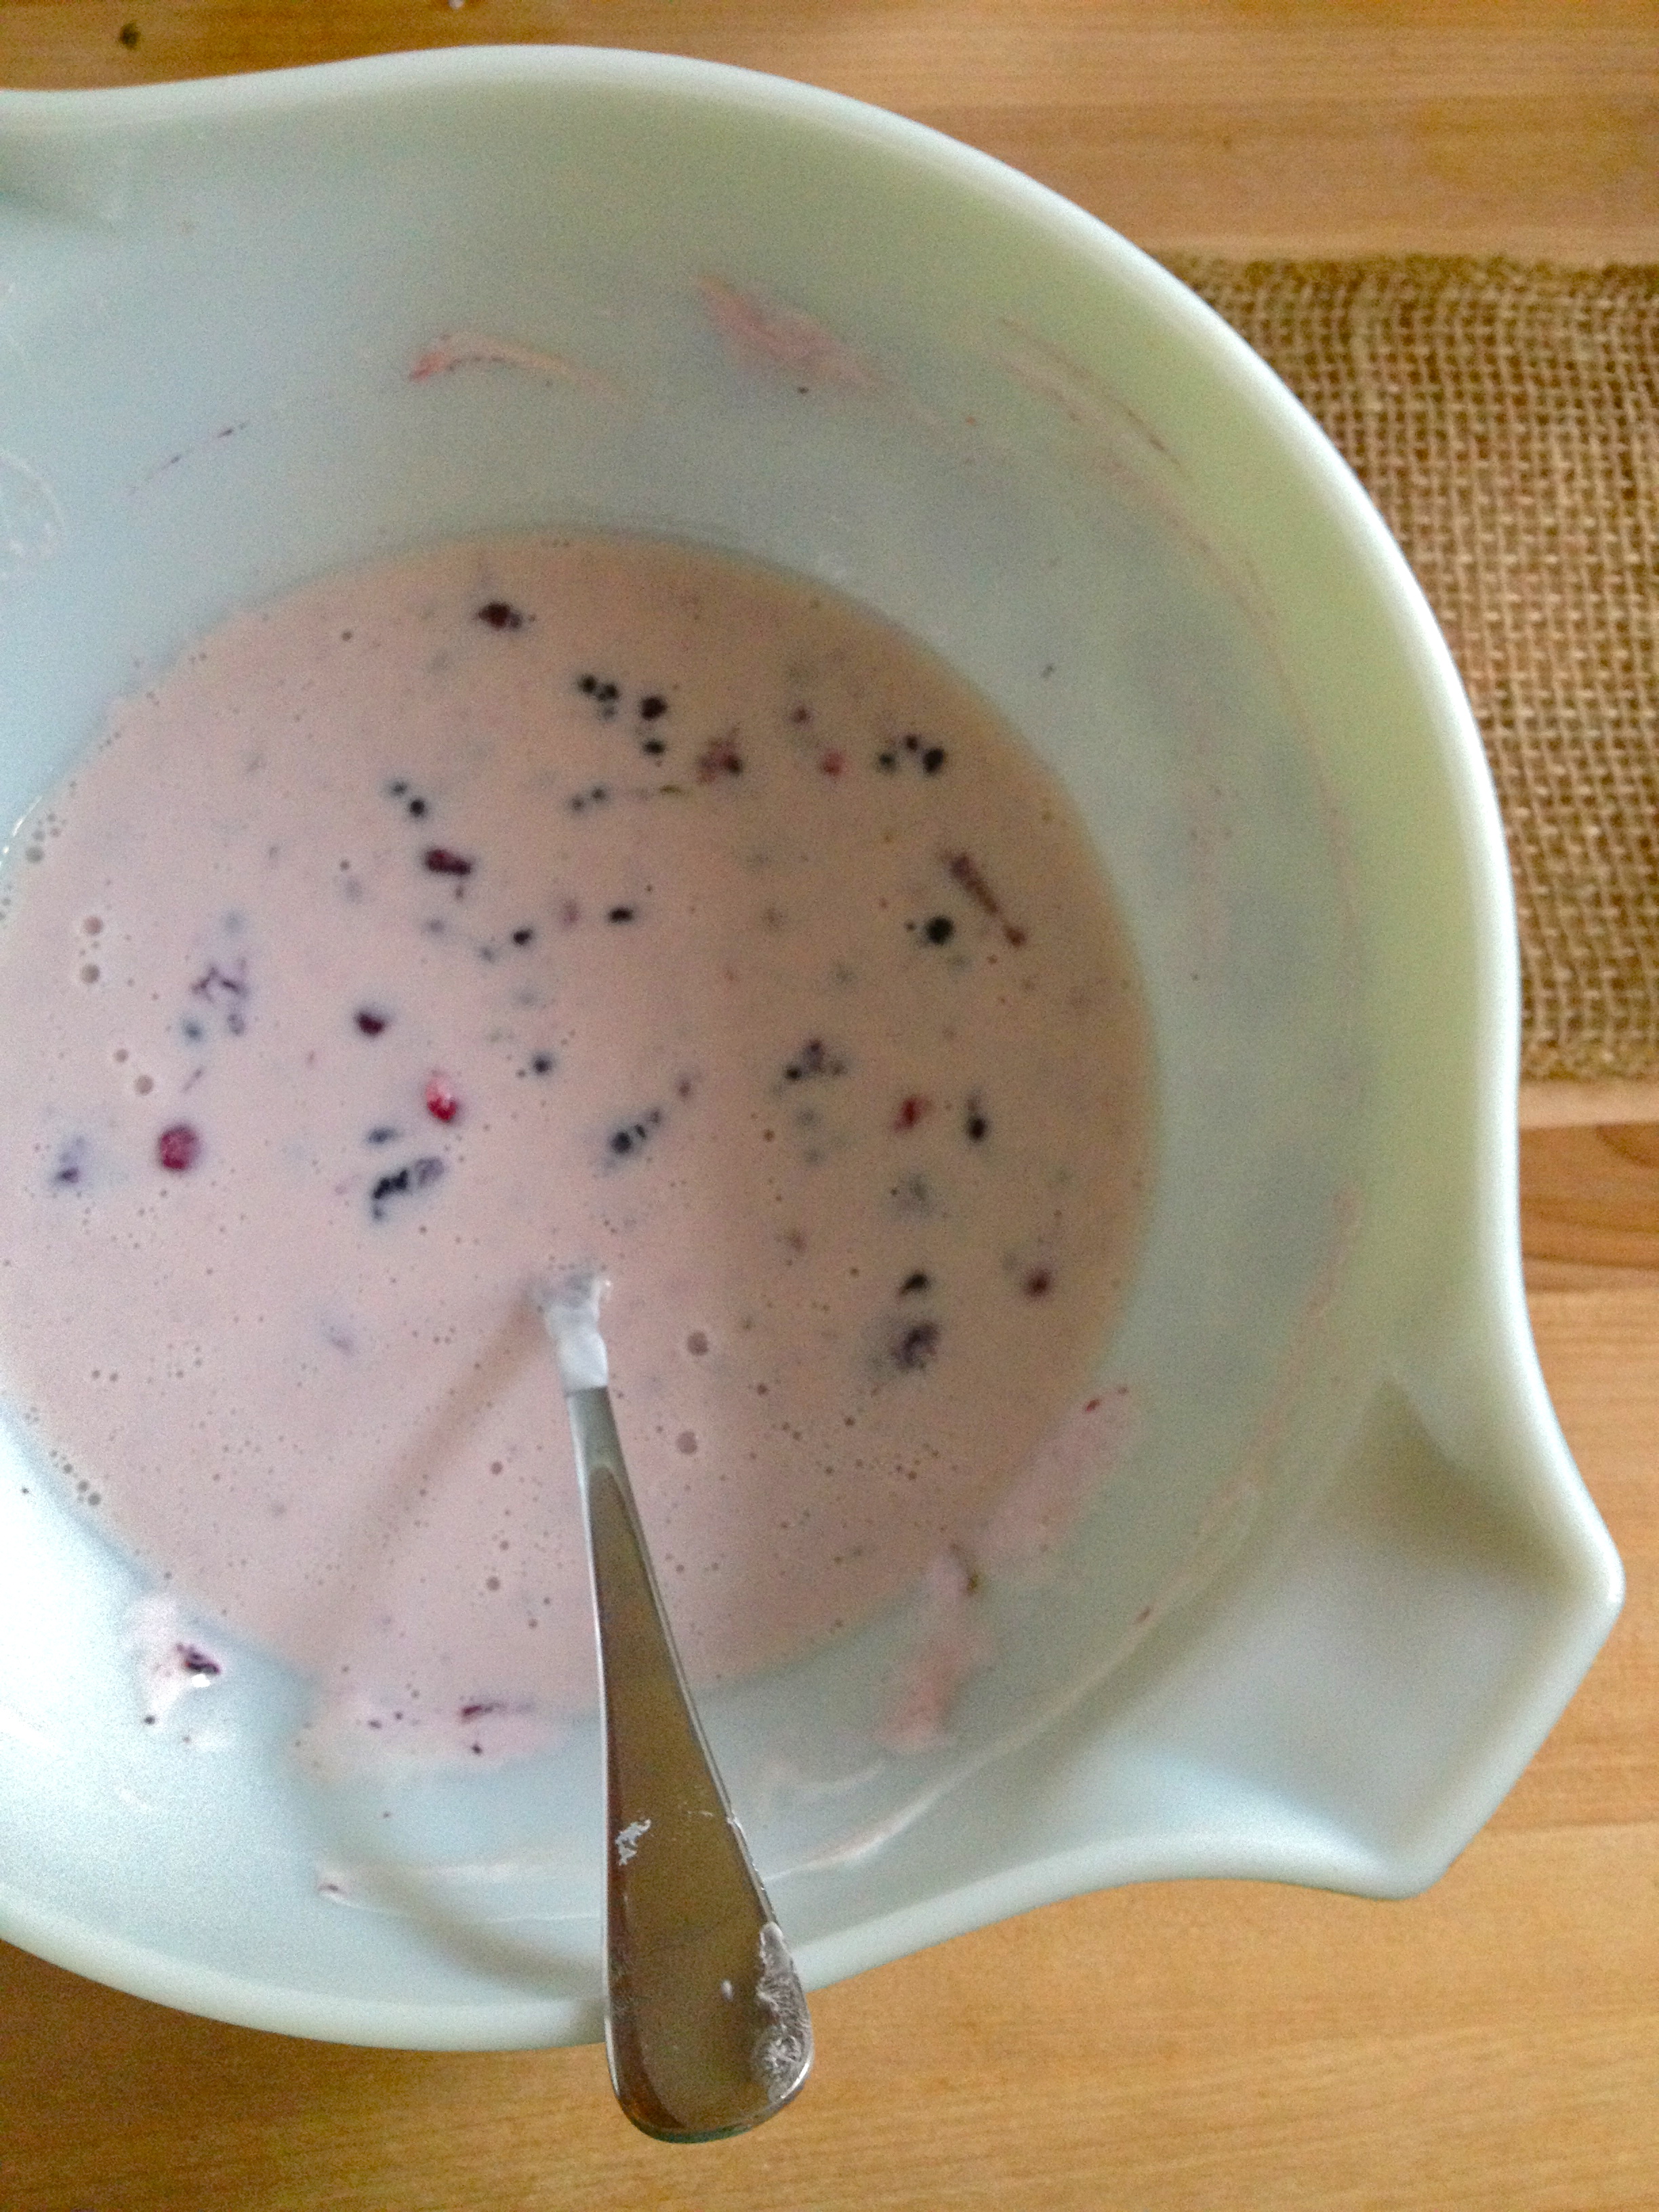
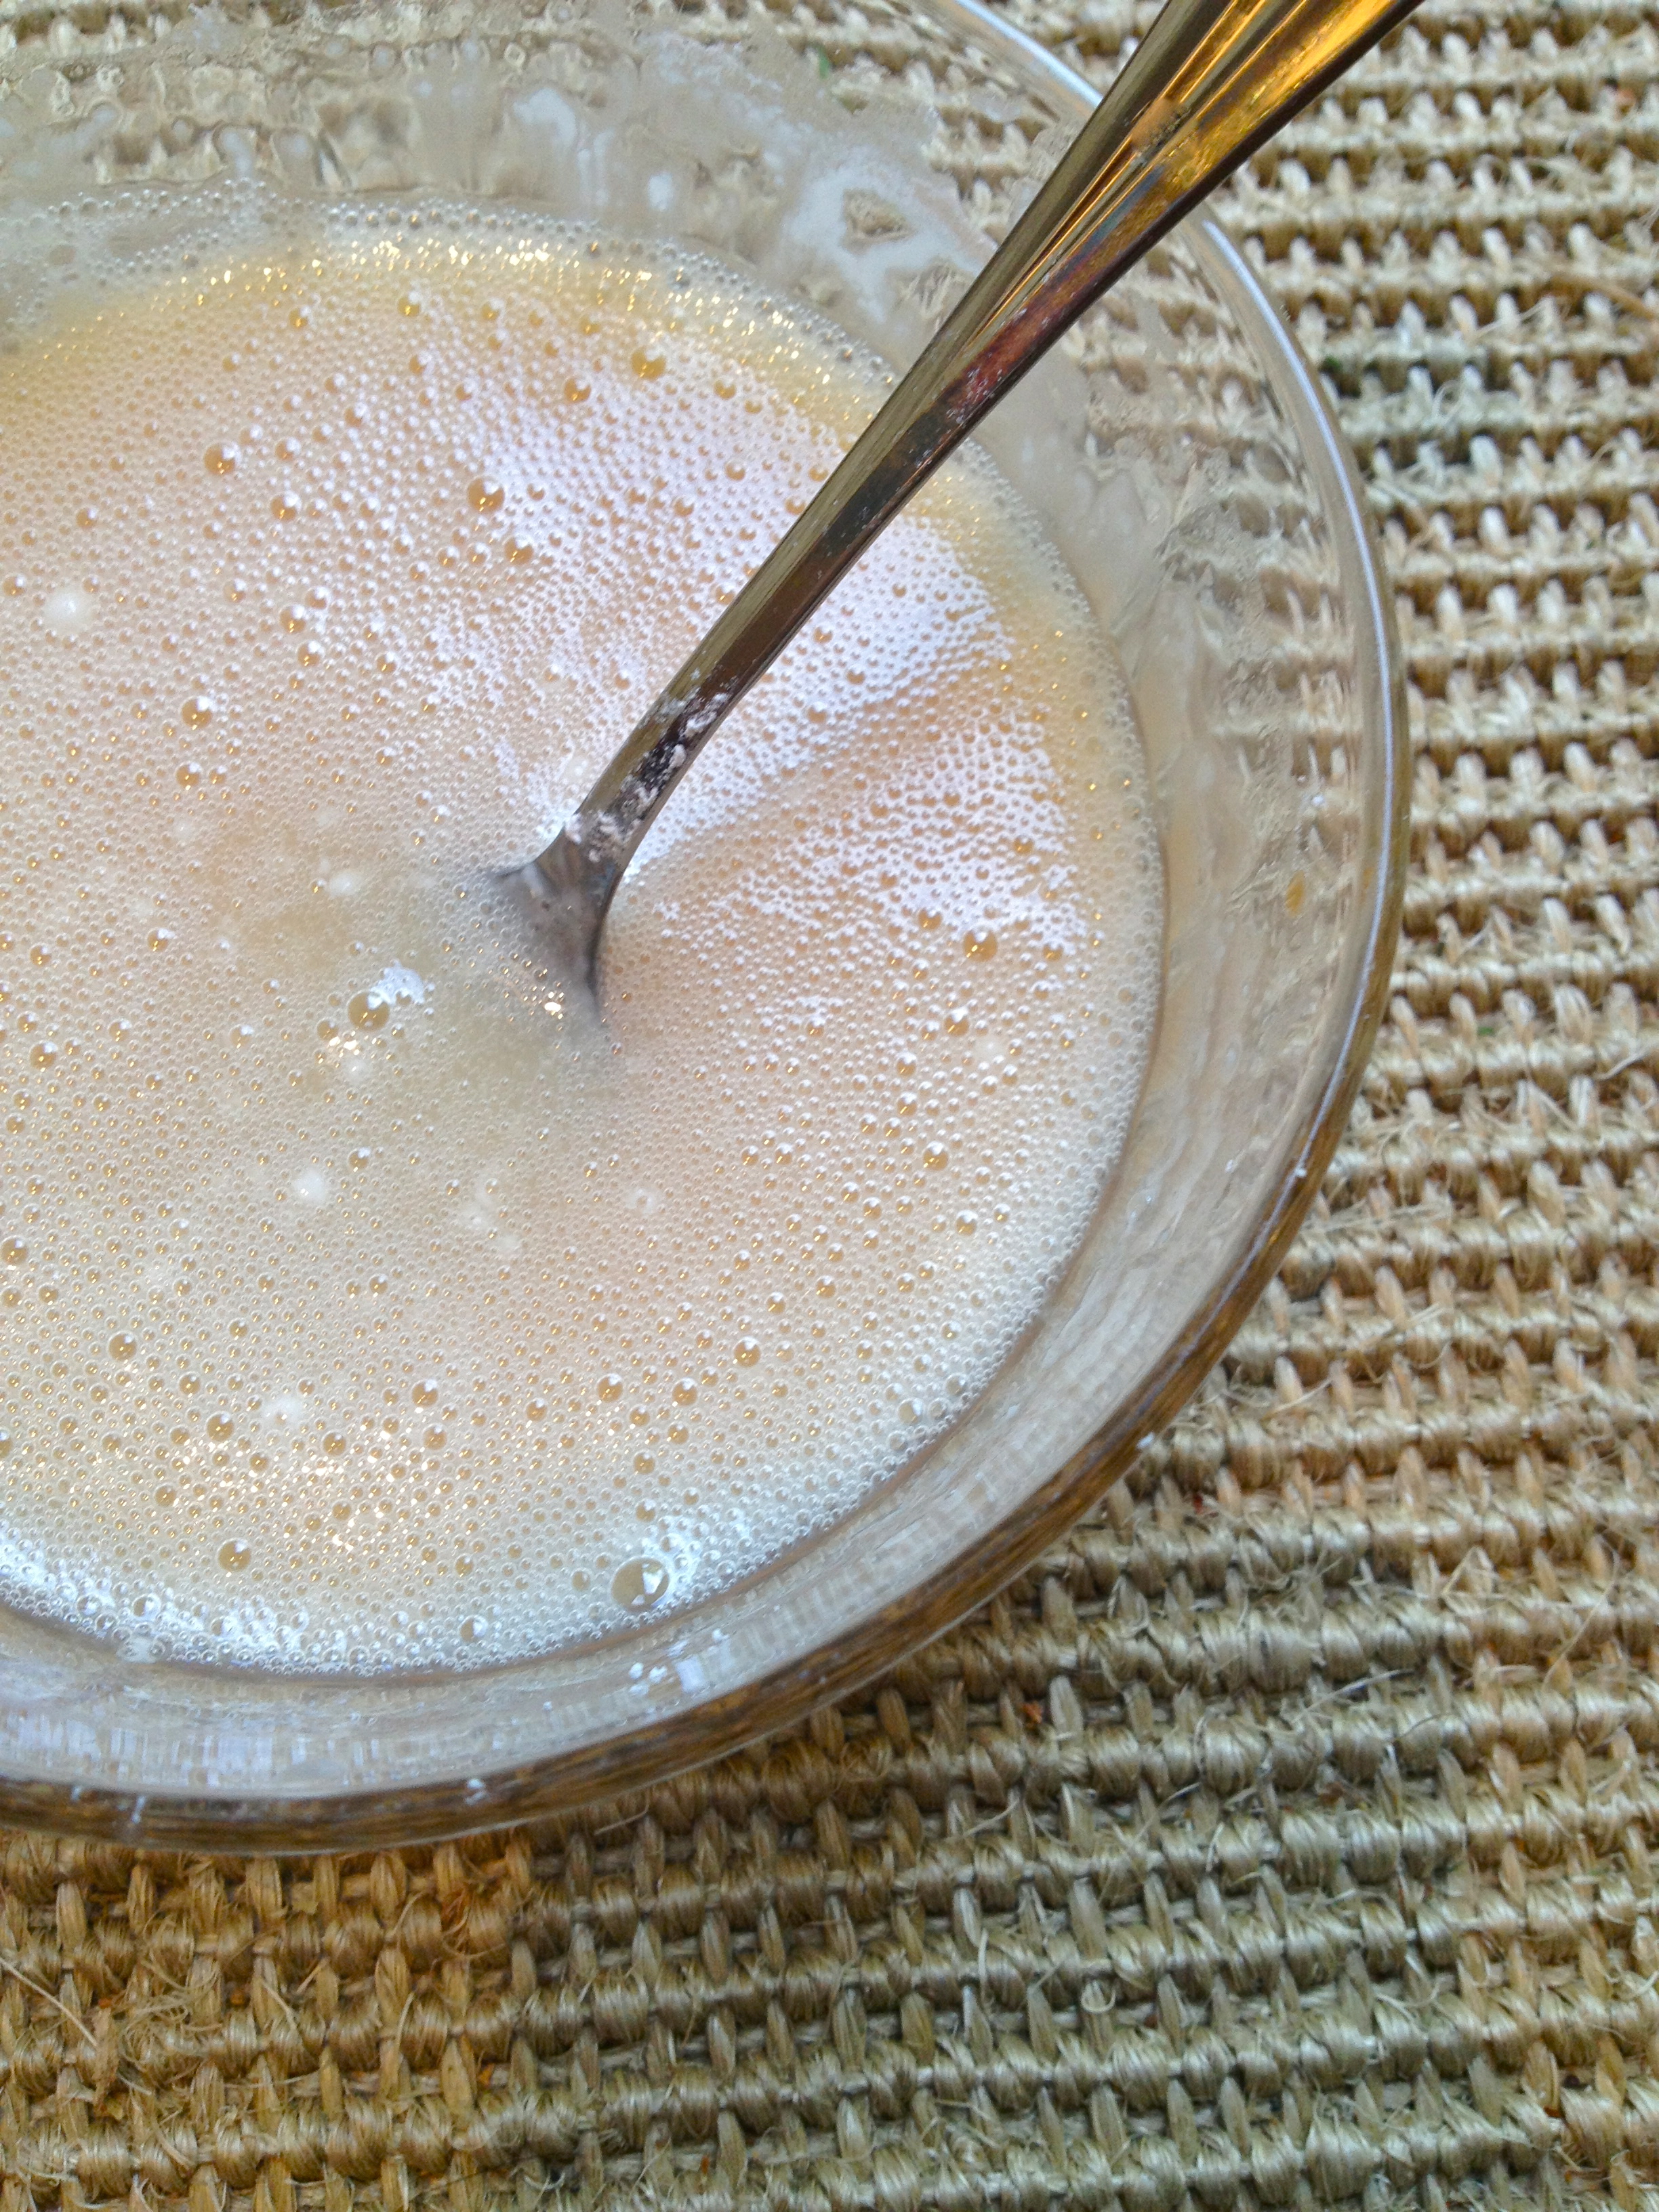
Transfer the cooled pretzels to the cream or half-and-half and let them soak for about 15 minutes. Then strain, leaving just the beautiful pretzel-y cream. The pretzels will have soaked up some of the liquid; you’ll need just 1 cup total for this recipe. If you have any leftover milk, keep it on hand and maybe dip the scones into it once they’re baked. This stuff is amazing.

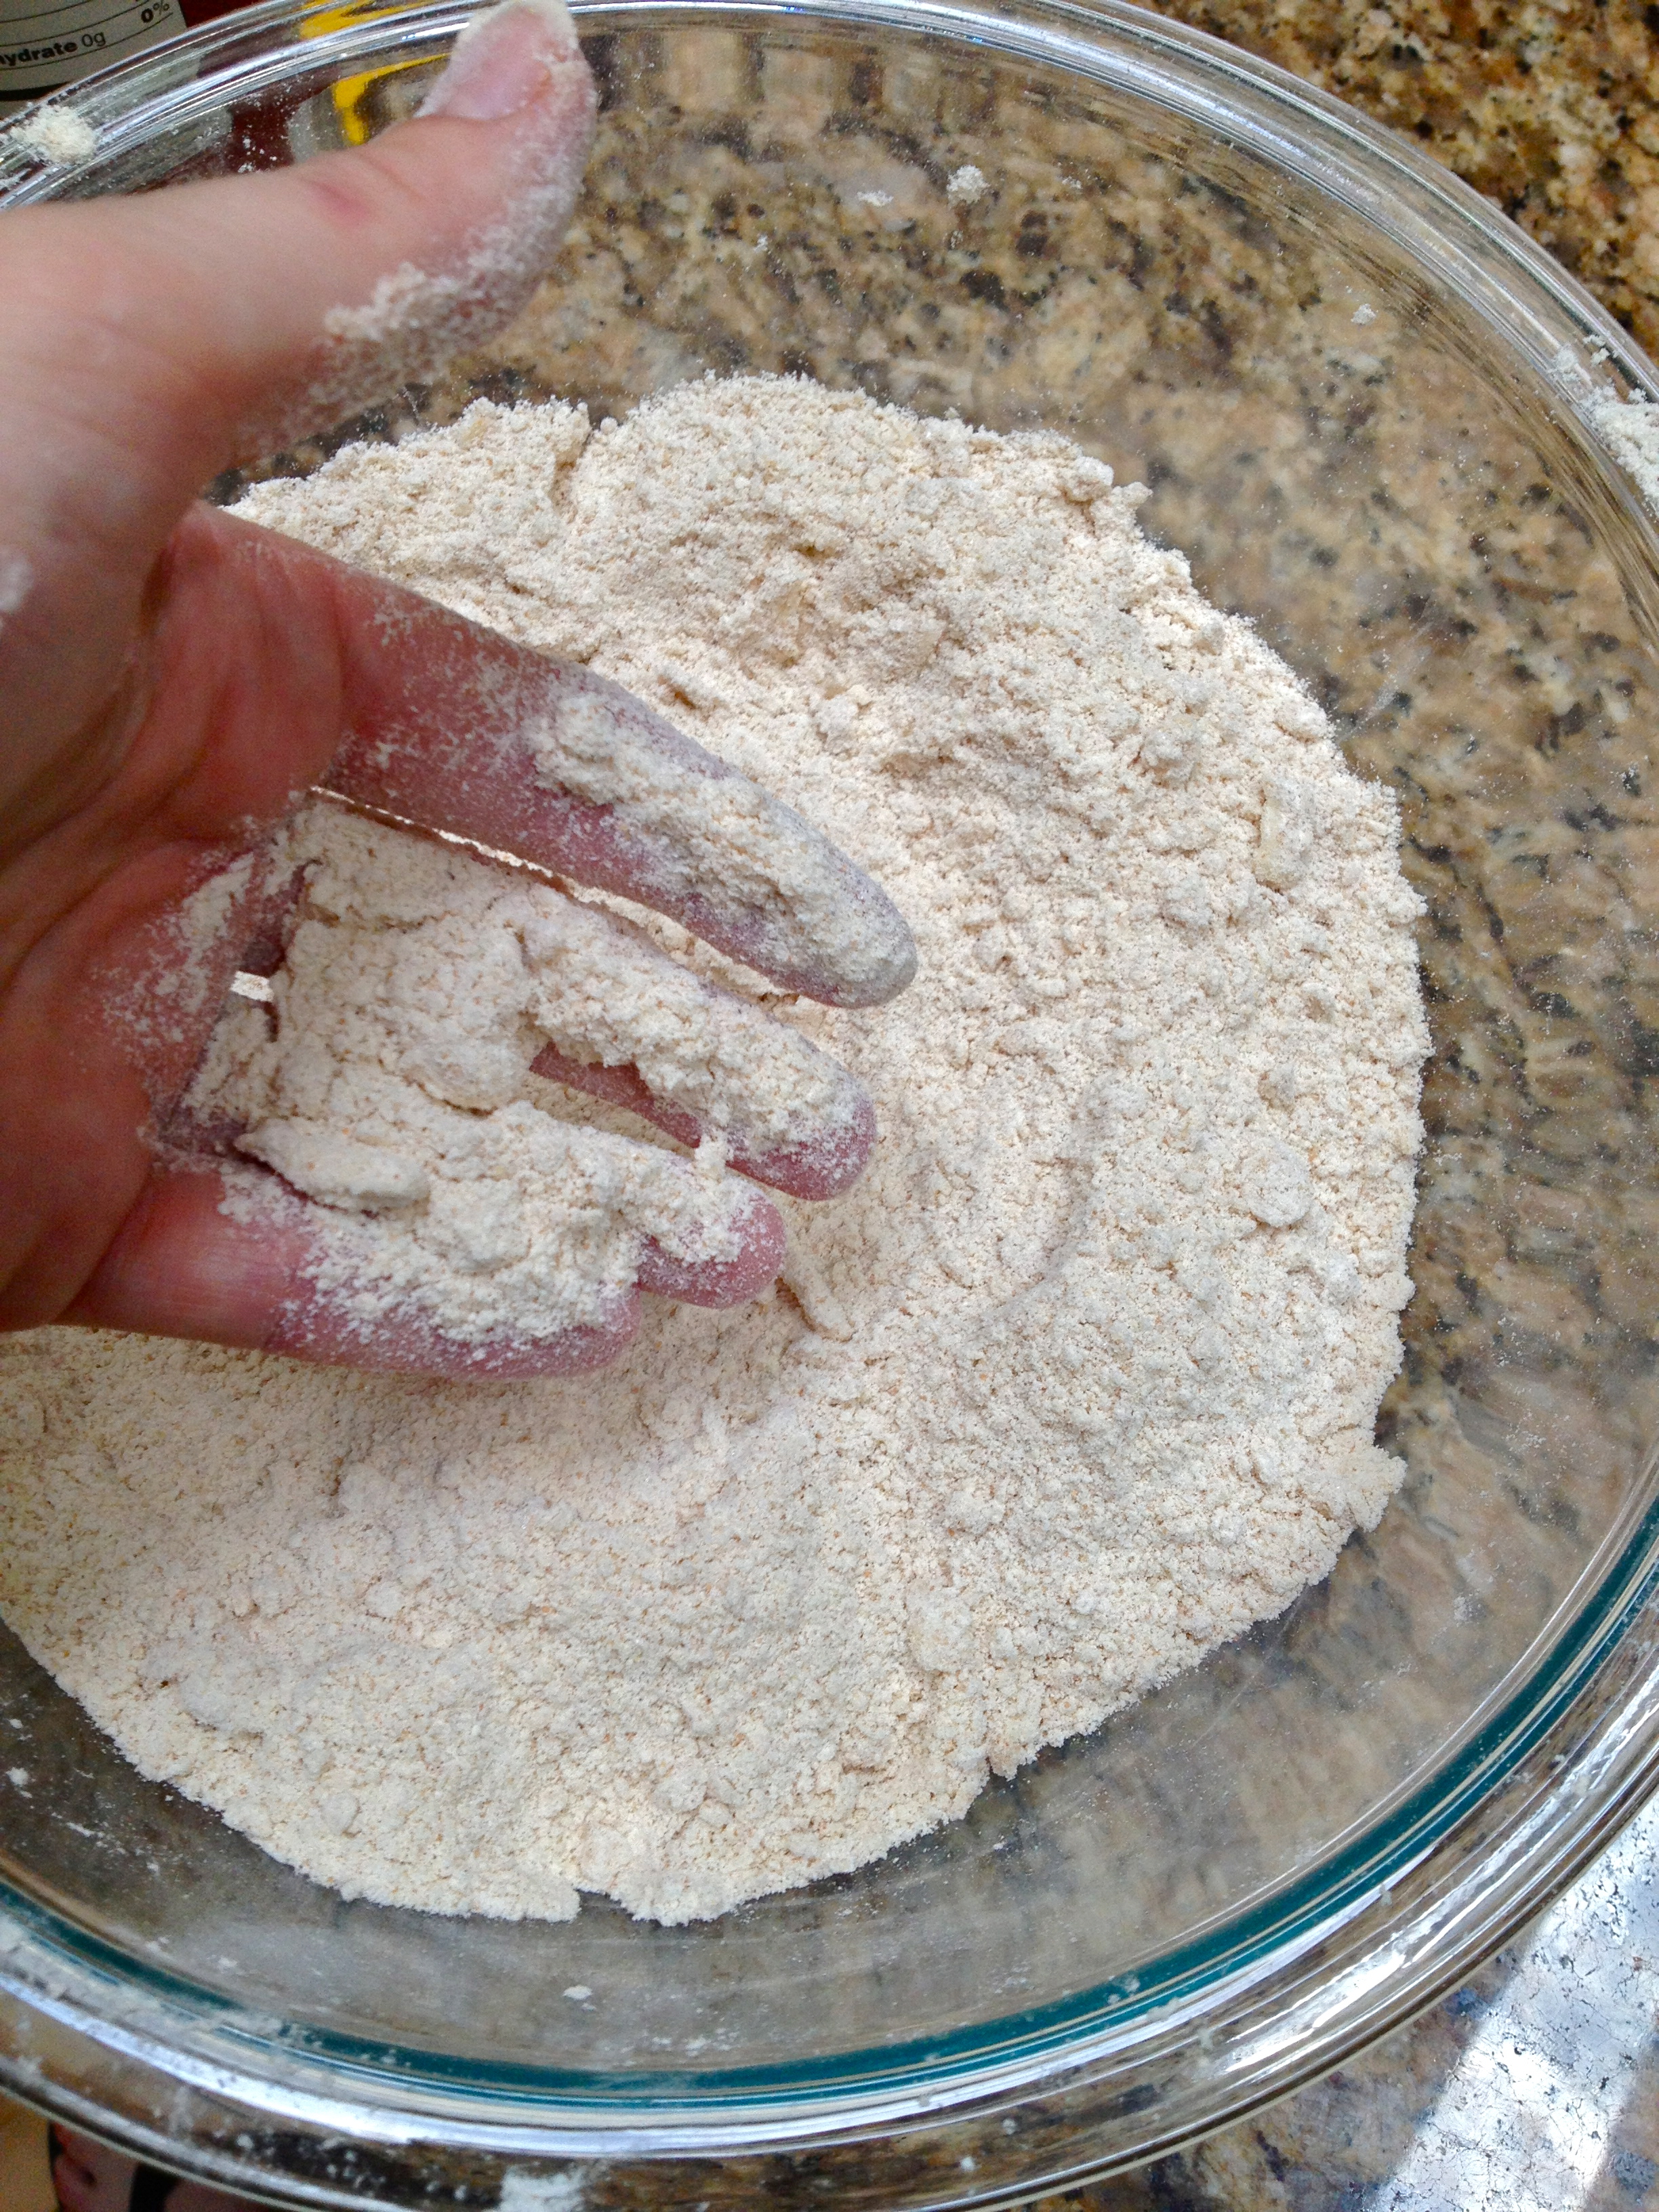
Place flour, baking powder, sugar, and salt in a mixing bowl or food processor. Whisk or pulse together until combined. Add the butter; if using your fingers, quickly rub the flour mixture into the butter until the mixture resembles coarse sand, handling the butter as little as possible and careful not to melt it as you go. If you’re using a food processor, pulse together until the mixture resembles coarse sand.
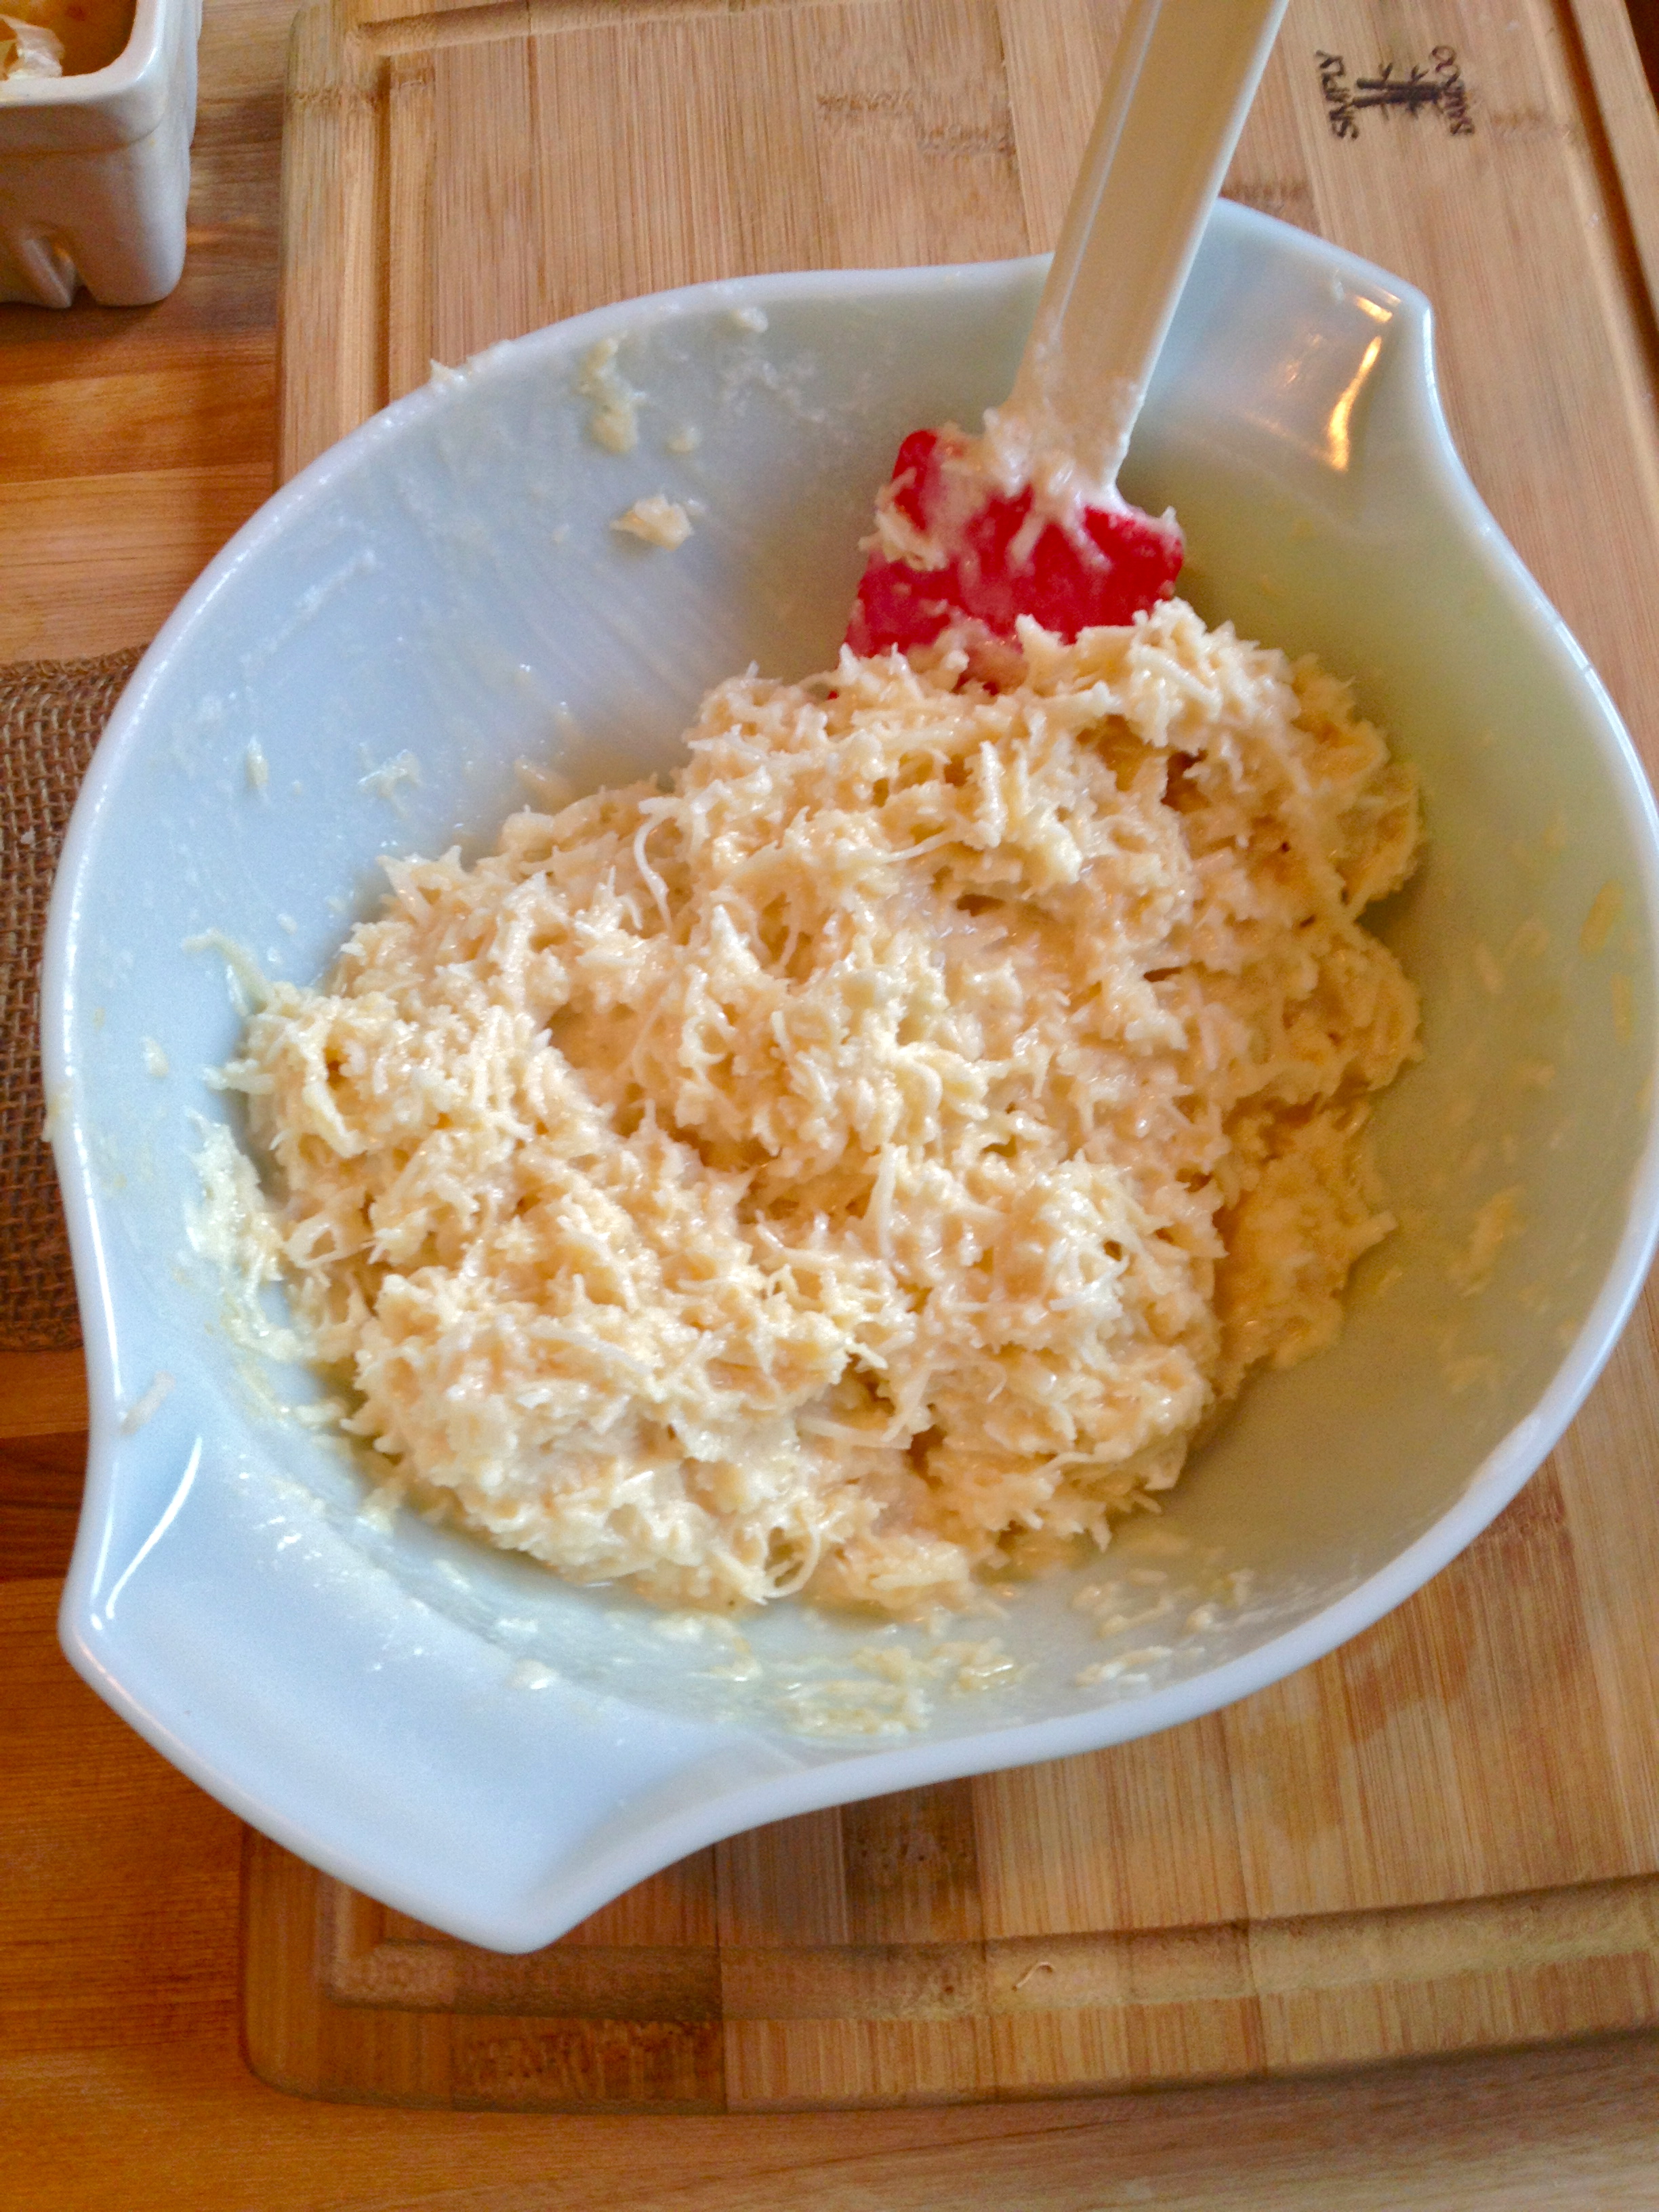
Add the chocolate bits and stir or pulse briefly to combine. Transfer mixture to a mixing bowl if it was in a food processor. Stir in the pretzel milk until the dough starts to come together. Then turn it out onto a floured workspace.

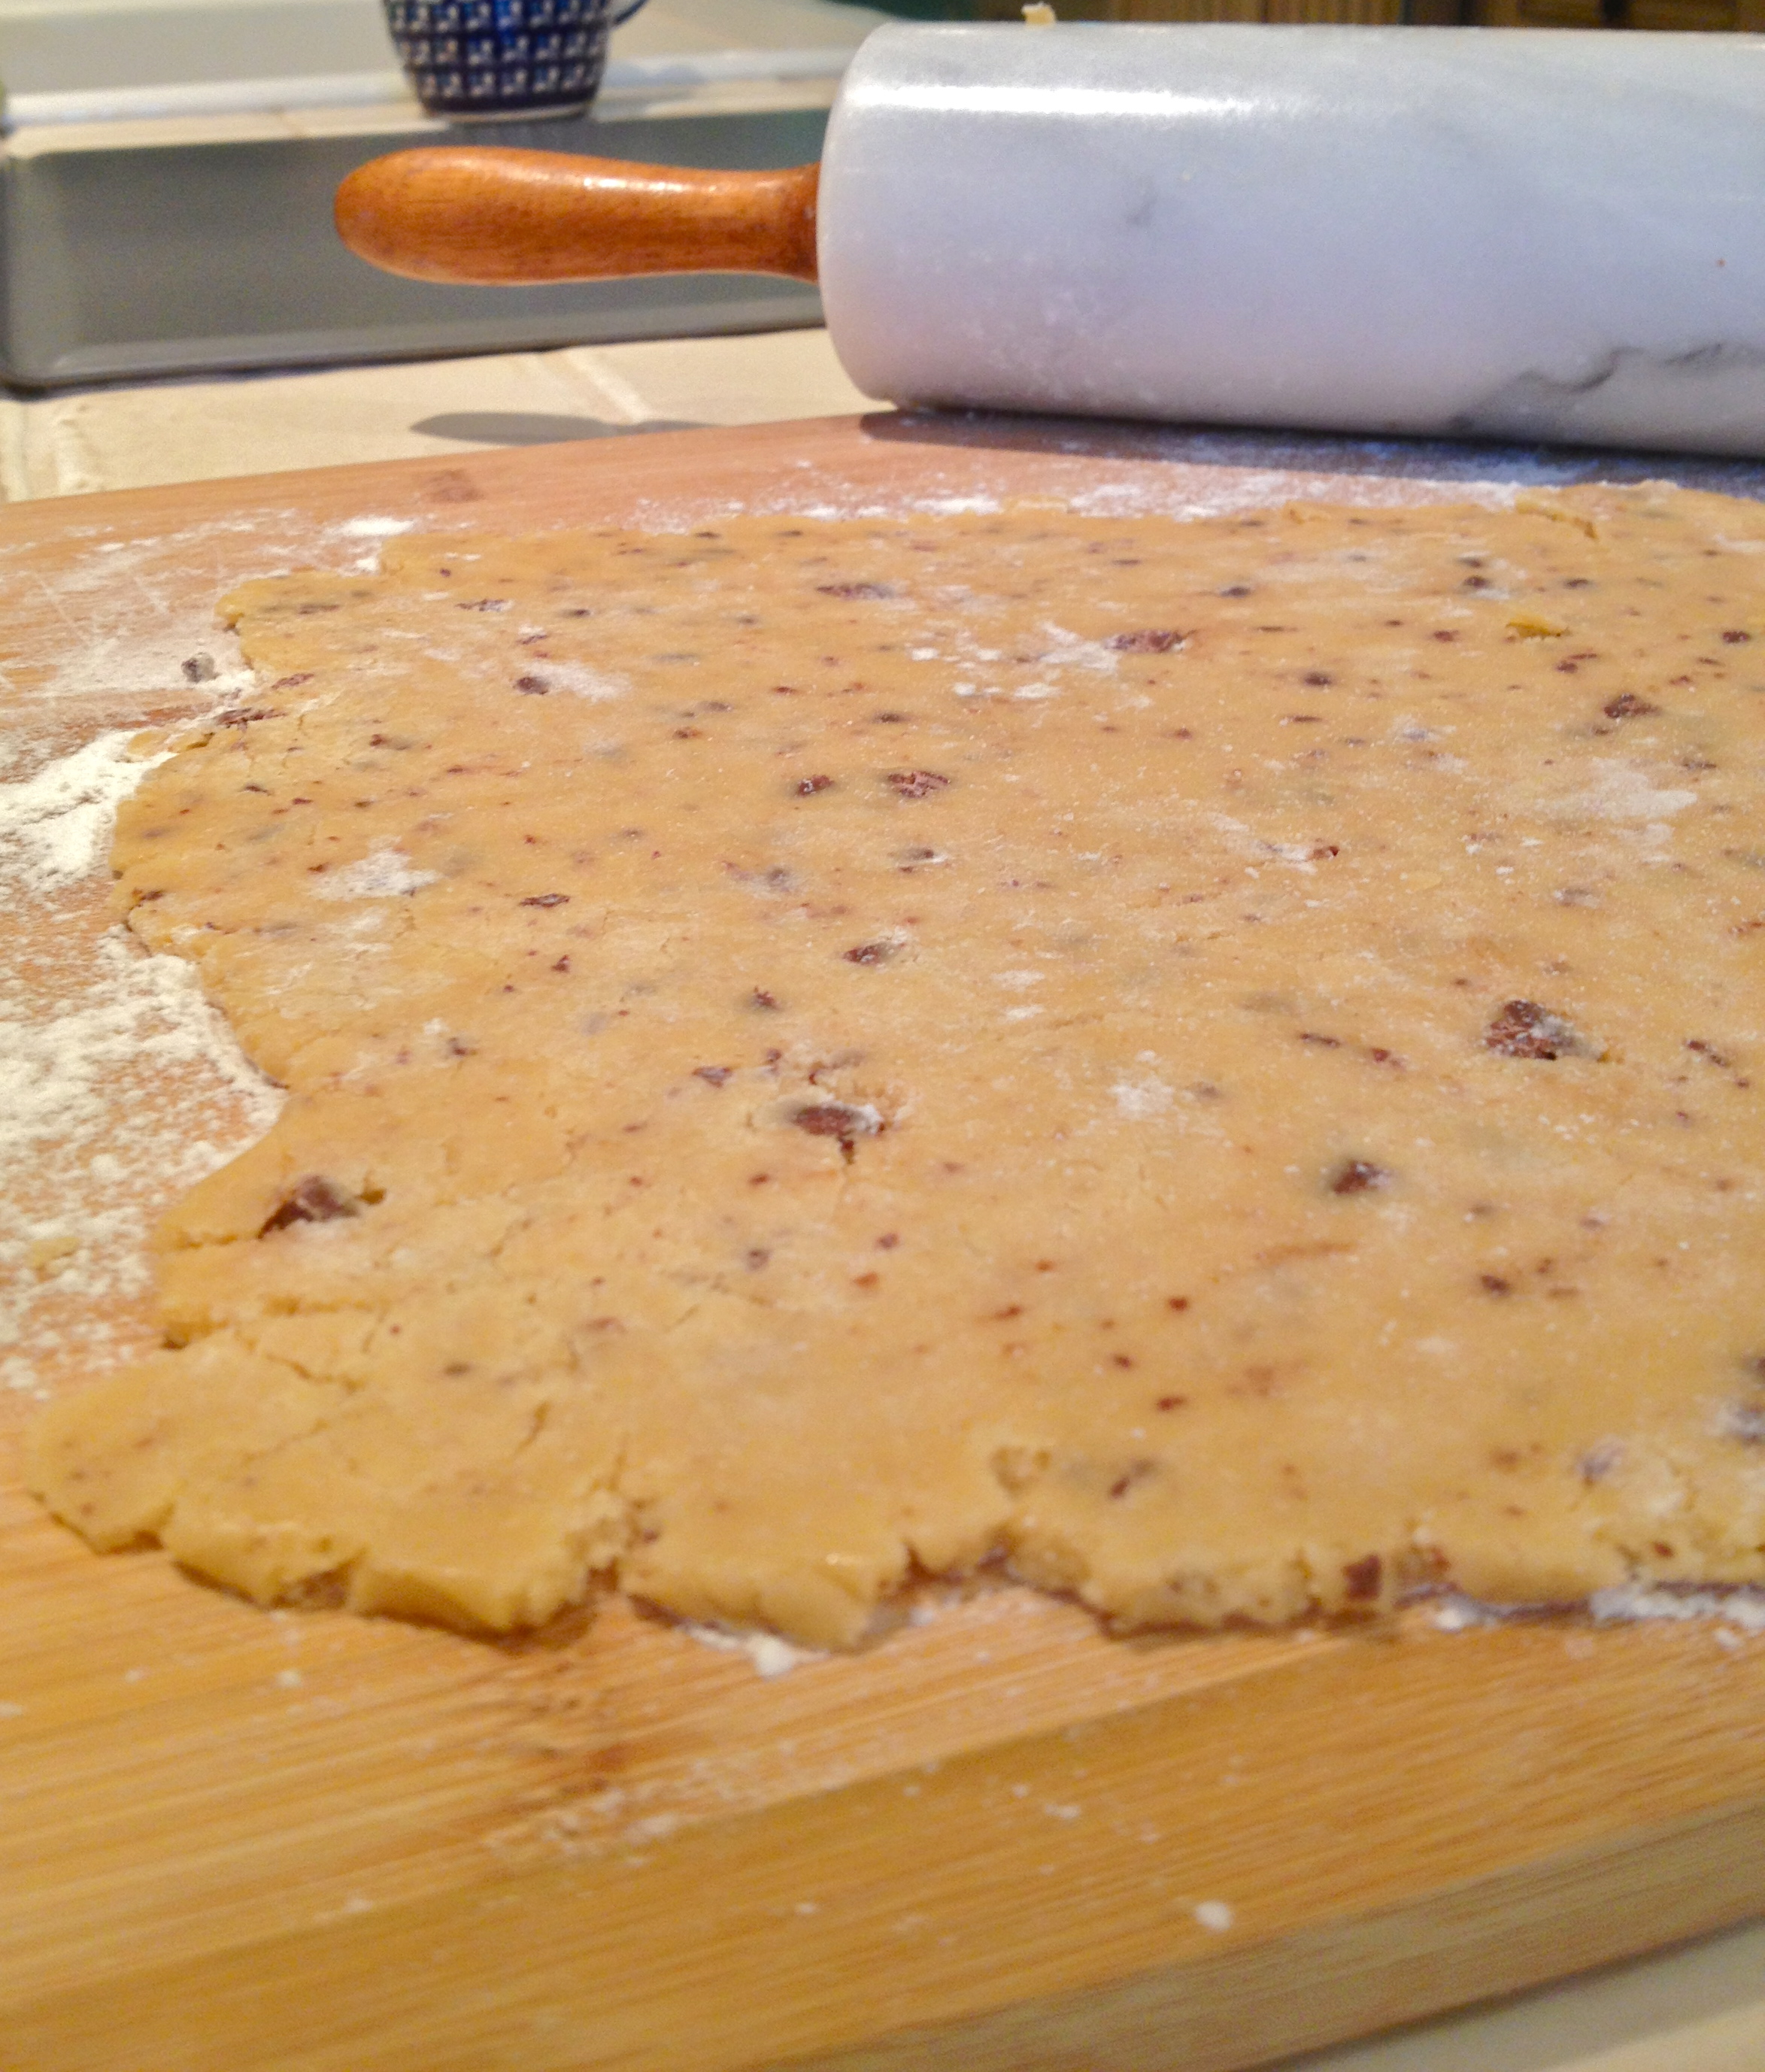
Knead the dough a few times gently with your hands, just until it comes together in a ball – the less you work the dough, the better, since you don’t want the heat of your hands to melt the butter.
Flatten the dough into the shape of a rectangle (roughly….), about 3/4 inch -thick. Okay fine, so this dough is obviously not in a rectangle. I took this picture before I decided what shape I wanted the scones to be. Whatever.

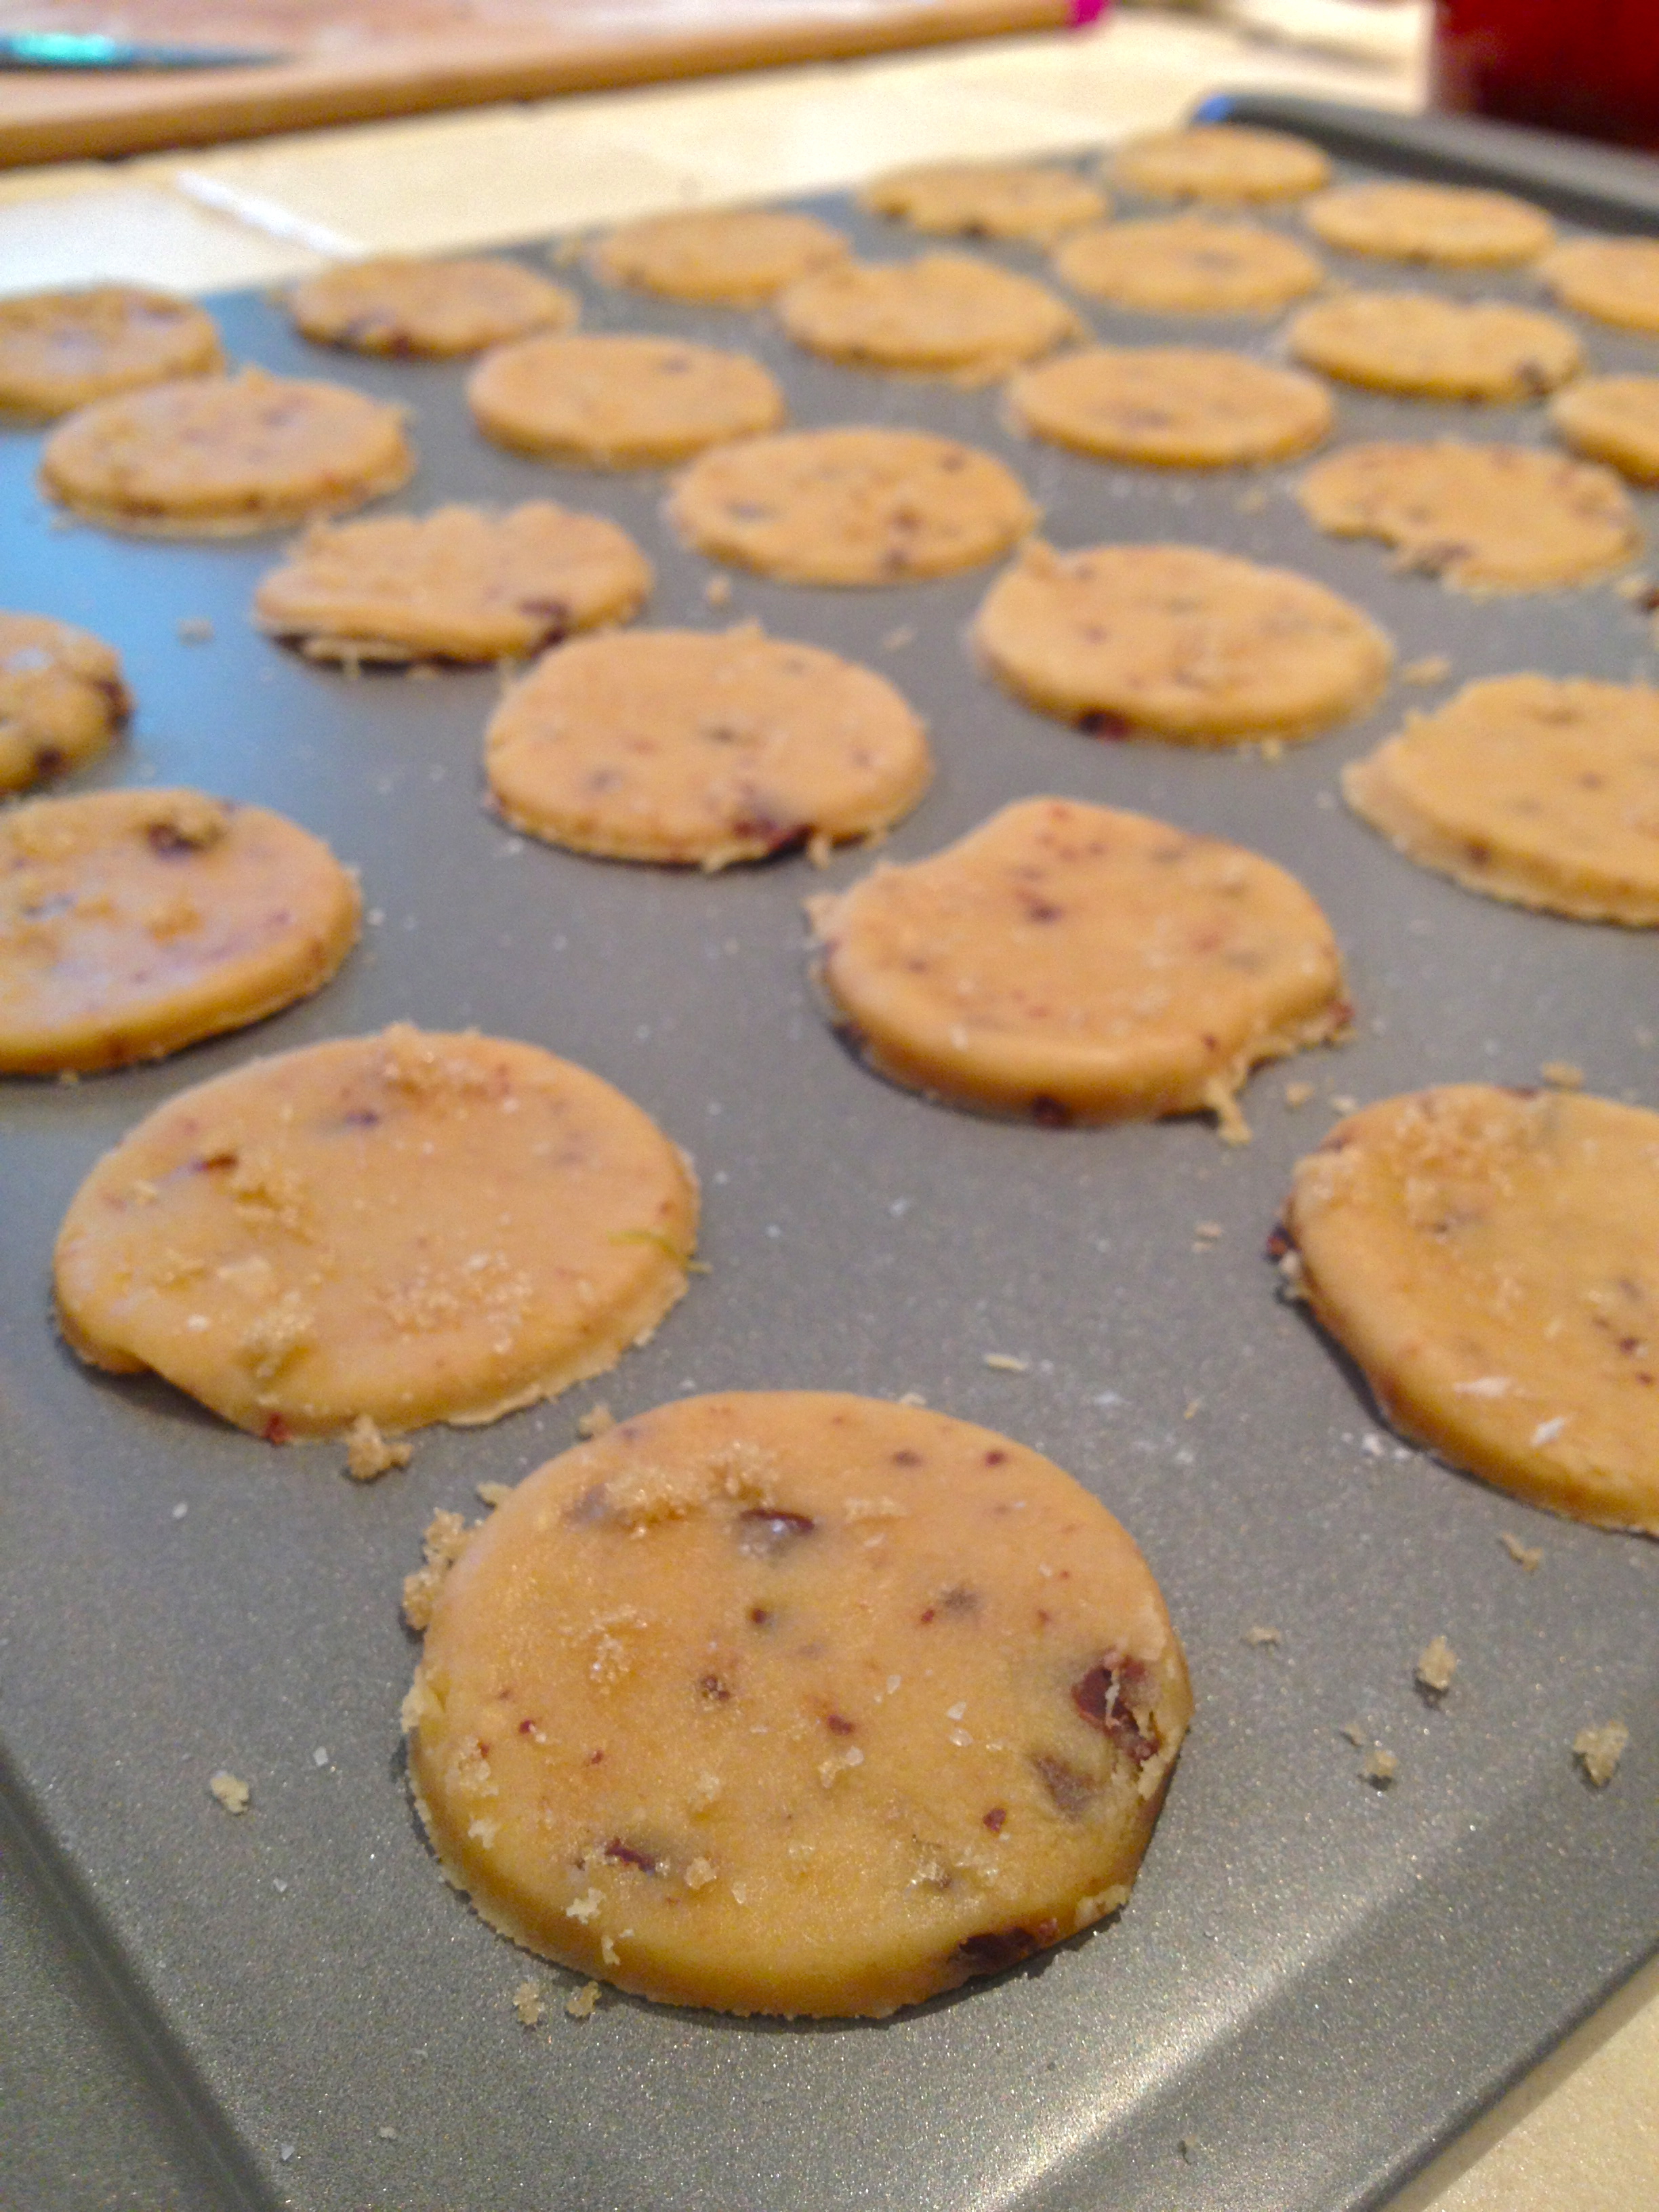
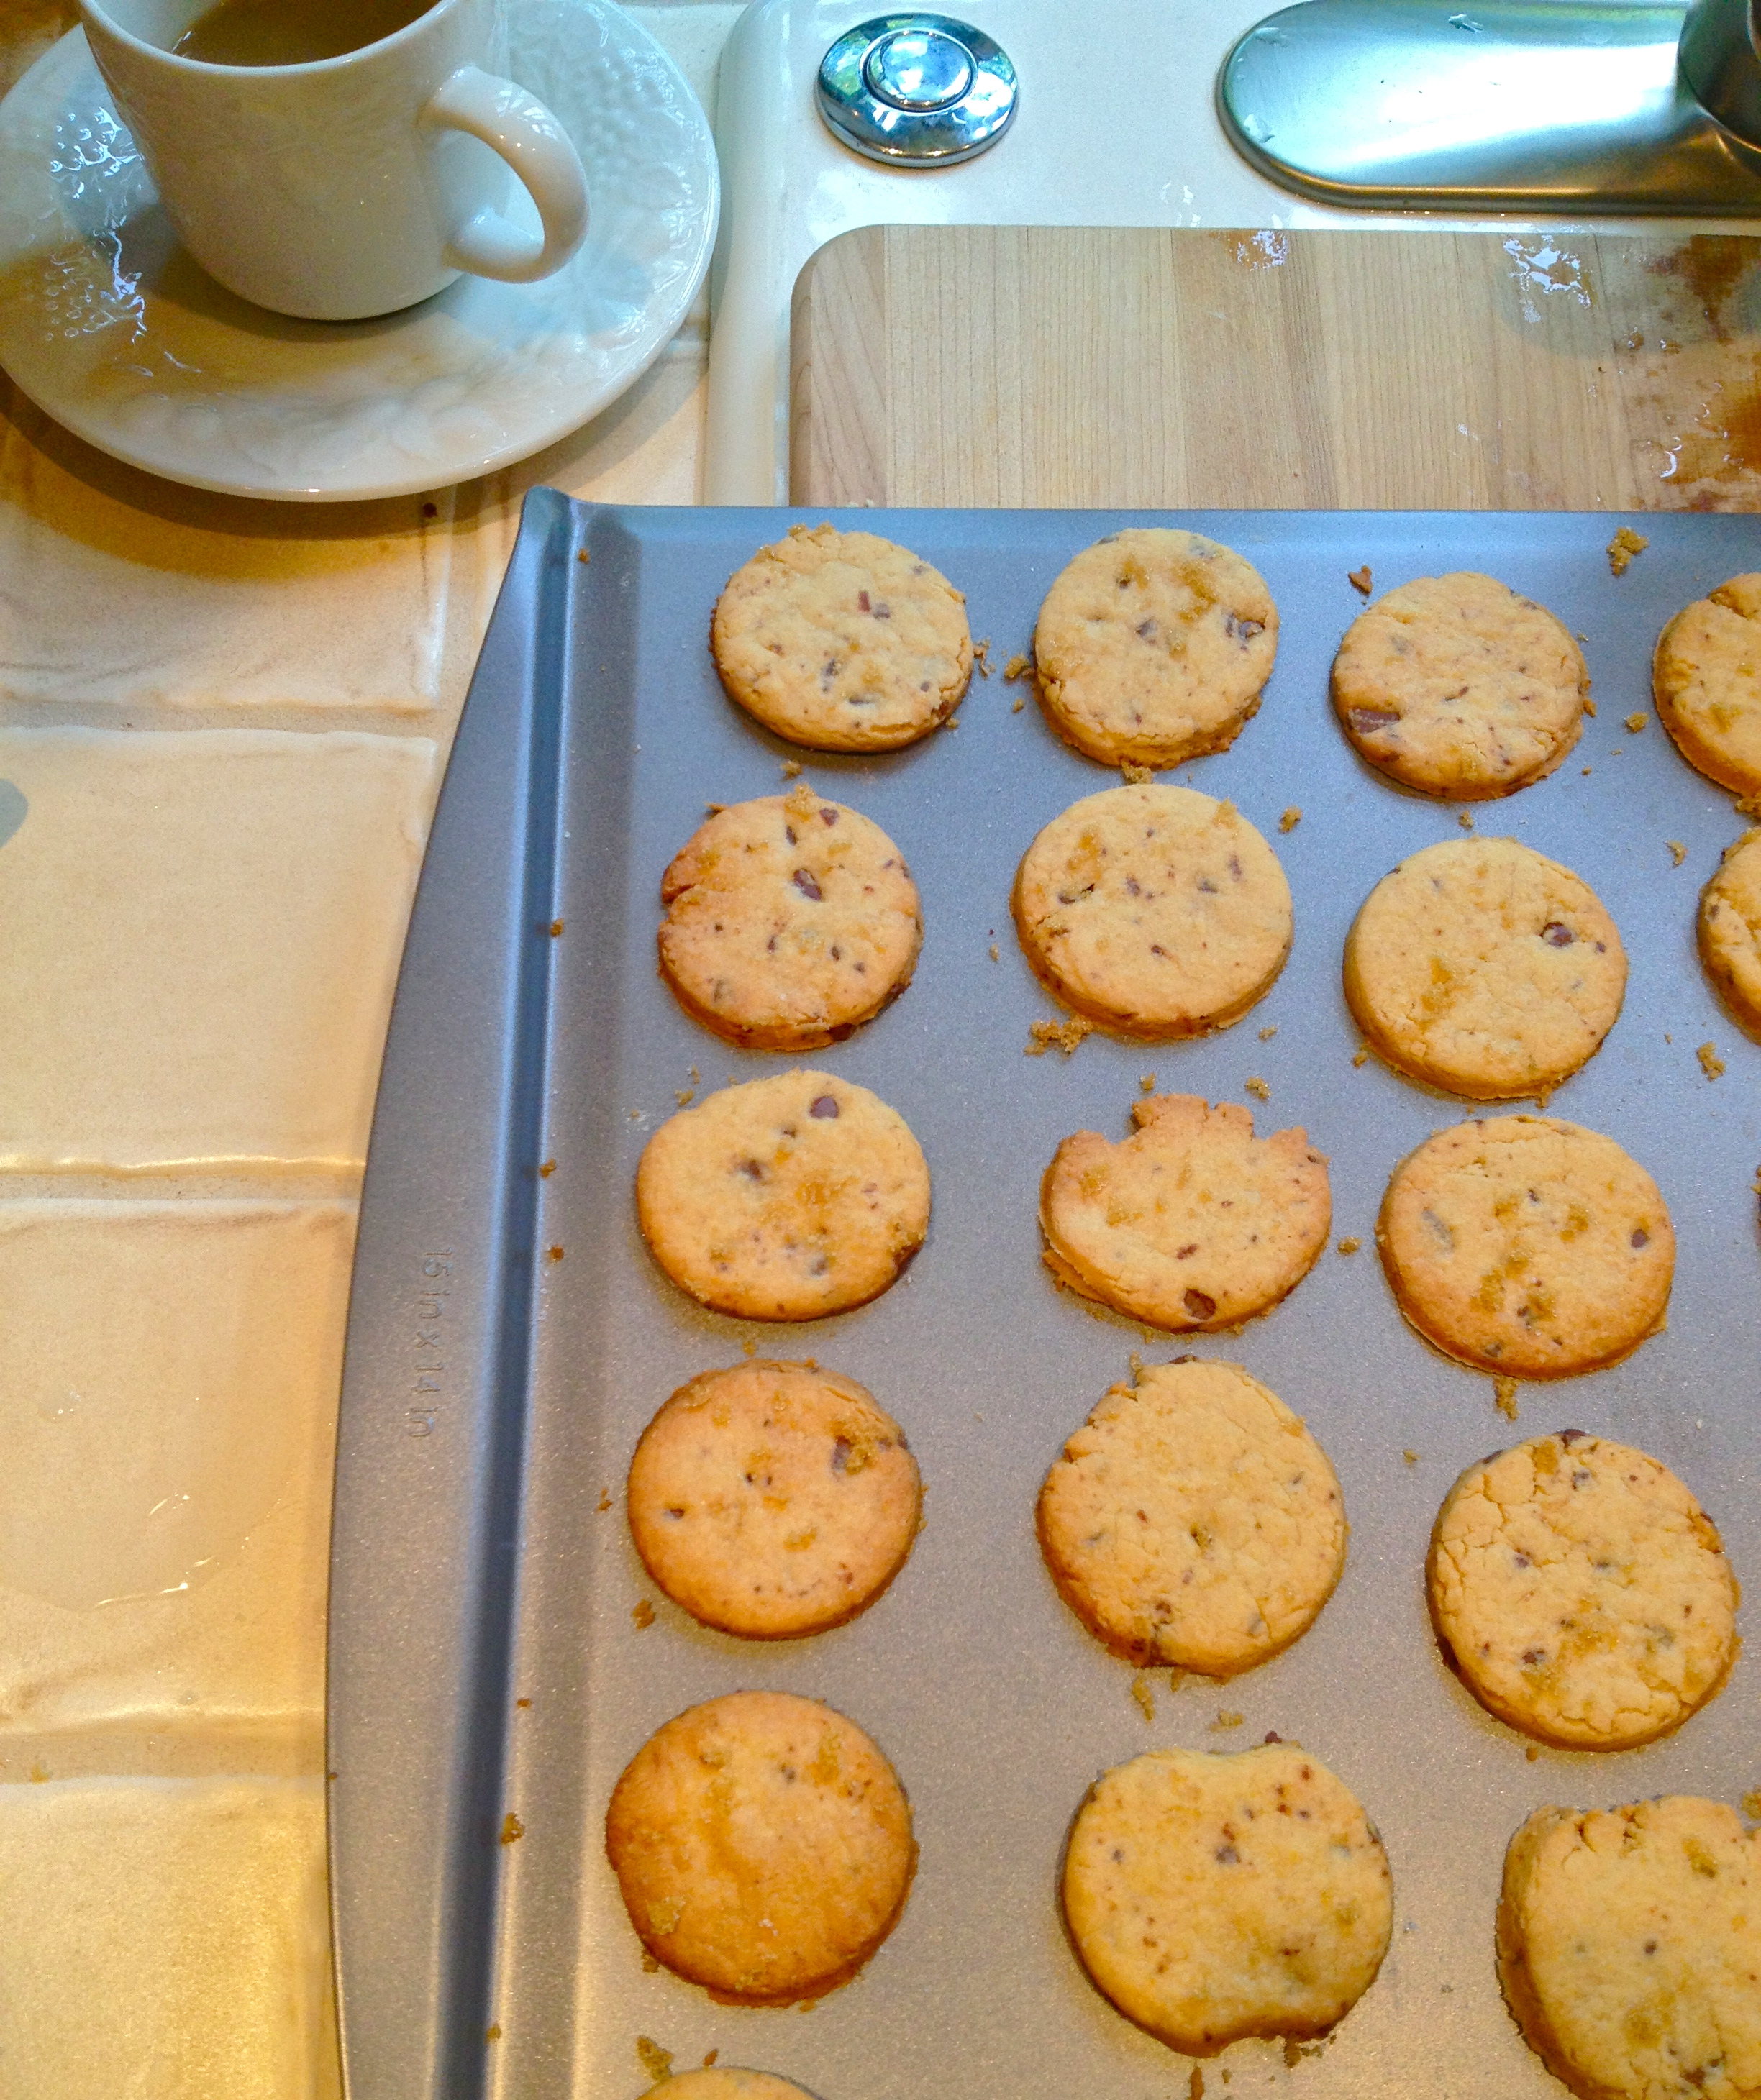
Cut the dough into squares. Then cut each square diagonally in half, to make little triangles…..Or, cut them however you want!

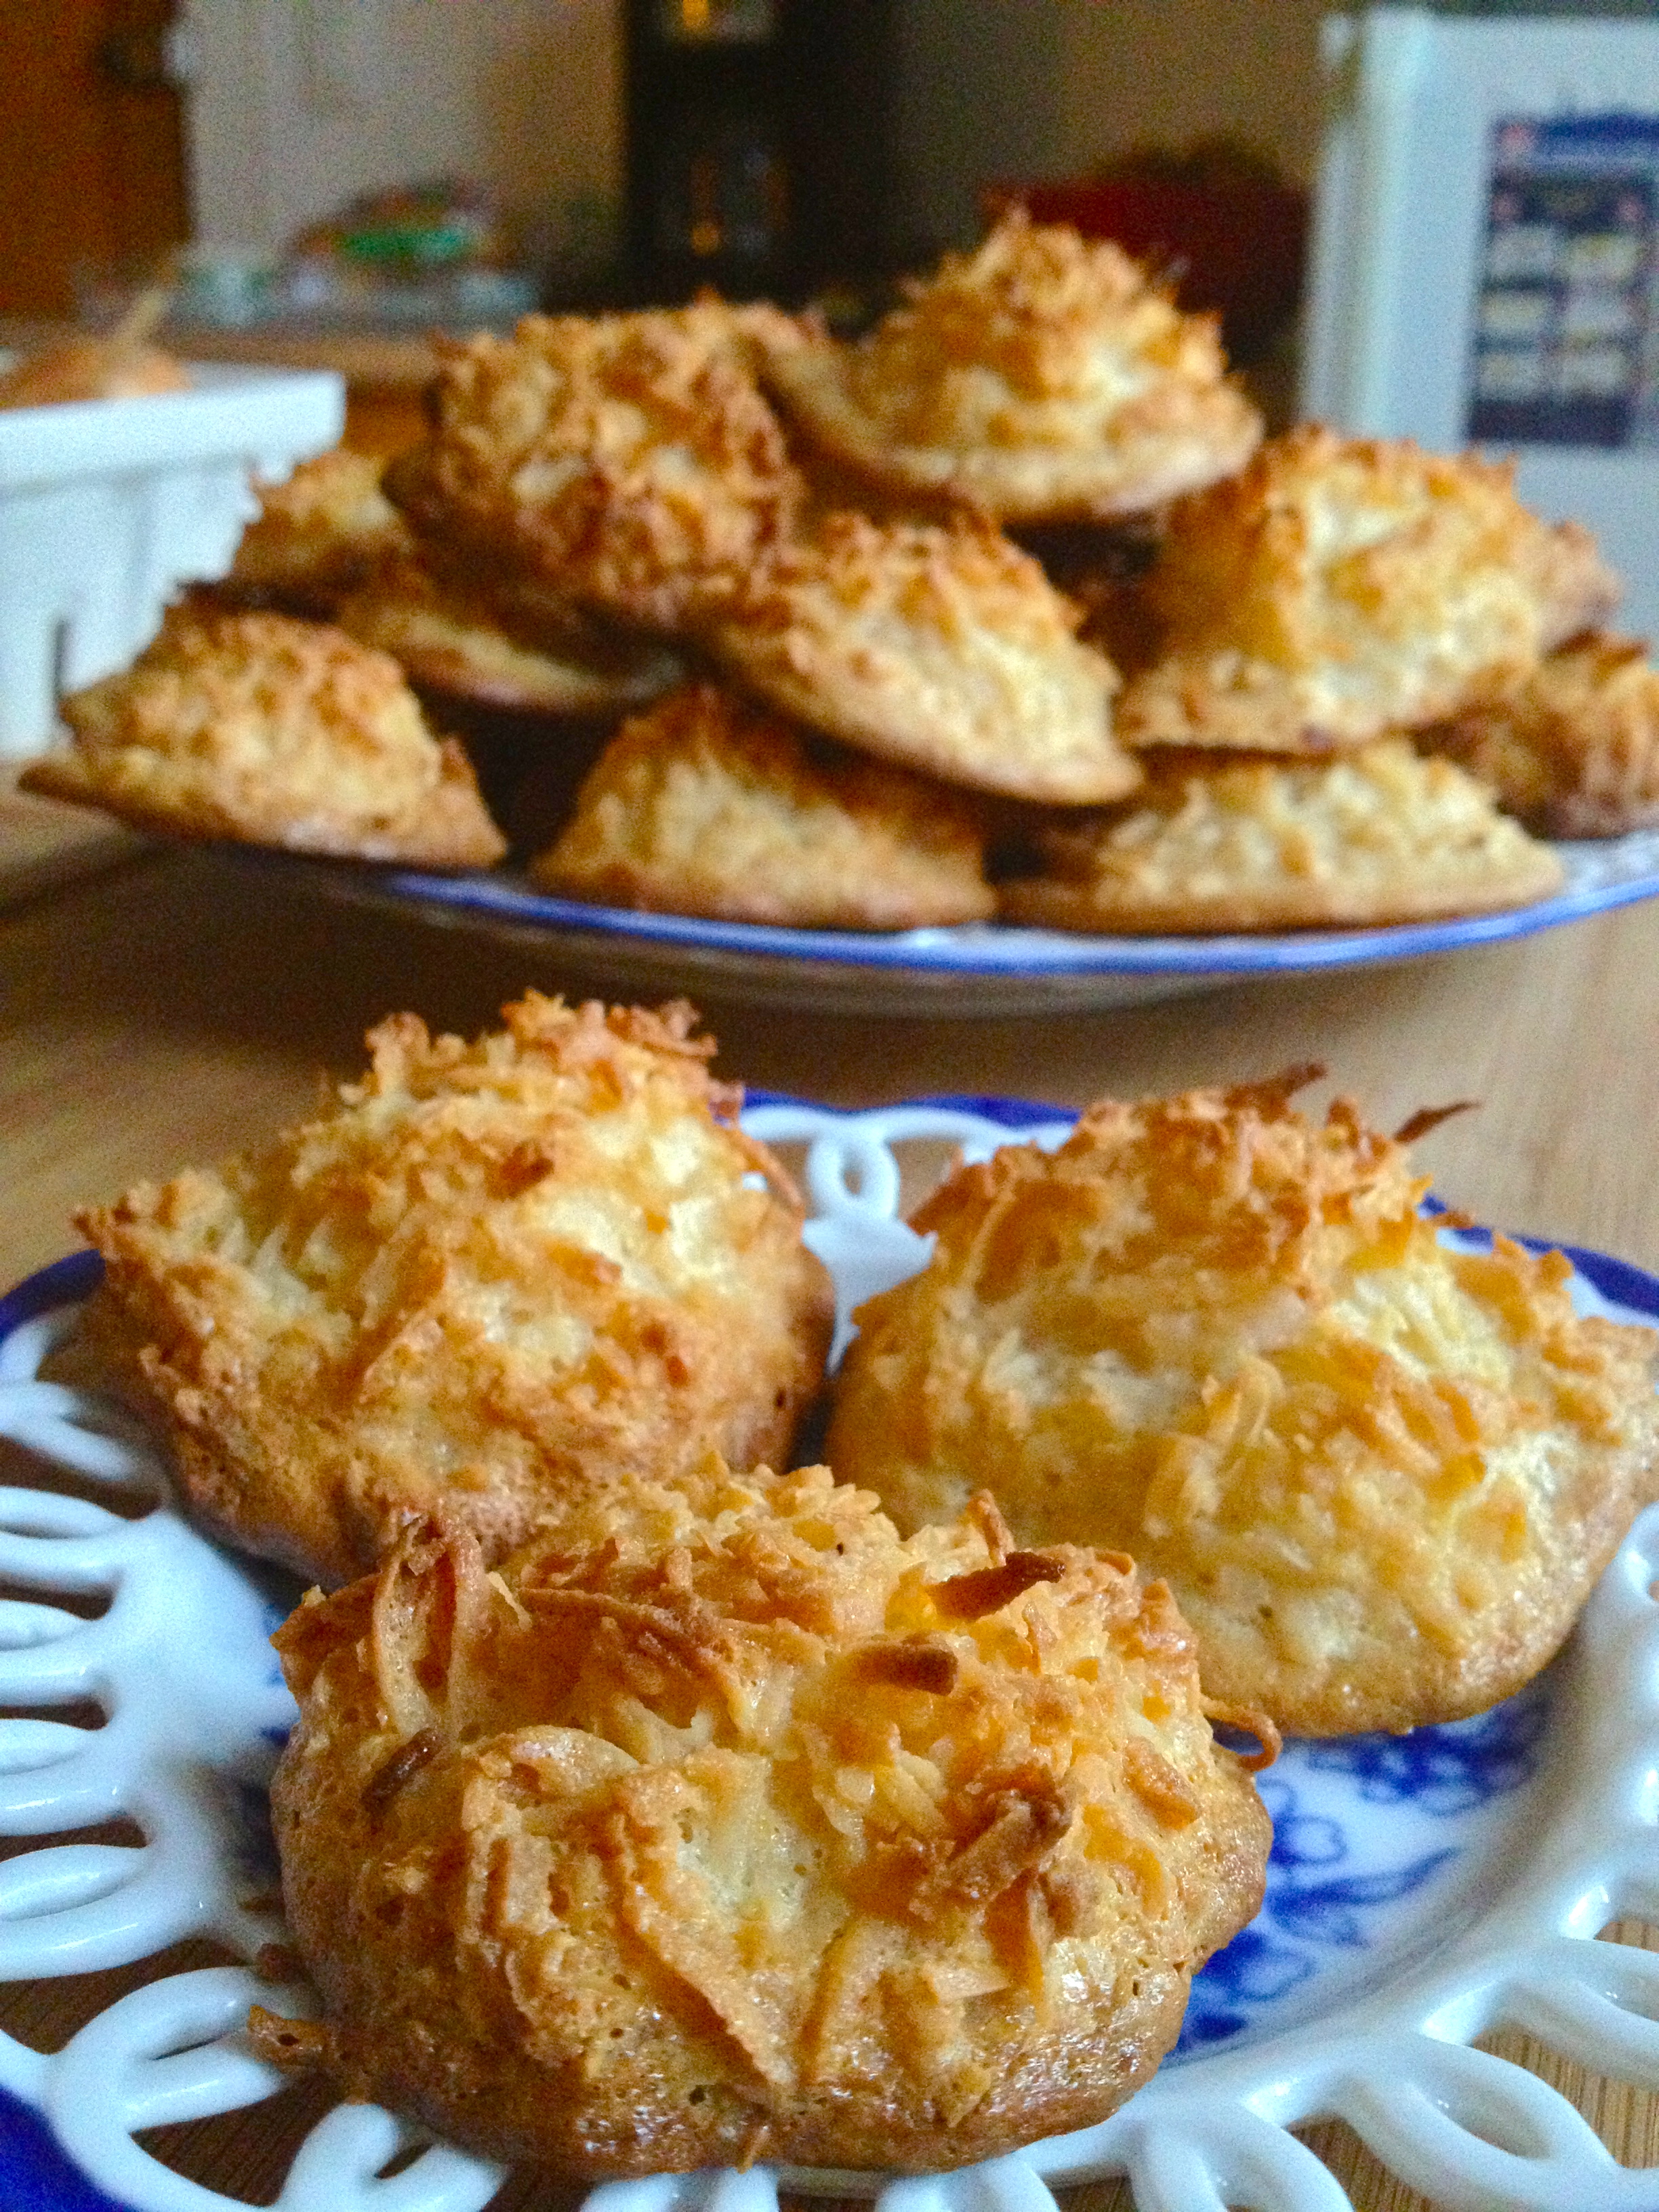
If you like, sprinkle each scone with a bit of turbinado sugar. It’s sweet and gives the scones a little bit of crunch. And it’s pretty.

Place sconces on a baking sheet and bake until light brown, about 12-15 minutes. Cool slightly before serving. These more than rock with sweet cream butter and a cup of black tea.

And seriously – any ideas what to do with these already-steeped pretzels??