Chocolate Pudding with Blackberry.

This is becoming one of my favorite recipes. It’s pretty quick and not too hard, and the outcome is completely delicious. I also use slightly lower-fat ingredients than Nigella’s original recipe calls for—hers is a perfectly rich chocolate pudding made with whole milk and heavy cream, where I’ve turned the fat content down a bit with skim milk and half-and-half and added a hint of berry flavor. I’ve tried this one with raspberries too, and it’s equally out of this world. I’d love to hear if anyone tries it with other berries, or other chocolate-and-fruit combos that might be delicious. What’s your favorite? Can you even choose? Maybe not. Either way, yum! Billy Madison and your snack packs, eat your heart out.

IMG_8964

INGREDIENTS

2 tbsp just-boiled water
3/4 cup skim milk
3/4 cup half-and-half
1/3 cup sugar
1 tbsp corn starch
1/3 cup unsweetened cocoa powder
2 egg yolks
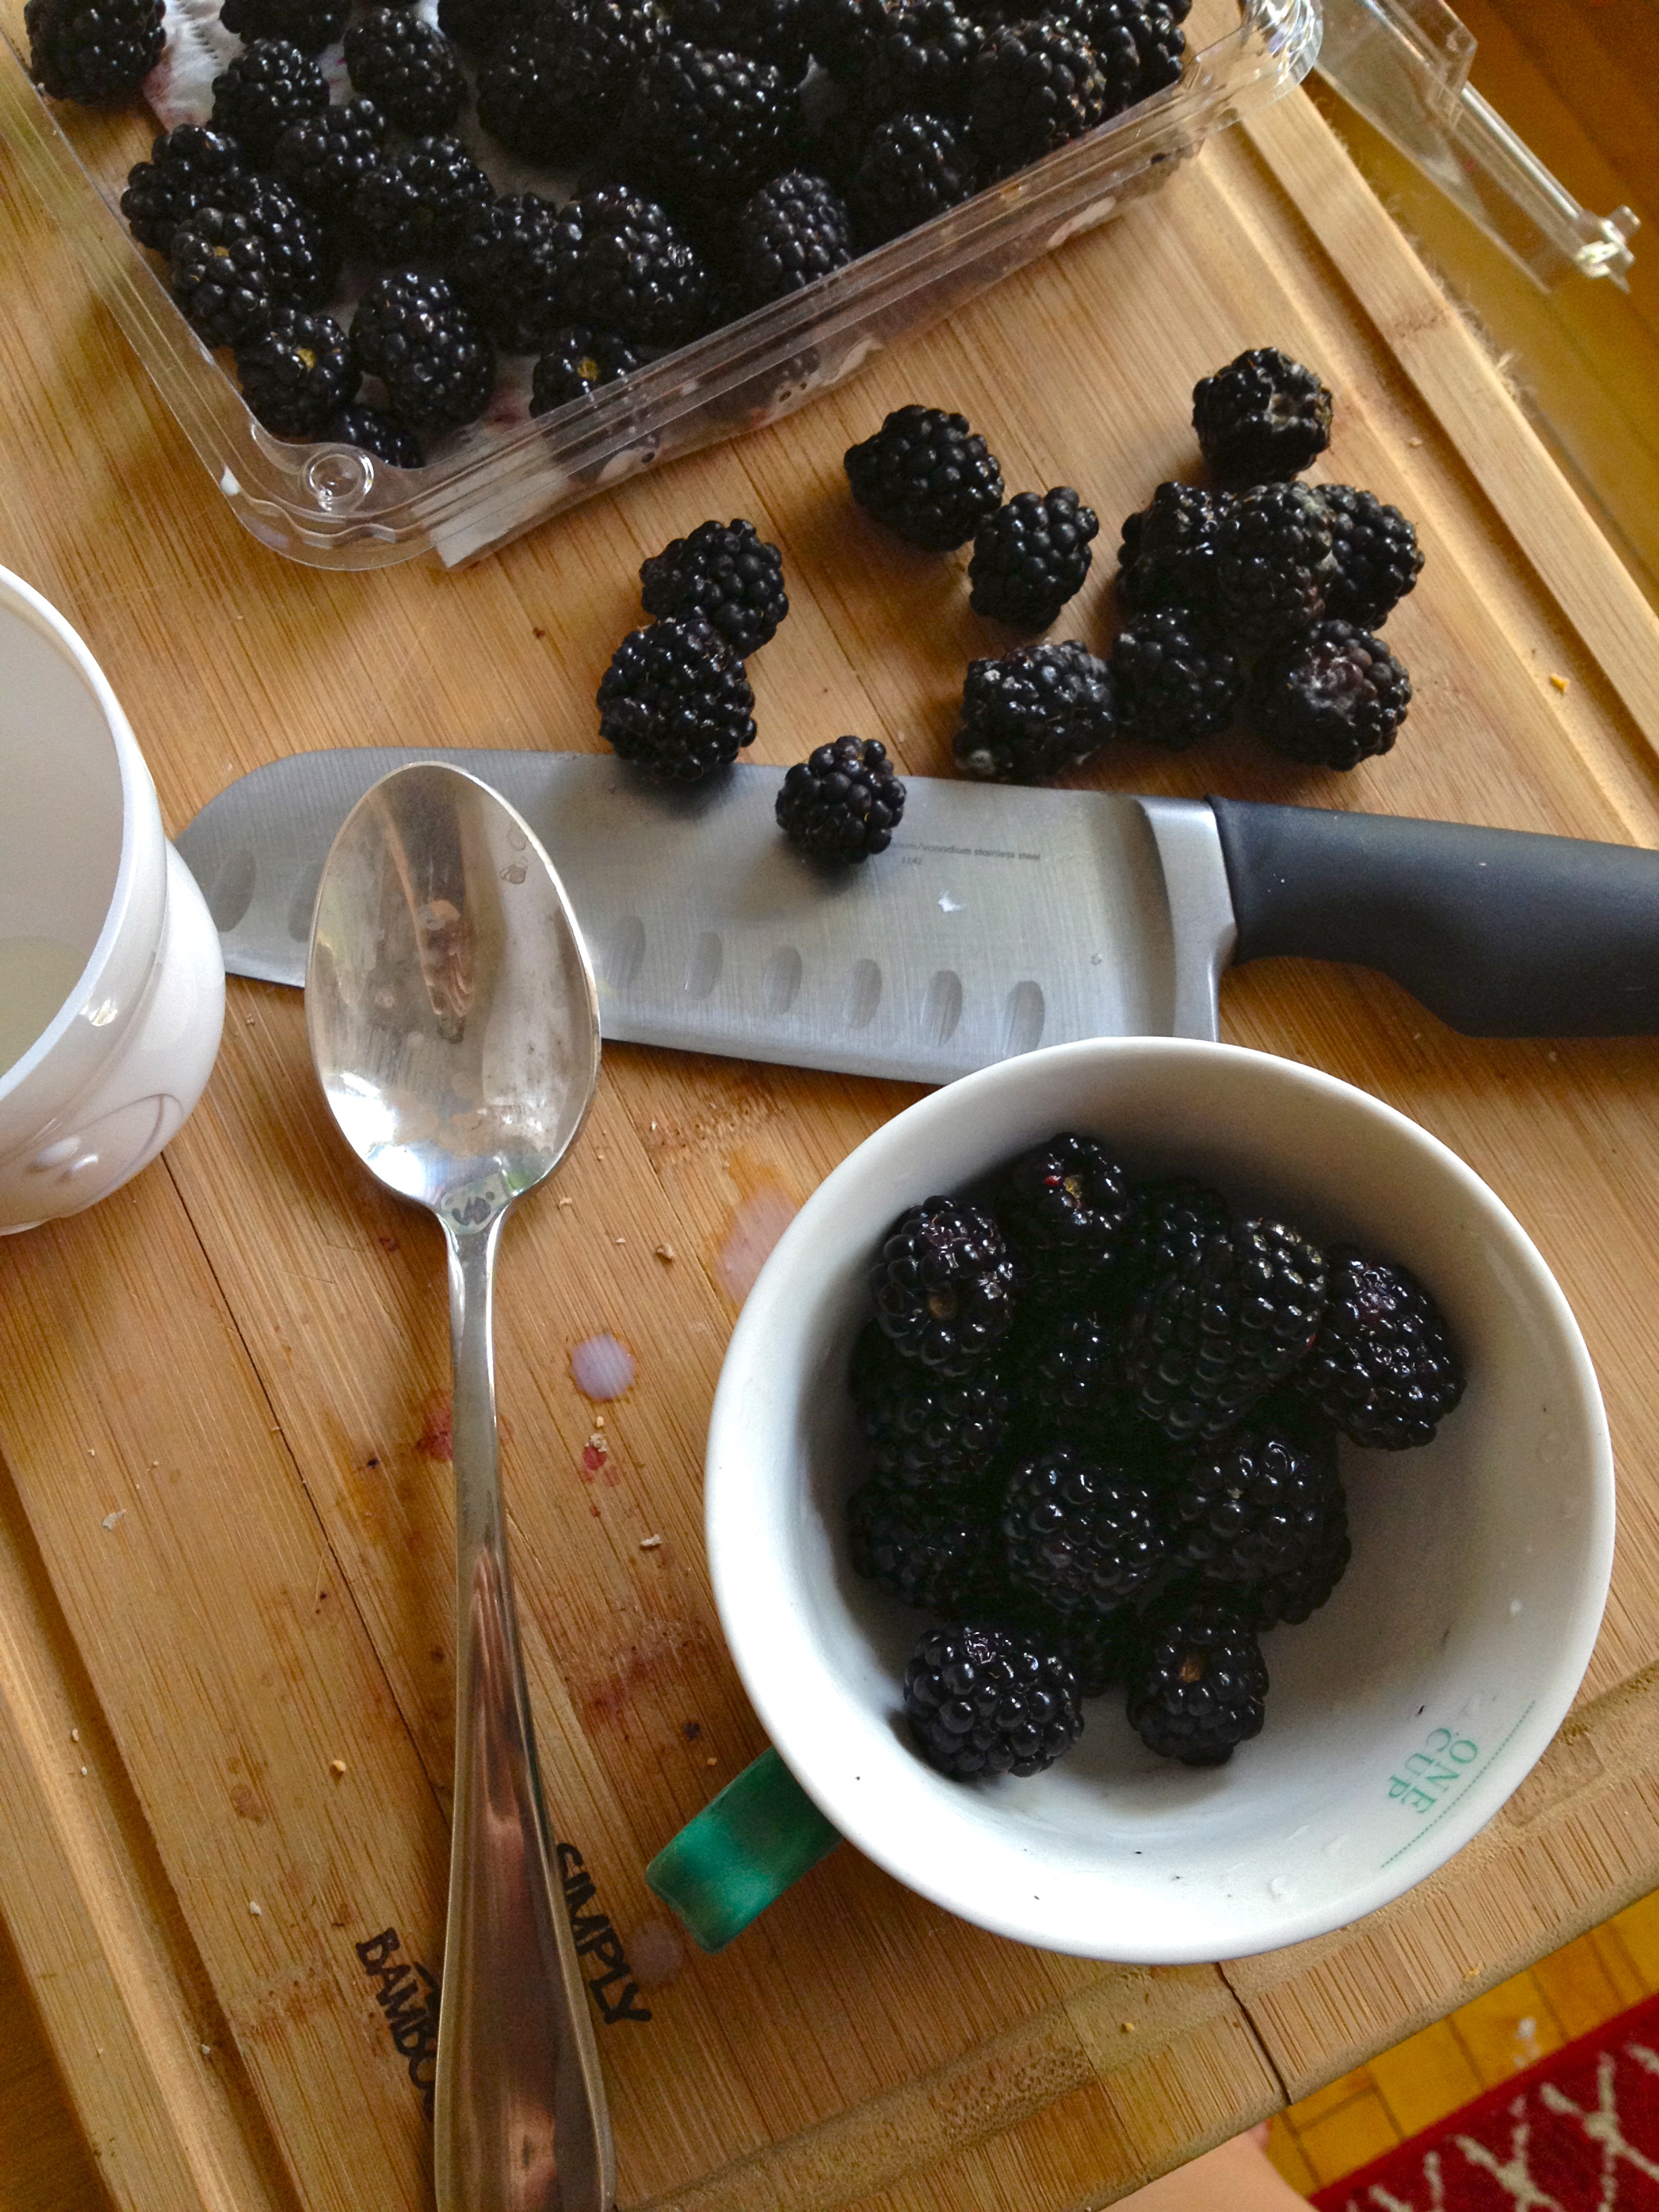
about 3/4 cup blackberries
splash of vanilla extract
1/4 cup semi-sweet chocolate, chopped
more berries and cream, for garnish

Just the Recipe link: Chocolate Pudding with Blackberry

IMG_8932

DIRECTIONS

Gently warm the milk and half-and-half in a saucepan. Don’t let it come to a bubble – just let it slowly heat, stirring occasionally.

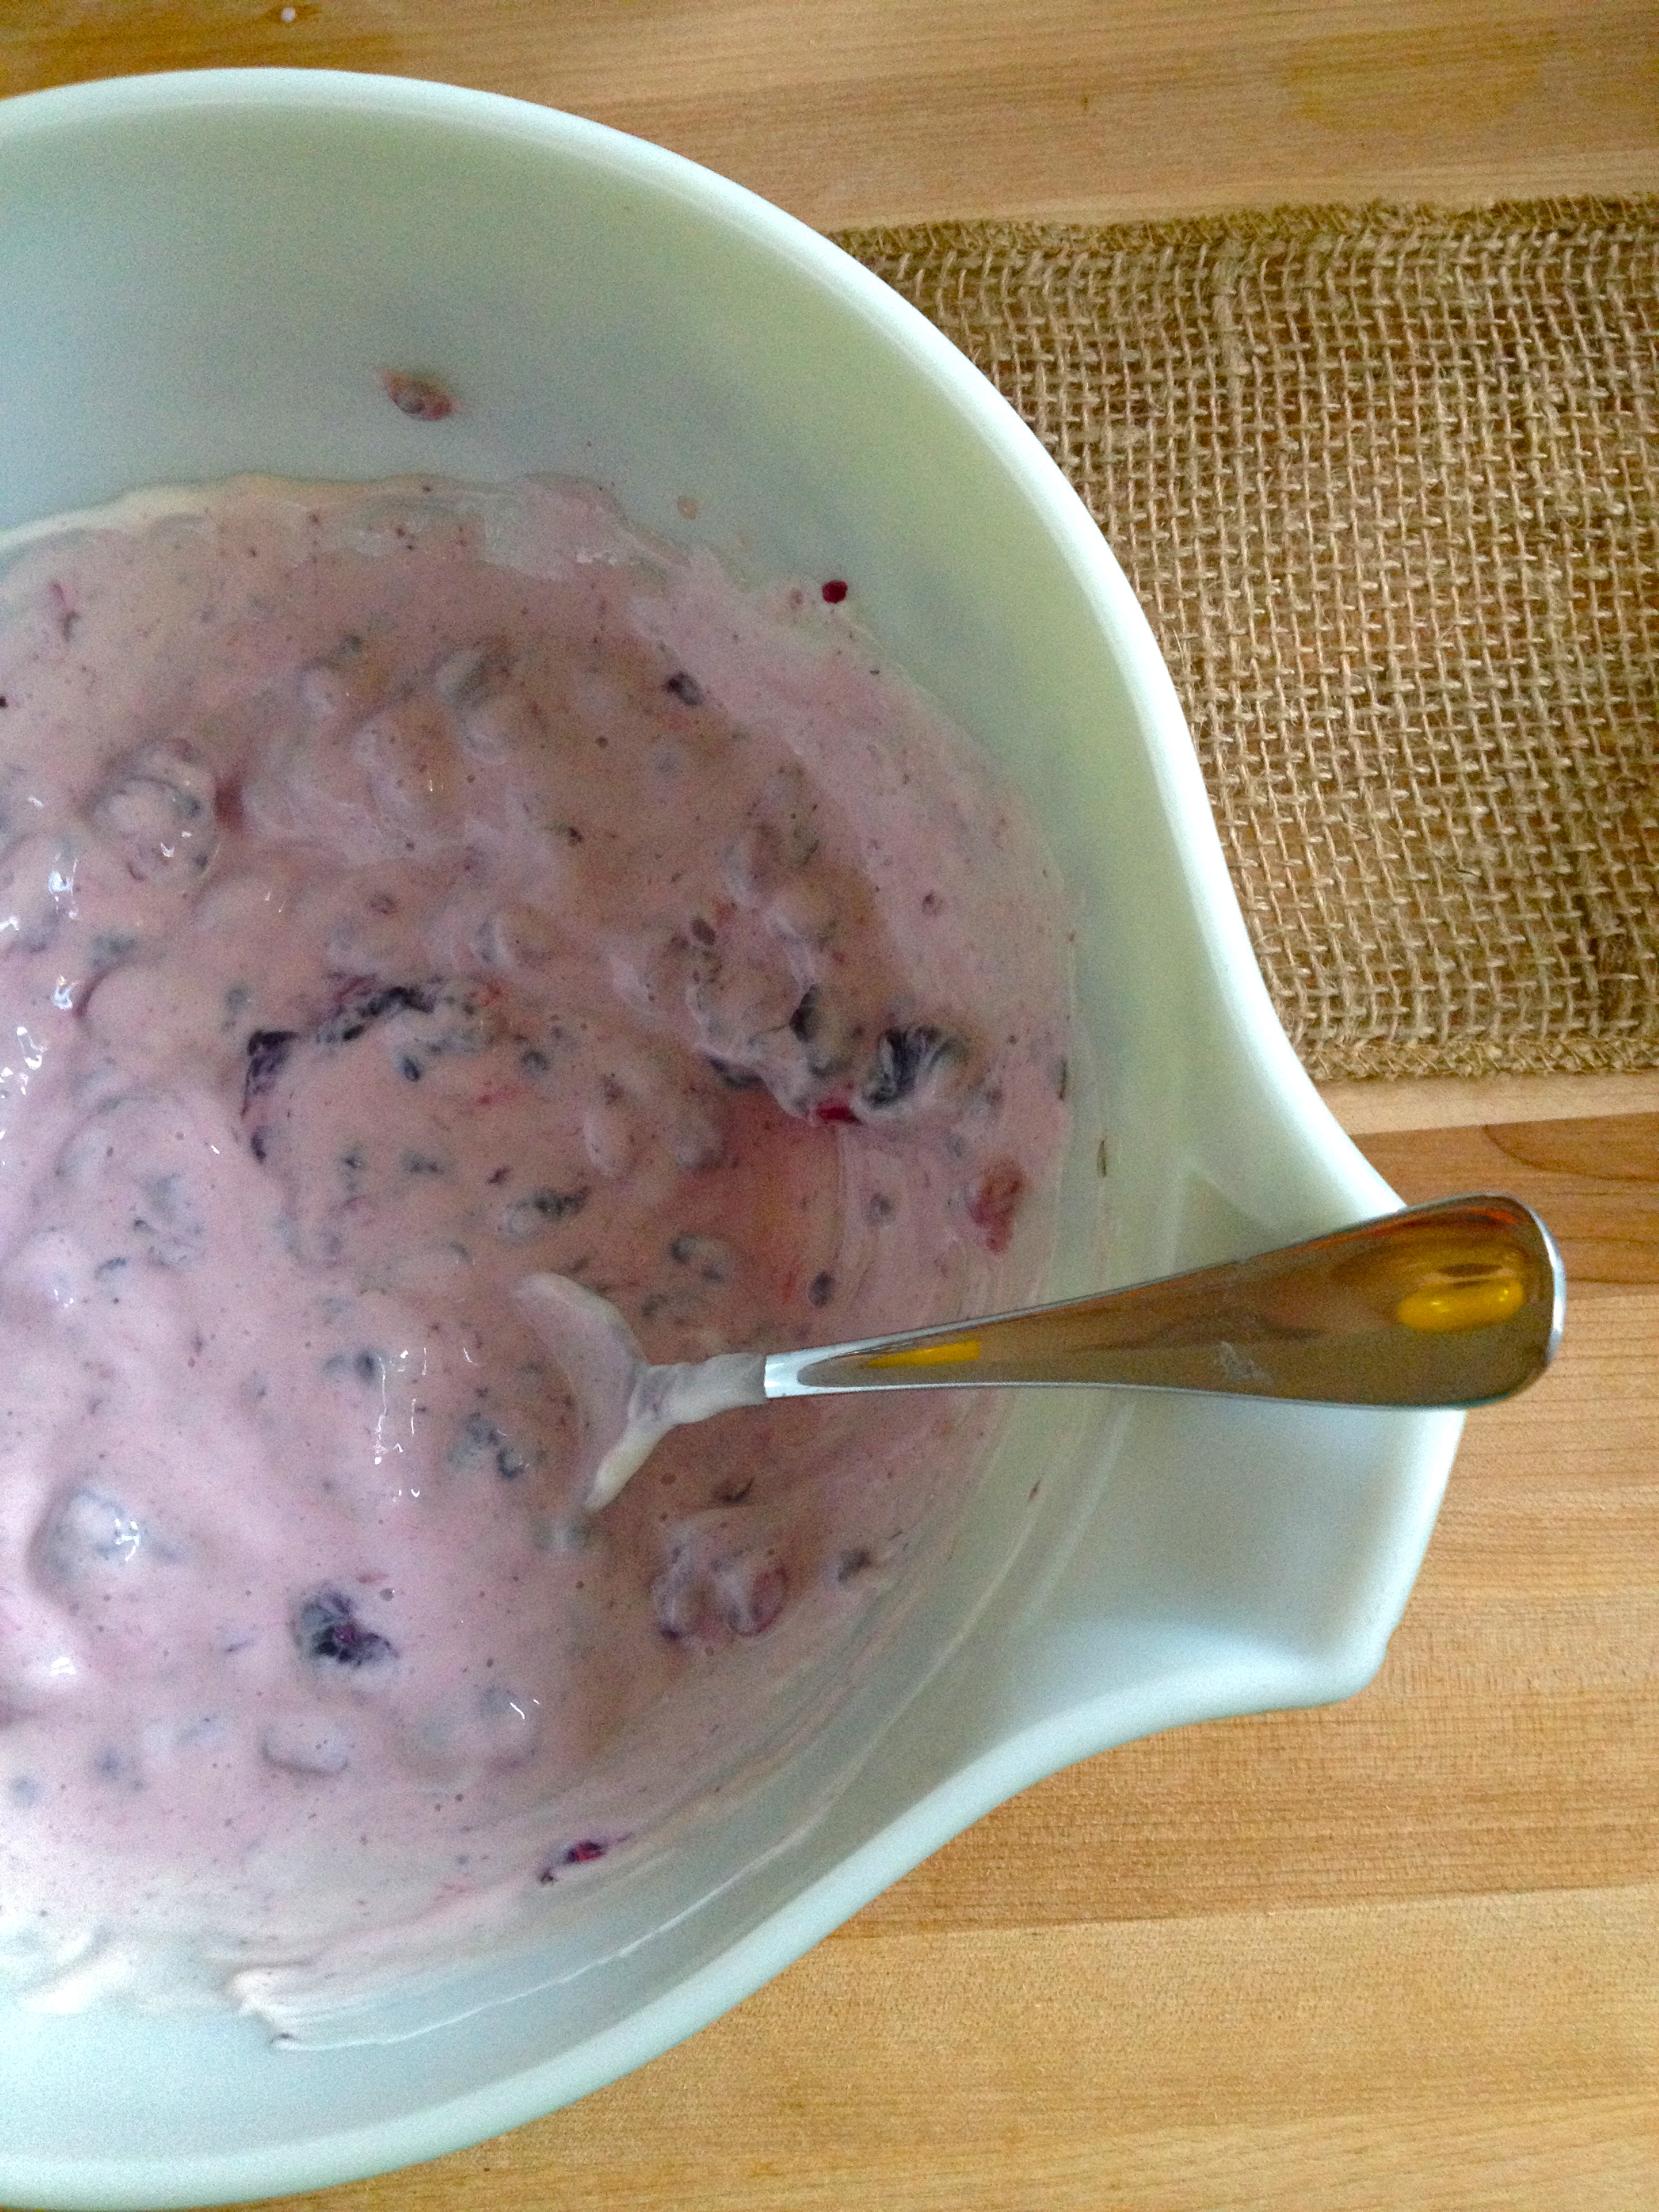
Put the blackberries in a food processor and puree.

IMG_8936

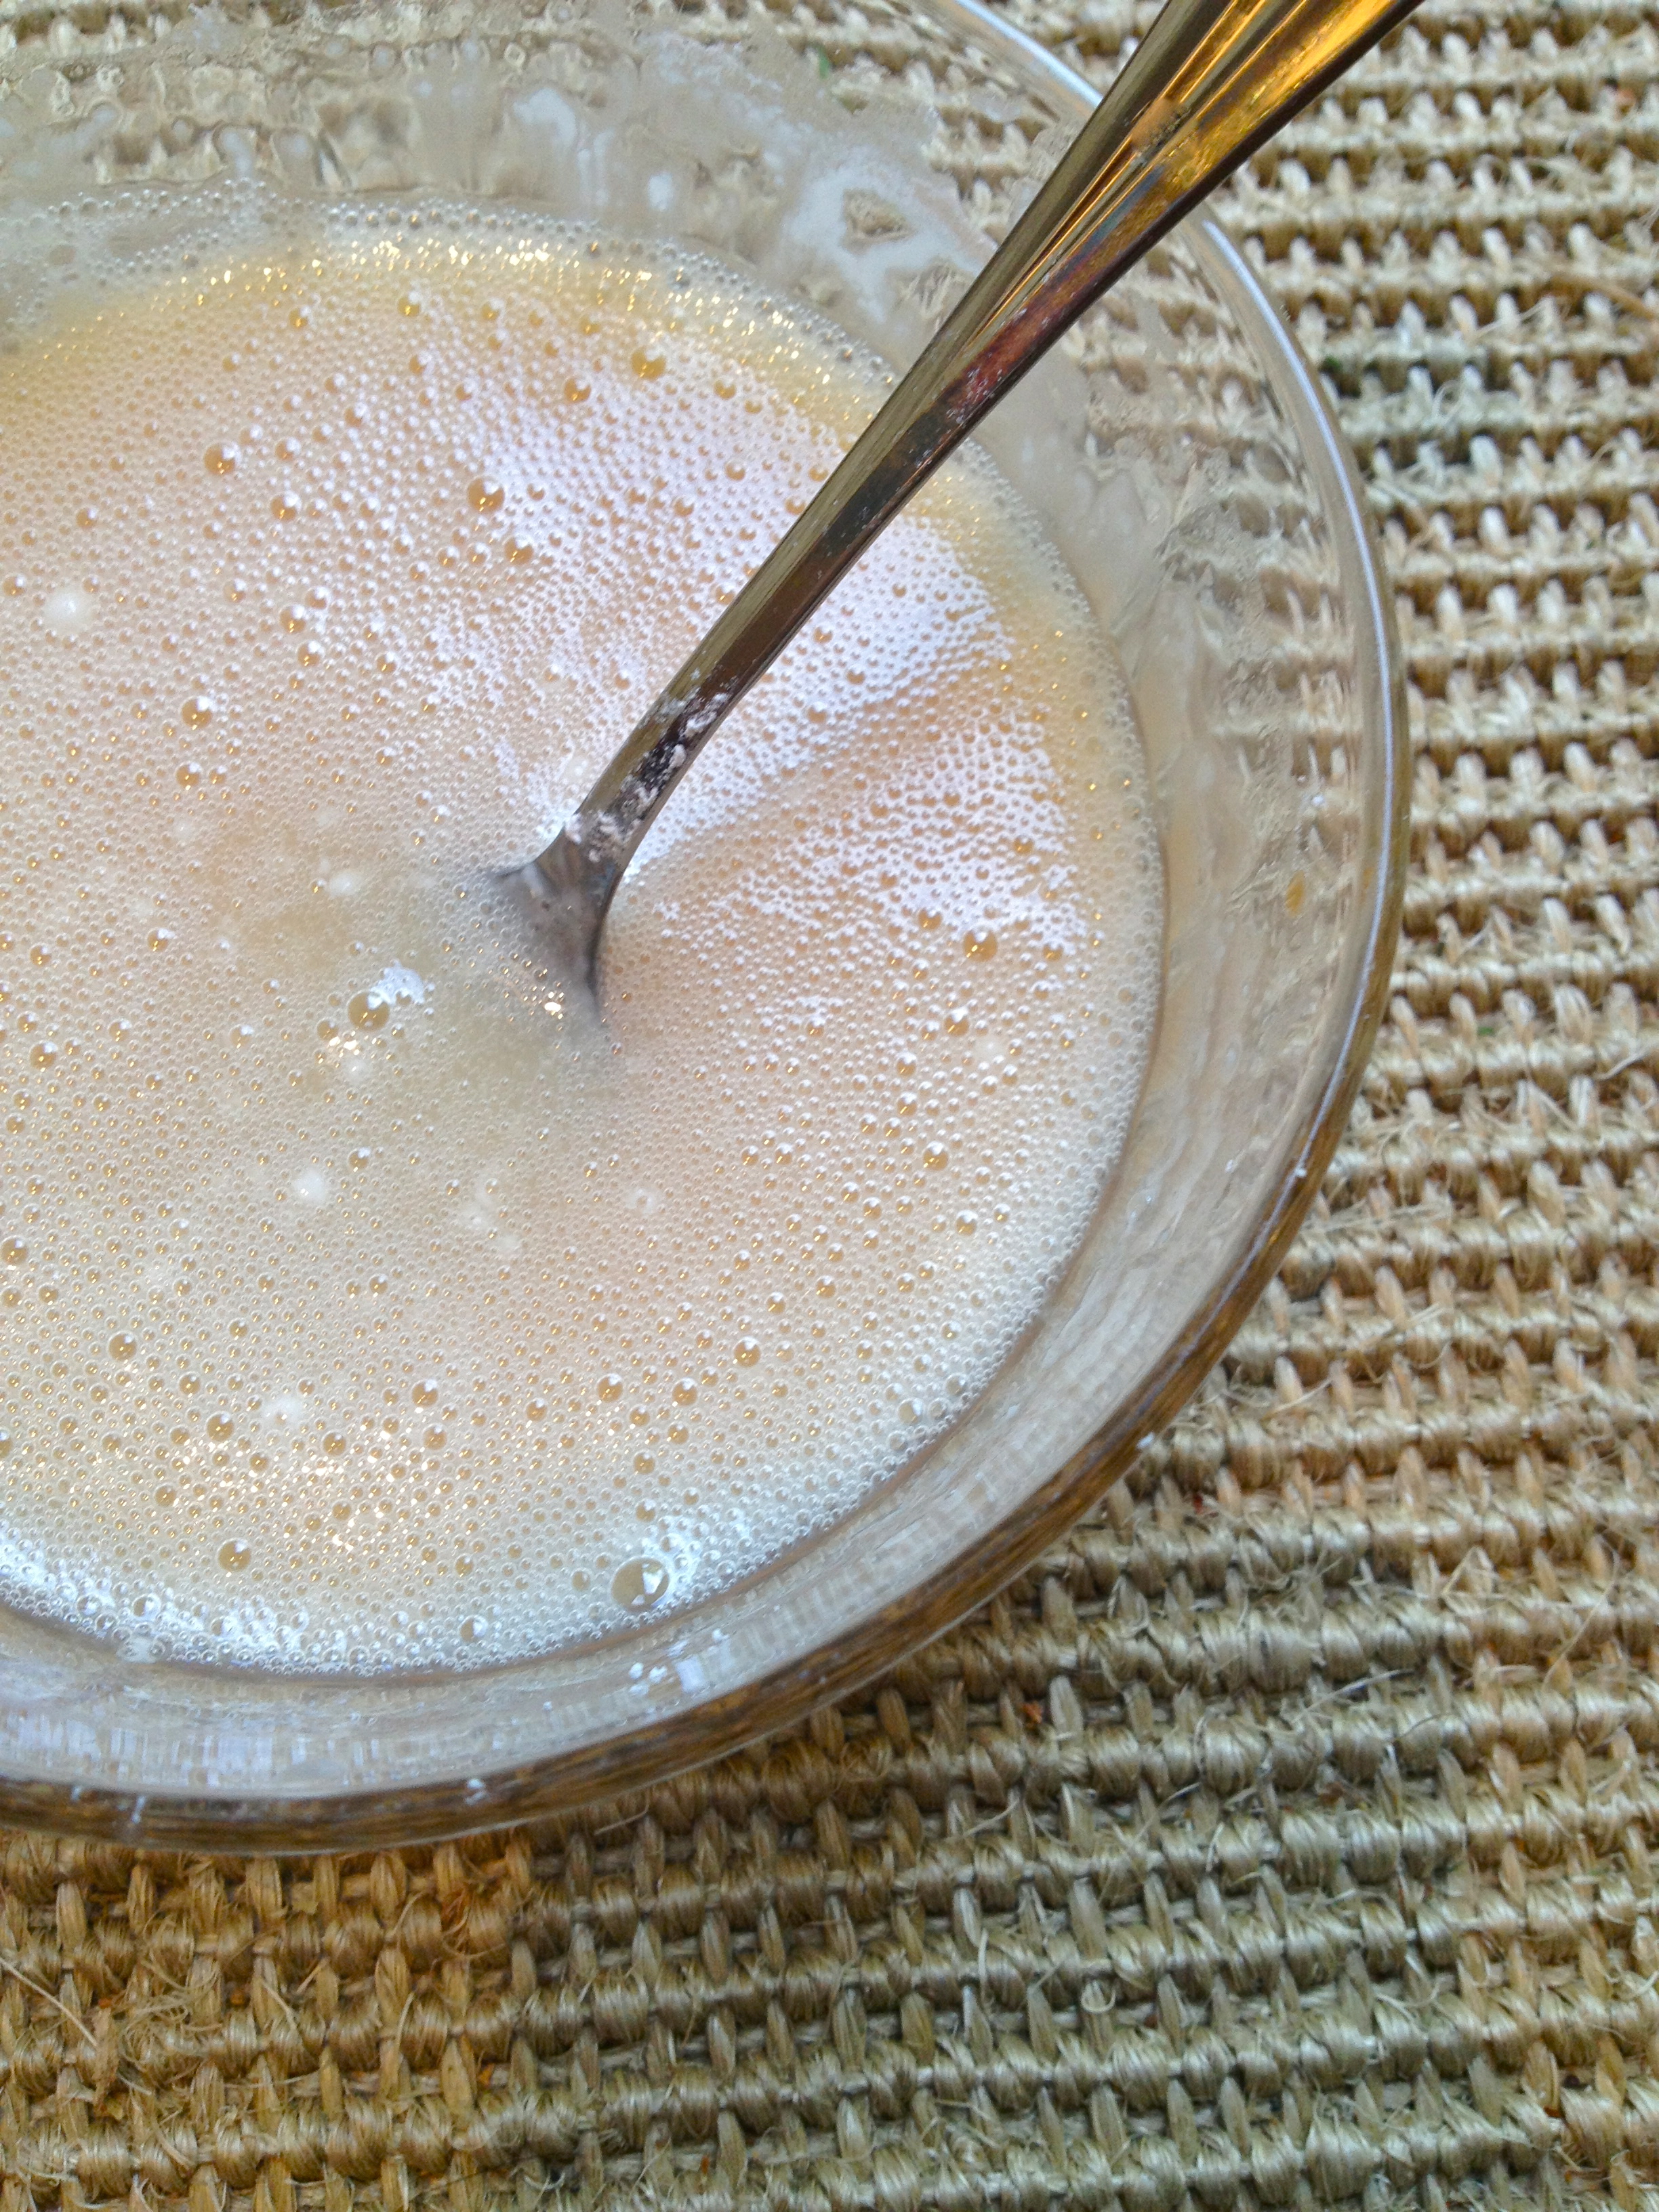
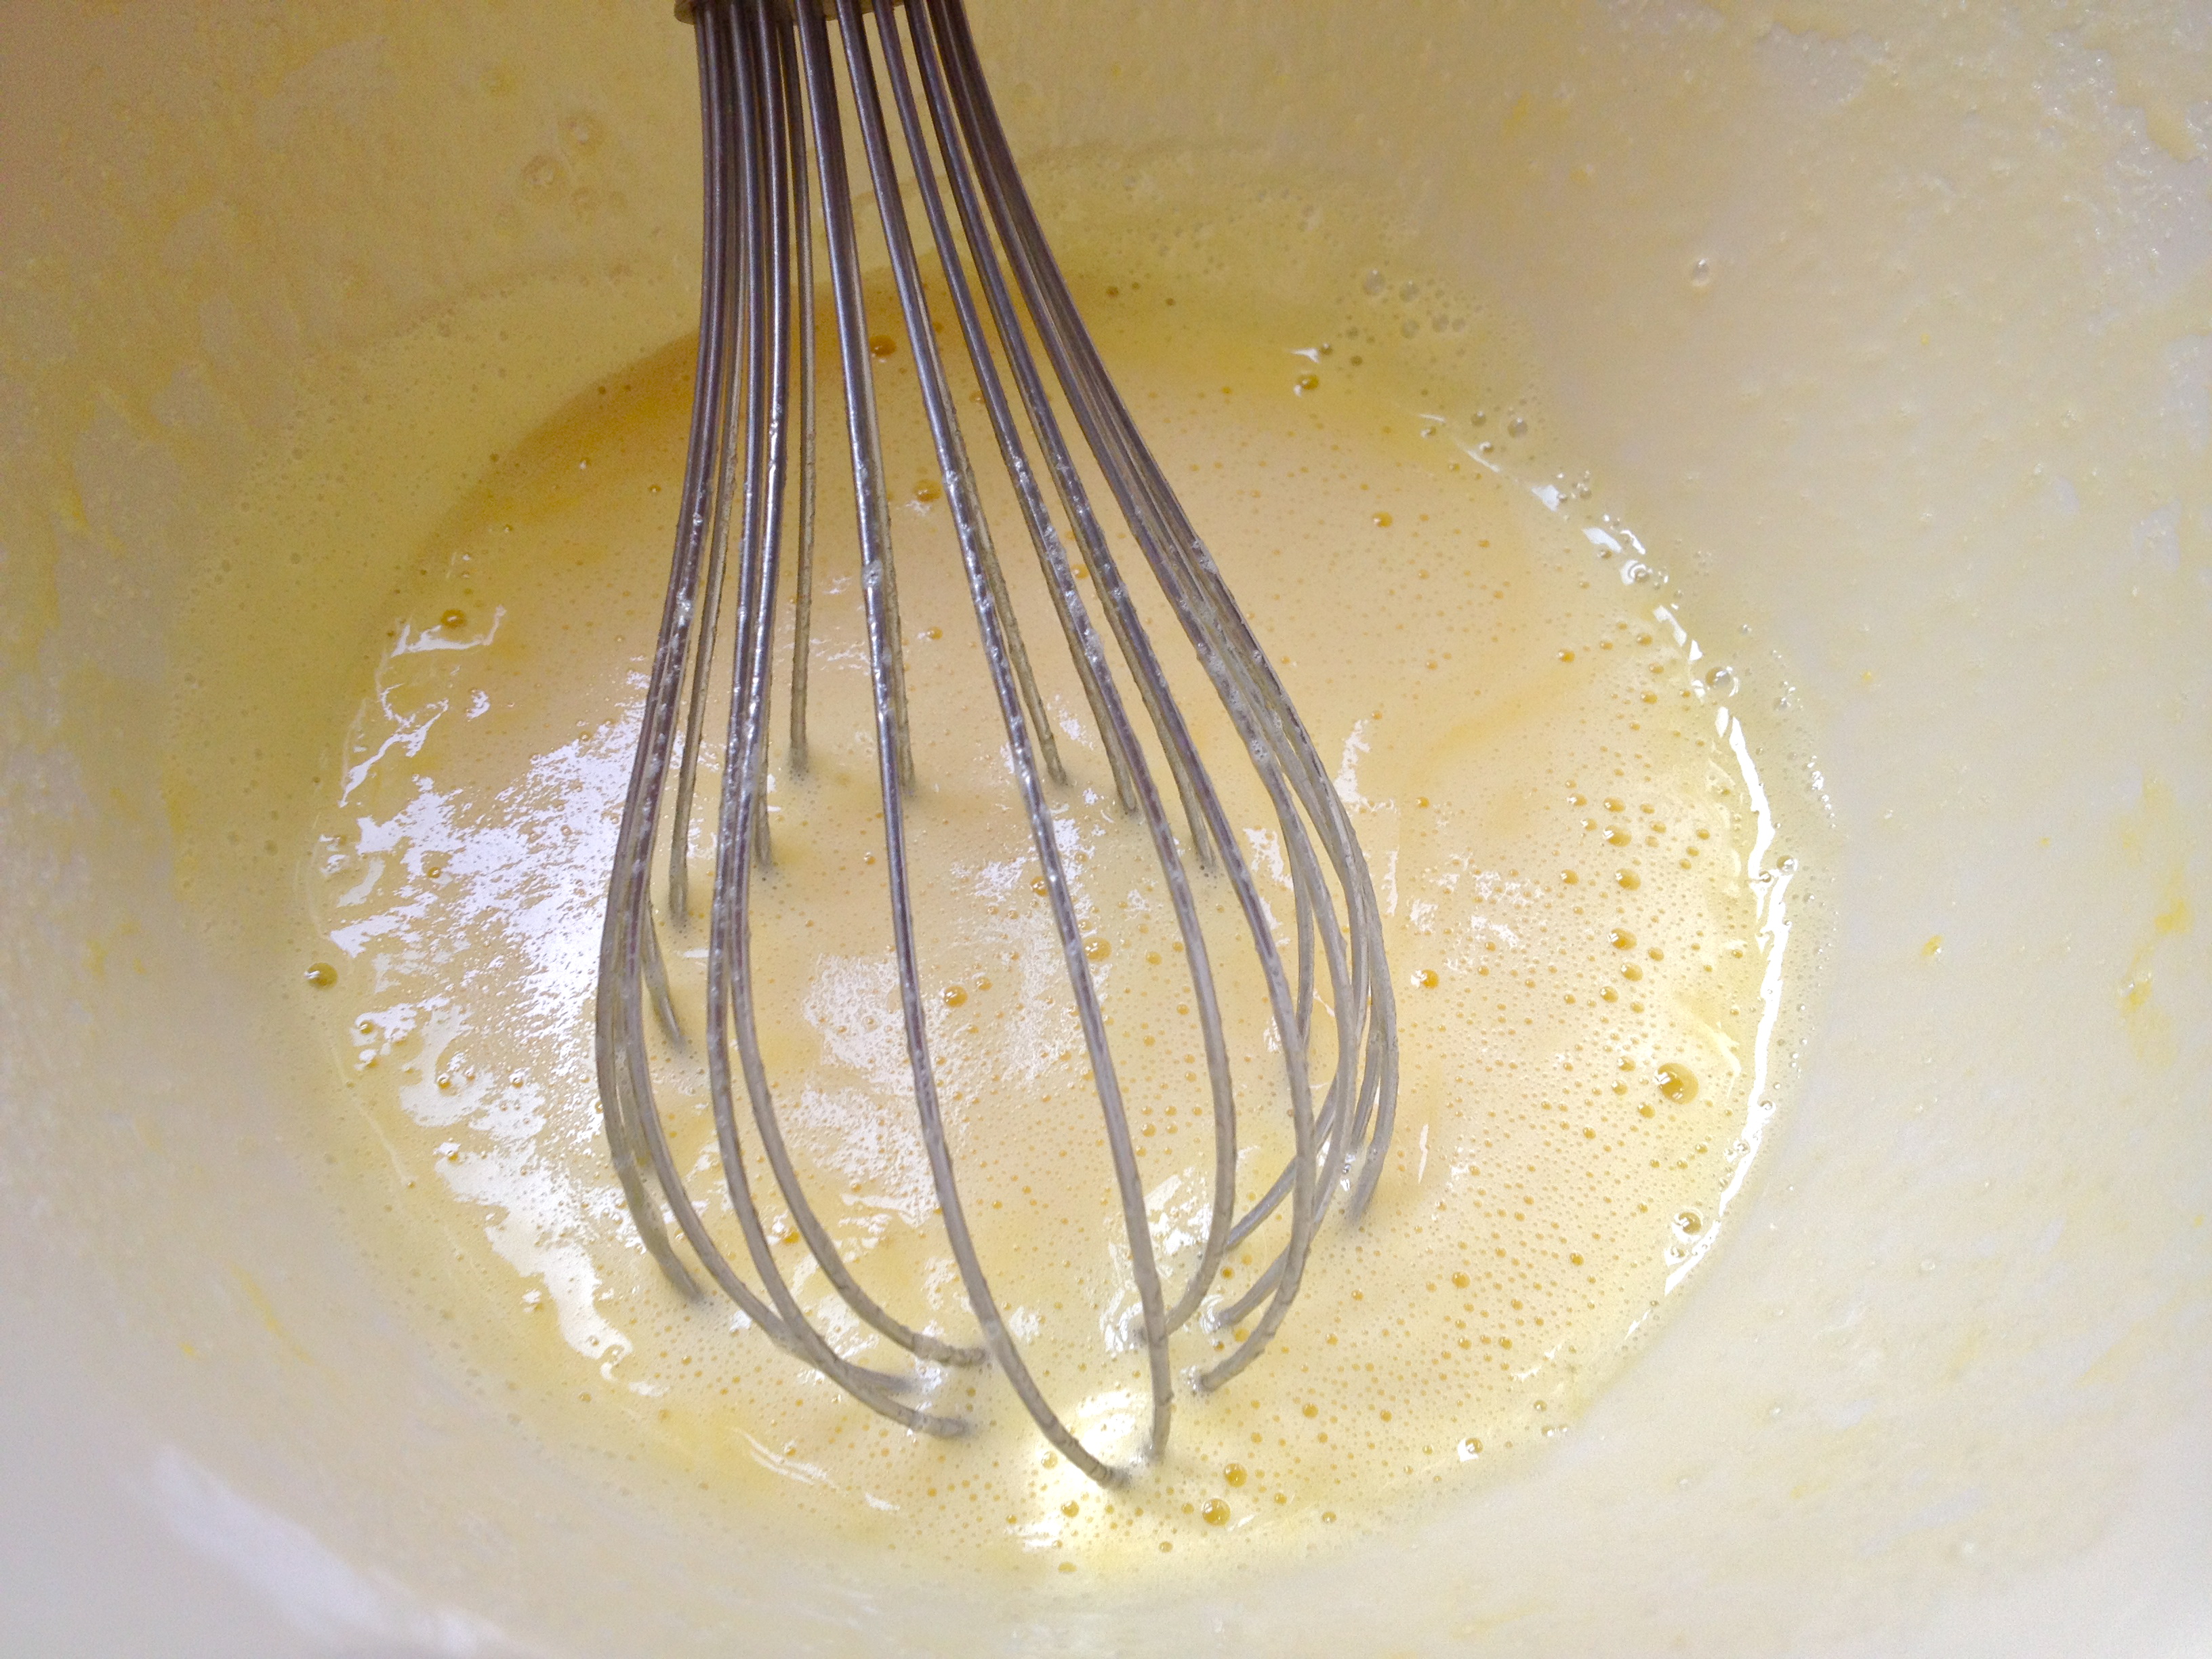
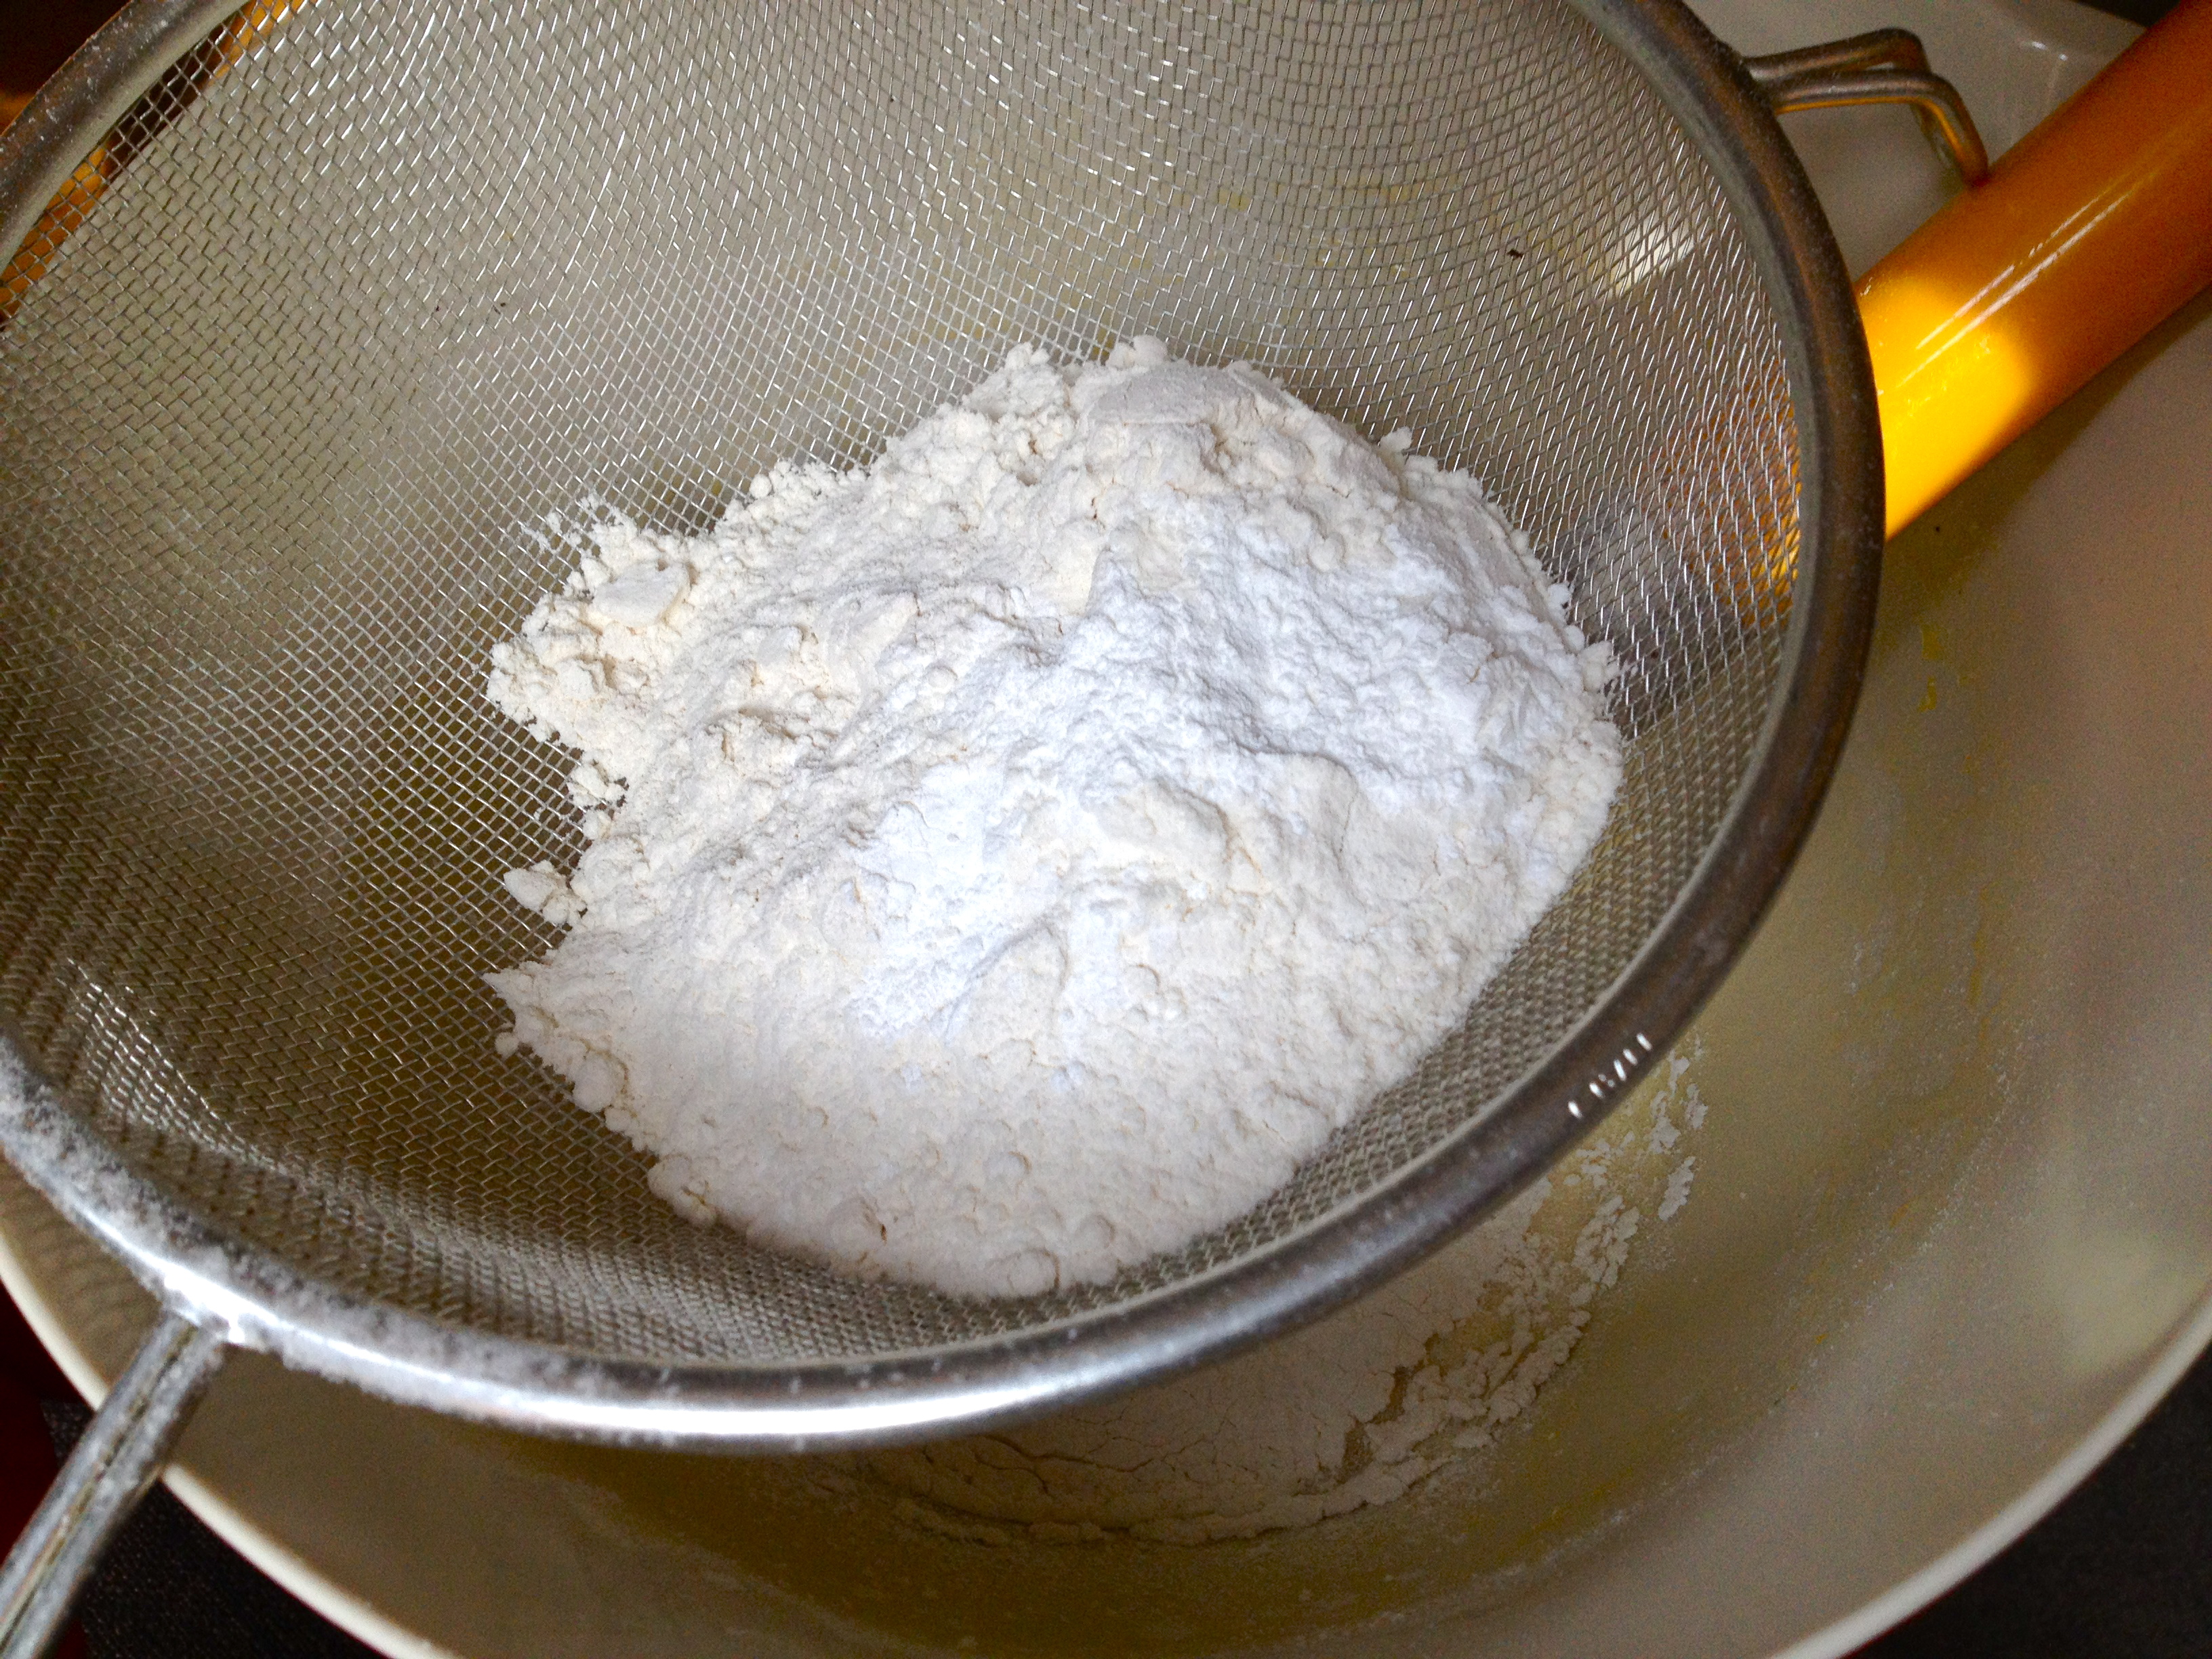
In another pan, sift together the sugar, corn starch, and cocoa powder. Whisk in the just-boiled water until combined. Then whisk in 1 egg yolk at a time. Slowly whisk in the warm milk/half-and-half mixture. Then, pour the blackberry puree into a sieve, place the sieve over the cocoa mixture, and stir the puree to push through all the juice, leaving behind the seeds. Add the vanilla extract and whisk it all together.

IMG_8938

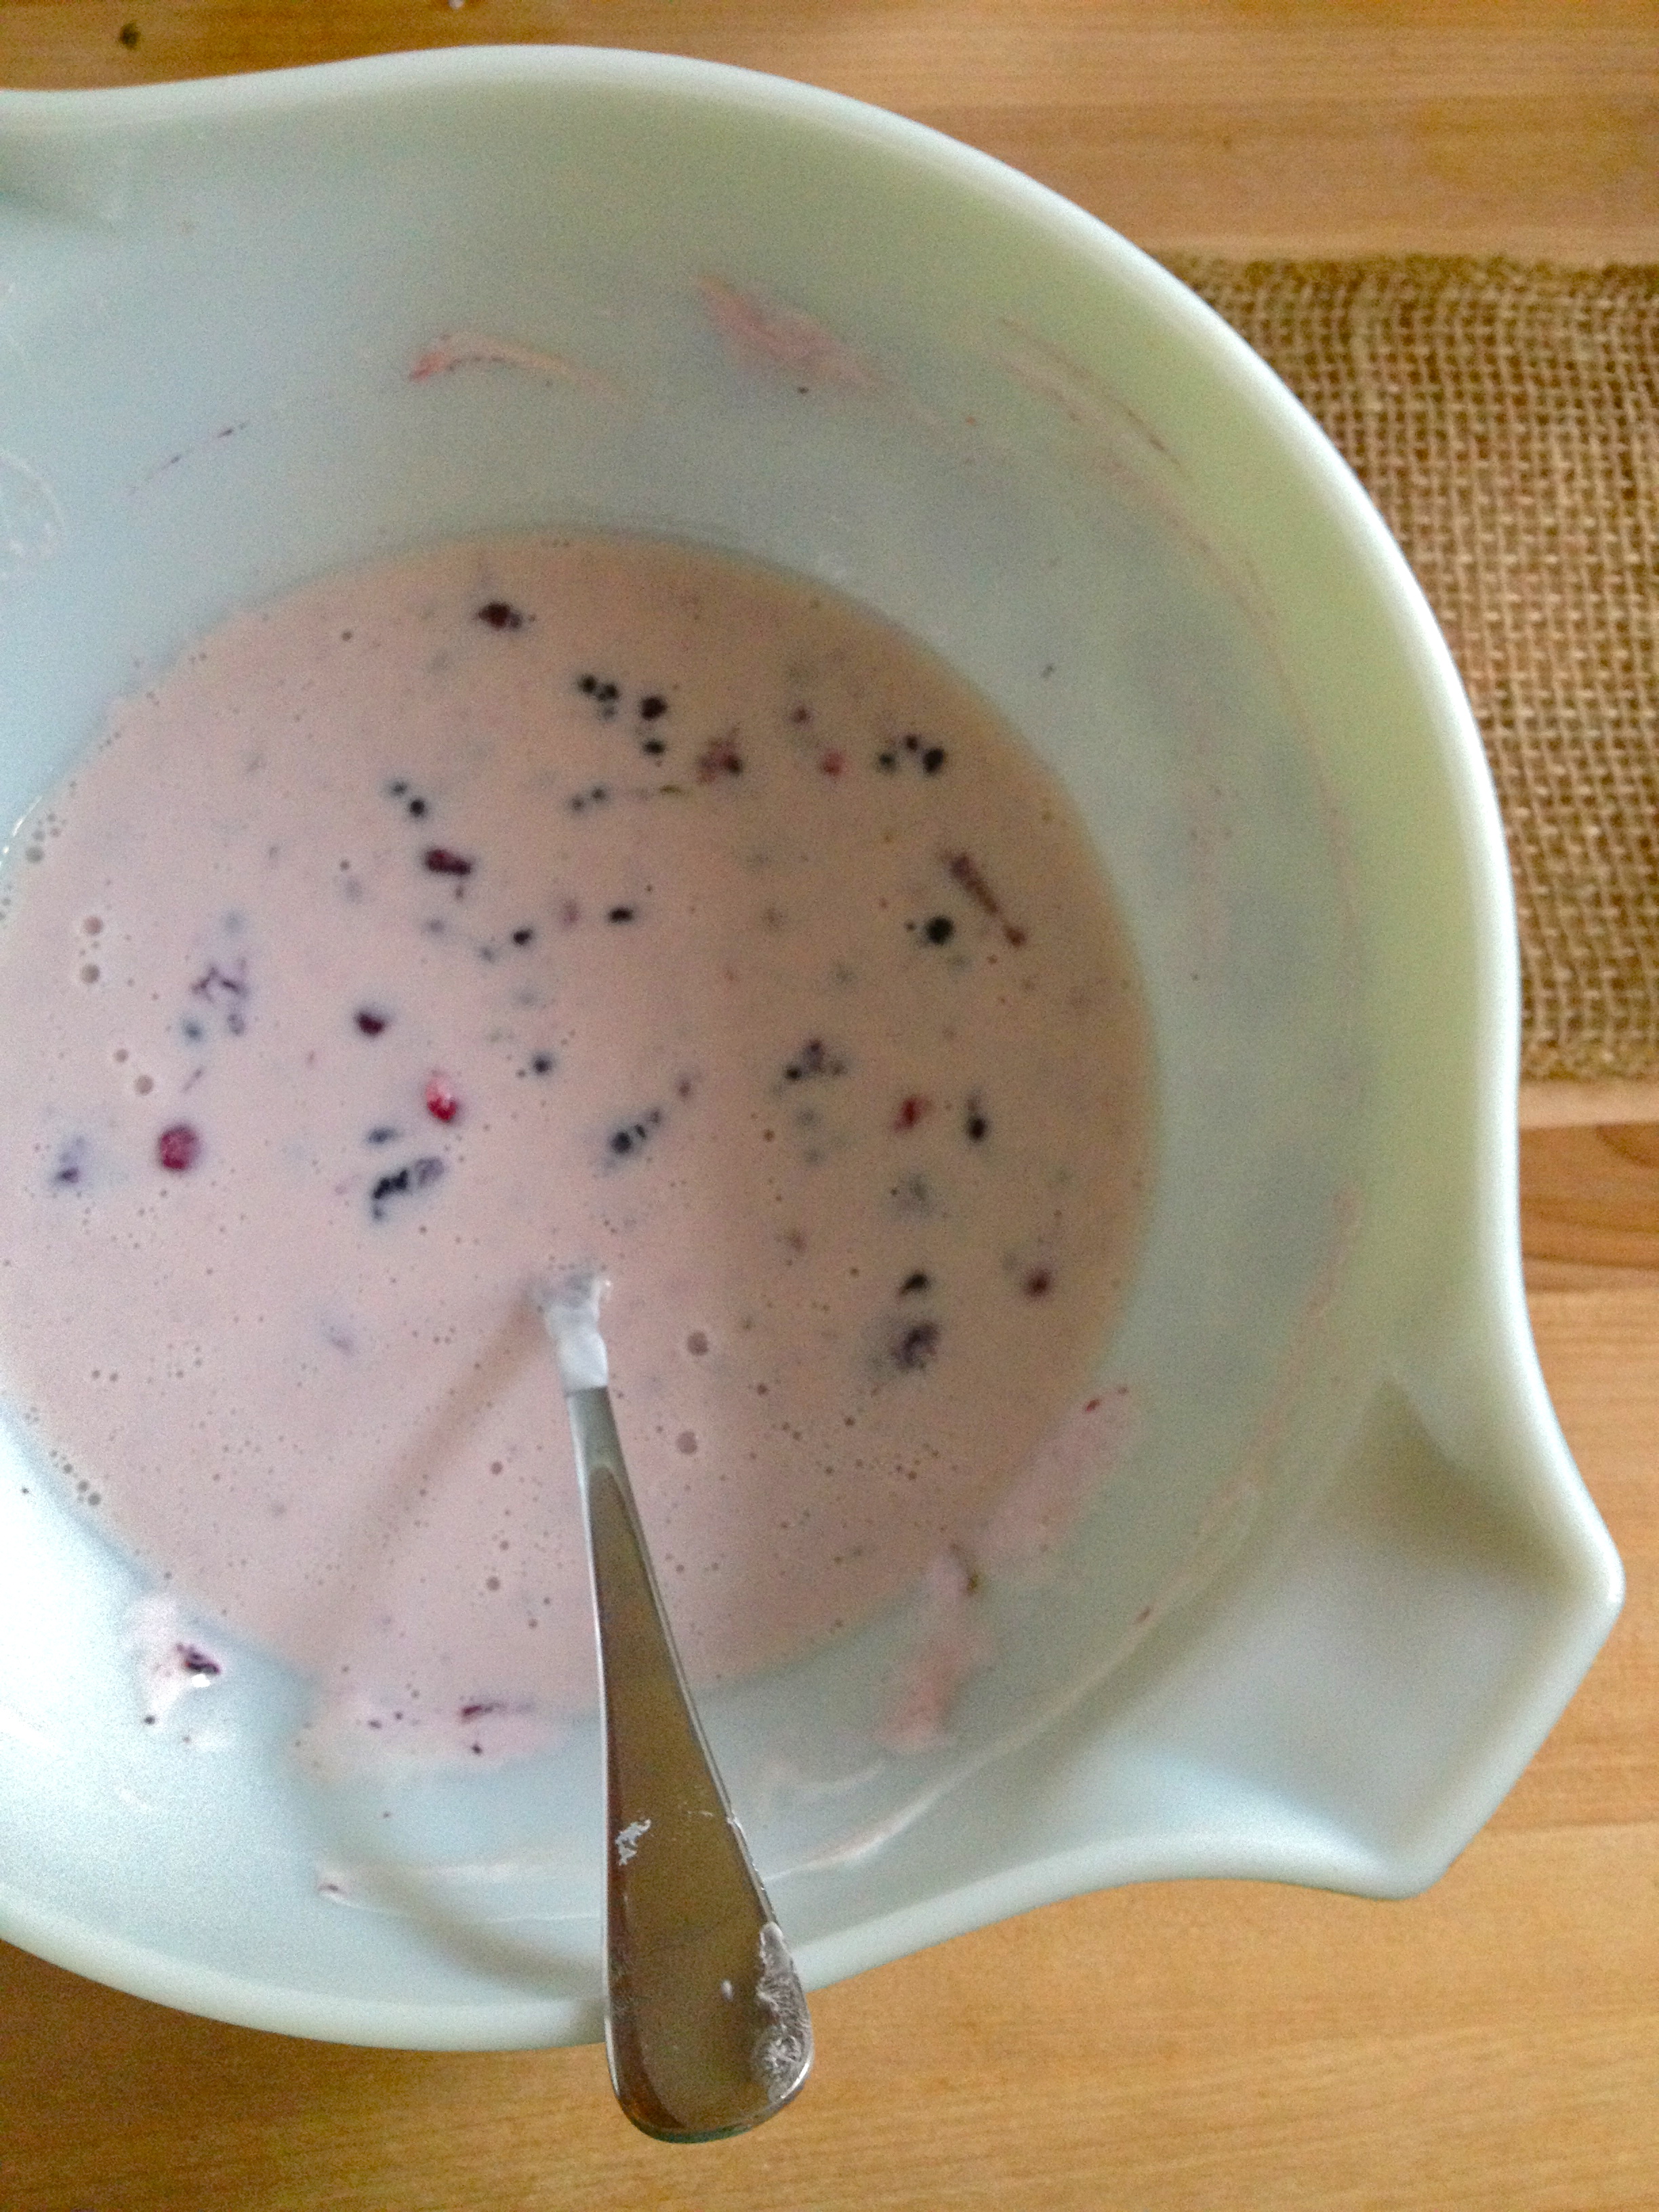
Turn the heat on medium. Whisk vigorously for about 30 seconds, and then continue to stir pretty consistently for the next minute and a half. Repeat this process for about 8-11 minutes, until the pudding has thickened slightly and will thickly coat a spoon. Turn off the heat.

IMG_8939

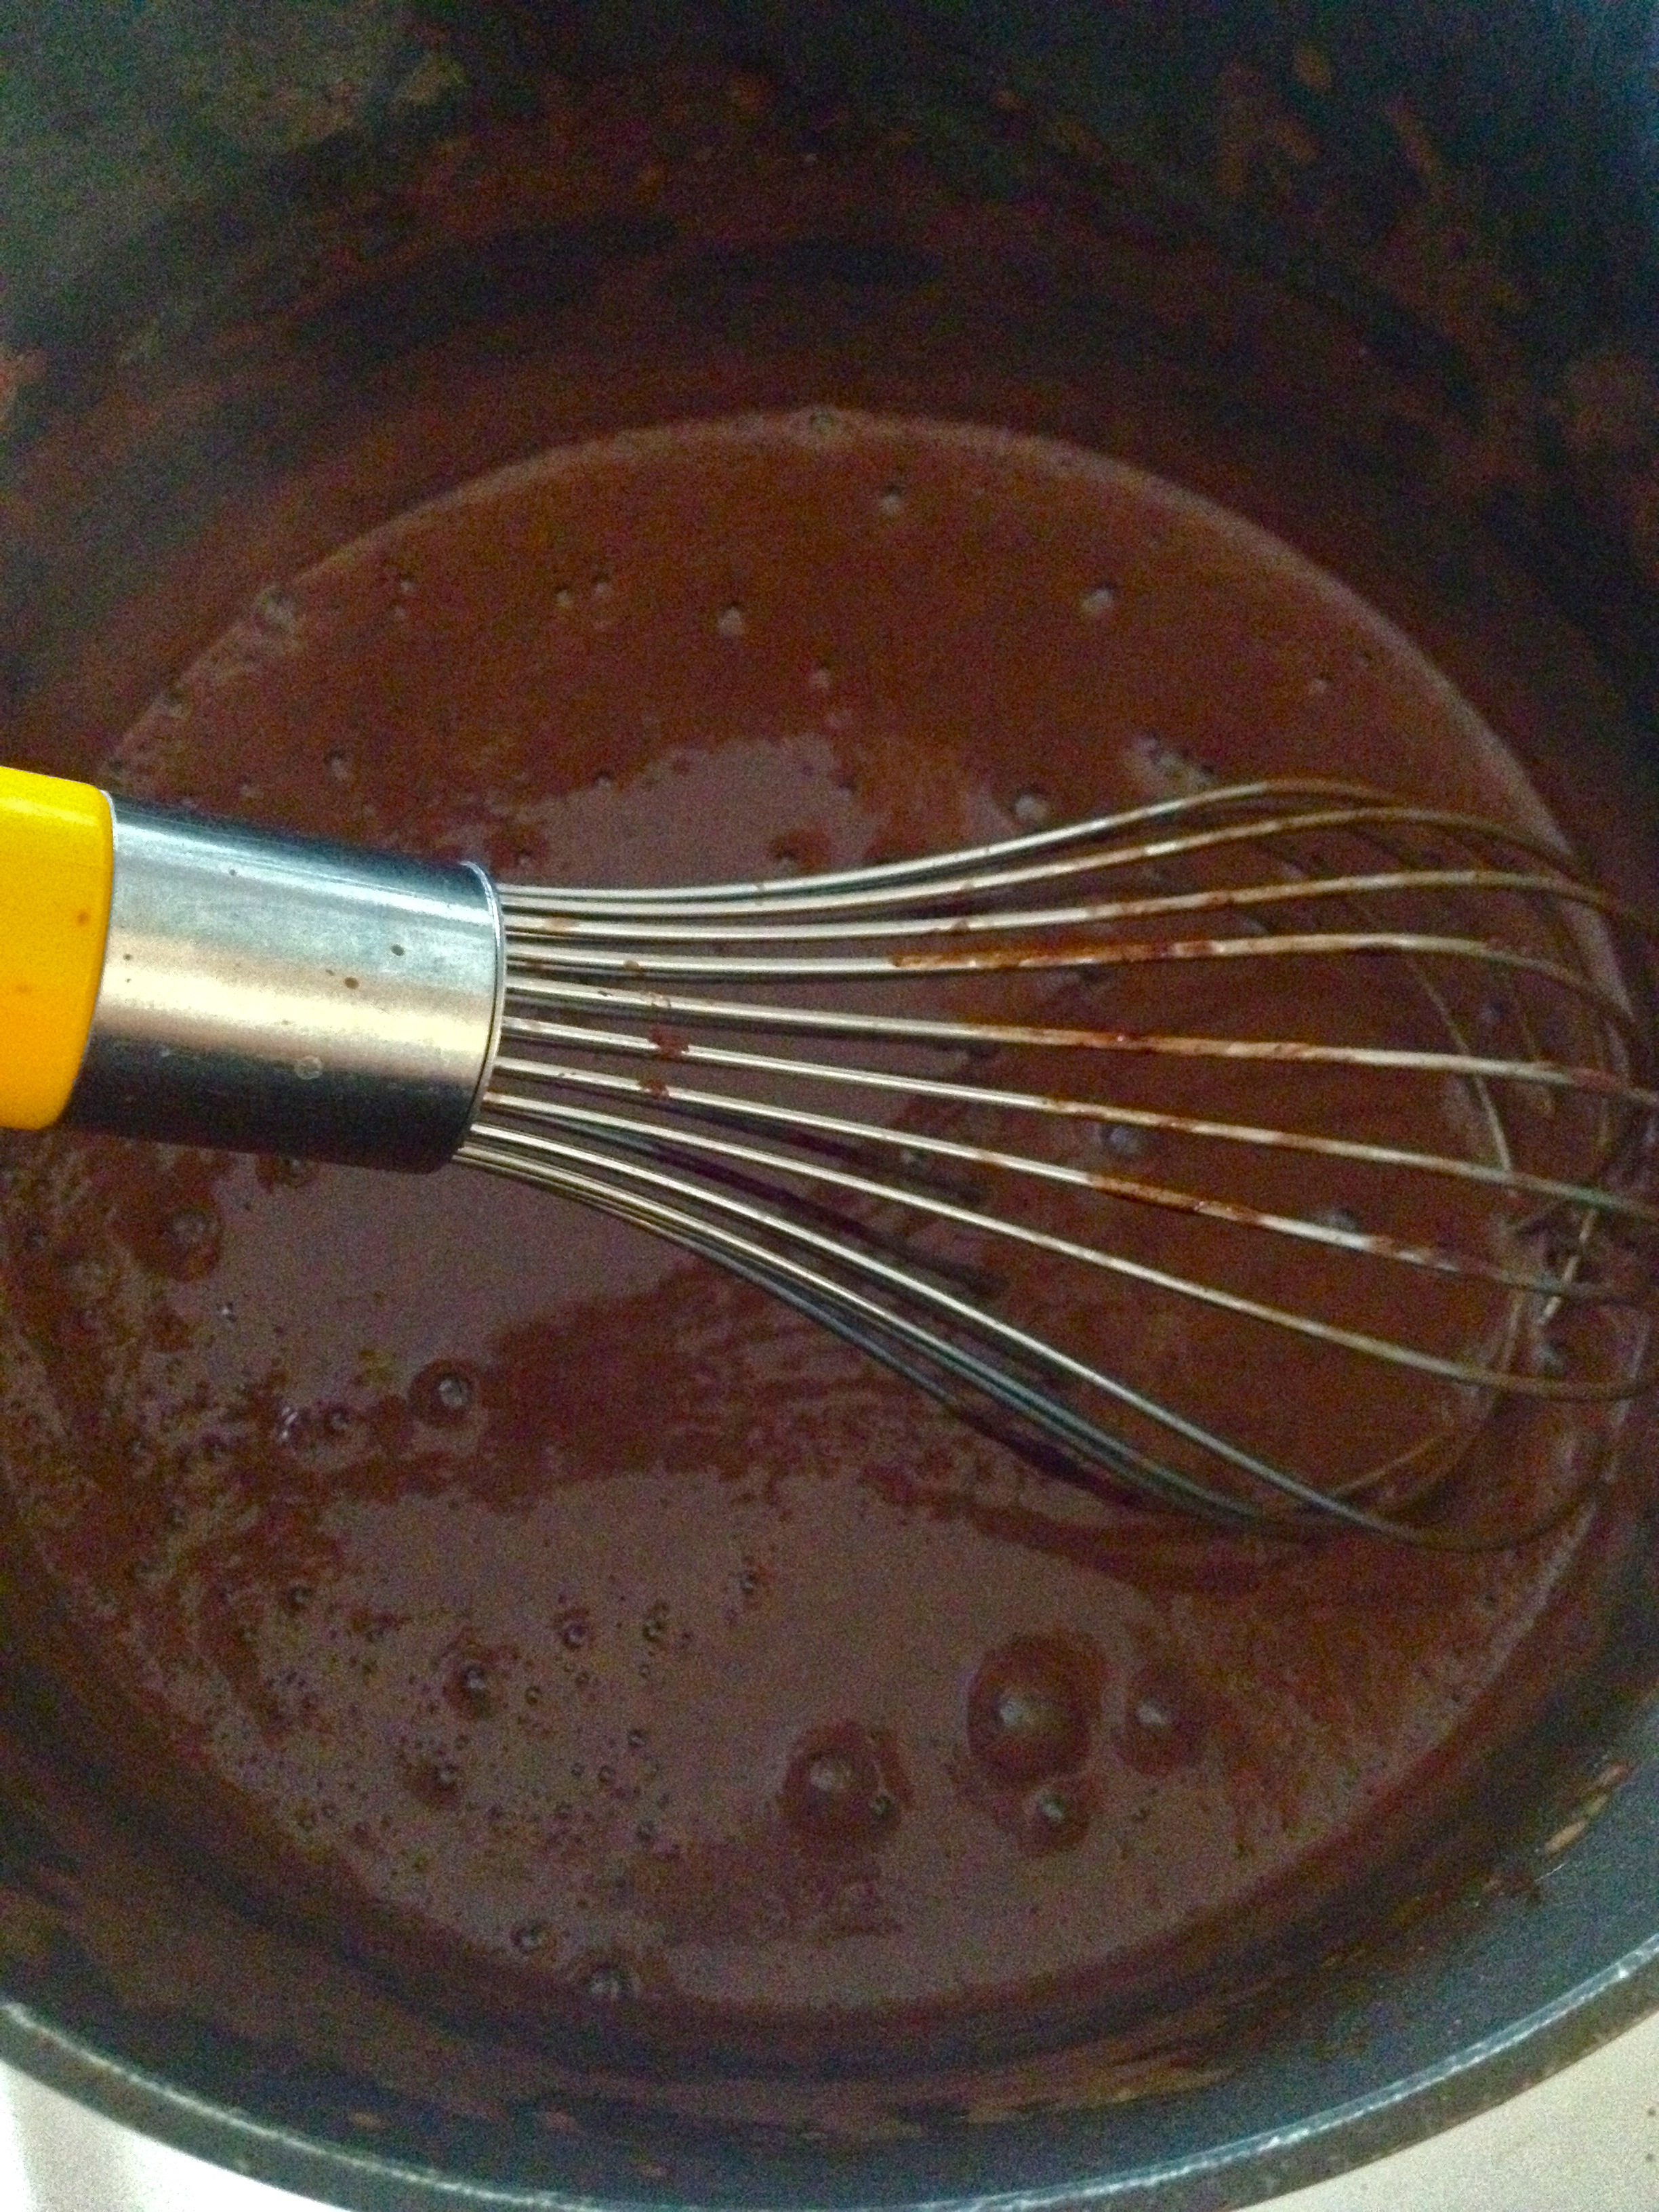
Next, add the chopped semi-sweet chocolate and stir in to melt.

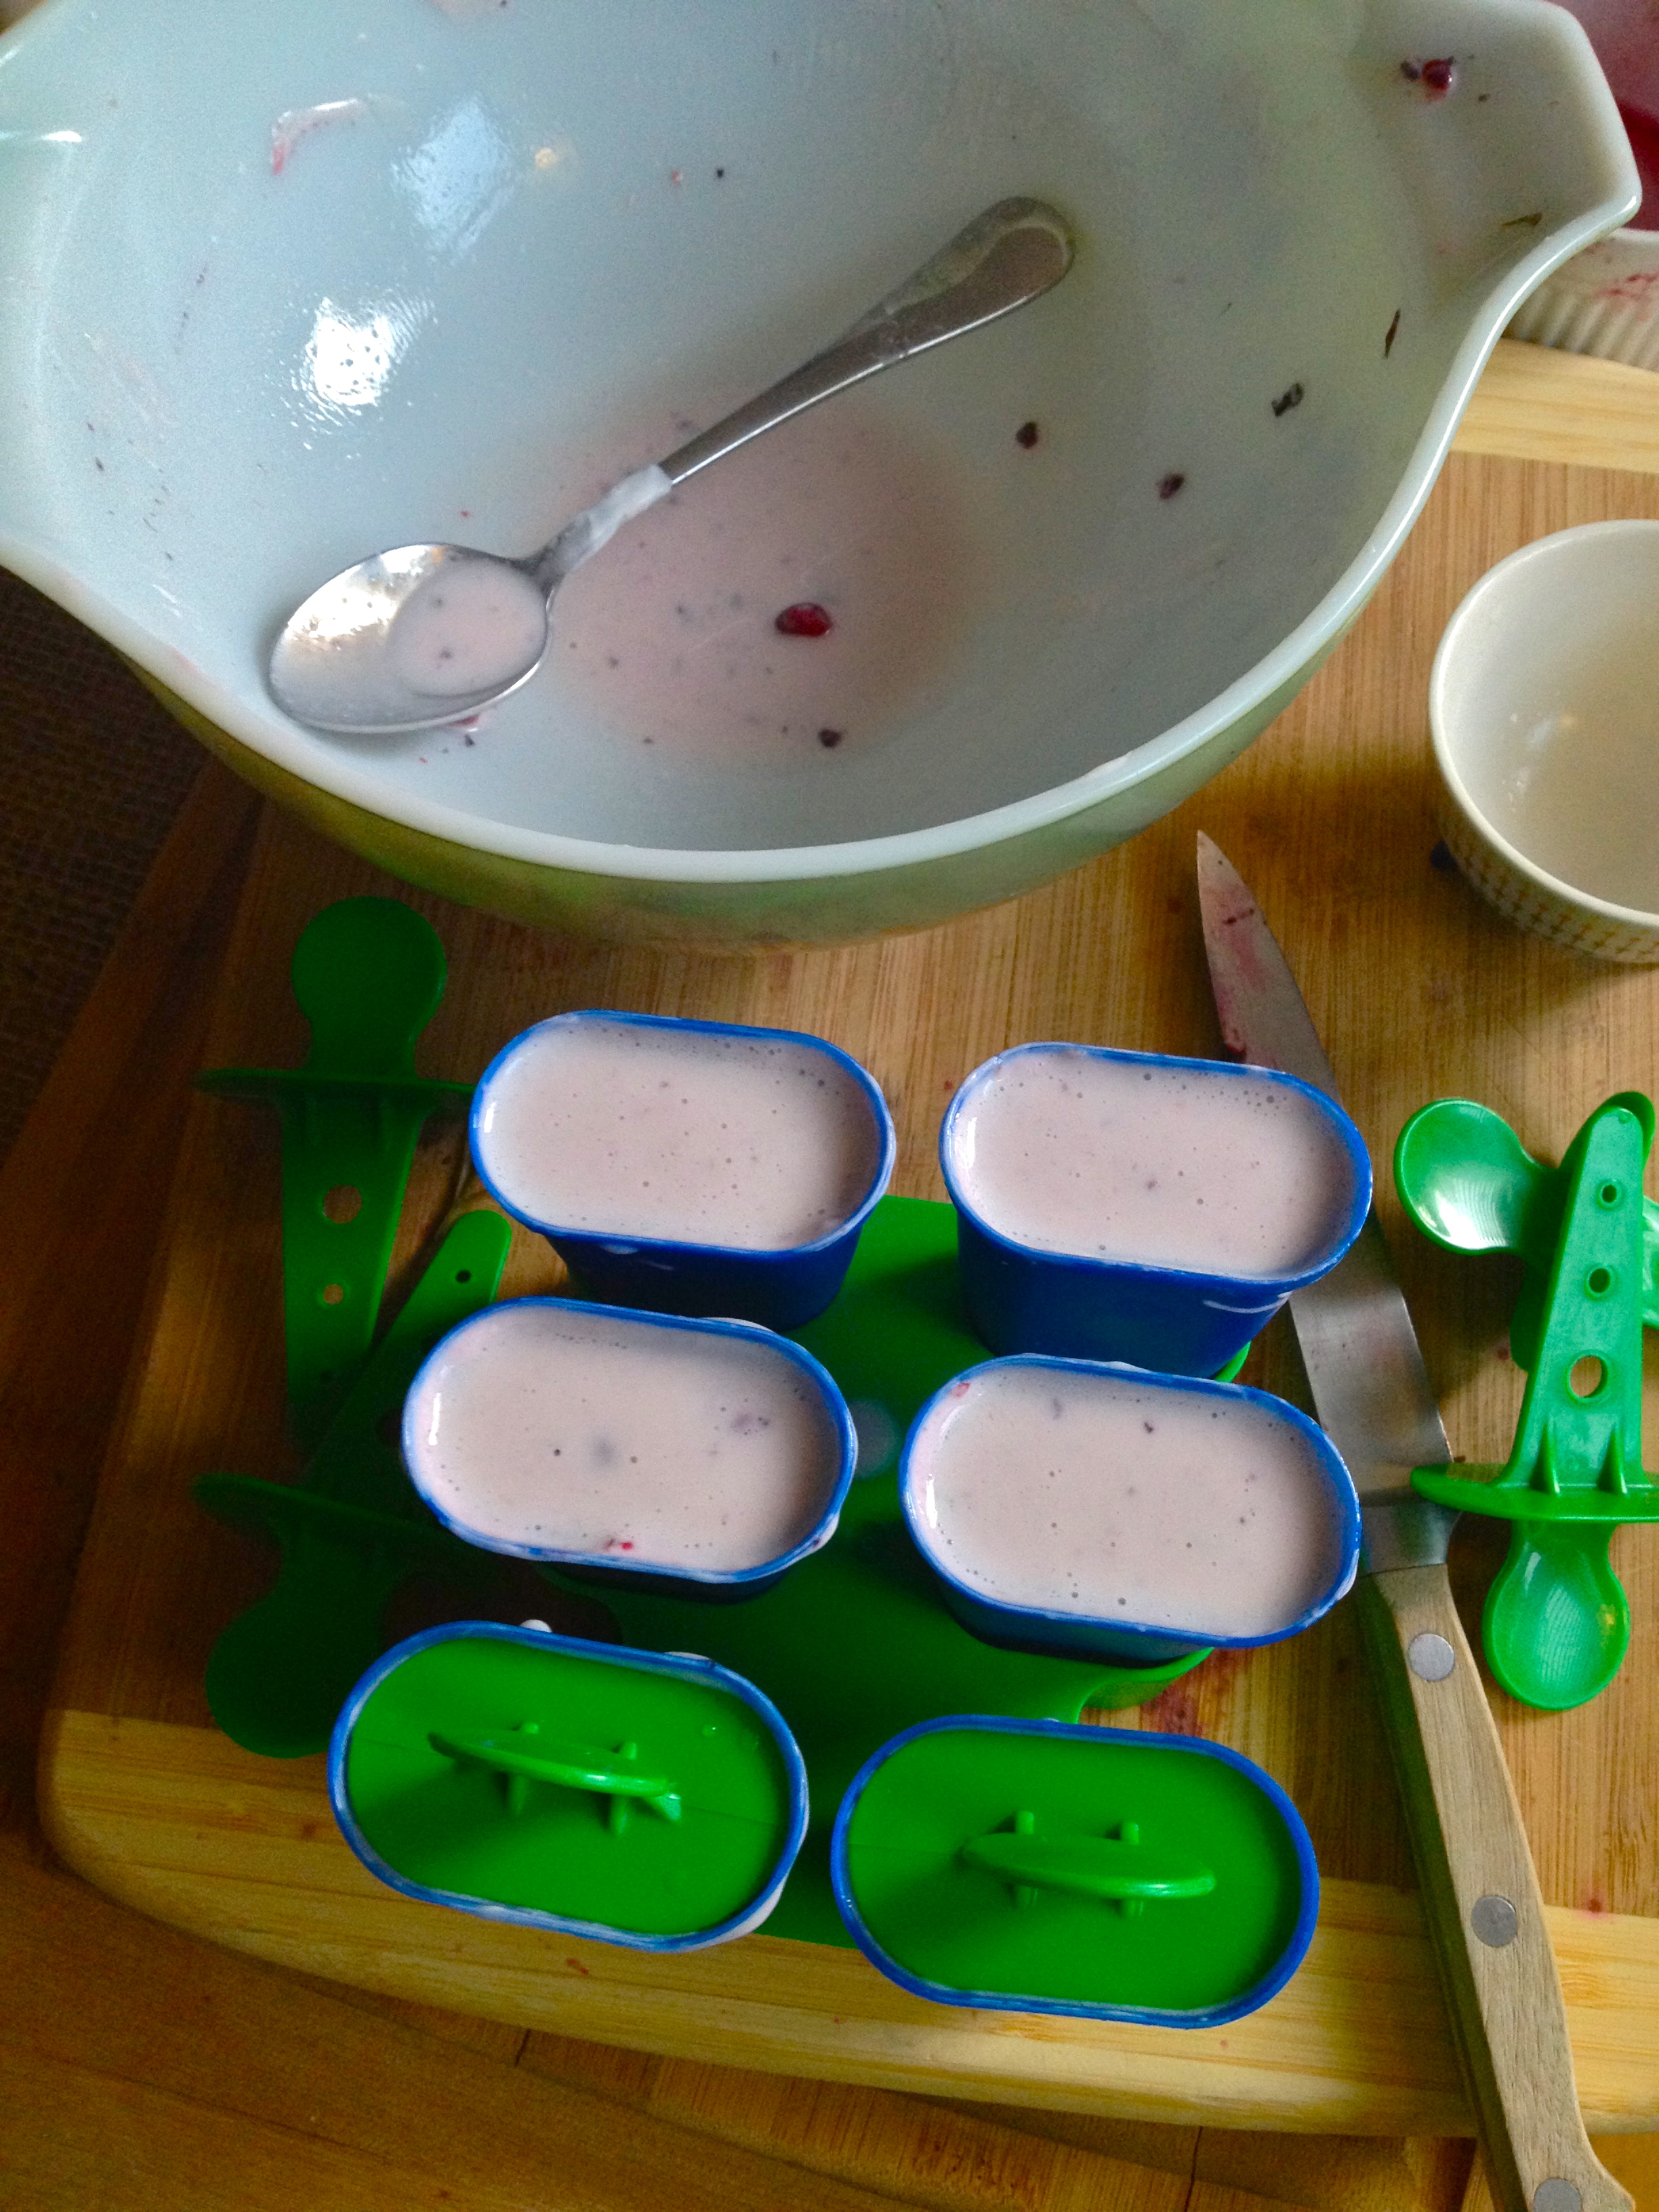
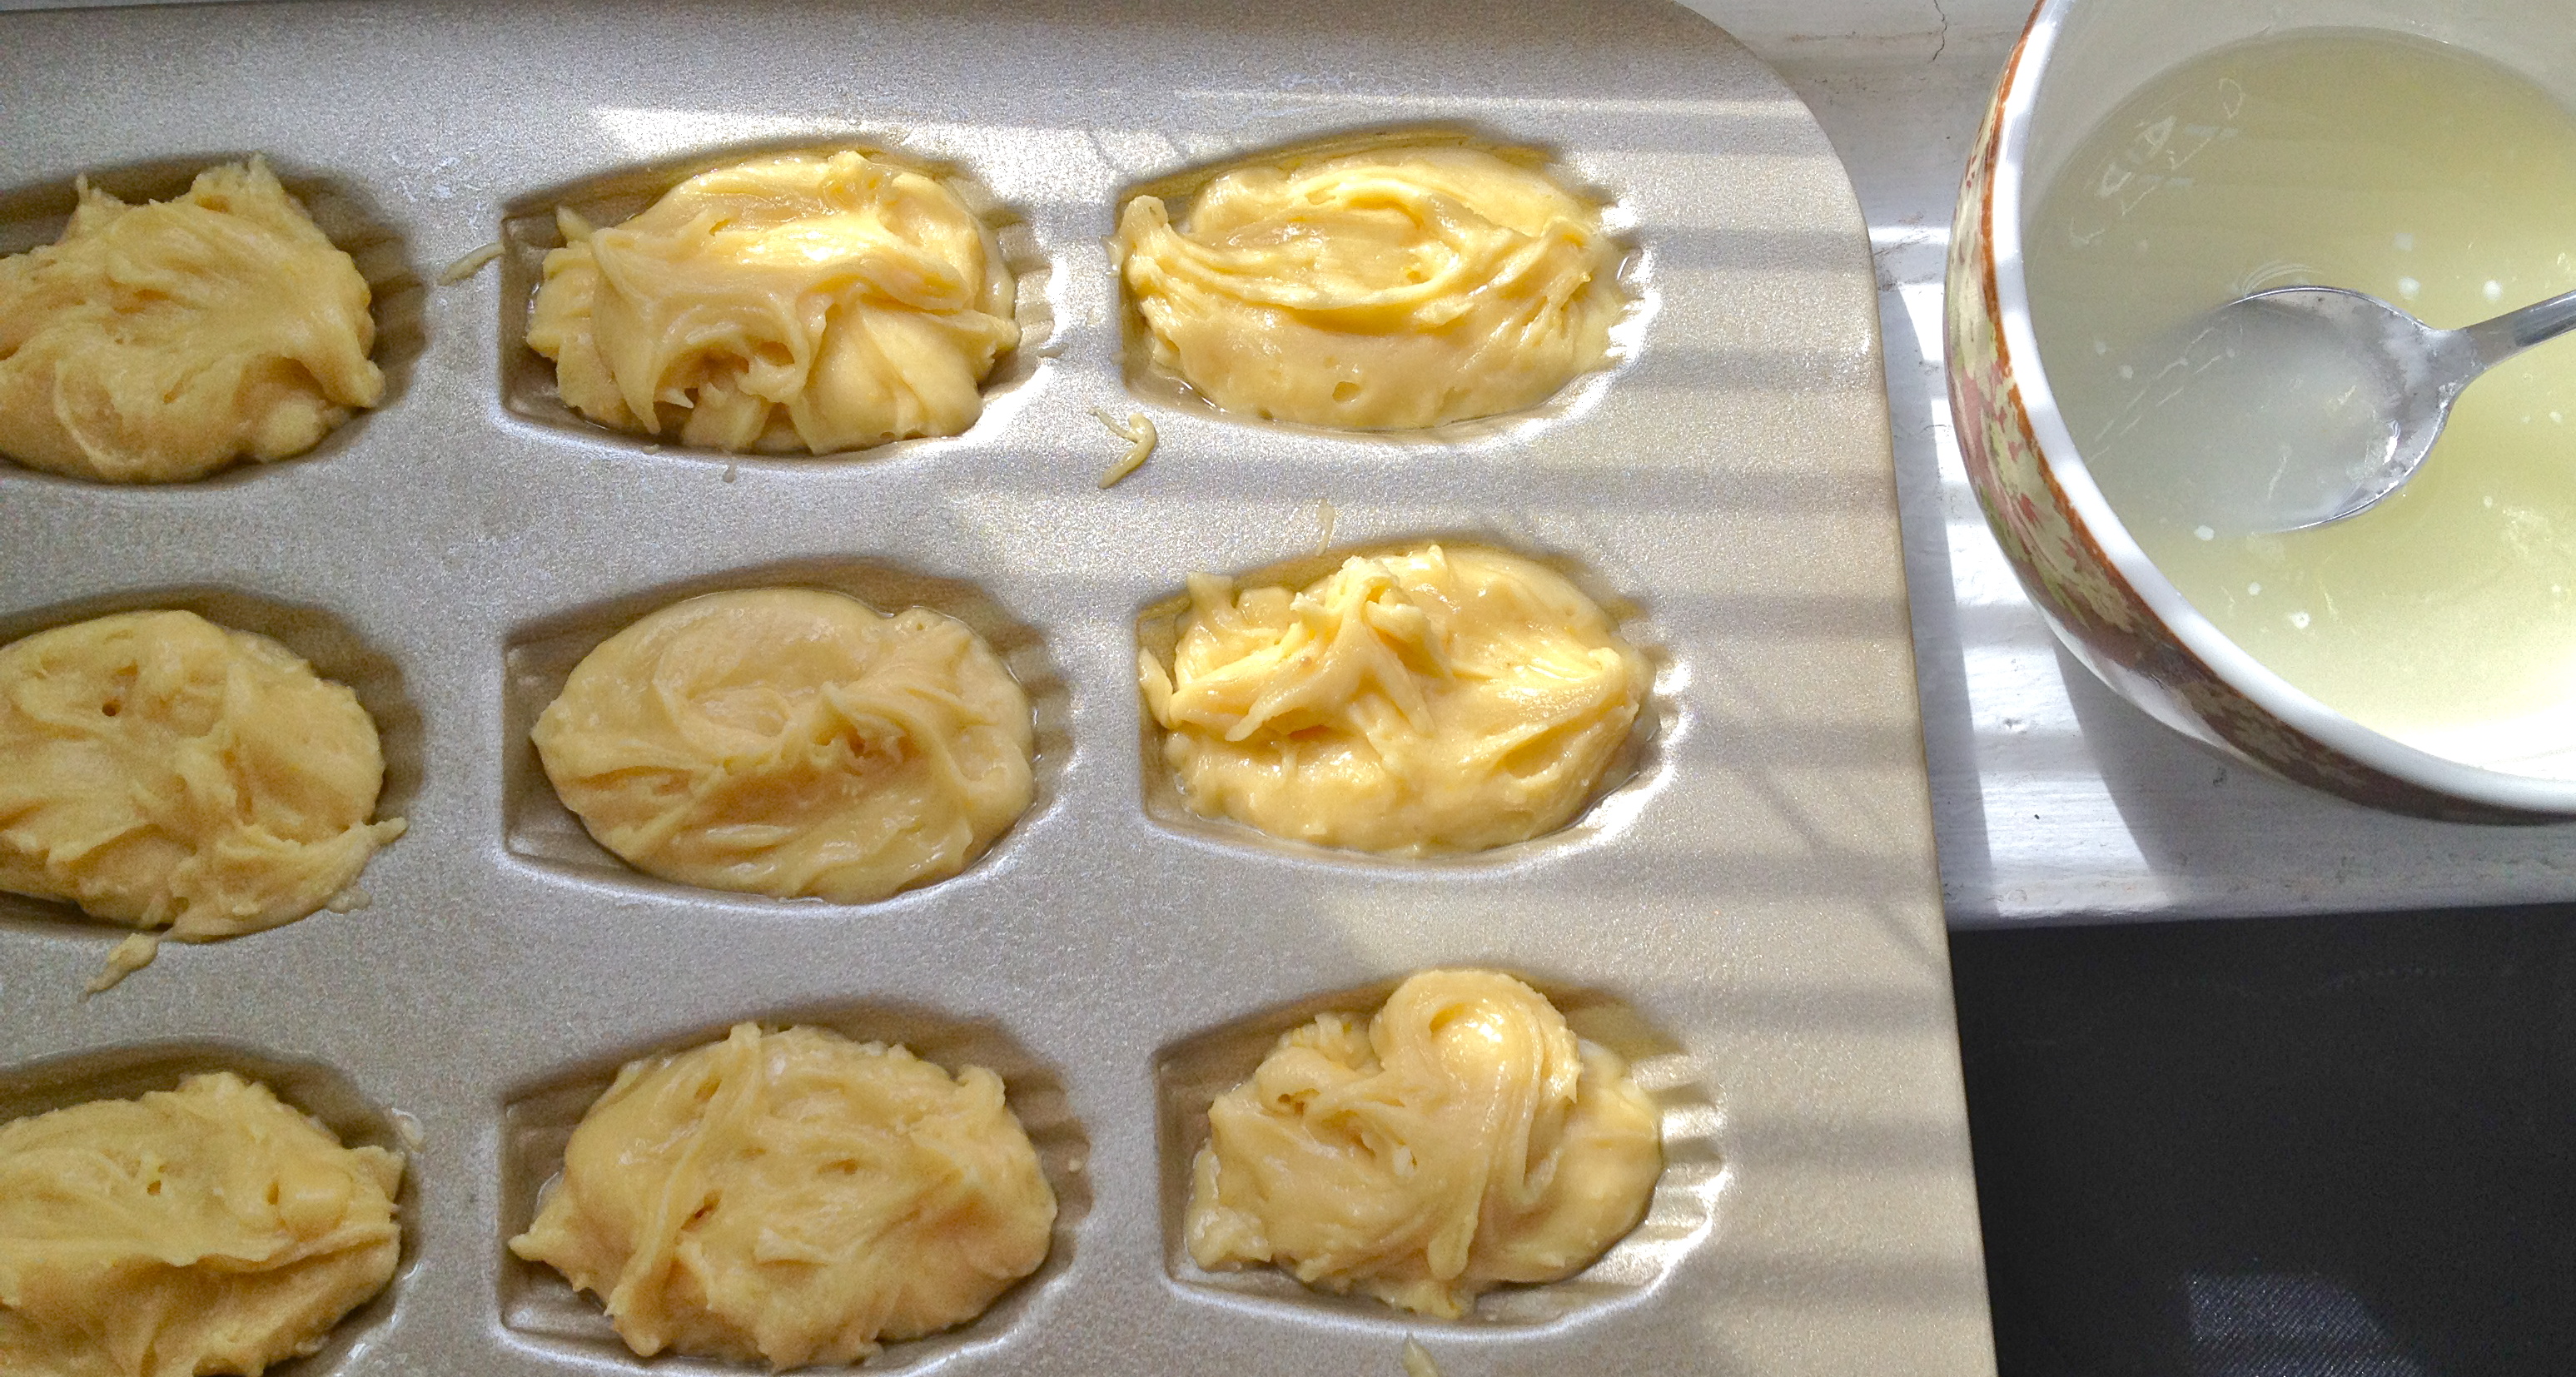
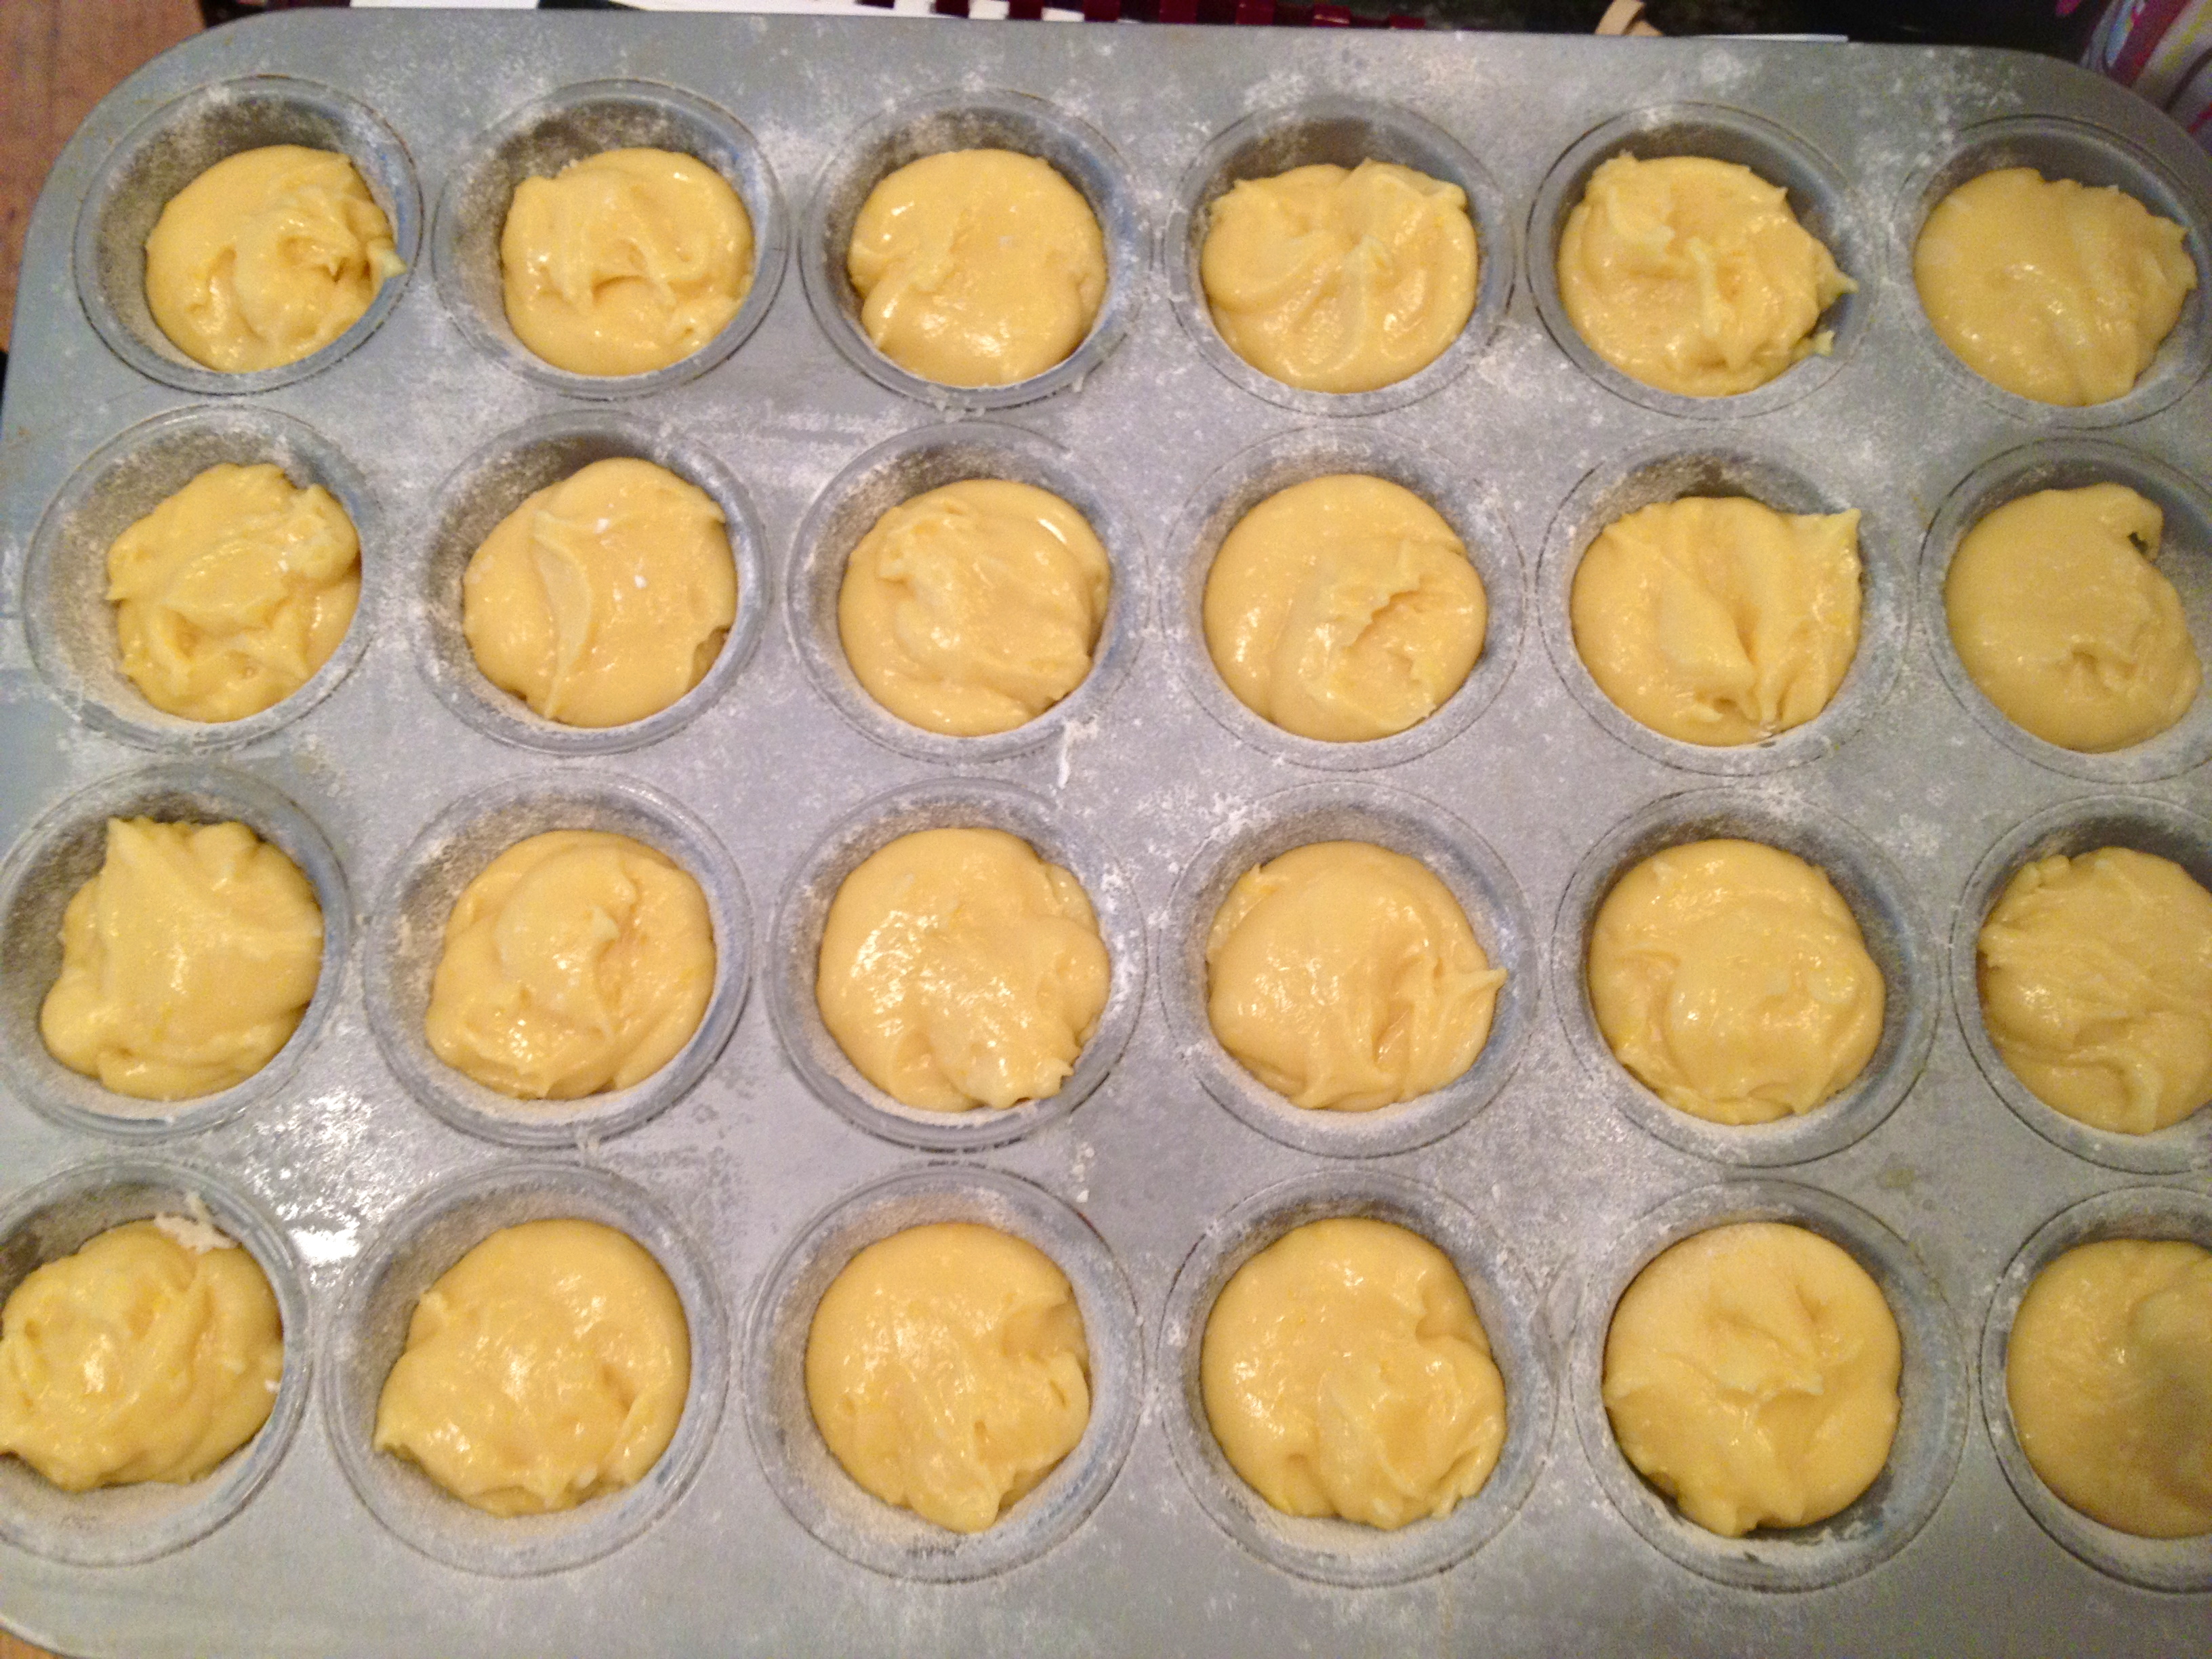
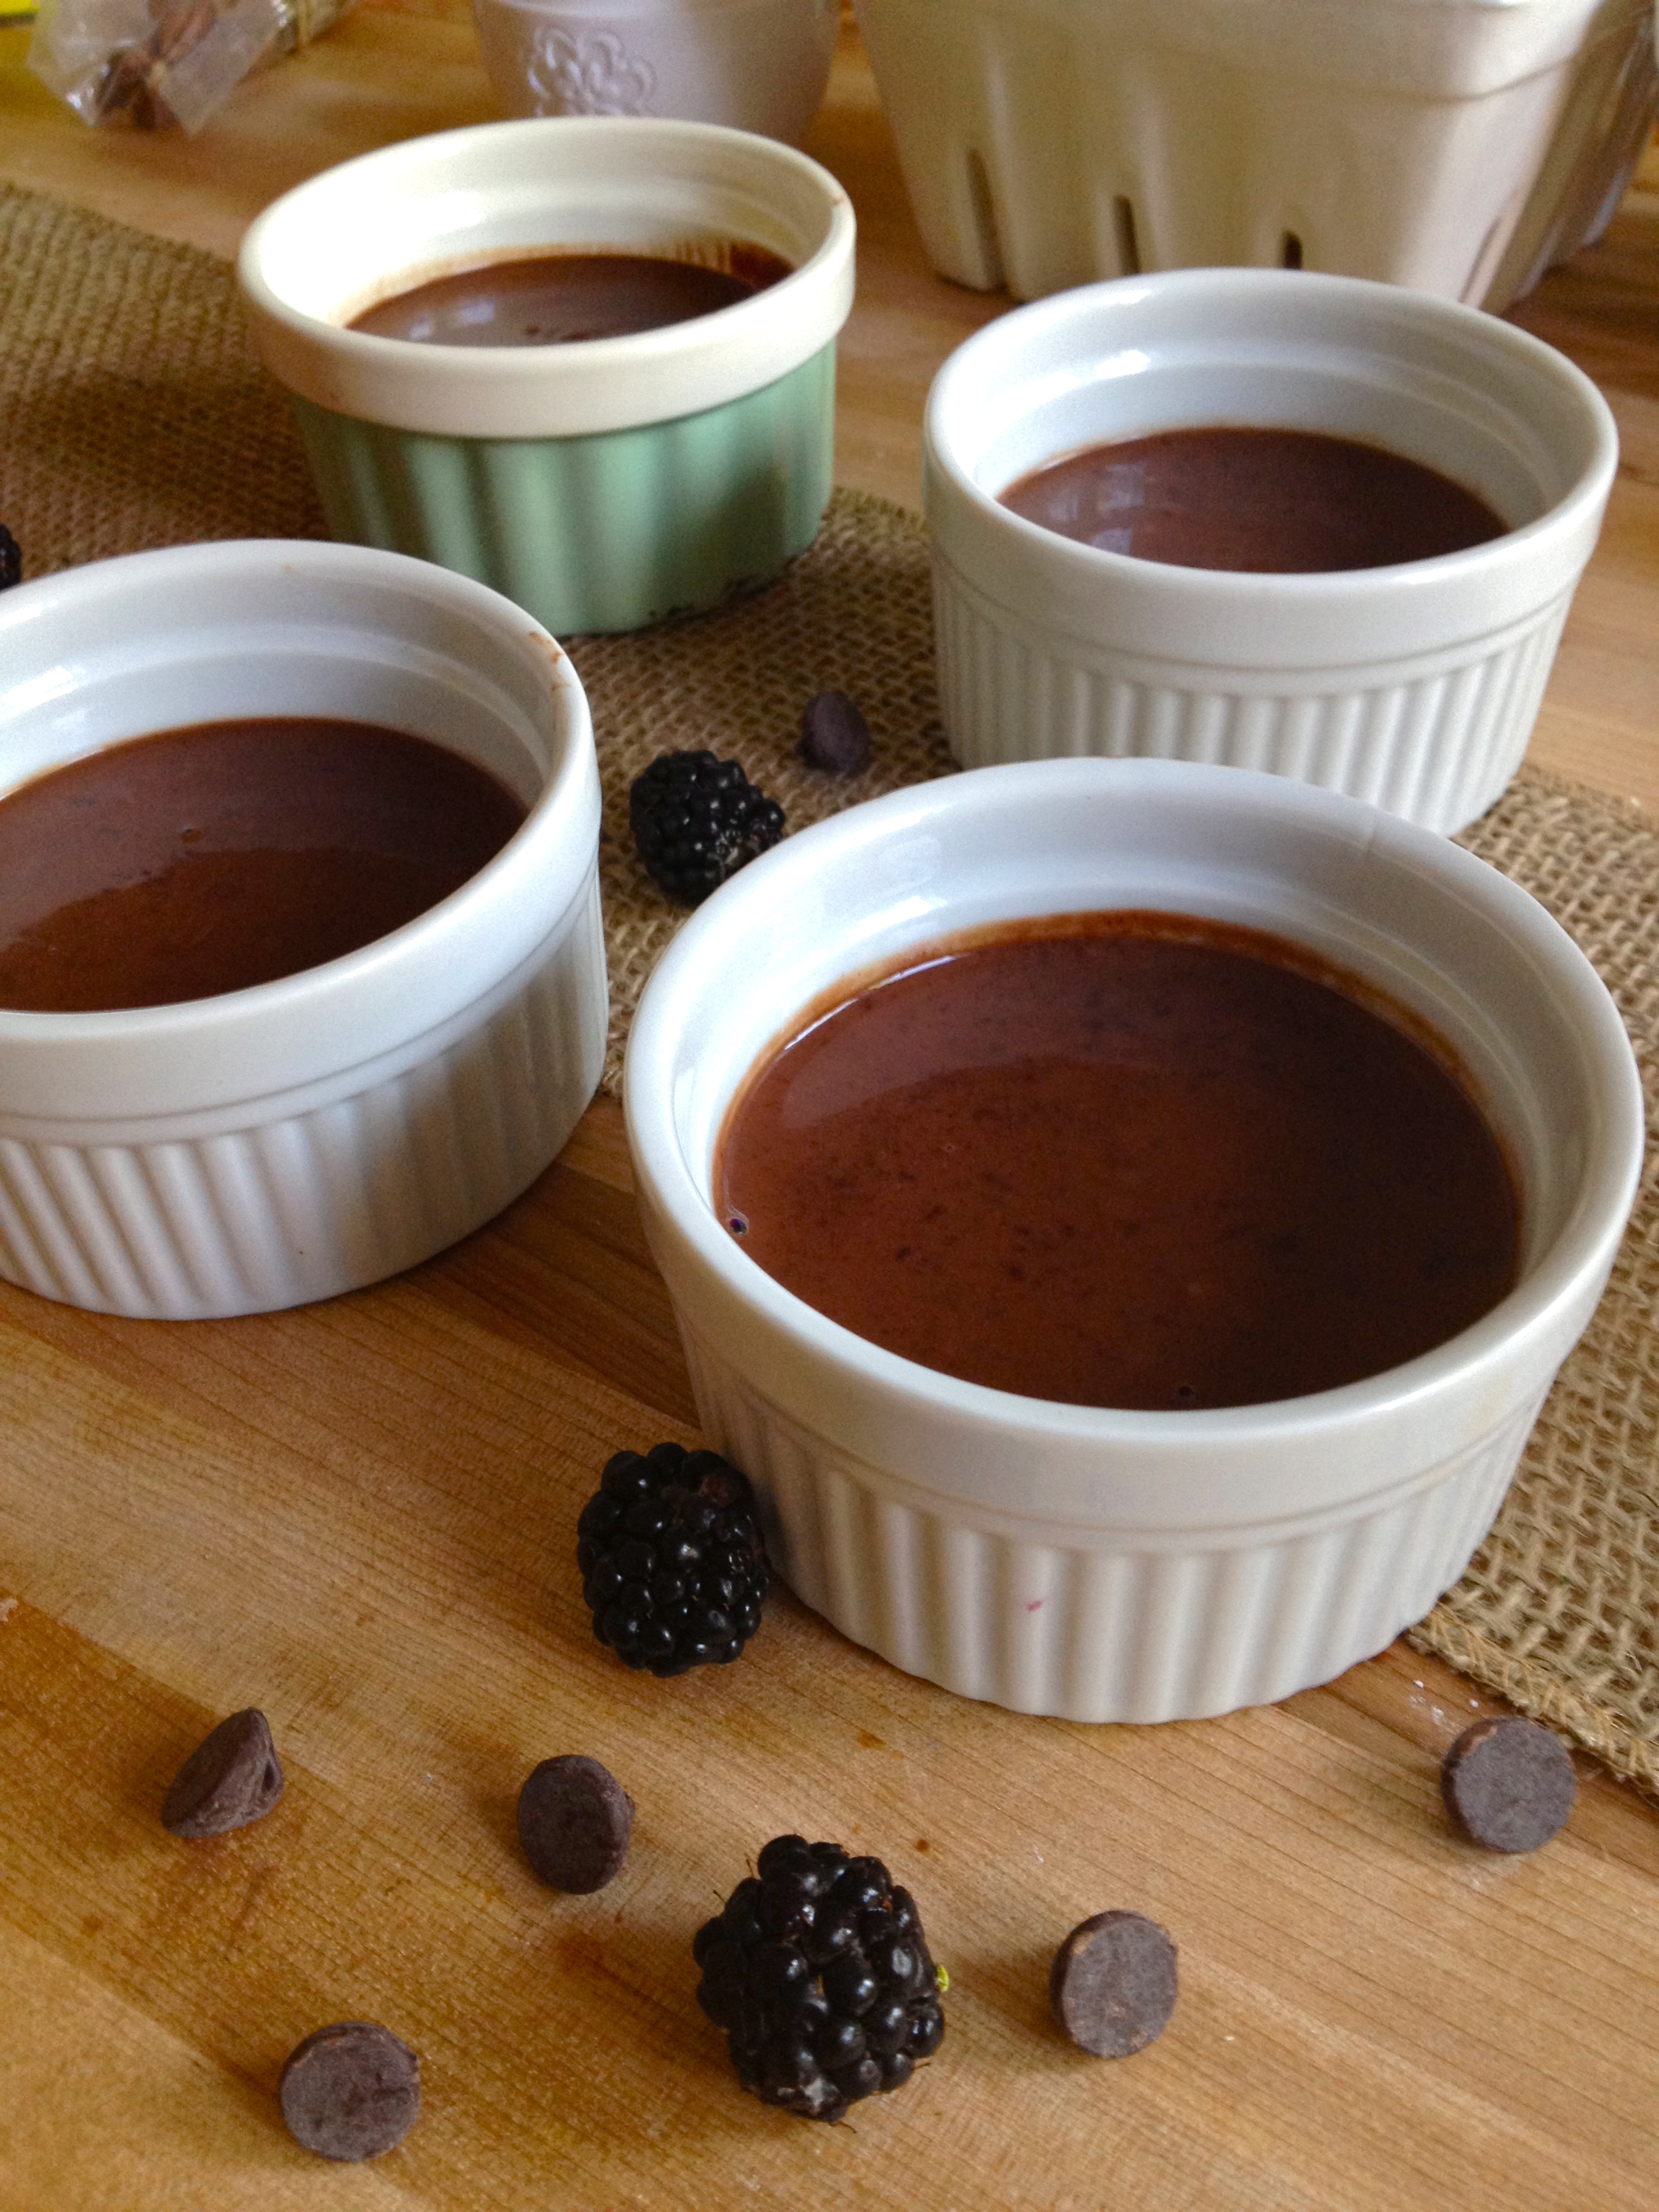
Pour the pudding into ramekins or other cute little cups.

IMG_8952

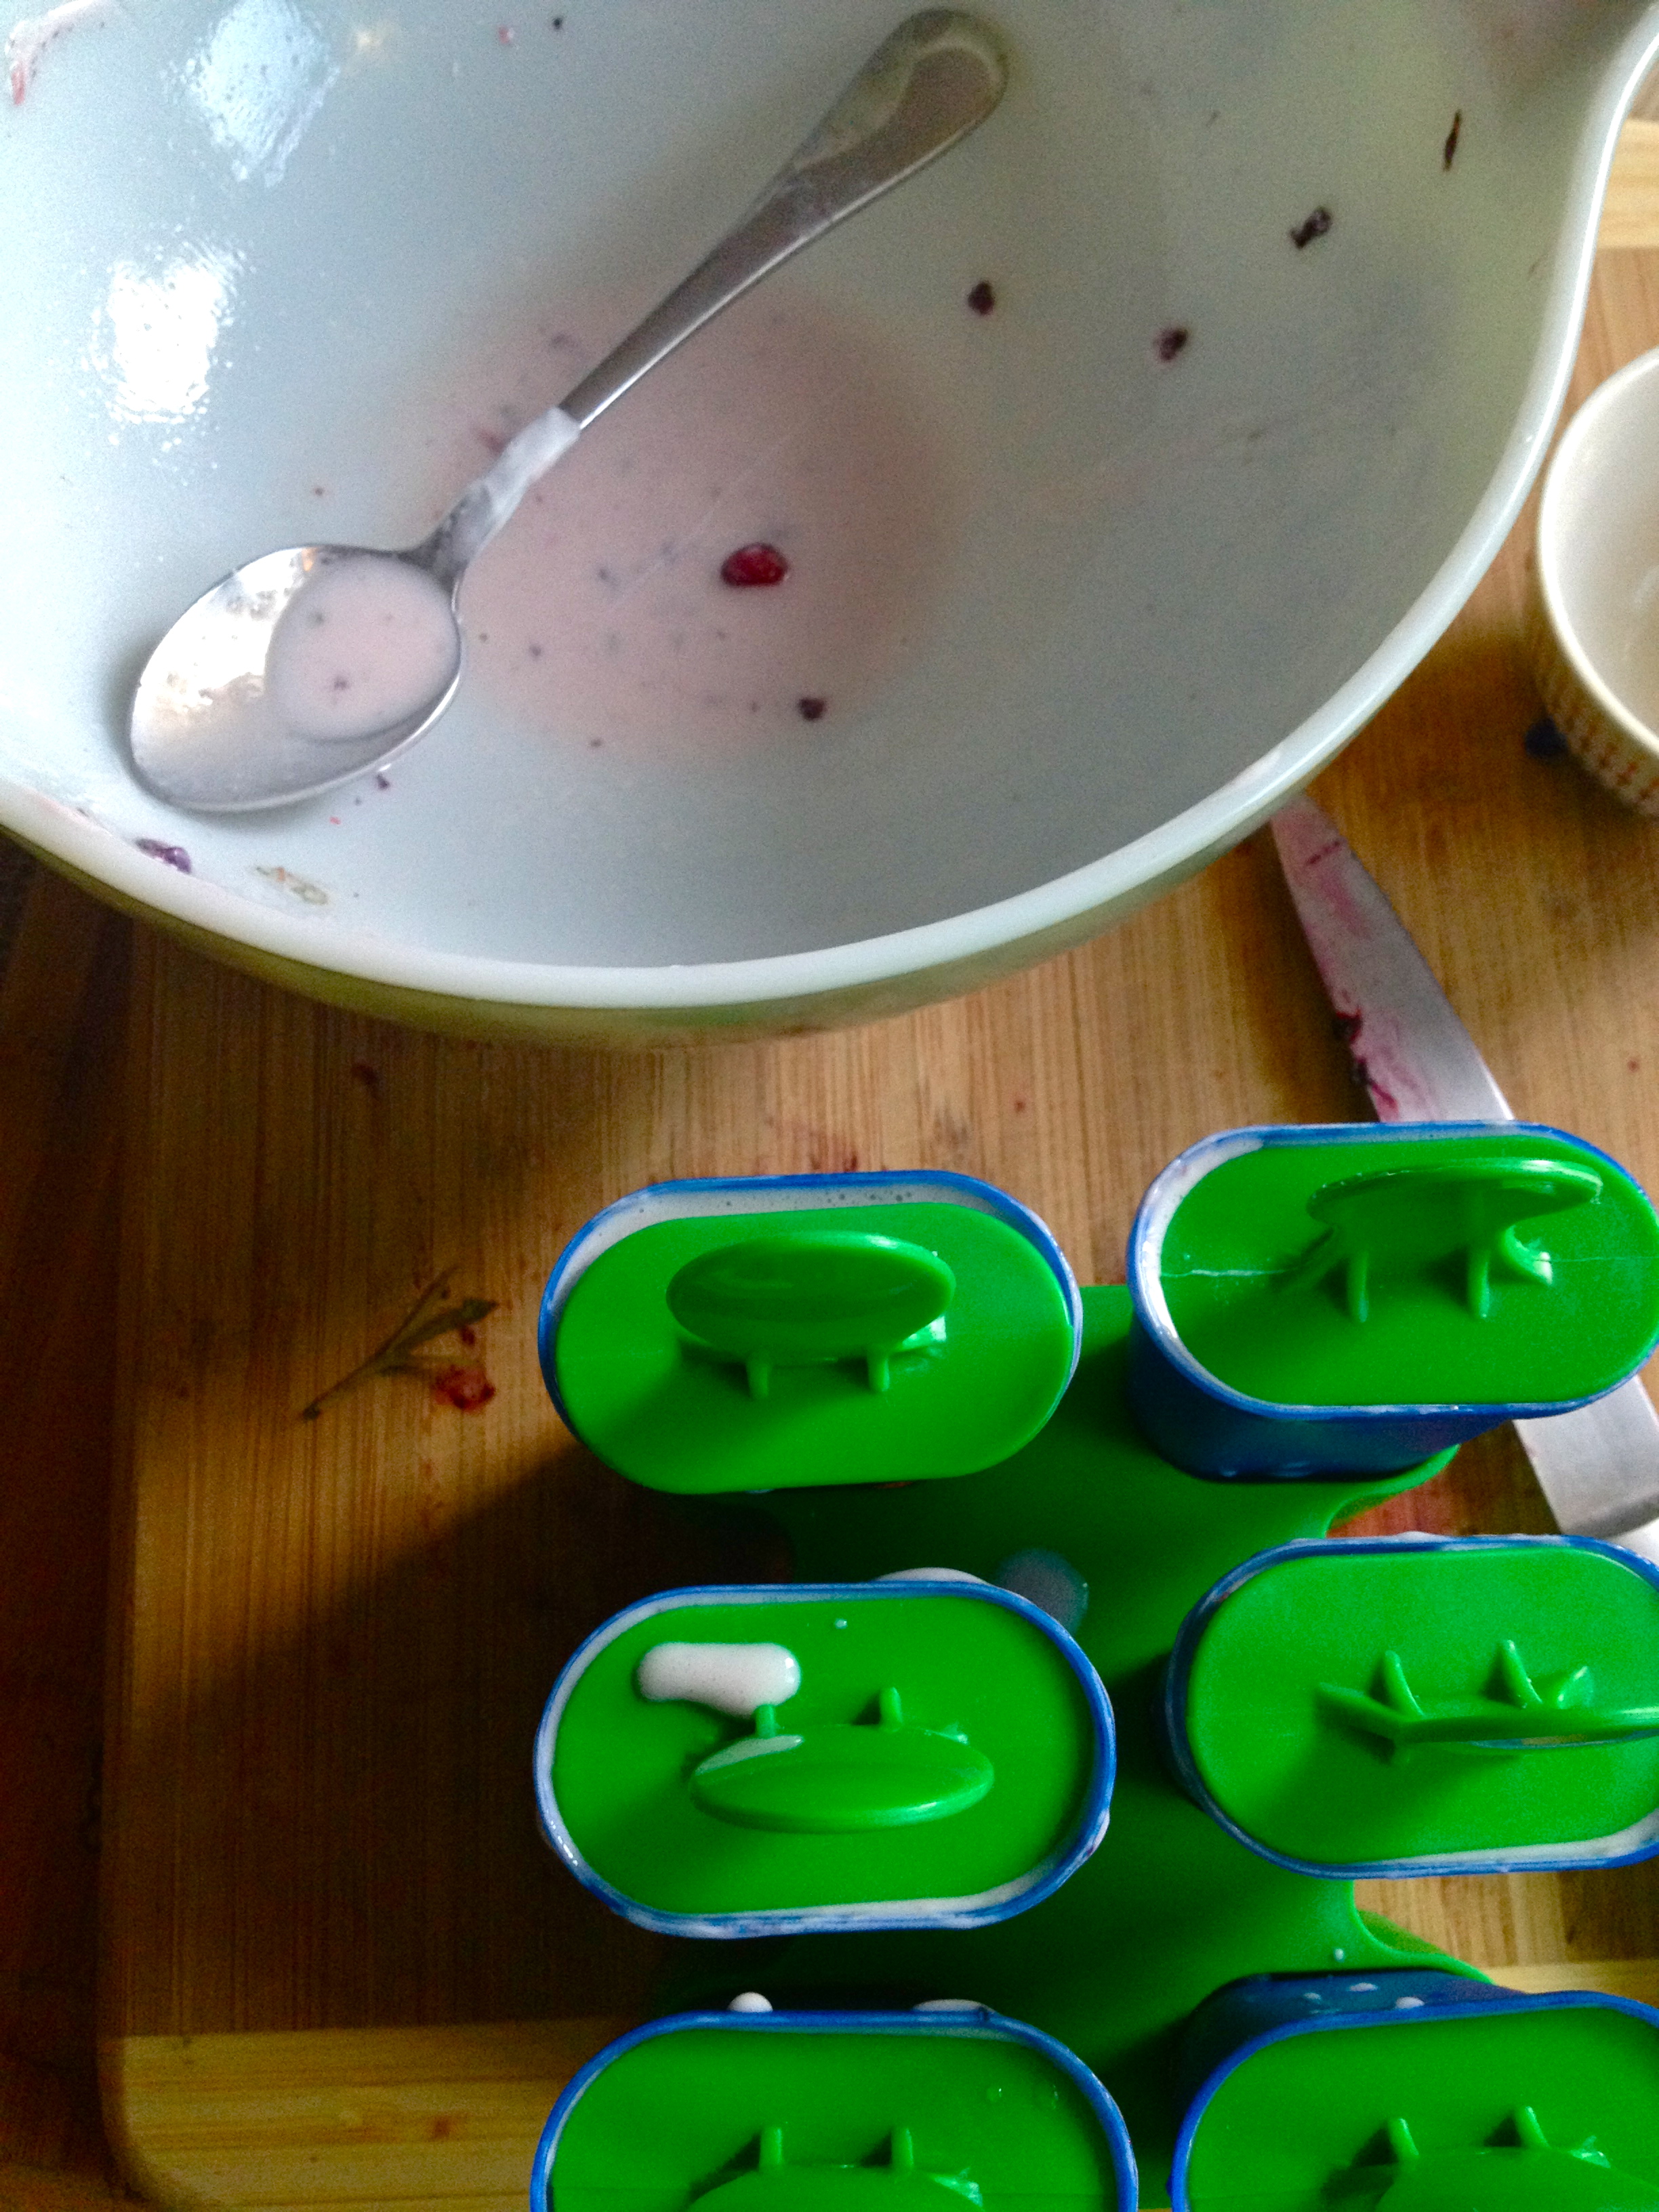
Cover each ramekin with plastic wrap or tinfoil, being very careful to make sure that the covering makes contact with the surface of the pudding. This contact will prevent a skin from forming on top of the pudding – blech. However, if pudding skin is your thing (you and George Costanza have that in common) feel free to cover just the top of the ramekin, without making contact with the top of the pudding itself – you’ll have a pudding skin in no time. Either way, put the pudding in the fridge and chill for at least 4 hours.

IMG_8955

Then, enjoy!

IMG_8962

If you like, garnish with a bit of lightly whipped cream or some berries, or both.

IMG_8971

Champagne, Blackberry, and Pomegranate Yogurt Popsicles.

There are so many star ingredients in these things that I had a hard time coming up with a name for them. I almost gave up and called them “Tom Petty pops.” Can you guess why? I’m not going to tell you. But I will show you through song (click here).

Okay fine, I’ll tell you. It’s because these popsicles are so pretty to mix, and smell so delicious, and are in general so easy to make….and then you have 4-6 hours of freezing time on the back end. Therefore, “the waiting is the hardest part.” Thanks, Tom Petty. QED.

My roommate and I made the long trek out to the northwest suburbs of Chicago on Saturday. We went allllll the way out there in order to ransack the gigantic and heavenly Ikea where all our budget-driven twenty-something decorating dreams come true. I just love that place! We managed to exercise some admirable self-control; one of the essential life necessities I made it out of there with was a cute little popsicle mold. As we drove back into the city (through awful I-90 traffic), I started to plan out all our popsicle adventures. These first ones are born of convenience – I had all this stuff at home already, and we just so happened to have a half-finished bottle of  champagne from last weekend in the fridge. It was a bit flat, but perfect for popsicle-making! This recipe is incredibly flexible, so if you make it, try switching out the fruits, the booze, whatever – just make sure, if you try hard liquor instead of champagne, to use a little less booze, and to let them freeze a little longer. De-lish.

IMG_8889

PS As someone who typically cooks/bakes, it was both frustrating and liberating to freeze something for once. I was impatient for the popsicles to be ready, but loved how I could just forget about them in the freezer!

INGREDIENTS

1/4 cup blackberries, chopped
1/4 cup pomegranate seeds
heaping 1/2 cup Greek yogurt
1 tsp maple syrup
1/3 cup champagne

Just the Recipe link: Champagne, Blackberry, and Pomegranate Yogurt Popsicles 

DIRECTIONS

Stir the blackberries, pomegranate seeds, and maple syrup into the yogurt until combined. NOTE: The pomegranate seeds will turn into little juicy-seedy ice cubes when frozen. If you want the juice, but not the crunch of the seeds, just pop them in a blender for a few pulses or work them over with a mortar and pestle, and then strain the juice into the champagne, leaving the seeds out.

IMG_8875

Add the champagne and stir gently.

IMG_8876

Now fill your popsicle molds. Be careful not to jostle them too much once you’ve filled them; the berries are heavier than the liquid and will tend toward the bottom of the mold, so don’t give them any reason to sink further down than they already will.

IMG_8879

Pop in their sticks.

IMG_8880

And freeze for 4-6 hours, depending on the size of the mold and the type/amount of booze you use. I left mine overnight. Then slide them out of their molds and enjoy!

IMG_8888

See? Fruity goodness, all the way through.

IMG_8894

Coconut Macaroons.

These are as as delectable as they are adorable. I saw Ina Garten make ’em recently on Barefoot Contessa and have had them in the back of my mind ever since. Oh man, are these coconut macaroons delicious. But my favorite part about them (okay, one of my many favorite parts) is how totally easy they are. Just look at the ingredient list – so simple! As I was whipping them up, I thought about adding a new section on my Recipe List page where I could collect my simplest, easiest recipes in one place. So if you check out the Recipe List now, you’ll see a new section called “Easiest, Simplest Recipes,” where I’ve called out all my recipes that are amazingly basic and basically amazing. And these  chewy, gooey coconut macaroons are going right there.

IMG_8747

INGREDIENTS

14 oz sweetened shredded coconut
14 oz sweetened condensed milk
1 tsp vanilla
2 egg whites, room temperature
1/4 tsp salt

Just the Recipe link: Coconut Macaroons

DIRECTIONS

Preheat oven to 350 F.

Stir together the coconut, sweetened condensed milk, and vanilla in a large bowl.

IMG_8734

In a separate bowl, use a whisk to beat the egg whites and salt until they form medium-stiff peaks. Fold the whites gently into the coconut mixture.

IMG_8735

Use an ice cream scoop (or your fingers) to drop little scoops of batter on a baking sheet lined with parchment paper or a baking mat. Don’t put the cookies too close, as they spread out a little bit.

IMG_8742

Bake for about 25 minutes, until golden brown and set. Devour.

IMG_8750

Sticky Glazed Vanilla-Chocolate Shortbread Cookies.

I haven’t been baking much recently. I miss it! Cutting way down on sugar and processed grains, as I have been, means a lot of my favorite baking activities are on hold. This weekend, however, I was up at my family’s lakehouse in Wisconsin, celebrating my sister’s seventeenth birthday with a handful of her girlfriends. And I saw my chance. My chance to make these cookies, inspired by 101 Cookbooks. Ever the pragmatist, I recognized in this group of high schools girls a captive audience; I knew, if I placed a platter of gleaming sweets in the midst of their Beyonce-listening sunbathe-fest of Saturday, they’d happily help me out by disposing of the evidence. And they did not let me down—when we left the lakehouse on Sunday, only one cookie remained. Nicely done, girls. And happy birthday, Kathleen!

IMG_8701

INGREDIENTS:

for cookies:
12 tbsp (or 1 1/2 sticks) unsalted butter, softened to room temperature
2/3 cup brown sugar
, plus more for sprinkling
2 large egg yolks
1 tablespoon vanilla extract
2 1/2 cups all-purpose flour
1 teaspoon baking powder
1 scant teaspoon salt
about 3 tbsp chocolate, finely chopped (I used semi-sweet)
2-3 tablespoons milk (I ended up using about 1 ½ tbsp)

for glaze:
2 tbsp milk
about 6 heaping tbsp. powdered sugar
splash of good quality vanilla extract (you want to use the good stuff here – don’t skimp on quality)

Just the Recipe link: Sticky Glazed Vanilla-Chocolate Shortbread Cookies

DIRECTIONS:

Using an electric mixer (or your best elbow grease), cream the butter until it’s fluffy. Then add half the brown sugar, stir it in, and scrape the sides of the bowl, and repeat with the other half. Beat in the egg yolks and the vanilla until combined.

IMG_8647

In a separate bowl, mix together the flour, baking powder, salt, and chopped chocolate. You want the chocolate very finely chopped – if the pieces are too big, your dough won’t hold together as well when you’re rolling it out.

IMG_8637

Stirring by hand, gently mix part of the flour into the butter and sugar, just until it combines. Add the rest of the flour, careful not to over-mix. If the dough looks too dry, add a tbsp of milk or two – we’re looking for the dough to just hold together when pressed into a ball. Which, conveniently, is the next step.

IMG_8655

Turn out the dough into a cutting board or countertop and form it into a ball using your hands.

IMG_8656

Then divide the ball into 4 equal sections.

IMG_8660Form the sections into balls and then flatten them into discs. Wrap each disc in plastic wrap and refrigerate for at least half an hour.

IMG_8664

When the dough has chilled, preheat oven to 350 F.

Take one of the discs out of the fridge. Lightly flour a flat workspace and use a rolling pin to roll out the dough very very thin, like wafer thin.

IMG_8667

With a cookie cutter (or a small glass, because I couldn’t find any cookie cutters) cut out the cookies and place them on a baking sheet. They don’t spread out much, so crowding the cookies is okay. Sprinkle each one with a bit of brown sugar. Repeat with the other 3 sections of dough.

IMG_8668

Now, to the oven. Depending on how big the cookie cutter you use is, these bake pretty quickly because of how flat they are, so watch them. Mine baked about 8 minutes, just until the edges started to turn golden brown.

IMG_8675

Put the cookies on a cooling rack and cool completely before glazing.

To make the glaze, pour the milk into a small bowl and add the vanilla. Then add 4 tbsp of powdered sugar and whisk or use a fork to combine. From there, add the rest of the powdered sugar as needed until you reach the right consistency – thin, but not watery.

IMG_8682

When the cookies have cooled, glaze them. The quick way is to spoon the glaze over the cookies, drizzling a bit on each one. If you want to put a bit more TLC into the glazing process, dip the top of each cookie into the glaze. Either way, set them back on the cooking rack to set before plating.

IMG_8688

That’s all! Enjoy.

IMG_8696

But be careful – my tasters found these pretty addicting.

IMG_8704

Glazed Lemon Madeleines.

I’ve been looking for the perfect homemade madeleine. I think this is it. I would say that this recipe is “adapted from David Lebovitz,” but I realized that I really didn’t change much of anything! His recipe is perfect just the way it is (if you’ve never been to his website, please check it out – he usually inspires me either to cook something beautiful or to speed along my plan-making for another trip to Paris).

IMG_7527

I love these lemon madeleines anytime. My roommate can attest that for some inexplicable reason I even made them during the Super Bowl this year–not BEFORE the Super Bowl, but actually DURING THE GAME. I have no excuse or explanation for that. And while they’re fine with football, they’re especially well-paired with tea. Lemon madeleines are actually one of the only things in this world for which I will actually delay drinking my daily pot of tea in order to whip up a quick batch.

IMG_7531

To give these adorable little cookie-cakes their distinctive shell shape, you need a special pan, called a madeleine pan (go figure). The pan gives them their scalloped bottom and humped and fluffy top. I’m quite happy with my madeleine pan, so if you ask me, it’s worth the investment for this little lemony French treat. However, if you want to try these but don’t have a madeleine pan of your own, just follow the directions exactly as written but use a mini muffin pan instead.

IMG_7532

INGREDIENTS

3 eggs, room temperature
2/3 cup sugar
2 healthy pinches of salt
1 1/4 cups flour
1 tsp baking powder (optional – it helps them rise when baking, and I haven’t decided my opinion on it yet.)
zest of one medium lemon
9 tbsp butter, melted and cooled to room temperature
1 tbsp lemon juice
3/4 cup powdered sugar
up to 2 tbsp water

Just the Recipe link: Glazed Lemon Madeleines

IMG_7540

DIRECTIONS

First, grease your madeleine pan and put it in the freezer. This will make sure the madeleines hump up when they’re in the oven.

Add eggs, sugar, and salt to a bowl. Whisk like crazy until frothy and thickened.

IMG_7518

Sift in the flour and baking powder and fold into the egg mixture.

IMG_7519

Gently stir the lemon zest into the butter and pour into the flour and egg batter, stirring until just combined. Pop the batter into the refrigerator for about 15 minutes.

IMG_7521

As the batter chills, preheat the oven to 425 F.

Once the batter is slightly chilled, use a spoon to scoop into the cold madeleine pan. Don’t fill the scalloped cups up all the way to the rim, as the cakes will rise quite a bit.

IMG_7523

The same goes if you’re using a mini muffin pan – give them a little room to grow.

IMG_8261

Pop them in the oven for 8-9 minutes, until the tops are set and the bottoms are lightly browned. While they’re baking, mix the powdered sugar and lemon juice together for the lemon glaze, thinning with water until you reach the consistency you like – it should be pretty thin (think of a glazed doughnut).

Set the baked cakes to cool on a cooling rack. As soon as they’re cool enough to handle, dip each one in the glaze, both sides (!), and set back on the cooling rack, scalloped-side up, letting the glaze set as the cakes cool all the way.

IMG_7535

Here they are as little mini muffins. Not as dainty as the madeleine-shaped madeleines, but just as tasty!

IMG_8266

Serve immediately with a beautiful cup of tea or coffee. Make sure to use one of your prettiest cup-and-saucer pairs.

IMG_7536

Chocolate Peanut Butter Cheesecake.

As ever, Nigella Lawson dishes out another perfect dessert recipe. There isn’t much need of an introduction for this beaut. I’ll just say that every step of the process is spoon-smackingly, bowl-lickingly good, and that the finished product is indulgent and fluffy and dreamy in every way. A graham cracker crust with bits of chocolate in it, filled with a smooth and creamy peanut butter cheesecake, and finished with a sweet, chocolate topping. Glamorous. Indulgent. Chocolate peanut butter cheese cake. Enjoy.

IMG_7471

PS I looked for the video footage from Nigella’s show of the episode for which she makes this cheesecake, but I couldn’t find it. It looks so dang amazing when she makes it, I’ve had it on my list for at least a year.

IMG_7469

INGREDIENTS

for crust:
12 graham crackers (or 1 1/2 packets, from a box of three 8-cracker packets) (sub any gluten-free cookies if you like)
4 tbsp butter, softened
1/4 cup salted peanuts
1/2 cup semi-sweet chocolate chips
1-2 tsp vegetable oil

for filing (all these ingredients must be at room temperature):
16 oz cream cheese or neufchatel cheese (I used one packet of low fat and 1 packet of full-fat)
3 eggs
3 egg yolks
3/4 cup sugar
heaping 1/2 cup of sour cream or Greek yogurt (I used non-fat Greek yogurt)
1 cup smooth peanut butter

for topping:
1/2 cup milk chocolate chips
3 tbsp brown sugar
1 scant cup sour cream or Greek yogurt

Just the Recipe link: Chocolate Peanut Butter Cheesecake

Let your puppy eat the pieces of graham cracker that you'll inevitably drop.
Let your puppy eat the pieces of graham cracker that you’ll inevitably drop.

DIRECTIONS

Preheat oven to 338 F (okay, so you can go with 350 F if you like and you’ll be fine. I converted this recipe from metric, and the original 170 C is exactly 338 F. I do what I’m told).

Next, the crust. In all honesty, crust is my favorite part of any cheesecake, and this one is awesome. One thing I didn’t do, but I think I will next time, is to start by pulverizing the chocolate chips in the food processor, so that they’ve broken up before the rest of the ingredients are added. This time, I added all the crust ingredients at once and pulsed until they came together, drizzling in just enough of the vegetable oil until the crust started to hold together. There were some chunks of chocolate left un-blitzed, so next time I’ll blitz the chocolate separately first.

IMG_7441

Turn it out into a well-greased spring-form pan and use your fingers to press it into the bottom and up the sides. Put the crust in the fridge while you make the filling.

IMG_7442

In a food processor, combine all the filling ingredients until totally smooth. Jeez, that’s beautiful.

IMG_7446

Pour filling into the graham cracker shell. Spread it gently into all the “corners ” (can circles have corners?), careful not to mess with the tenuous architecture of the crust.

IMG_7450

Bake for about an hour, but check it as it nears the end of the baking time. You want the top to be set and no longer wet or sticky, but for the inside to still be jiggly. In Nigella’s words, we’re looking for the center to have “just a hint of inner-thigh wibble.” Perfection. But I forgot to take a picture before I doused it in chocolate. See next step.

When the cheesecake is nearing the end of it’s bake time, melt all the topping ingredients in a pan over low until they come together. Pour over the cheesecake once it comes out of the oven, and then pop it right back into the oven for about 10 minutes, so that the topping can set.

IMG_7460

Take it out of the oven and pop it right into the fridge to chill overnight, cake pan and all (careful when you take it out of the pan though, as the chocolate topping is prone to stick to the sides). To be honest, I made this cheesecake to give to friends, so all it got was a quick chill in the freezer for an hour and then another hour or so in the fridge until we ate it. So the overnight chilling time isn’t mandatory, but it is nice.

IMG_7468