Glazed Apple Bundt Cake.

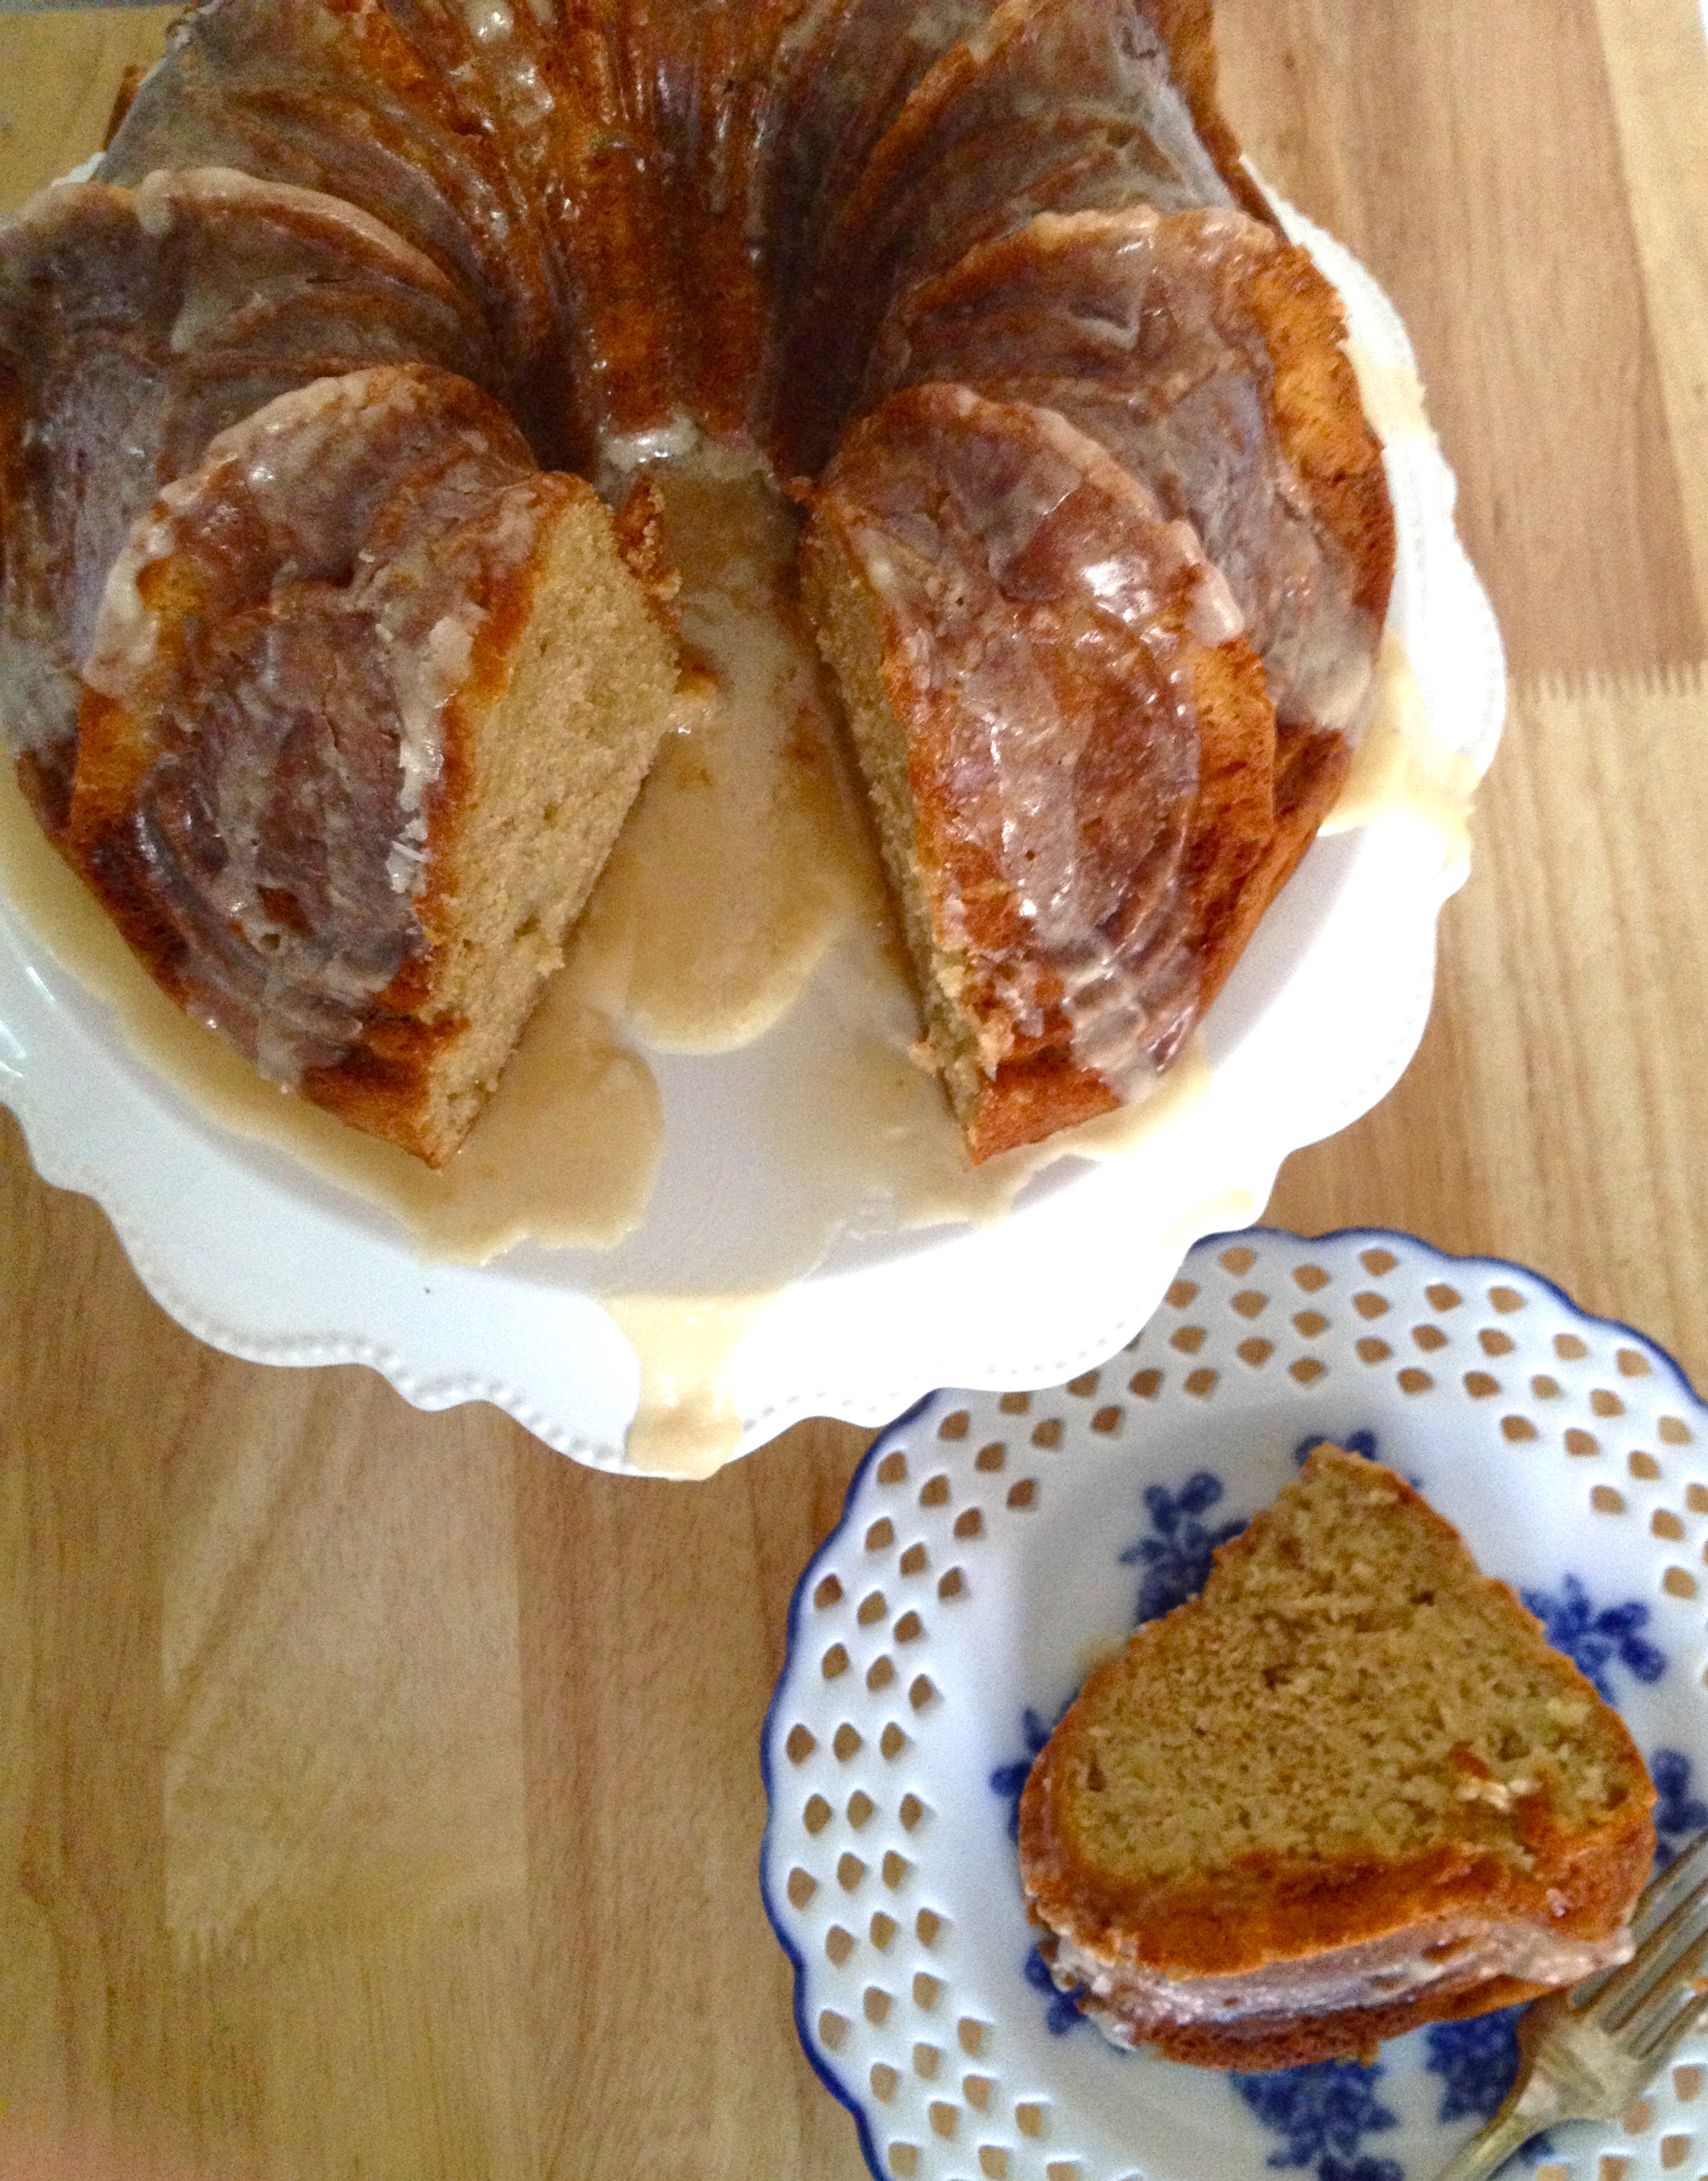
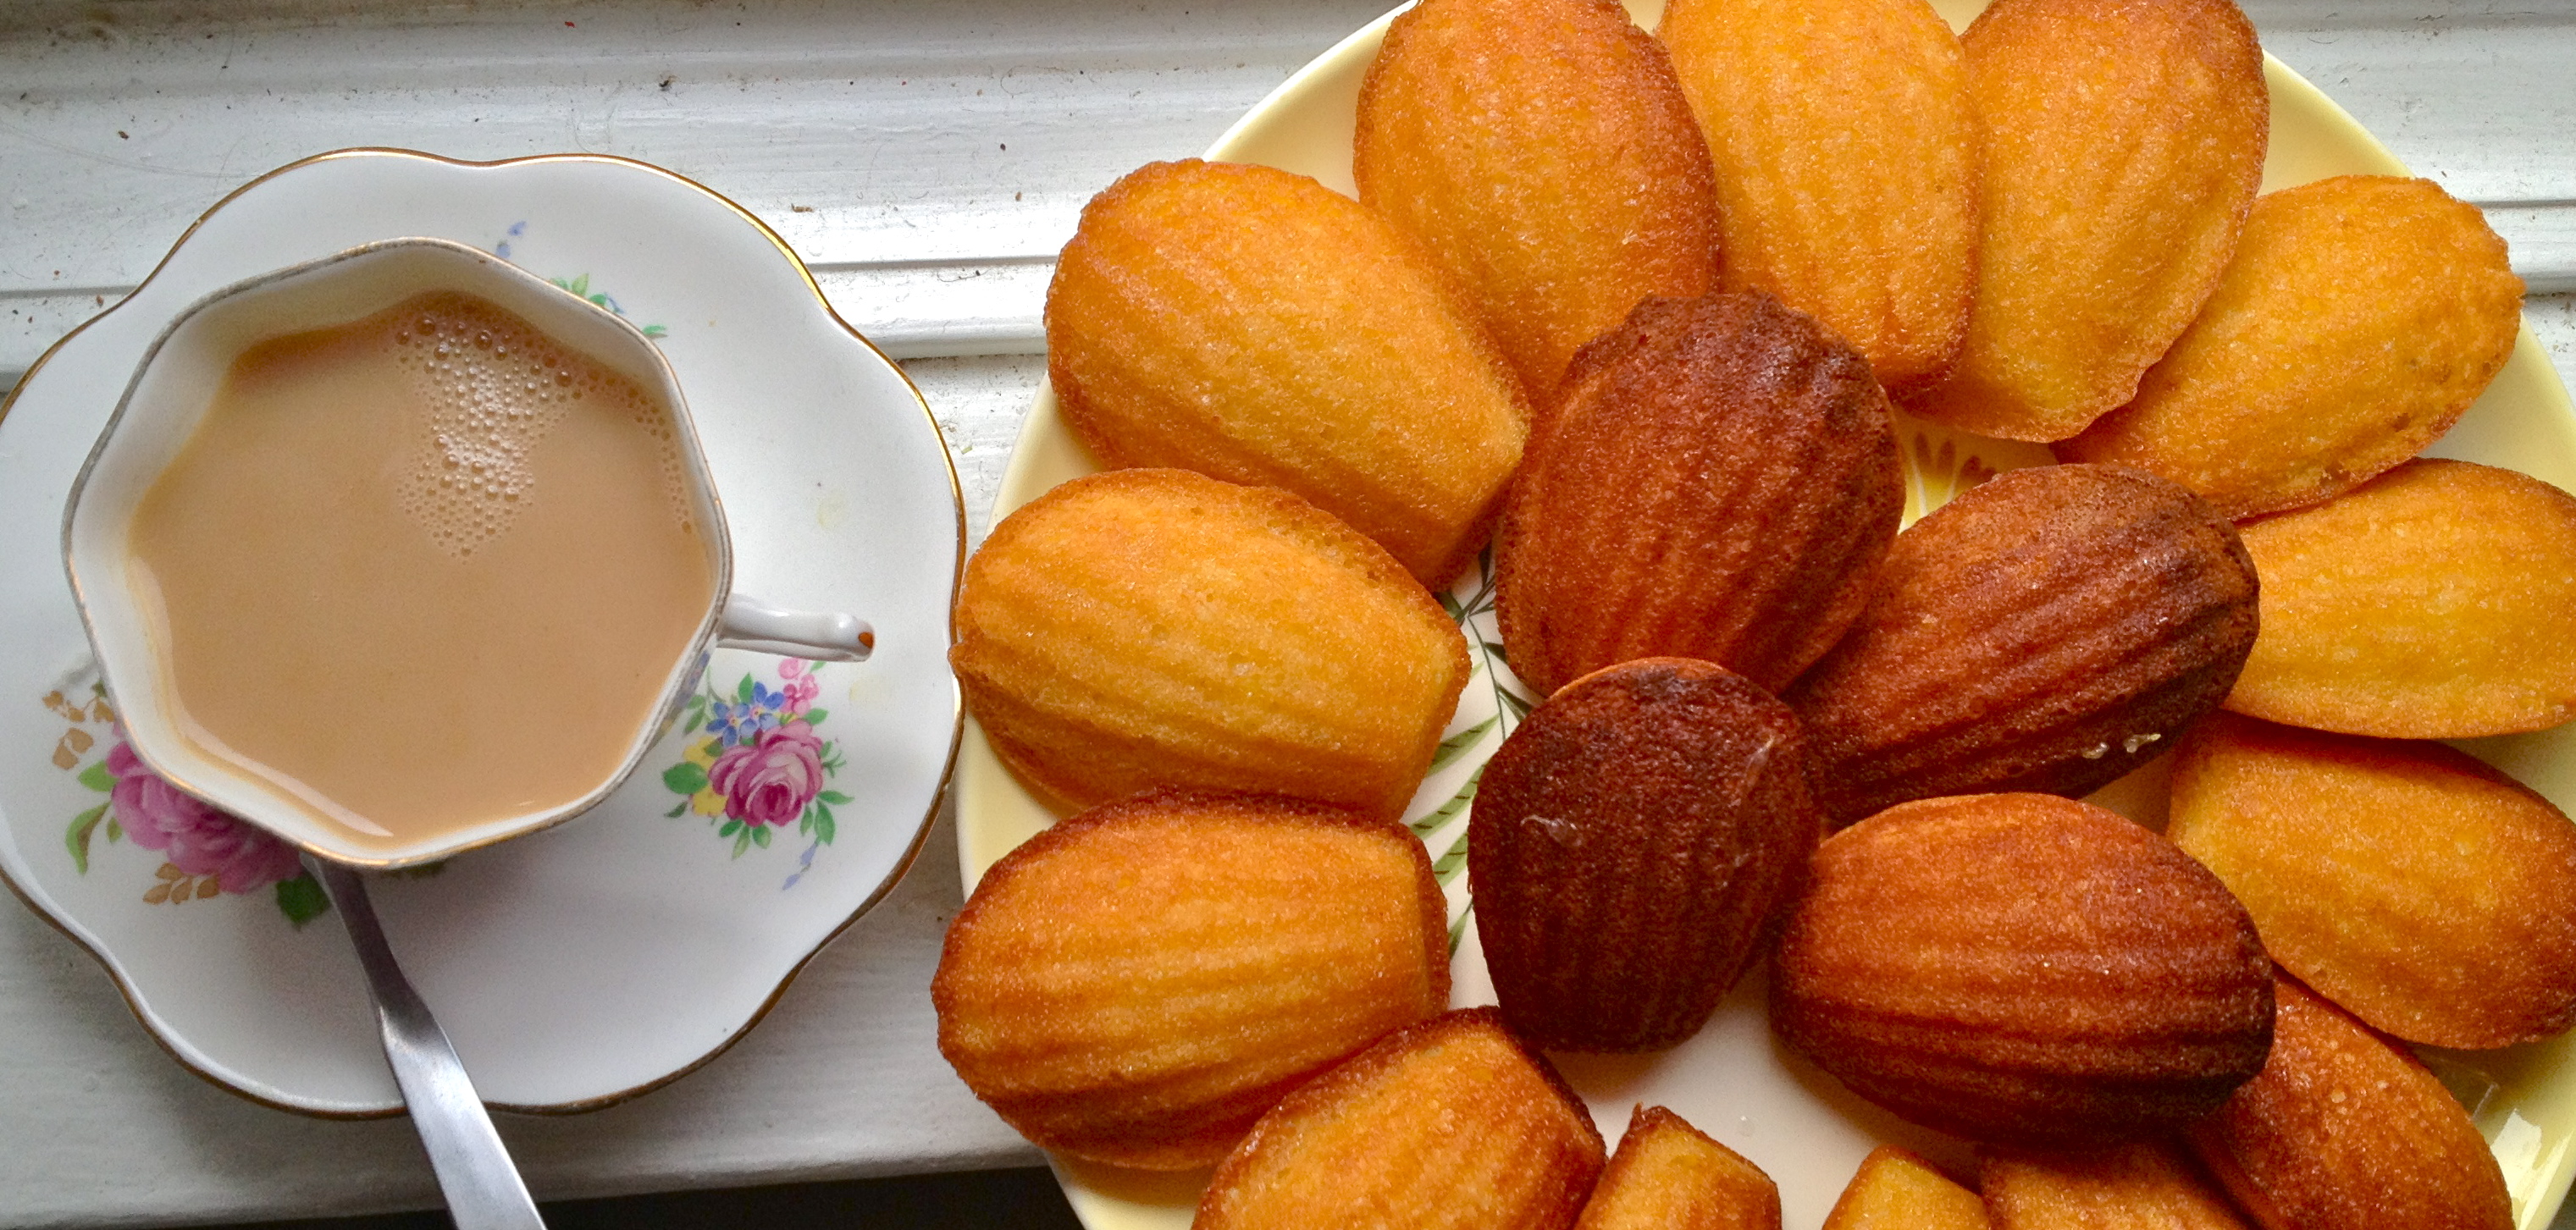
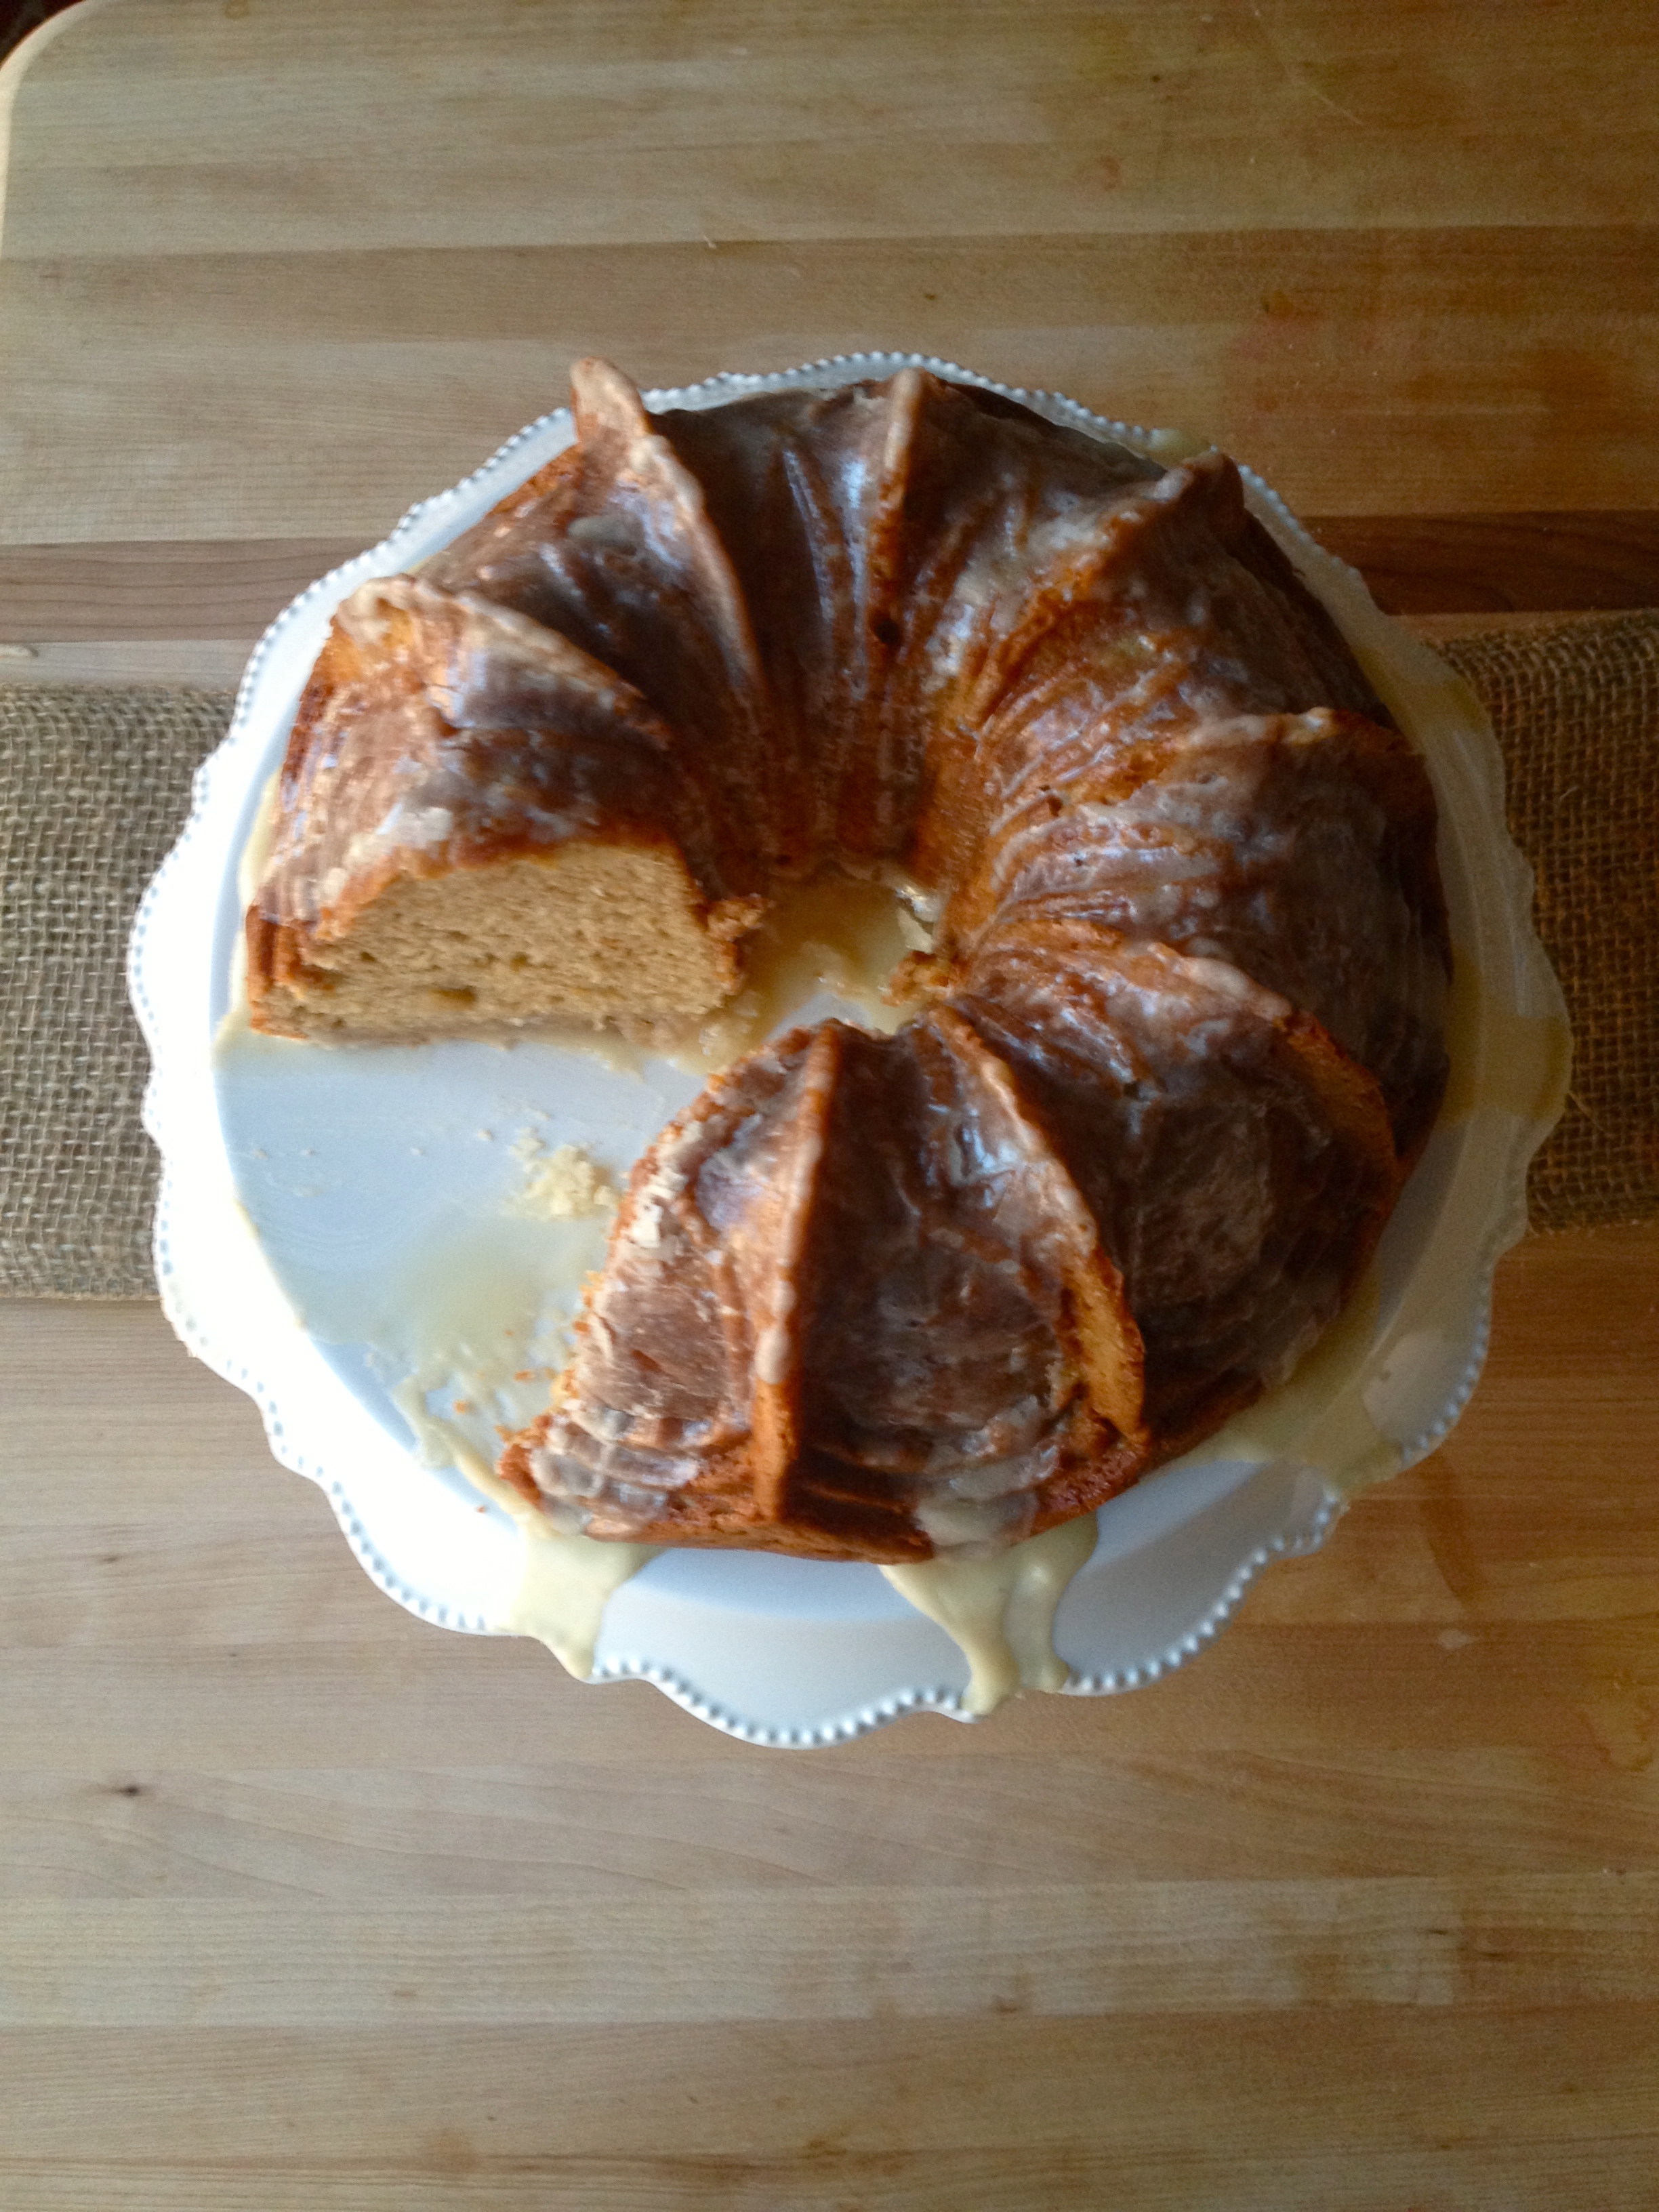
First, let me mention that you don’t need a bundt pan to make this cake. That said, bundt cakes are adorable. I’ve admired them from afar for years, but I never owned a bundt pan myself…until now. This year, I asked my maternal Santa for one, and when I woke up on Christmas morning, there was a beautiful ornate bundt pan under the tree with my name on it! Here is the link to my bundt pan. Isn’t it a glory?! It’s like something out of Beauty and the Beast. I think there will be a lot of bundt-baking in my future. And if this first foray is any indication, beauty and taste definitely go together, because it tastes as good as it looks. Inspired by a recipe from The Bite Sized Baker, the addition of shredded apples and Greek yogurt keep this cake moist and almost creamy, and a sweet maple glaze is both figuratively and literally the icing on the cake. Please come to my apartment for tea and take this cake off my hands before I eat it all. Thank you.

IMG_0464

INGREDIENTS

for cake: (makes about 6 cups of batter)
8 tbsp (1 stick) butter, room temperature
1 1/2 cups light brown sugar, packed
2 eggs
1 tsp vanilla extract
1 cup Greek yogurt
2 cups all-purpose flour
1 tsp baking soda
1 tsp ground cinnamon
1/2 tsp salt
about 2 cups apples, peeled, then shredded in a food processor or grated by hand (I used 3 Granny Smith apples)

for glaze:
2 tbsp butter
1 1/4 cup powdered sugar
2 tbsp maple syrup
about 1-2 tbsp water

Just the Recipe link: Glazed Apple Bundt Cake

DIRECTIONS

Preheat oven to 350 F.

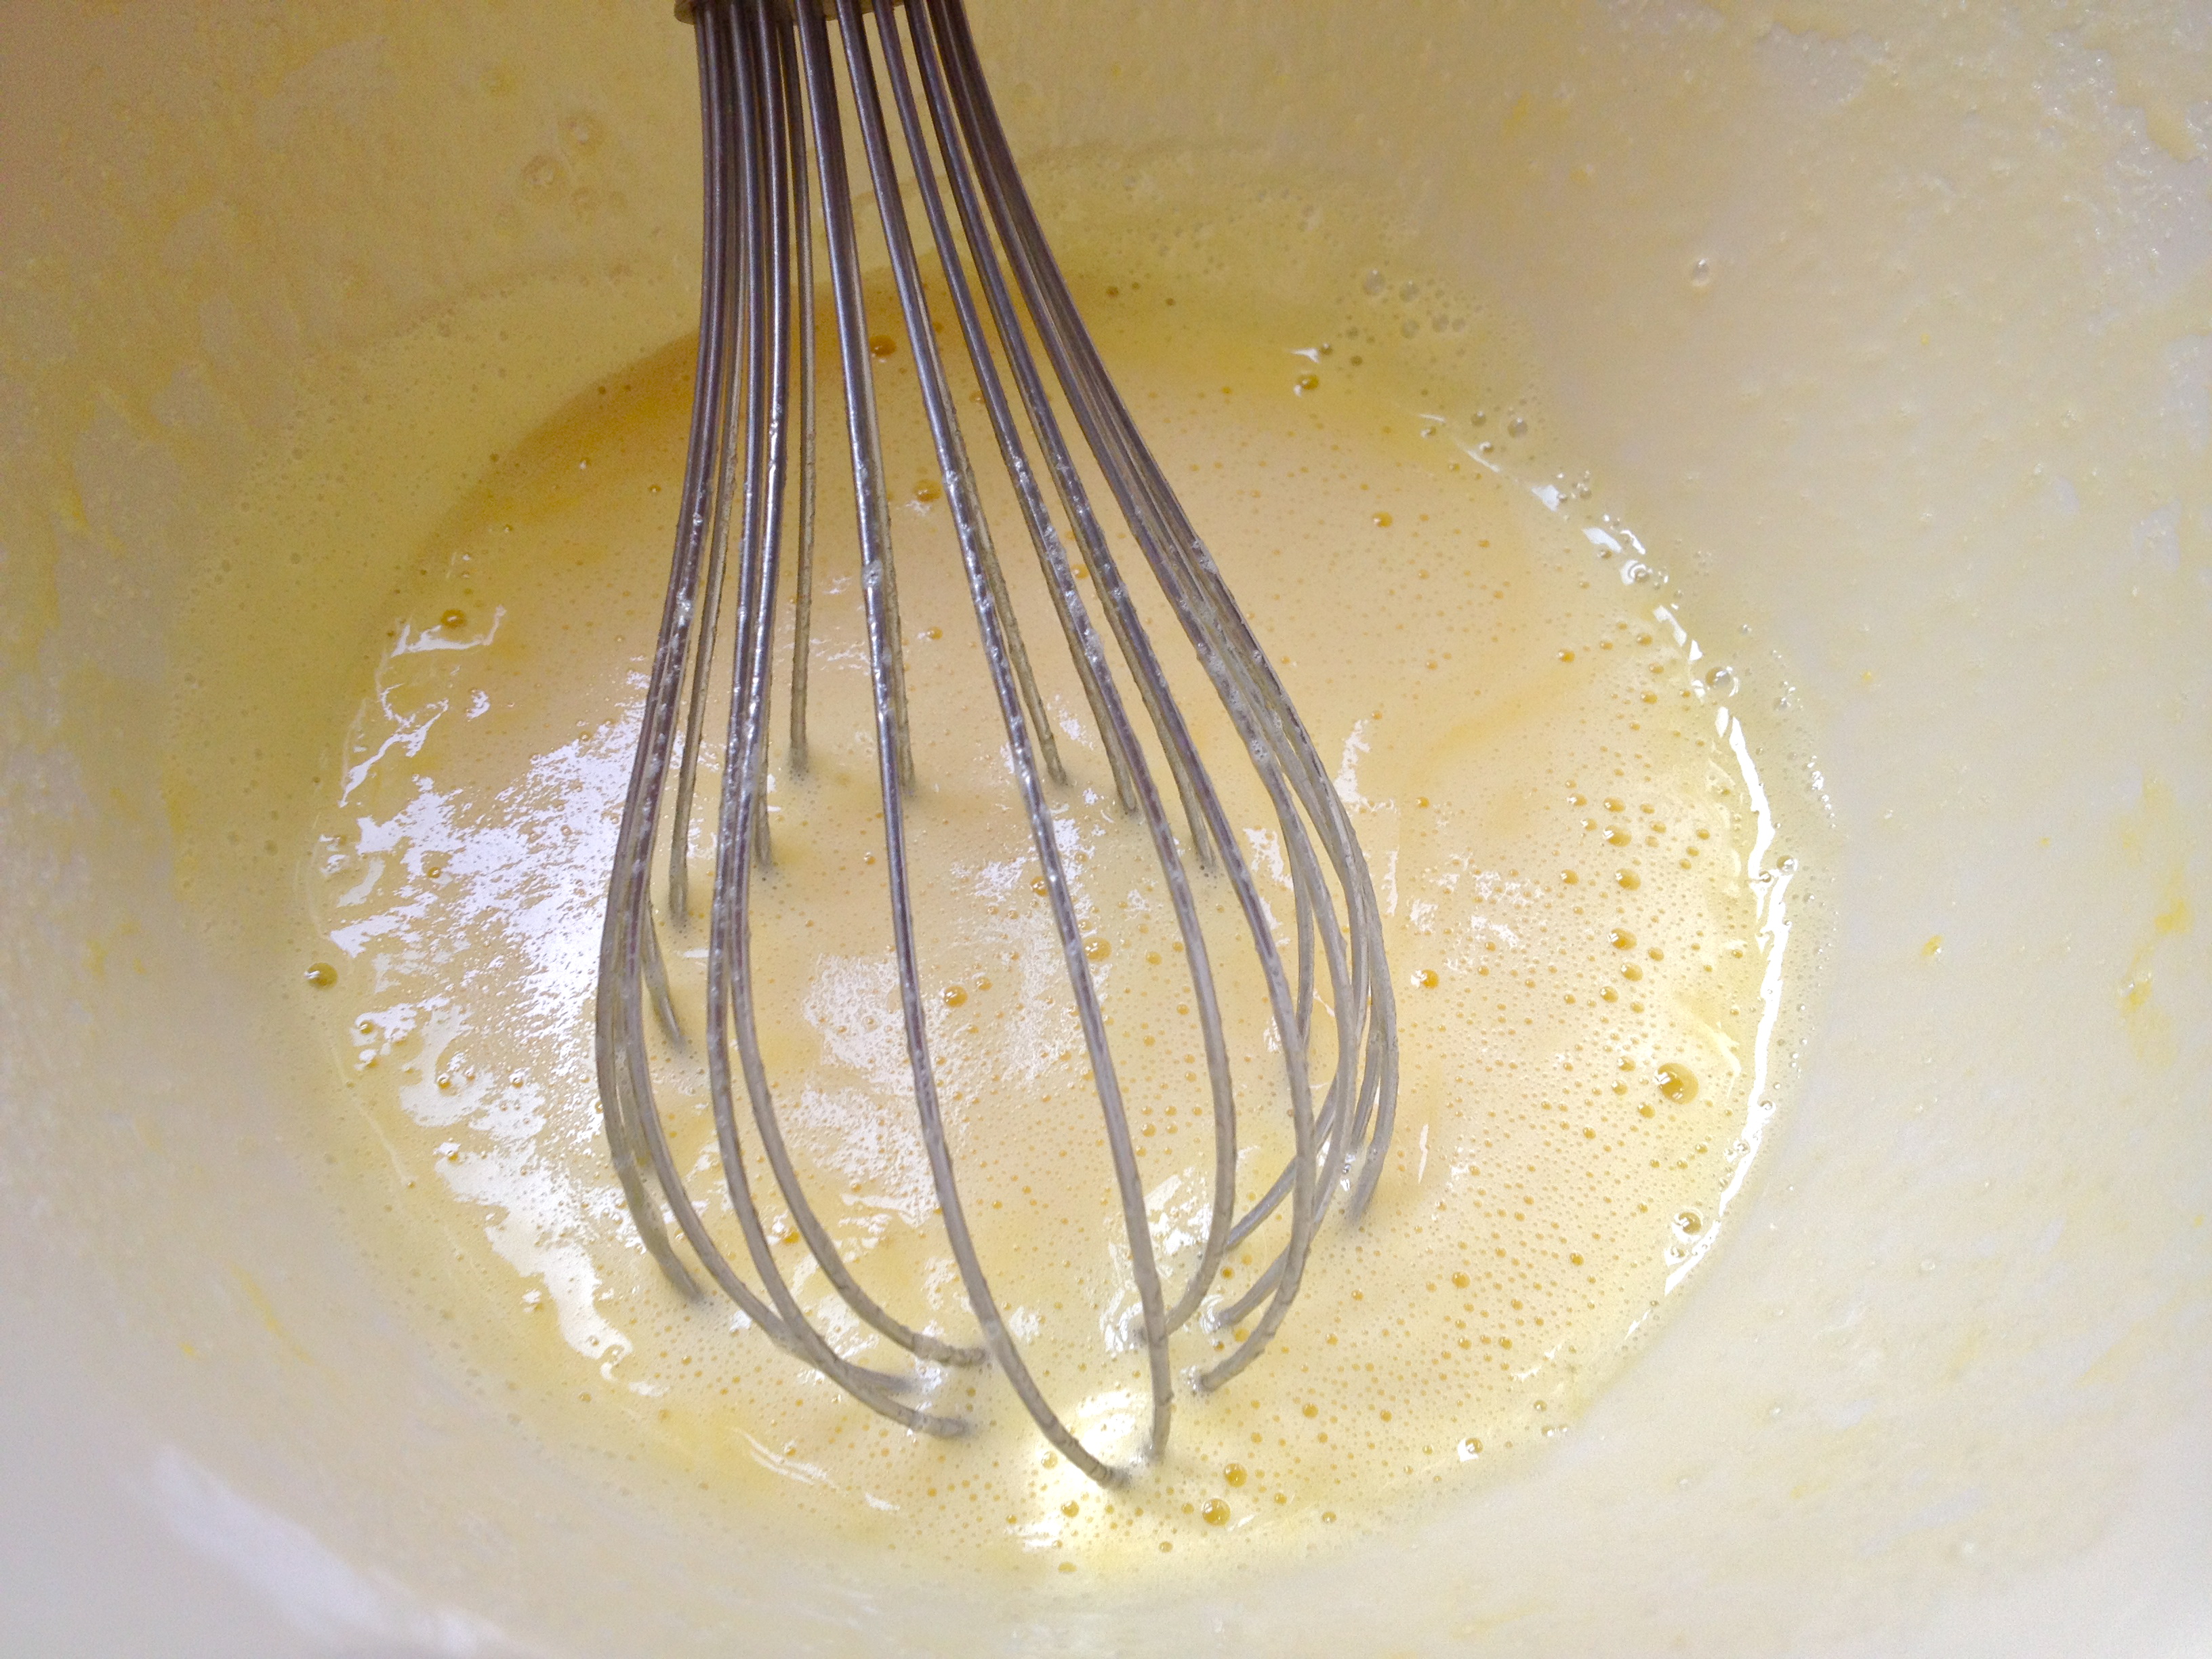
Cream together the butter and brown sugar, until smooth. Add the eggs one at a time, beating between each addition until incorporated. Then stir in the vanilla extract and yogurt.

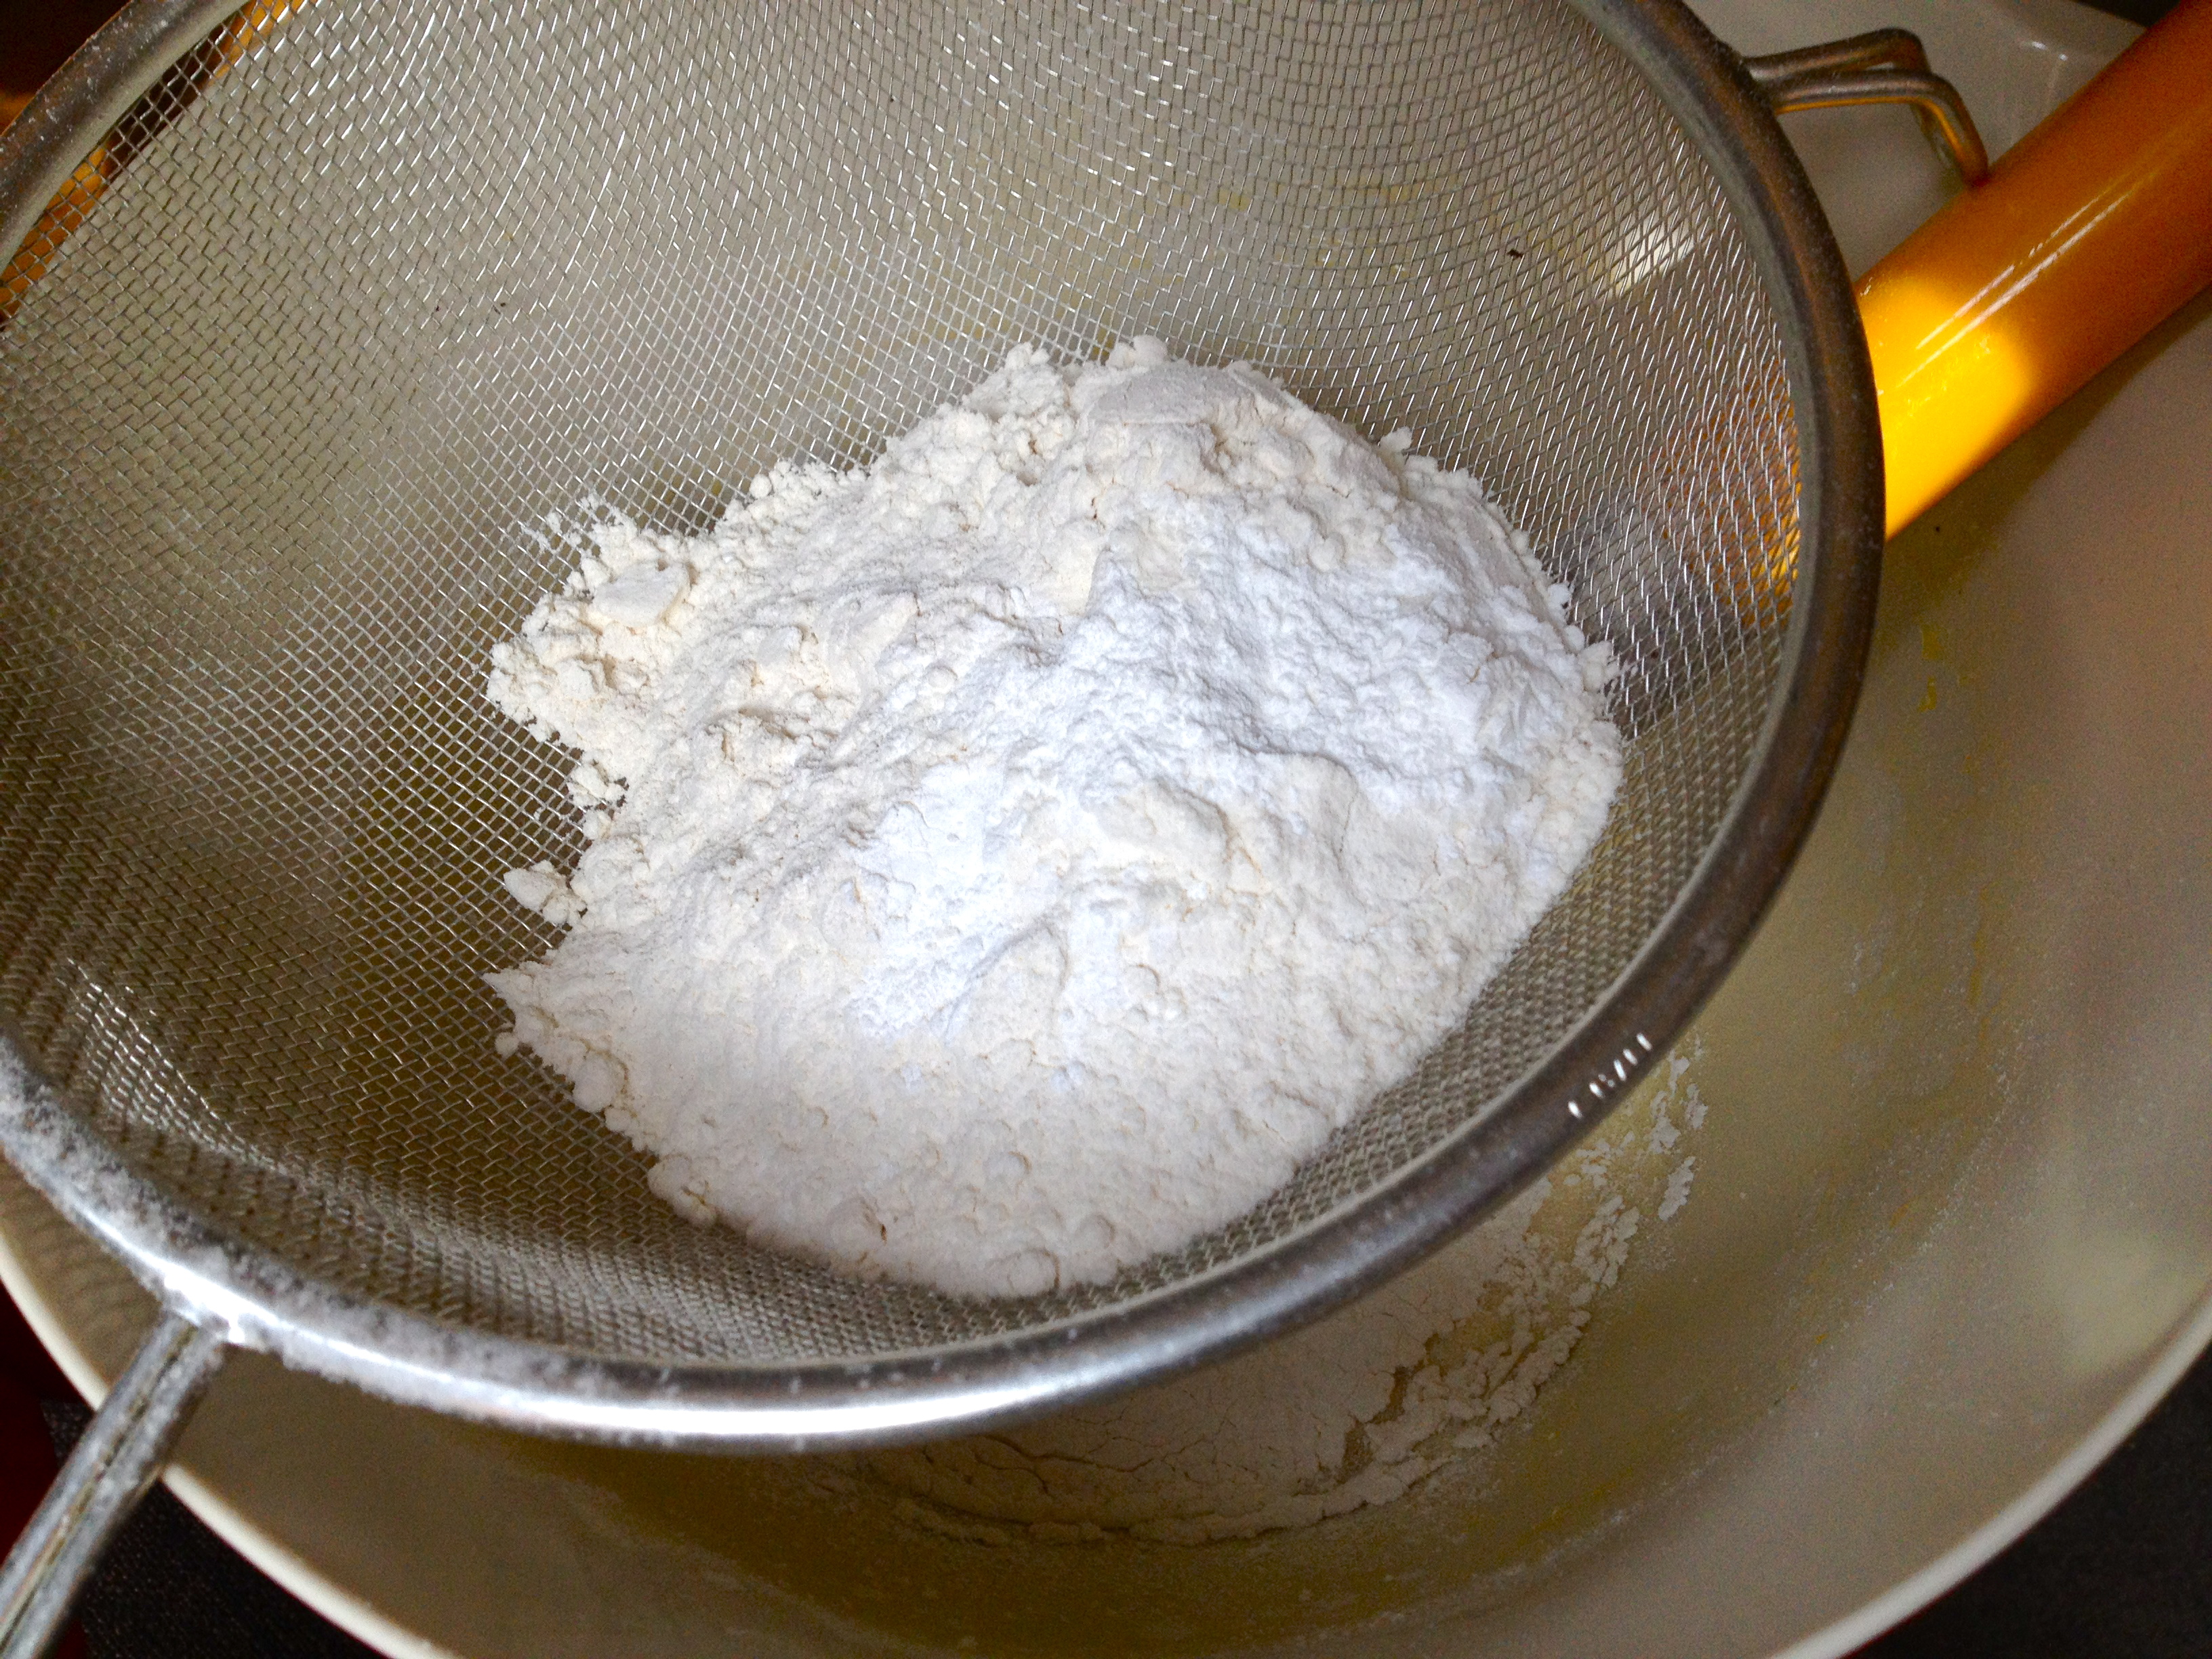
In a second bowl, sift together the flour, baking soda, cinnamon, and salt. Add half the flour mixture to the butter mixture and stir until just incorporated. Then add the second half of the flour mixture and stir, again just until it comes together. Don’t overmix. Finally, stir in the shredded apple until it’s distributed throughout the batter. It should smell pretty amazing at this point.

Pour the apple-y batter into a greased bundt pan (if you don’t have one, a loaf pan or even a springform cake pan will work too). Don’t over-fill the pan, as the cake will rise as it bakes. Two-thirds filled is a good rule of thumb for bundt pans, and for my pan, that means about 6 cups. Which is how much batter this makes!

IMG_0434

Put the pan in the oven and bake 35-45 minutes, until the center of the cake is set but still moist and tender. You know the toothpick test? The one where you poke a toothpick into the center of your cake to see if it comes out clean, thereby showing that your cake is done? Well, bundt pans are very deep…too deep for a tiny little toothpick. So instead, I use a wooden chopstick as my tester, and when it comes out clean from the center of the cake, I know it’s ready.

IMG_0436

Let the cake cool in the pan for 10 minutes before removing to a cooling rack. You have two options for cooling: if you want your glaze to soak into the cake, let the cake cool for 15 minutes, or if you want the glaze to harden and look more like icing, let the cake cool completely. I opted for the quick-cool soaking option, mostly because I was impatient to dig in.

IMG_0444

As the cake cools, make the glaze. In a saucepan, melt the butter and use a fork to stir in the powdered sugar and maple syrup until smooth. Then slowly add water until it reaches the consistency you want – a slightly runny syrup. When your cake is cooled, drizzle the glaze along the top and allow it to spill over the sides, inside and out. Messy is good!

IMG_0456

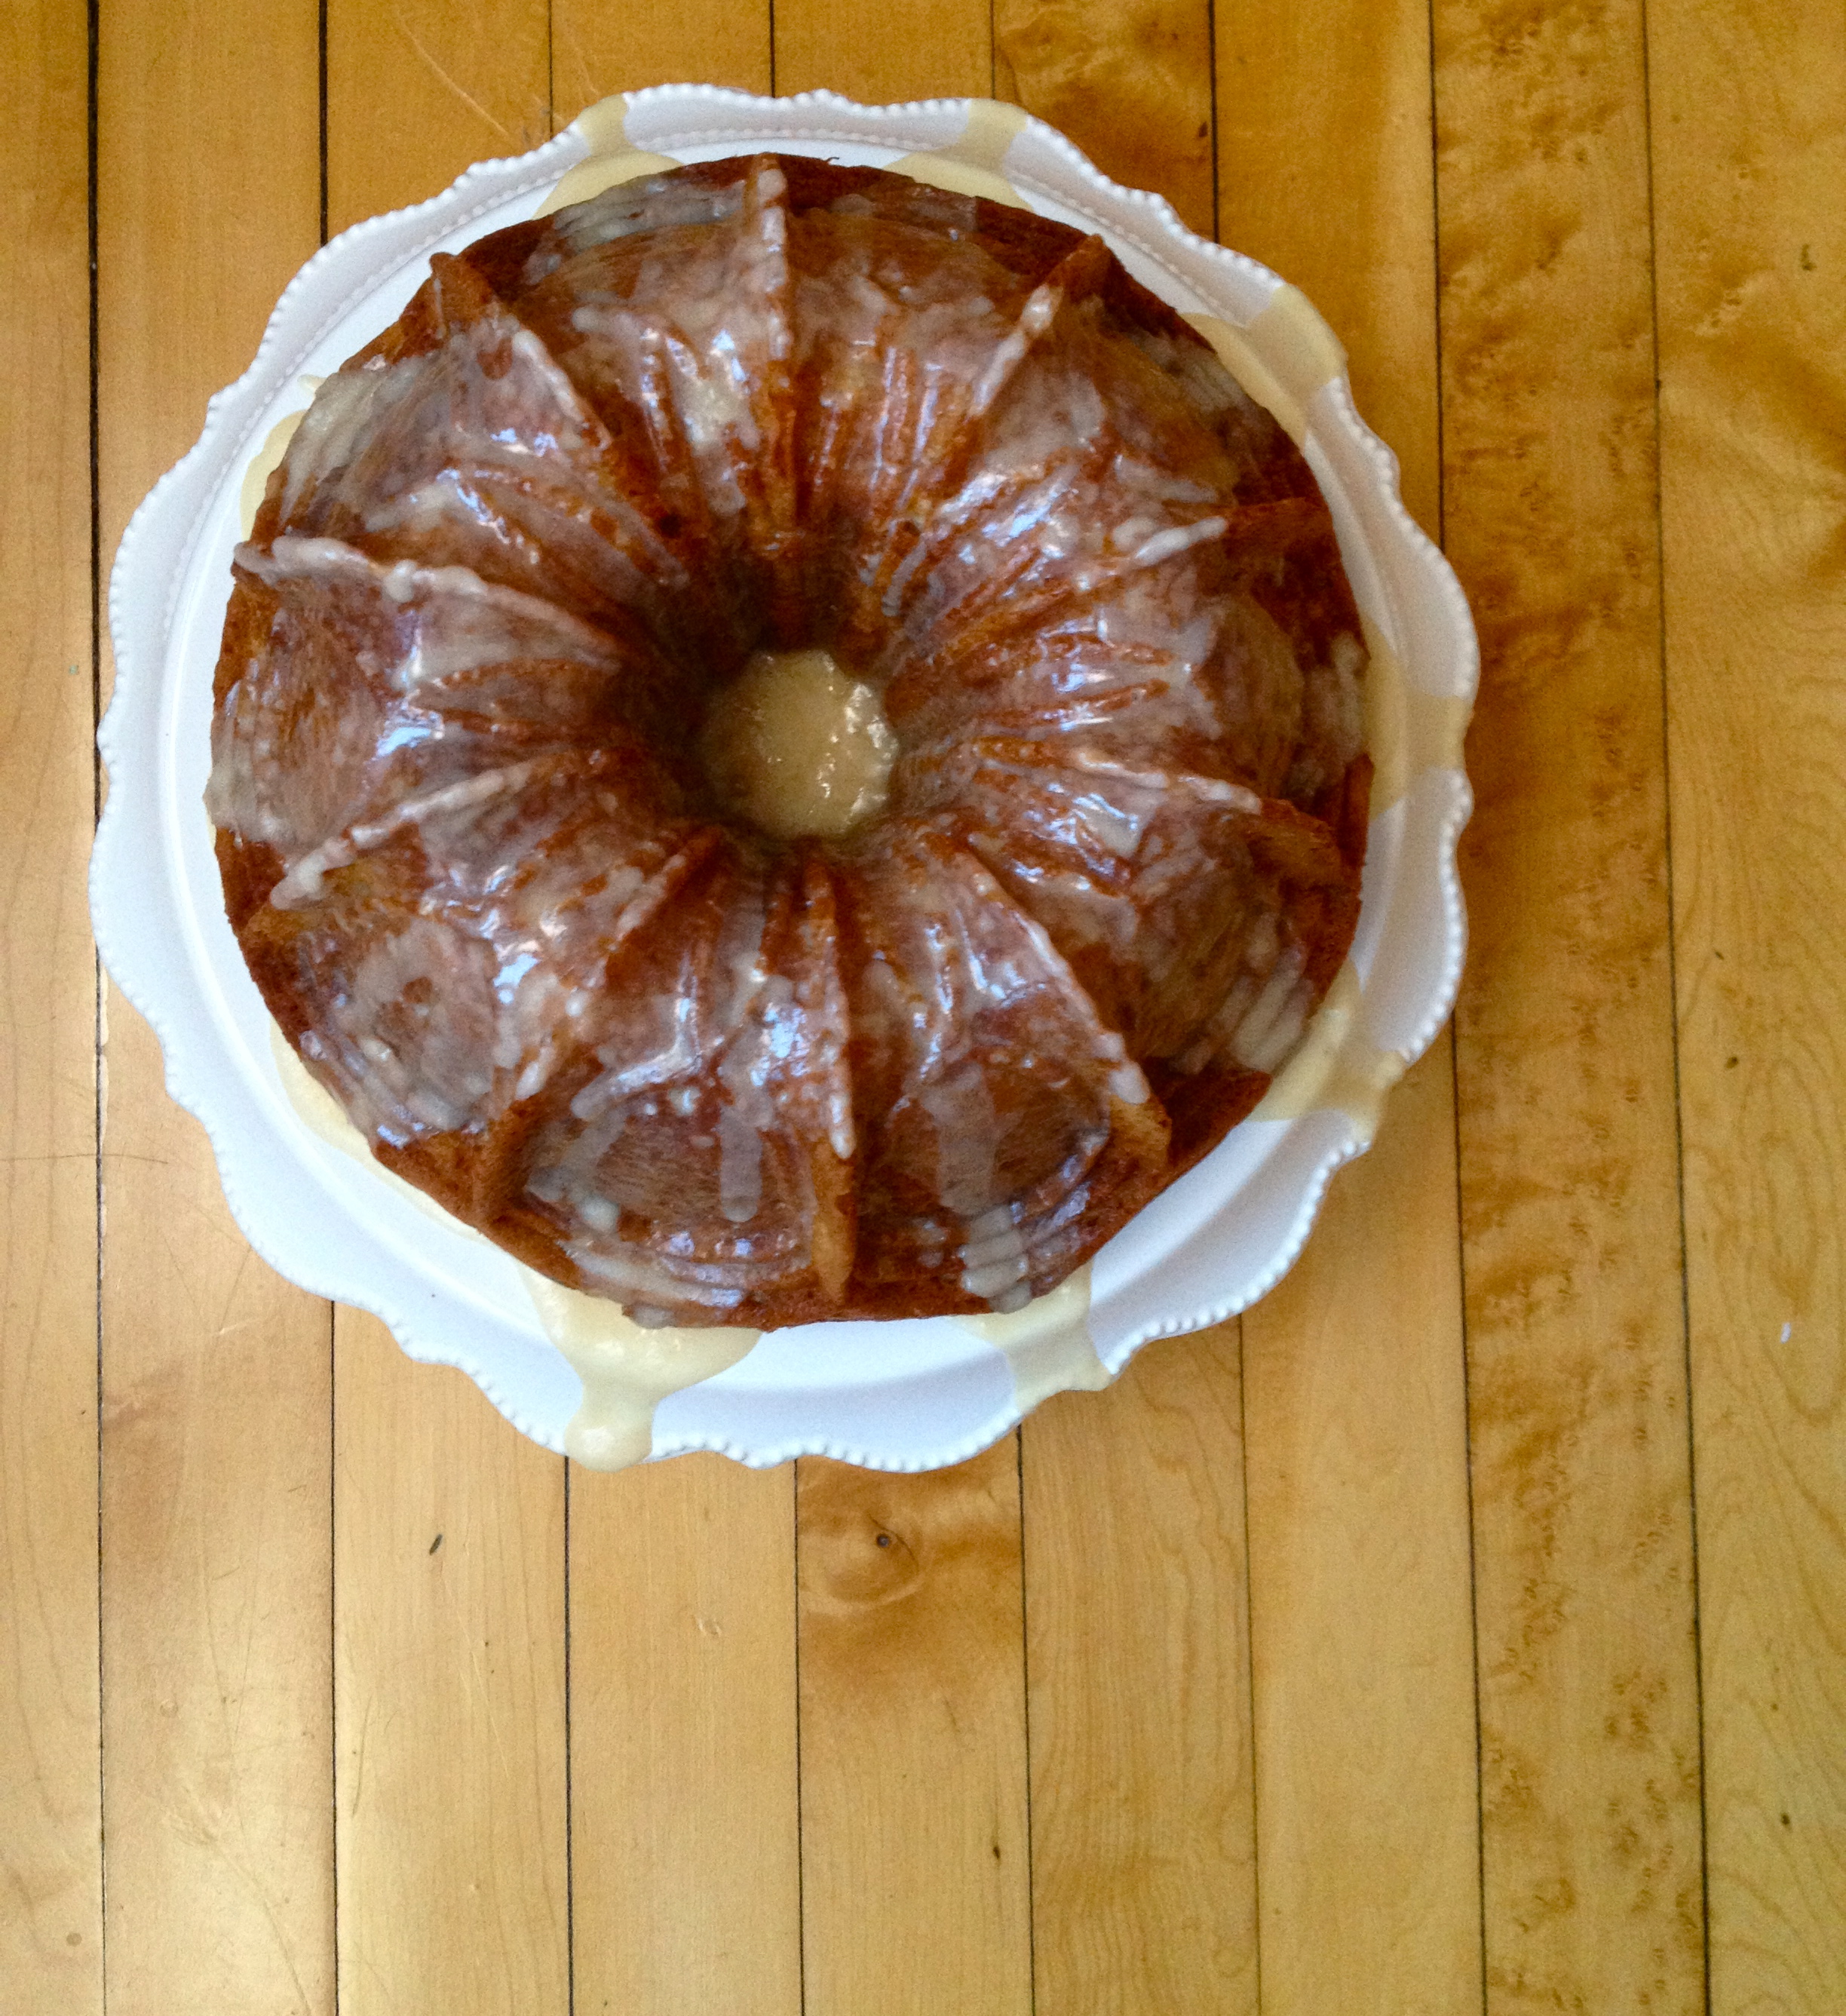
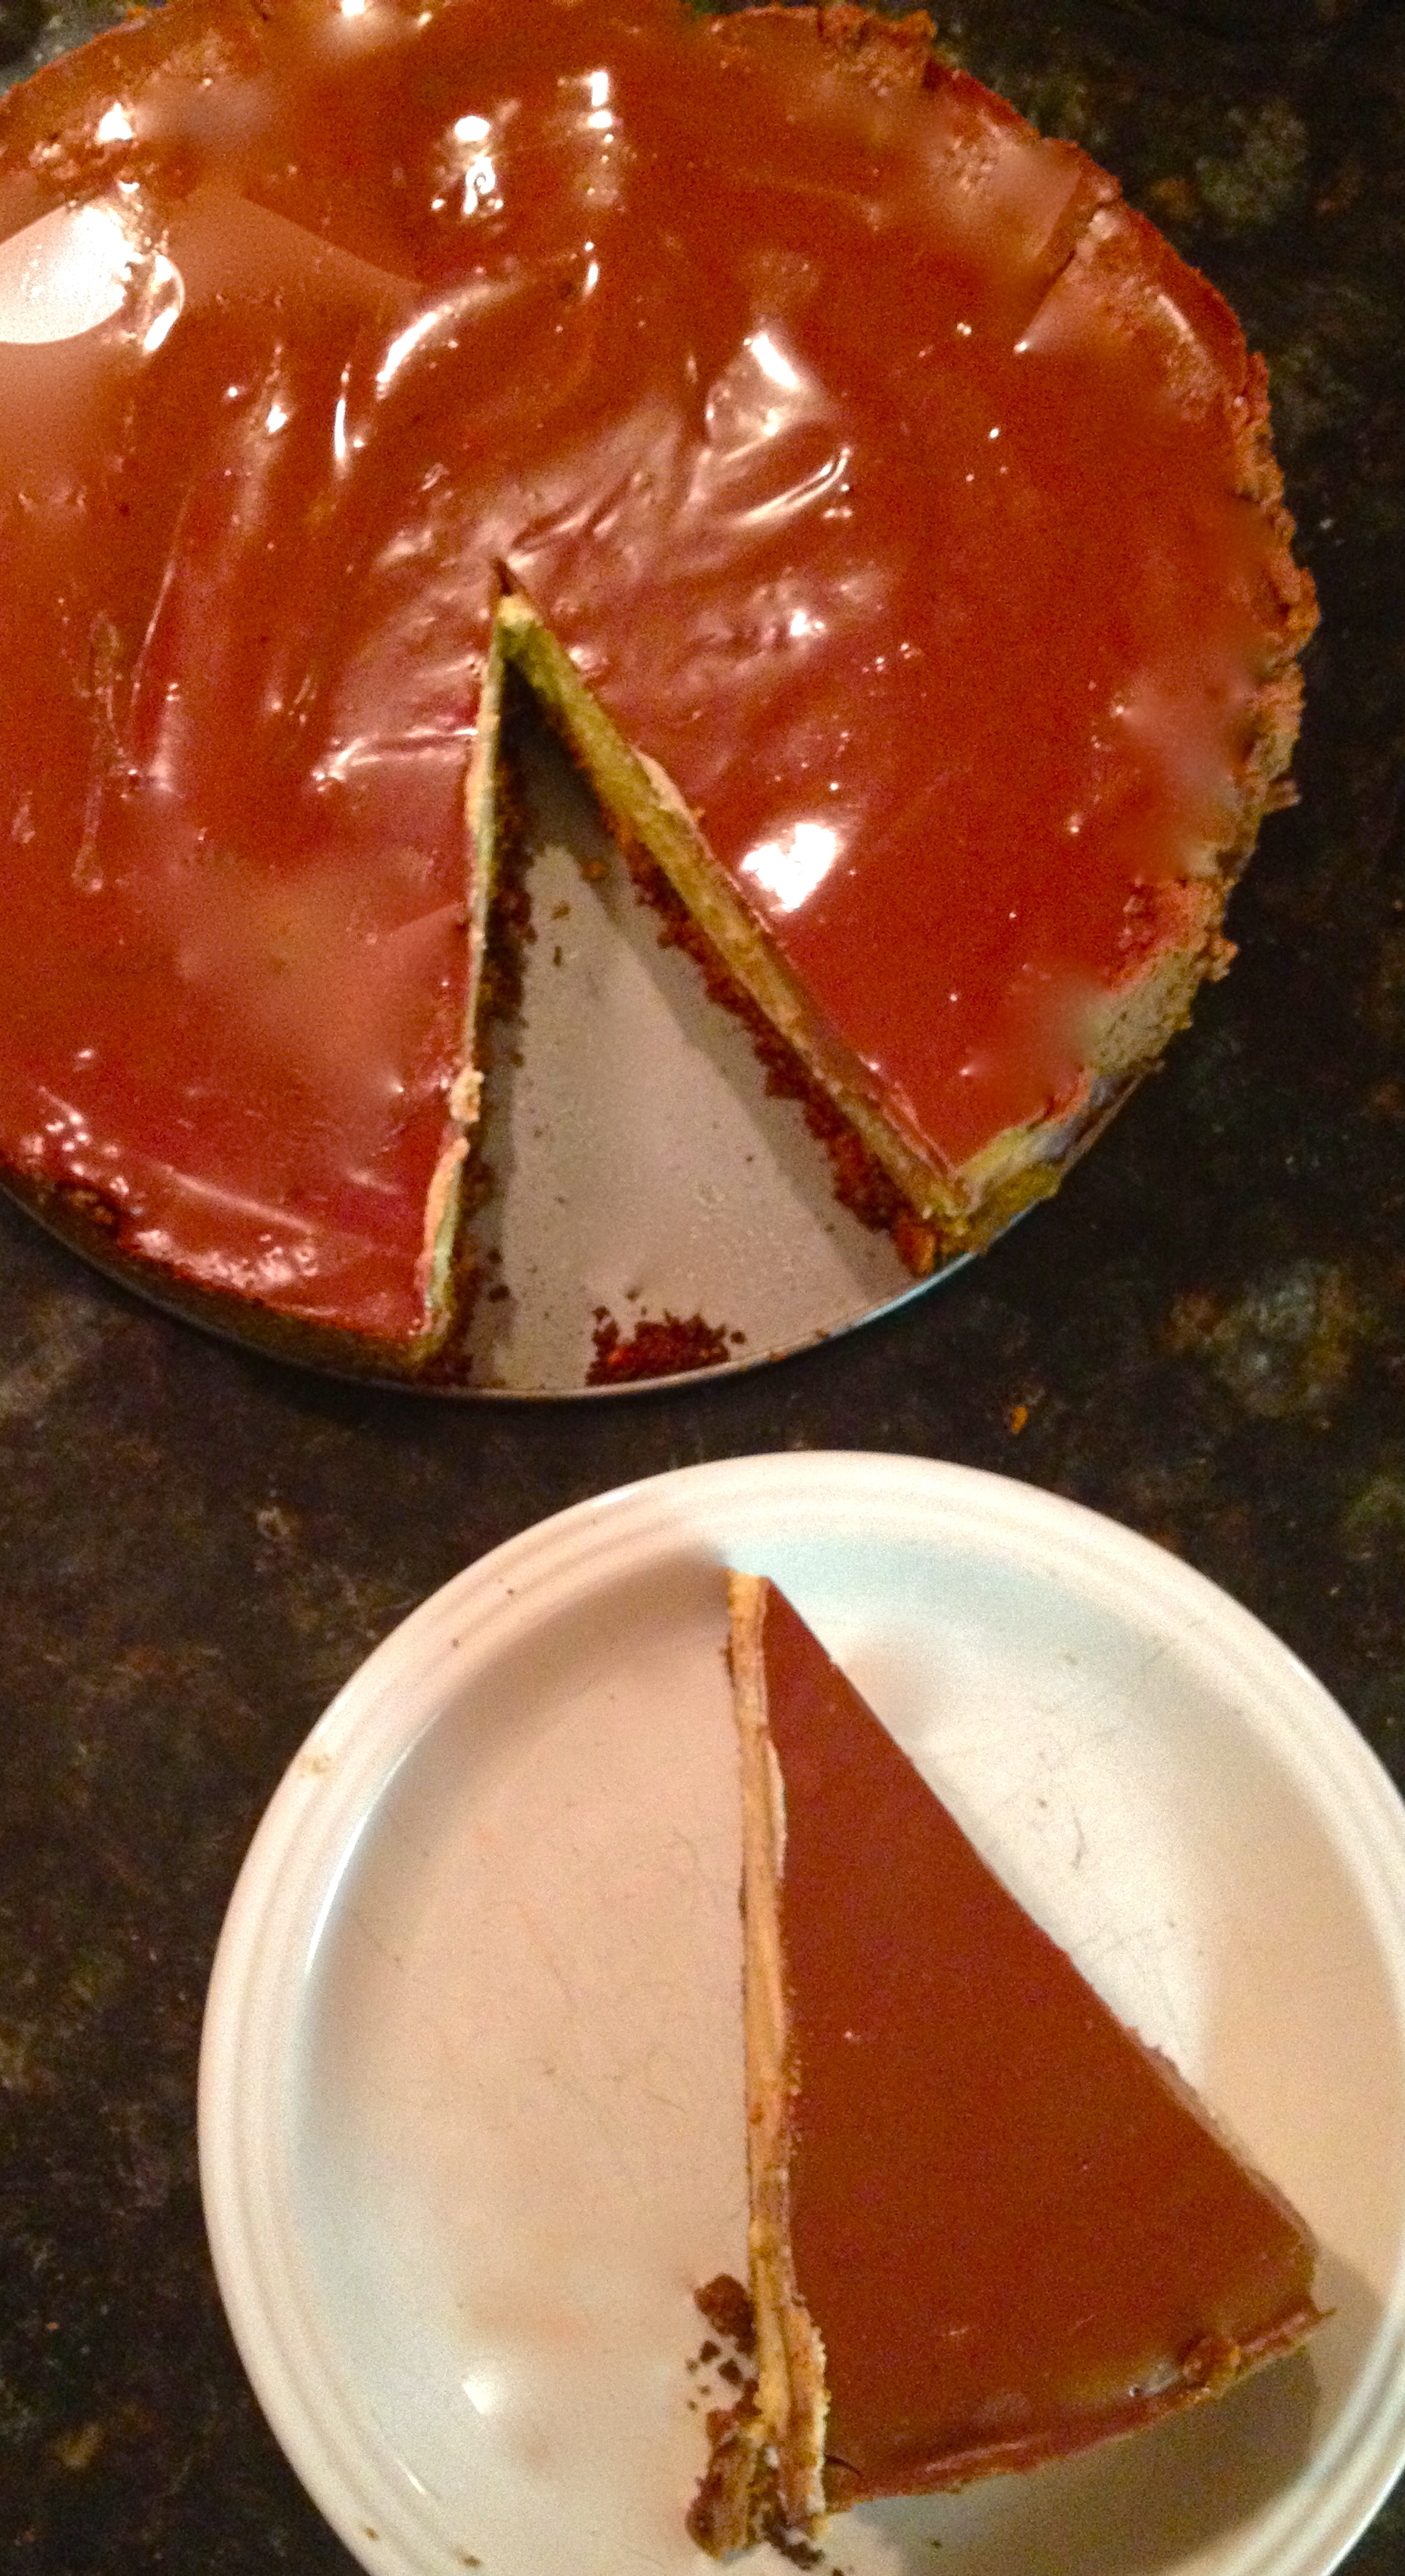
Oh baby. Look at the glaze drip happening here. That’s what this cake is all about. It’s soft and tender and not too sweet, and this beautiful glaze just pushes it right over the edge. Amazing with a hot cup of tea on a winter day!

IMG_0460

Advertisement

Glazed Lemon Madeleines.

I’ve been looking for the perfect homemade madeleine. I think this is it. I would say that this recipe is “adapted from David Lebovitz,” but I realized that I really didn’t change much of anything! His recipe is perfect just the way it is (if you’ve never been to his website, please check it out – he usually inspires me either to cook something beautiful or to speed along my plan-making for another trip to Paris).

IMG_7527

I love these lemon madeleines anytime. My roommate can attest that for some inexplicable reason I even made them during the Super Bowl this year–not BEFORE the Super Bowl, but actually DURING THE GAME. I have no excuse or explanation for that. And while they’re fine with football, they’re especially well-paired with tea. Lemon madeleines are actually one of the only things in this world for which I will actually delay drinking my daily pot of tea in order to whip up a quick batch.

IMG_7531

To give these adorable little cookie-cakes their distinctive shell shape, you need a special pan, called a madeleine pan (go figure). The pan gives them their scalloped bottom and humped and fluffy top. I’m quite happy with my madeleine pan, so if you ask me, it’s worth the investment for this little lemony French treat. However, if you want to try these but don’t have a madeleine pan of your own, just follow the directions exactly as written but use a mini muffin pan instead.

IMG_7532

INGREDIENTS

3 eggs, room temperature
2/3 cup sugar
2 healthy pinches of salt
1 1/4 cups flour
1 tsp baking powder (optional – it helps them rise when baking, and I haven’t decided my opinion on it yet.)
zest of one medium lemon
9 tbsp butter, melted and cooled to room temperature
1 tbsp lemon juice
3/4 cup powdered sugar
up to 2 tbsp water

Just the Recipe link: Glazed Lemon Madeleines

IMG_7540

DIRECTIONS

First, grease your madeleine pan and put it in the freezer. This will make sure the madeleines hump up when they’re in the oven.

Add eggs, sugar, and salt to a bowl. Whisk like crazy until frothy and thickened.

IMG_7518

Sift in the flour and baking powder and fold into the egg mixture.

IMG_7519

Gently stir the lemon zest into the butter and pour into the flour and egg batter, stirring until just combined. Pop the batter into the refrigerator for about 15 minutes.

IMG_7521

As the batter chills, preheat the oven to 425 F.

Once the batter is slightly chilled, use a spoon to scoop into the cold madeleine pan. Don’t fill the scalloped cups up all the way to the rim, as the cakes will rise quite a bit.

IMG_7523

The same goes if you’re using a mini muffin pan – give them a little room to grow.

IMG_8261

Pop them in the oven for 8-9 minutes, until the tops are set and the bottoms are lightly browned. While they’re baking, mix the powdered sugar and lemon juice together for the lemon glaze, thinning with water until you reach the consistency you like – it should be pretty thin (think of a glazed doughnut).

Set the baked cakes to cool on a cooling rack. As soon as they’re cool enough to handle, dip each one in the glaze, both sides (!), and set back on the cooling rack, scalloped-side up, letting the glaze set as the cakes cool all the way.

IMG_7535

Here they are as little mini muffins. Not as dainty as the madeleine-shaped madeleines, but just as tasty!

IMG_8266

Serve immediately with a beautiful cup of tea or coffee. Make sure to use one of your prettiest cup-and-saucer pairs.

IMG_7536

Chocolate Peanut Butter Cheesecake.

As ever, Nigella Lawson dishes out another perfect dessert recipe. There isn’t much need of an introduction for this beaut. I’ll just say that every step of the process is spoon-smackingly, bowl-lickingly good, and that the finished product is indulgent and fluffy and dreamy in every way. A graham cracker crust with bits of chocolate in it, filled with a smooth and creamy peanut butter cheesecake, and finished with a sweet, chocolate topping. Glamorous. Indulgent. Chocolate peanut butter cheese cake. Enjoy.

IMG_7471

PS I looked for the video footage from Nigella’s show of the episode for which she makes this cheesecake, but I couldn’t find it. It looks so dang amazing when she makes it, I’ve had it on my list for at least a year.

IMG_7469

INGREDIENTS

for crust:
12 graham crackers (or 1 1/2 packets, from a box of three 8-cracker packets) (sub any gluten-free cookies if you like)
4 tbsp butter, softened
1/4 cup salted peanuts
1/2 cup semi-sweet chocolate chips
1-2 tsp vegetable oil

for filing (all these ingredients must be at room temperature):
16 oz cream cheese or neufchatel cheese (I used one packet of low fat and 1 packet of full-fat)
3 eggs
3 egg yolks
3/4 cup sugar
heaping 1/2 cup of sour cream or Greek yogurt (I used non-fat Greek yogurt)
1 cup smooth peanut butter

for topping:
1/2 cup milk chocolate chips
3 tbsp brown sugar
1 scant cup sour cream or Greek yogurt

Just the Recipe link: Chocolate Peanut Butter Cheesecake

Let your puppy eat the pieces of graham cracker that you'll inevitably drop.
Let your puppy eat the pieces of graham cracker that you’ll inevitably drop.

DIRECTIONS

Preheat oven to 338 F (okay, so you can go with 350 F if you like and you’ll be fine. I converted this recipe from metric, and the original 170 C is exactly 338 F. I do what I’m told).

Next, the crust. In all honesty, crust is my favorite part of any cheesecake, and this one is awesome. One thing I didn’t do, but I think I will next time, is to start by pulverizing the chocolate chips in the food processor, so that they’ve broken up before the rest of the ingredients are added. This time, I added all the crust ingredients at once and pulsed until they came together, drizzling in just enough of the vegetable oil until the crust started to hold together. There were some chunks of chocolate left un-blitzed, so next time I’ll blitz the chocolate separately first.

IMG_7441

Turn it out into a well-greased spring-form pan and use your fingers to press it into the bottom and up the sides. Put the crust in the fridge while you make the filling.

IMG_7442

In a food processor, combine all the filling ingredients until totally smooth. Jeez, that’s beautiful.

IMG_7446

Pour filling into the graham cracker shell. Spread it gently into all the “corners ” (can circles have corners?), careful not to mess with the tenuous architecture of the crust.

IMG_7450

Bake for about an hour, but check it as it nears the end of the baking time. You want the top to be set and no longer wet or sticky, but for the inside to still be jiggly. In Nigella’s words, we’re looking for the center to have “just a hint of inner-thigh wibble.” Perfection. But I forgot to take a picture before I doused it in chocolate. See next step.

When the cheesecake is nearing the end of it’s bake time, melt all the topping ingredients in a pan over low until they come together. Pour over the cheesecake once it comes out of the oven, and then pop it right back into the oven for about 10 minutes, so that the topping can set.

IMG_7460

Take it out of the oven and pop it right into the fridge to chill overnight, cake pan and all (careful when you take it out of the pan though, as the chocolate topping is prone to stick to the sides). To be honest, I made this cheesecake to give to friends, so all it got was a quick chill in the freezer for an hour and then another hour or so in the fridge until we ate it. So the overnight chilling time isn’t mandatory, but it is nice.

IMG_7468

Apple Walnut Cake.

Many many thanks to fantastic art director and mi amiga Vanessa Palacio for photographing this cake for me! These are by far the most expert and mouth-wateringly gorgeous shots that have graced KellyintheKitchen. And not only that, but she also picked the apples herself on a recent apple orchard excursion, so muchas muchas gracias a ti, Vane!! We got together on Sunday at my apartment to bake this yummy apple walnut cake, inspired by a similar recipe from smitten kitchen. It’s a pretty unique cake—we loved that instead of butter, this recipe calls for olive oil and lemon-flavored yogurt, which really changes the texture and makes it super moist and soft. After all our hard cake-prep work, it was quite a struggle waiting for our pastel de manzanas y nogales to finish baking, but once it was done (and had posed for its close-up), each bite was everything we dreamed of and more. Nos gusta comer manzanas.

INGREDIENTS

1 cup sugar
1/4 cup packed brown sugar
4 eggs
1 cup lemon yogurt
1 tbsp vanilla extract
2 1/4 cups all-purpose flour, sifted
1 1/4 tsp baking powder, sifted
1/2 cup plus 2 tbsp olive oil (NOT extra virgin)
3 apples, peeled, cored, and diced
1/2 cup walnuts, toasted and chopped
1 tsp cinnamon

DIRECTIONS

Preheat oven to 350 F.

Beat the sugar, brown sugar, and eggs until totally smooth and incorporated. Stir in the yogurt and vanilla.

Sift the flour and baking soda in a bowl. Alternate adding half the flour mixture and half the oil, stirring between each addition.

Then fold in the apples and walnuts.

Pour into a greased springform pan and shake from side to side, to distribute batter evenly. Sift the cinnamon over the cake.

Use the handle end of your spoon to swirl the cinnamon into the top of the batter.

Bake for 55-60 minutes until the top of the cake is golden brown and springs back when you press it gently. If you find that a toothpick inserted into the cake never comes out clean, don’t worry—the toothpick test doesn’t work with this cake. It’s too moist!

Dust with powdered sugar…

…and enjoy!

An Award! and, Brown Butter Pecan Cake with Chocolate Ganache.

I arrived home from a fun weekend in New York to find a nice surprise—I’d been nominated for the Versatile Blogger Award by Laurie from A Taste of Morning! Laurie is a fellow philosopher who writes a beautiful blog from her bed & breakfast in Kansas. In particular, I love her photography of flowers and plants. Thanks for thinking of me, Laurie!

Nominees share 7 things about themselves and then nominate 15 of their favorites blogs for the award in return. Here are my 7 things:

1. I majored in philosophy in college. Ethics is my favorite.
2. I’ve lived in St. Louis, Chicago, Massachusetts, Ireland, and Moscow. I was only in Moscow 2 months, but I love that city so much that I just have to count it!
3. My favorite TV shows are Arrested Development and The Simpsons.
4. I’m a crazy Cubs fan. I’ve been to more than 50 Cubs games in my life and don’t plan on slowing down any time soon!
5. My favorite foods are baklava, quesadillas, grapefruit, Wienerschnitzel, and raspberries.
6. Every time I pass someone walking a Siberian Husky on the street, I have to stop and give that puppy some love!
7. I refused to eat seafood of any kind until 2009. Now I love it.

And here are my 15 nominations, in no particular order, for the Versatile Blogger Award:

1. Hungry Hinny
2. Grown in Texas
3. We Call Him “Yes! Chef!”
4. Fiona Grows Food
5. The Soulsby Farm
6. The Patterned Plate
7. Natalie’s Daily Crave
8. The Sprout Diaries
9. The Budget Cooking Blog
10. With the Grains
11. Natasha’s Kitchen
12. Charles and Kimberly’s Recipes
13. Hungry Foodie Pharmacy
14. Toy Kitchen Chef
15. Czech That Out

To all my nominees, I love your blogs and I’m happy to give you a shout-out for your great work!

…….

And now, the recipe:

Some recipes are born of utility, and this is one of those. Or, more simply said, a few days ago I wanted dessert. The things I had in the house were: pecans, Greek yogurt, and standard baker’s materials. No fruit, just a tiny bit of chocolate, and in general, nothing particularly interesting, and that meant not a lot of options. But I nosed around a few of my favorite cooking blogs and found some inspiration that sent me down the path of cake-making. If you’re a cake maker, and you’ve never tried this method of preparing your wet ingredients, I highly highly recommend it. It’s the same method I used in Drunken Squirrel’s Cake, and I love the way it makes the cake so airy and fluffy, but dense at the same time. And the chocolate ganache…just make this cake already!

INGREDIENTS

Cake:
1 cup pecans
1/2 stick (4 oz.) butter
2 eggs
1/2 cup sugar
2 tbsp milk
1 cup minus 2 tbsp Greek yogurt
squeeze of lemon
1 cup all-purpose flour
2 tsp baking powder
pinch of salt

Ganache:
1/3 cup heavy cream
3 oz. unsweetened bakers chocolate
3/4 tbsp butter
3 tbsp powdered sugar, plus more to taste

DIRECTIONS

Preheat oven to 350 F.

In a large sauce pan, toast your pecans until they’re fragrant and slightly browned. Let them cool, then blitz them in a food processor to the consistency of wet sand.

In a saucepan over medium high heat, melt and brown your butter, stirring occasionally. When little brown bits are bubbling to the surface and the butter itself is brown, remove from heat and set aside to cool (you’ll know it’s done because it will smell amazinggg).

Now, the eggs. Separate the whites and the yolks. Put the yolks in a metal bowl and add the sugar.

Place the bowl over a pot of gently simmering water and whisk like crazy. At first, the yolk and sugar seize together and stick inside your whisk, but keep beating them and they’ll eventually turn into a thick, pale yellow cream.

Remove yolks from heat and gently stir in the ground pecans, yogurt, milk, lemon juice, and cooled brown butter.

Meanwhile, beat the whites until they form stiff peaks.

Take a scoop of the whites and gently stir it into the yolk mixture, to even out the textures a bit. Then fold in the rest of the whites.

Combine the flour, baking powder, and salt. Sift into the wet ingredients, and gently fold together until combined.

Pour batter into a greased spring-form pan.

Bake for 30-35 minutes, until the top just starts to turn golden brown and a toothpick inserted into the middle comes out clean. Allow your cake to cool completely before you cover it with the ganache.

Now, the chocolate glaze. Gently heat the cream in a pan over medium heat. Just when it reaches the boiling point, remove from heat and pour over the chocolate and butter.

Add the powdered sugar and stir well until all the chocolate has melted and you’re left with a smooth ganache. Taste and add more powdered sugar as necessary to reach desired sweetness.

Pour evenly over the cake.

Place your cake in the fridge to firm up a bit. That’s it!

Clementine Cake.

Rosy lips above the water
Blowing bubbles mighty fine
But, alas, I was no swimmer,
So I lost my Clementine.

Maybe Clementine had a slice of this dense, nutty-sweet almond cake in her pocket the day she “fell into the foaming brine,” because she sank straight to the bottom, poor thing. This cake is named after the fruit, not the miner’s daughter, but that doesn’t mean it’s any less melodious. And as it bakes, the whole house smells wonderfully of toasty almonds and fresh citrus.

INGREDIENTS

1 3/4 cups raw almonds
6 eggs, whites and yolks separated
1 cup sugar
3 clementines
splash of vanilla extract
1/2 cup powdered sugar, plus more for dusting

DIRECTIONS

Preheat oven to 350 F.

In a food processor, blitz almonds to about the consistency of wet sand. A few small chunks are okay.

Combine sugar and egg yolks in a large bowl and beat until they form a pale cream.

Add vanilla, the zest of the 3 clementines, and the juice of one of them (save the other two), and stir until combined.

Then stir in the ground almonds.

In another bowl, beat the egg whites until they form stiff peaks.

Take a spoonful of the whites and stir it into the yolk mixture to even out the consistencies a bit.

Then, gently fold in the whites until combined.

Pour into greased spring-form pan and bake for 40 minutes, until cake has set and is golden brown. Cool for 15 minutes before icing.

In a small bowl, stir together powdered sugar and juice of the remaining two clementines, adding more powdered sugar as needed to reach desired consistency. Spoon or drizzle icing over the slightly cooled cake and allow it to soak in. Just before serving, dust cake with powdered sugar. Enjoy a big slice, but wait an hour before going swimming, lest you end up like poor Clementine.