Spinach and Green Garlic Soup.

Green garlic is everywhere right now. It’s just young garlic, with a softer, edible skin and a milder flavor. It’s delicious in scrambled eggs, soups, and sauces (especially pesto). Since I haven’t been feeling well lately, from a combination of allergies and a sore throat from screaming my head off when the Blackhawks beat the Red Wings in a Game 7 of the NHL playoffs, I figured a nice spring soup might perk me up a bit. It’s also a great way to get a good healthy helping of spinach! Adapted from Orangette, this light and easy green garlic and spinach soup is a breeze to make and delicious to boot. Dig in.

IMG_8350

INGREDIENTS

butter and olive oil
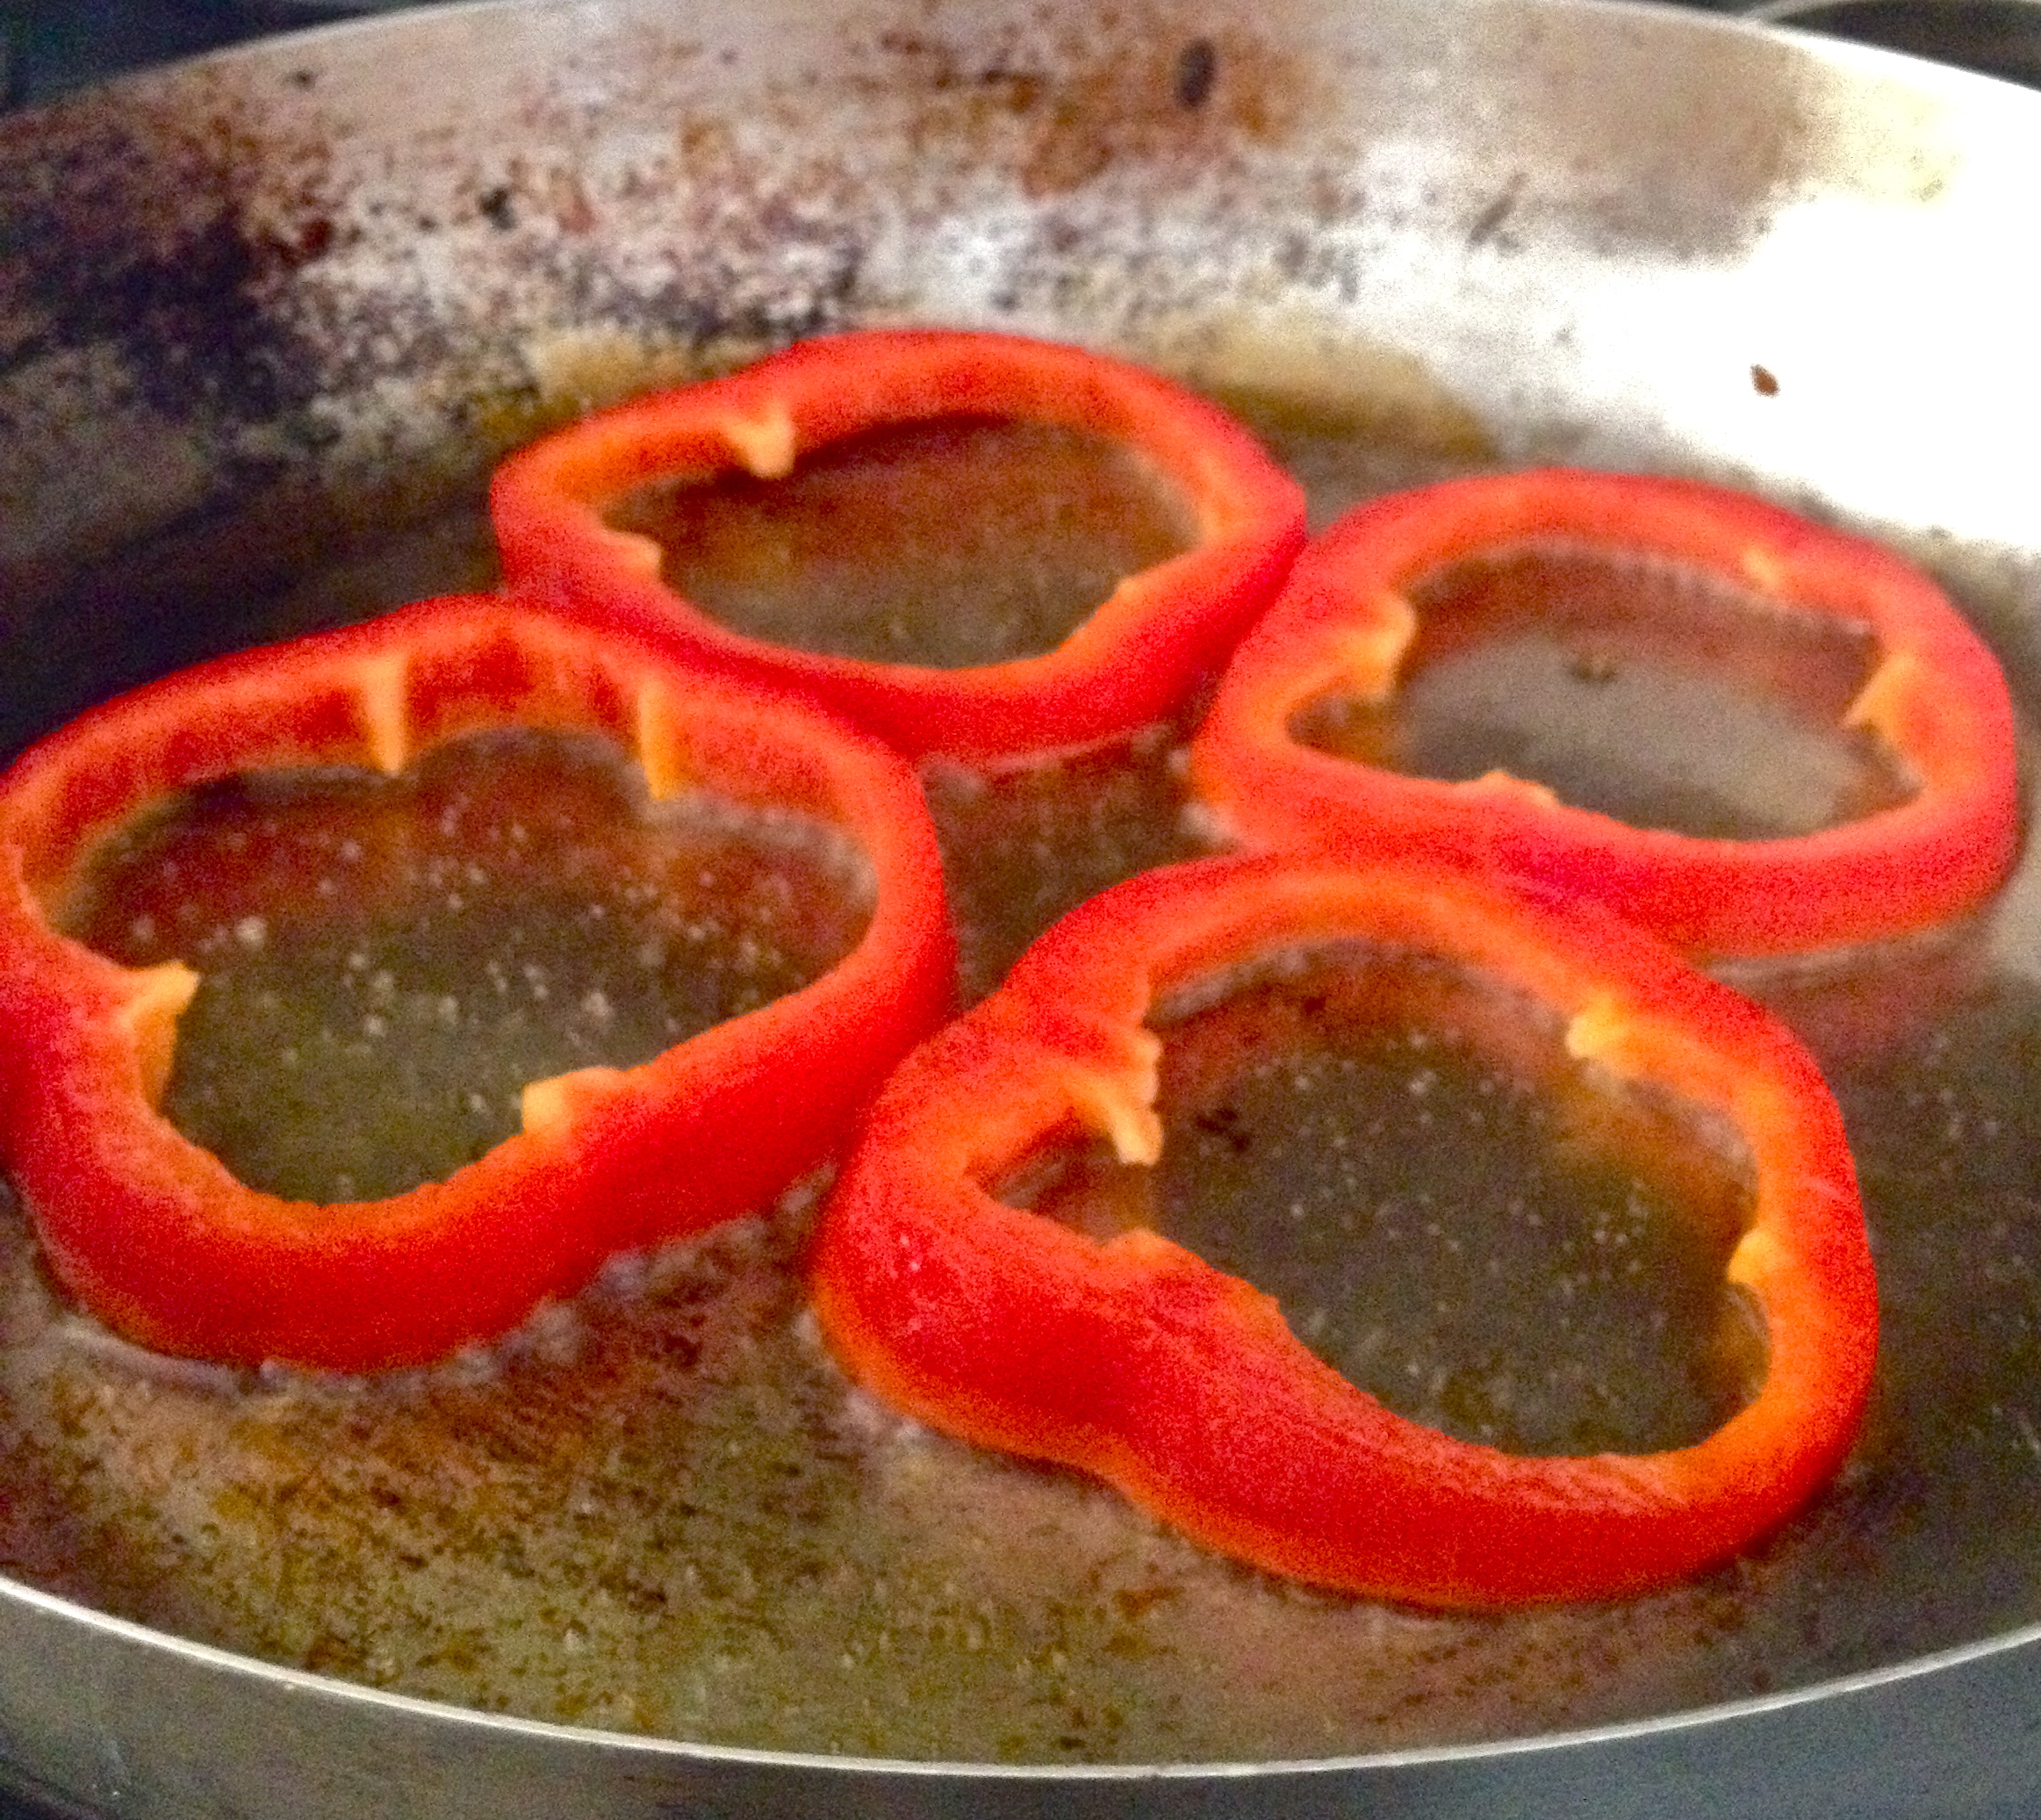
3 stalks green garlic, sliced (use the white and the light green parts)
pinch of salt
pinch of cayenne pepper
1 cup chicken stock
2 1/2 cups water
5 oz baby spinach
a spoonful of Greek yogurt
pepper

Just the Recipe link: Spinach and Green Garlic Soup

DIRECTIONS

In a Dutch oven or other large pot, heat a bit of butter and olive oil over medium low. The butter is for flavor, and the olive oil will keep the butter from burning. Once it’s hot, add the green garlic, salt, and cayenne.

IMG_8304

Cook gently, careful to avoid burning or browning, until the garlic is soft and smells sweet, and has lost its raw smell. Add the chicken stock and turn up the heat. Bring to a boil, and then turn down to simmer for 15 minutes.

Add the spinach and turn off the heat. Stir it in and let stand just 5 min, so it cooks but keeps its bright green color.

IMG_8313

Now puree the soup in batches, until it’s smooth. Add it back to the pot to reheat. I wanted to reduce my soup and get it to a little bit thicker consistency, so I simmered it a few minutes more.

IMG_8316

Once it’s where you want it, turn off the heat and stir in a scoop of greek yogurt. Serve immediately, with lots of pepper on top. Delish!

IMG_8345

Advertisement

Steamed Artichoke with Harissa Butter.

Let’s use our imaginations for a second. It’s something like 100,000 years ago and you’re a primitive human, walking around and looking for food. You spot a green, tough, pointy-leafed, stringy-stemmed, hairy-hearted and bitter-tasting vegetable. Naturally, you do not eat it. And none of your fellow humans eat it either. It’s clearly a bad food option. You move on and continue your search. Are the berries on that bush non-poisonous? Only one way to find out!

Are you enjoying the imagination game? I find myself thinking about this kind of thing a lot: how many thousands of years had to go by before someone figured out how to prepare an artichoke so that it’s a delicious treat instead of the “problem vegetable” that it is in its untouched state? The artichoke is one of the weirdest vegetables there is, and it’s pretty labor-intensive to prepare, and yet it is all so worth it to get to that delicious heart and eat the meat off the bases of the leaves. Mmmmm.

Despite its baggage, I am a huge fan of these guys, and today I share with you the best artichoke and dressing I have ever eaten. The dressing is a simple combo of melted butter and harissa, a red spiced paste that comes from Tunisia and is usually made from chilis and olive oil. It goes so well with artichokes, I can’t believe I didn’t think of this combo before now. Please please please make this simple recipe as soon as you can – it it magnificent.

IMG_8161

INGREDIENTS (this recipe easily doubles/triples/etc.)

1 artichoke
1 bay leaf
1 tbsp butter
1/4 tsp harissa paste (or more, to taste)

Just the Recipe link: Steamed Artichoke with Harissa Butter

DIRECTIONS

Fill a pot with 1 inch of water, toss in the bay leaf, and set it to boil. Meanwhile, prep the artichoke for steaming. Using a serrated knife, chop the stem most of the way, and cut through the middle of the artichoke so that you trim off the leaf points. Pull the small leaves off the base and discard.

IMG_8130

When the water is boiling, put the artichoke in the pot, wide cute side down and stem up. Cover, turn down to a low boil, and cook 20-30 minutes. It’s done when you can easily pull off smaller leaves at the base near the stem. Remove the artichoke from the water and set is aside to cool down a bit.

To assemble the harissa butter, melt the butter and stir in the harissa.

IMG_8140

When the artichoke has cooled enough to touch, take out the choke. Take your tongs and use them to find the middle section of the artichoke, where the purple-y leaves are. Use the tongs to pull this section out of the artichoke and expose the hairy choke in the center.

IMG_8145

Then trade the tongs for a fork. To remove the hairy center, use the fork to gently loosen the hair from the heart. Pull it away and throw it out. Continue to gently loosen the hair and remove it until the heart is clean and exposed.

IMG_8151

Put your artichoke on a plate and spoon about half of the butter over the center, over the heart. Use the rest for dipping the leaves; I like to dip each leaf and scrape the base for the “meat,” and then eat the heart last. These are so unbelievably good!!

IMG_8165

And thank you, oh culinary pioneer of the past, who discovered the glory of artichokes and made this meal possible.

Cabernet Beef Stew.

Because life is a cabernet.

Chicago has had a very chilly start to May, especially over the past few days, and this weekend I found myself with a crazy craving for beef stew. On Saturday, I built our beautiful new kitchen island, so I decided that Sunday would be the day I put it to good use and make a glorious pot of stew. Having just drooled over a DVR-ed episode of Barefoot Contessa where Ina Garten makes a food-porn-o-rific batch of Parker’s Beef Stew, I used her recipe as inspiration for this one. And of course, I added paprika to my recipe, because I can never make a beef stew without paying at least a little homage to goulash (the absolute king of stews, in my humble opinion). I give you, cabernet beef stew.

IMG_8039

INGREDIENTS

1 – 1/2 lbs stew beef, cubed (I like mine cut into small, bite-sized pieces)
1/2 cup potato starch flour (all-purpose flour is fine here, too, but you’ll need a bit more of it)
salt and pepper
olive oil
4 carrots, peeled and sliced
3 stalks celery, washed and sliced
1 small sweet potato, cubed
1 medium onion, chopped
3 bay leaves
2 cloves garlic, minced
1/2 bottle of cabernet sauvignon*
2 cups stock (I used homemade chicken stock)
1 tbsp Worcestershire sauce
3 canned whole tomatoes, chopped, plus a tbsp or two of canning liquid
2 sprigs fresh rosemary (or about 1 tsp dried rosemary)
1 tsp paprika
1 cup frozen peas
marjoram, for garnish
*Note: the flavor of the cabernet sauvignon is quite strong here. If that doesn’t sound good to you, I recommend cutting back to about a quarter bottle of wine.

Just the Recipe link: Cabernet Beef Stew

DIRECTIONS

In a mixing bowl, stir together potato starch flour, salt, and pepper. Drop a few pieces of meat in at a time and toss to coat. Shake off the excess and set aside, until all the meat is coated in flour.

Heat a Dutch oven or other large pot over medium high heat and add olive oil. Working in batches, brown the meat on all sides. Remove the browned meat from the pan and set aside.

IMG_8017

Preheat oven to 300 F.

Add carrot, celery, sweet potato, and onion to the Dutch oven, along with bay leaves. Cook about 8 minutes, stirring occasionally.

IMG_8014

Add garlic and cook two more minutes. Remove vegetables from the pan and set aside.

IMG_8019

Pour red wine into the pan, along with the rosemary and paprika, and stir to deglaze, making sure to loosen all the brown bits from the bottom.

IMG_8021

Add stock, Worcestershire sauce, and tomatoes. Then add the meat back to the pot, followed by the vegetables.

IMG_8024

Give it a stir, cover the pot, and bring to a low boil. Then place it in the oven and cook for 2-3 hours, until the meat is fall-apart tender or until you can’t wait any longer. I ended up turning the heat down to 275 F about 20 minutes in, to keep the stew at a low bubble instead of a more active simmer.

IMG_8028

Once the stew is done cooking, remove from the oven. Turn off the oven at this point – we’re done cooking.

IMG_8030

Stir in frozen peas and re-cover the pot. They’ll defrost and cook in the heat of the stew.

IMG_8034

Serve with warm, crusty bread, and if you like, sprinkle a bit of marjoram on top.

IMG_8043

Green Taco Burger Wraps.

I love lettuce wraps – I think I even prefer when things are wrapped in lettuce to any tortilla or bun (excluding hot dogs, of course). The cool crunch and the light freshness of the lettuce just seems to pair well with a lot of the foods that we think of as bun-worthy. This recipe for what I’m calling “green taco burger wraps” combines the best of cheeseburgers and tacos and wraps the whole thing in nice crunchy lettuce. The burger meat is spiced with cumin and oregano to give it a bit of Mexican flavor, and the toppings are all my taco favorites (especially avocado….mmmm). They’re easy and healthy and so delicious!

IMG_7911

INGREDIENTS

about 3/4 lb ground meat (I used beef)
1 egg
1/2 tsp cumin
1/2 tsp garlic powder
1/2 tsp paprika
1/4 tsp ground coriander
1/4 tsp cayenne pepper
salt and pepper to taste
red onion, diced
cheese, sliced (I used cheddar)
cilantro, rough chop
tomato, chopped
red pepper, raw or lightly sauteed
4 large lettuce leaves, rinsed and patted dry
avocado, sliced
green onion, sliced
1 lime, sliced

Just the Recipe link: Green Taco Burger Wraps

DIRECTIONS

First, season the burger meat. In a large bowl, add meat, egg, cumin, garlic powder, paprika, ground coriander, cayenne pepper, salt and pepper, and red onion to taste. I set the rest of the red onion aside in a little ramekin to top the burgers with later. Use your hands to mix all the ingredients together.

IMG_7900

That’s the only cooking prep you’ll do in this recipe. At this point, I set the meat aside to let the flavors hang out a bit while I chopped up everything else and put all the amazing toppings into their own little bowls.

IMG_7902

When everything else is ready to go, cook the burgers. First, use your hands to form them into small patties (we made two little patties per person). I cooked them on my beautiful new Le Creuset grill pan from Williams-Sonoma, but a regular grill or a pan can do the trick as well. Put your pan over medium high heat and lightly grease before adding the burgers. Cook until browned on each side and medium-rare in the middle (or however you like your burgers cooked!). Set aside for 5 minutes to let the meat rest.

IMG_7907

The next step is just assembly!

IMG_7904

I started with the lettuce wrapper, then laid the burger on top and placed the cheese on top of that, so it would get a little melty. Then it’s only a matter of topping to your heart’s content – cilantro, red pepper, red onion, green onion, avocado, and a finishing squeeze of lime make these a perfect fresh and healthy lunch. Before you take a bite, just wrap the lettuce around your taco-topped burger. Then dig right in!

IMG_7914

Celery Root and Sweet Potato Soup.

I’ve been wanting to try this type of thing for a while. Have you ever noticed, while you wander through the grocery store, a really knobby, homely-looking reject vegetable? One that looks like something went wrong when a normal vegetable was growing and it came out all messed-up? That’s celery root, also called celeriac. It’s notorious in the culinary world as one of those foods that many home cooks tend to shy away from, never knowing its versatility and great flavor. I hope to learn a lot more about celery root and to have some more recipes up here in the near future! For now, this warming, pale orange soup is just lovely, despite celeriac’s homeliness. Thank you to Frugal Feeding for the inspiration.

IMG_7268

INGREDIENTS

2 tbsp butter, divided (or skip the butter and just stick with oil)
olive oil (any oil really will work  – I used sunflower oil. Because I felt like it.)
2 small onions, diced
2 stalks celery, diced
2 cloves garlic, minced
1 small celery root, peeled and diced
1 large sweet potato, peeled and diced
4-5 cups vegetable or chicken stock
thyme, paprika, salt, pepper to taste (I used a small palmful of each)
bay leaf
1/2 – 1 cup half and half
fresh parsley for garnish

Just the Recipe link: Celery Root and Sweet Potato Soup

DIRECTIONS

Heat oil and, if using, 1 tbs if butter in a large soup pot, and add onion and celery. Cook until translucent, stirring occasionally. When the onions are nearly there, stir in the garlic.

IMG_7253

Add the celery root and sweet potato and cook 5 minutes.

Next, pour in the stock and add your thyme, paprika, salt, pepper, and bay leaf. If you’re using butter, add the second tbsp here and stir in to melt. Simmer, stirring occasionally, until the sweet potato and celery root are totally soft.

IMG_7256

Remove from heat and puree in batches, either using a blender or food processor, or, if you’re lucky enough to have one (I do not!) use an immersion blender.

IMG_7260

Pour in the half and half and stir, and you’re ready to serve! Garnish with fresh chopped parsley. I had a nice little lunch of this soup with a butternut squash and green onion quesadilla.

IMG_7262

Egg in the Pepper.

Red Pepper Egg in the Hole? Egg in the Red Pepper Hole? Actually it’s more like Egg in and Around the Hole. I wasn’t sure what to call these. Basically it’s your standard egg in the hole, only instead of being in a hole, they’re in slices of red pepper. I love the shape of red pepper slices, and I was just struck with the idea to do this while I was making breakfast over the weekend. Eggs in the Pepper are really good for breakfast, and here’s why: They’re easy. They don’t have a lot of ingredients. They’re fast. And they feel fancy. Happy eating.

IMG_7204

INGREDIENTS

1 red pepper
olive oil
2 slices of ham (or use some baby spinach instead, if you like)
6 eggs
cheese, for sprinkling (I used cheddar and mozzarella)
salt and pepper to taste

Just the Recipe link: Egg in the Pepper

DIRECTIONS

Lay the red pepper down horizontally and cut into 6 slices, cleaning out all the seeds and stuff inside.

IMG_7189

Heat oil in a pan and fry the peppers a few minutes on eat side, until tender and lightly browned. Work in two batches until they’re all cooked.

IMG_7190

Then fry up the ham (or spinach instead, if you like). Just give it a minute or two on each side, and remove it to a plate. This will be the base for the peppers and eggs.

IMG_7198

Now put 3 of the cooked pepper slices back into the pan with some more oil. Crack 3 of the eggs into the middle of the peppers – no worries if some of the egg spills out the sides; it probably won’t be perfect. Cover the pan with a lid.

IMG_7195

When the eggs are almost done, sprinkle some cheese on top and cover again to melt.

IMG_7196

Remove from heat and plate on top of ham or spinach. Repeat with the last 3 red pepper slices and eggs. We served these with hash browns – such a great breakfast!

IMG_7210