Cabernet Beef Stew.

Because life is a cabernet.

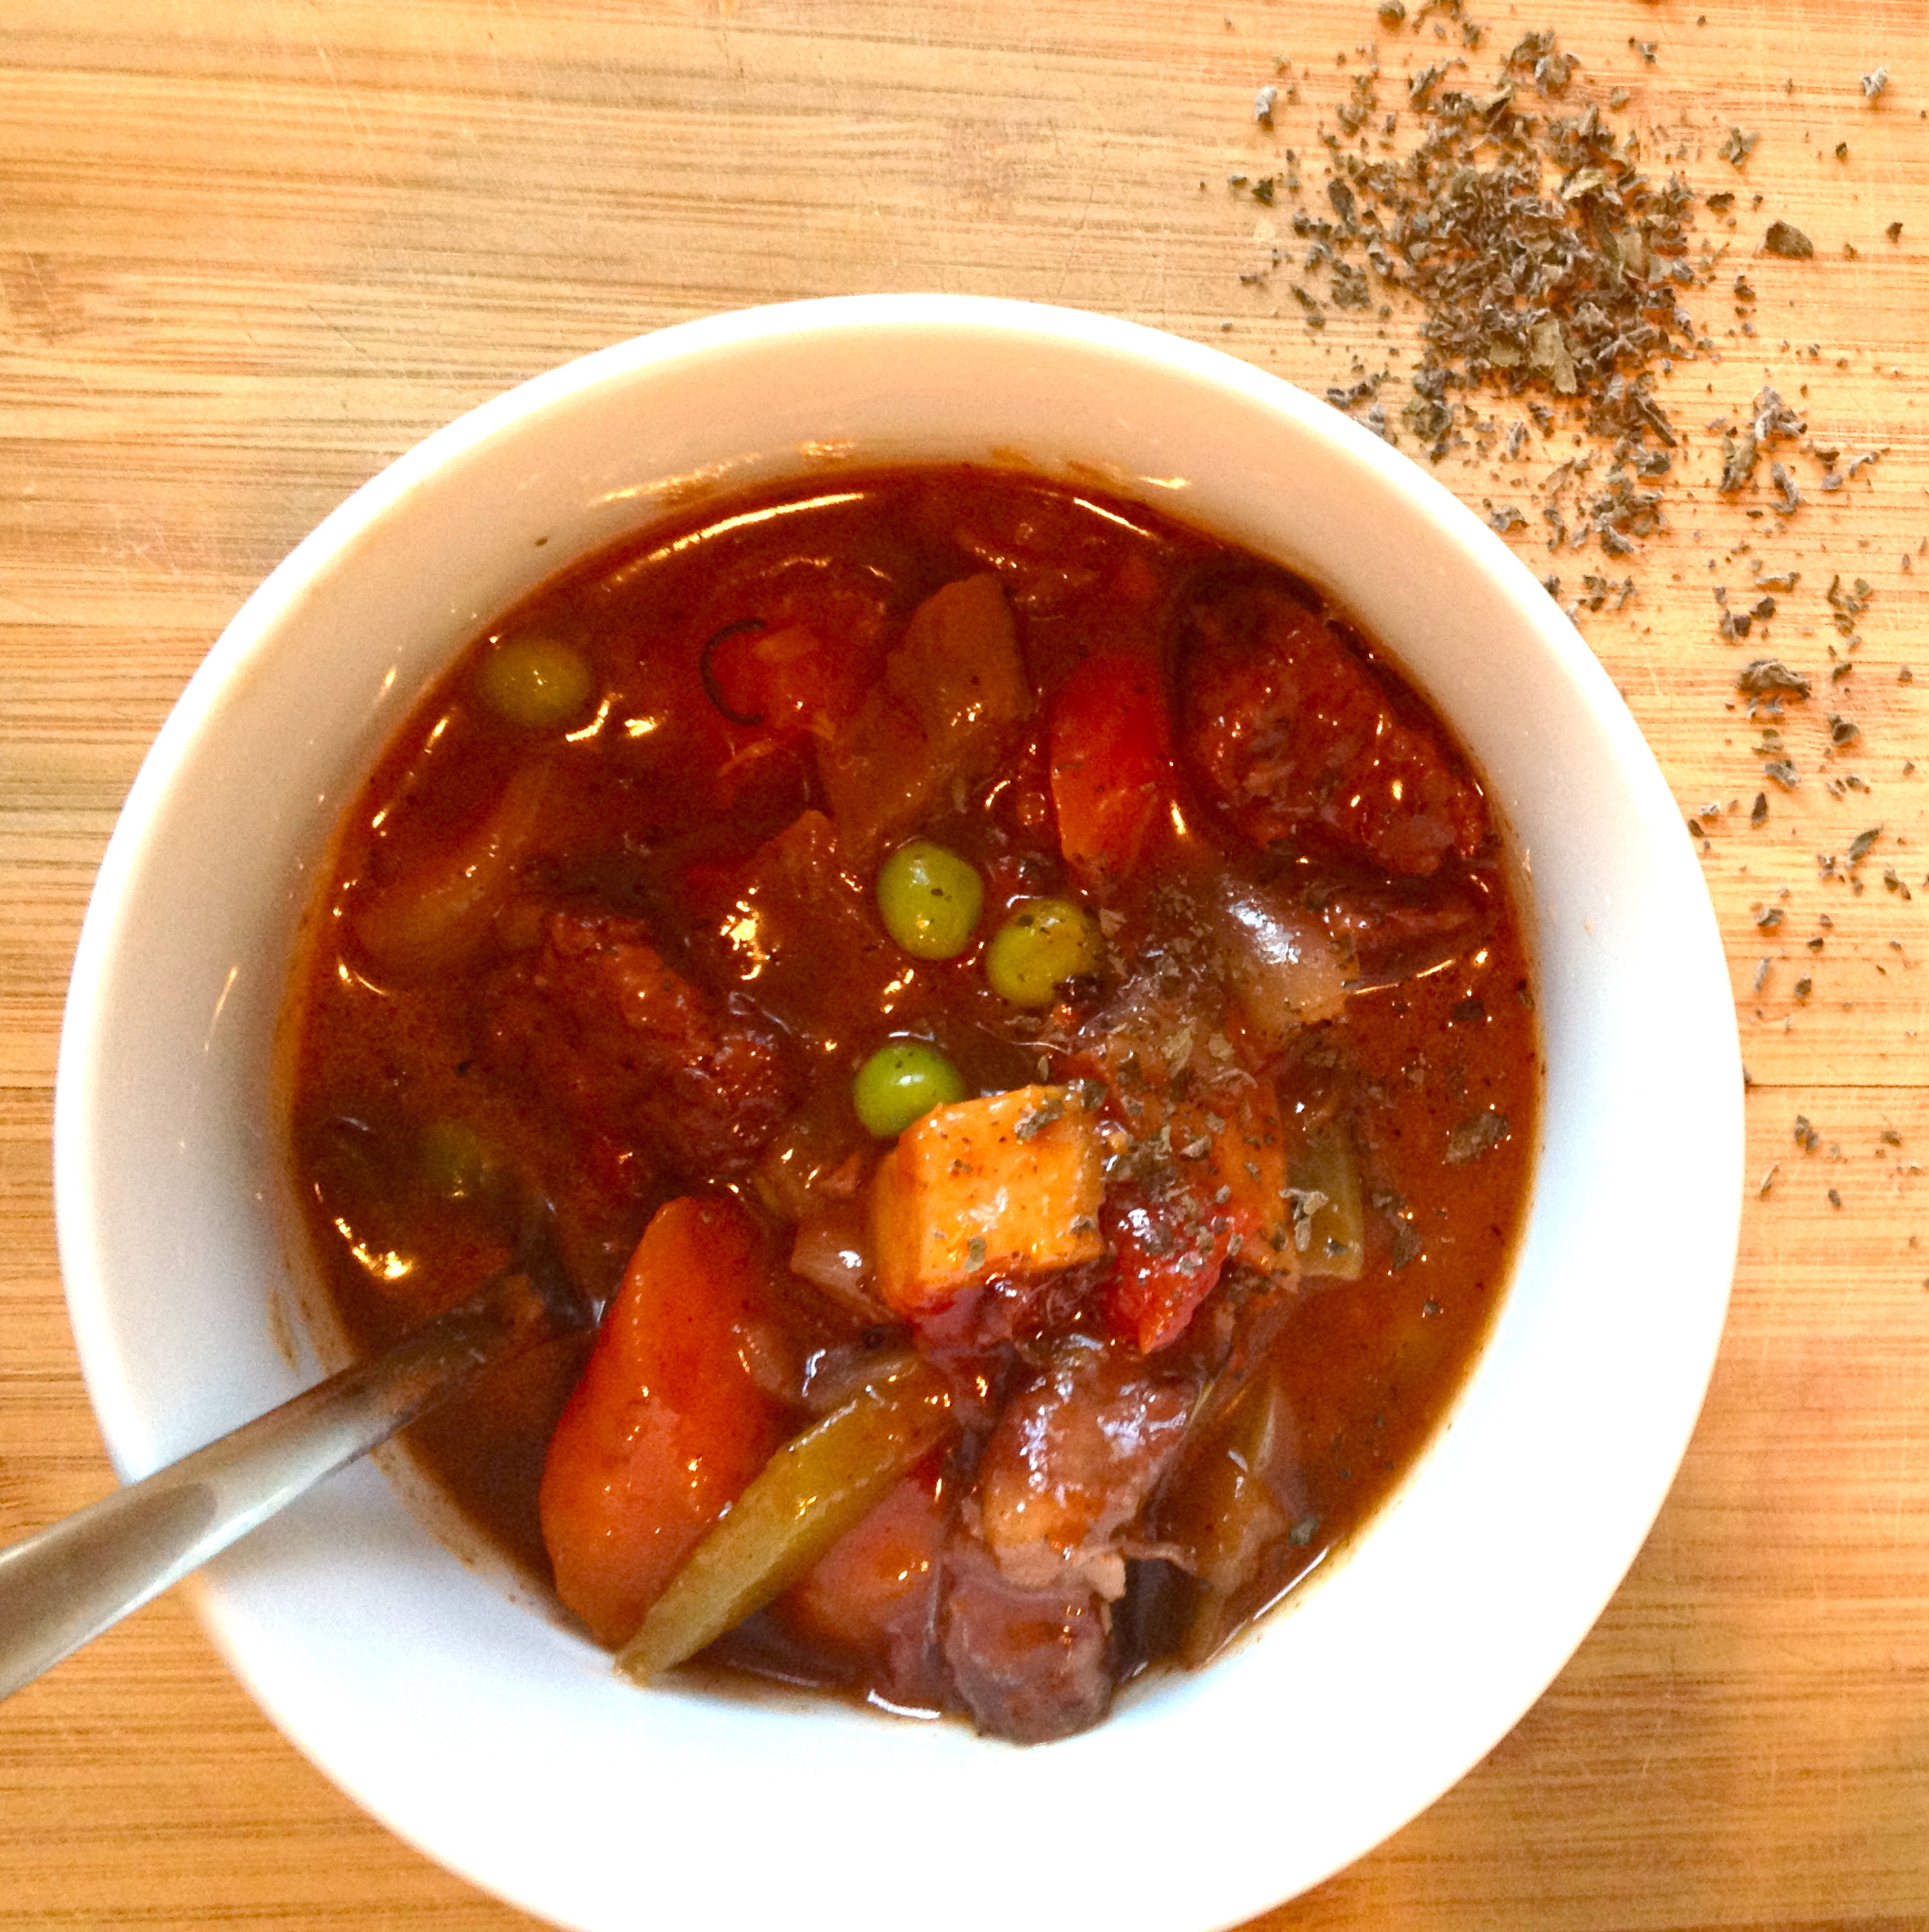
Chicago has had a very chilly start to May, especially over the past few days, and this weekend I found myself with a crazy craving for beef stew. On Saturday, I built our beautiful new kitchen island, so I decided that Sunday would be the day I put it to good use and make a glorious pot of stew. Having just drooled over a DVR-ed episode of Barefoot Contessa where Ina Garten makes a food-porn-o-rific batch of Parker’s Beef Stew, I used her recipe as inspiration for this one. And of course, I added paprika to my recipe, because I can never make a beef stew without paying at least a little homage to goulash (the absolute king of stews, in my humble opinion). I give you, cabernet beef stew.

IMG_8039

INGREDIENTS

1 – 1/2 lbs stew beef, cubed (I like mine cut into small, bite-sized pieces)
1/2 cup potato starch flour (all-purpose flour is fine here, too, but you’ll need a bit more of it)
salt and pepper
olive oil
4 carrots, peeled and sliced
3 stalks celery, washed and sliced
1 small sweet potato, cubed
1 medium onion, chopped
3 bay leaves
2 cloves garlic, minced
1/2 bottle of cabernet sauvignon*
2 cups stock (I used homemade chicken stock)
1 tbsp Worcestershire sauce
3 canned whole tomatoes, chopped, plus a tbsp or two of canning liquid
2 sprigs fresh rosemary (or about 1 tsp dried rosemary)
1 tsp paprika
1 cup frozen peas
marjoram, for garnish
*Note: the flavor of the cabernet sauvignon is quite strong here. If that doesn’t sound good to you, I recommend cutting back to about a quarter bottle of wine.

Just the Recipe link: Cabernet Beef Stew

DIRECTIONS

In a mixing bowl, stir together potato starch flour, salt, and pepper. Drop a few pieces of meat in at a time and toss to coat. Shake off the excess and set aside, until all the meat is coated in flour.

Heat a Dutch oven or other large pot over medium high heat and add olive oil. Working in batches, brown the meat on all sides. Remove the browned meat from the pan and set aside.

IMG_8017

Preheat oven to 300 F.

Add carrot, celery, sweet potato, and onion to the Dutch oven, along with bay leaves. Cook about 8 minutes, stirring occasionally.

IMG_8014

Add garlic and cook two more minutes. Remove vegetables from the pan and set aside.

IMG_8019

Pour red wine into the pan, along with the rosemary and paprika, and stir to deglaze, making sure to loosen all the brown bits from the bottom.

IMG_8021

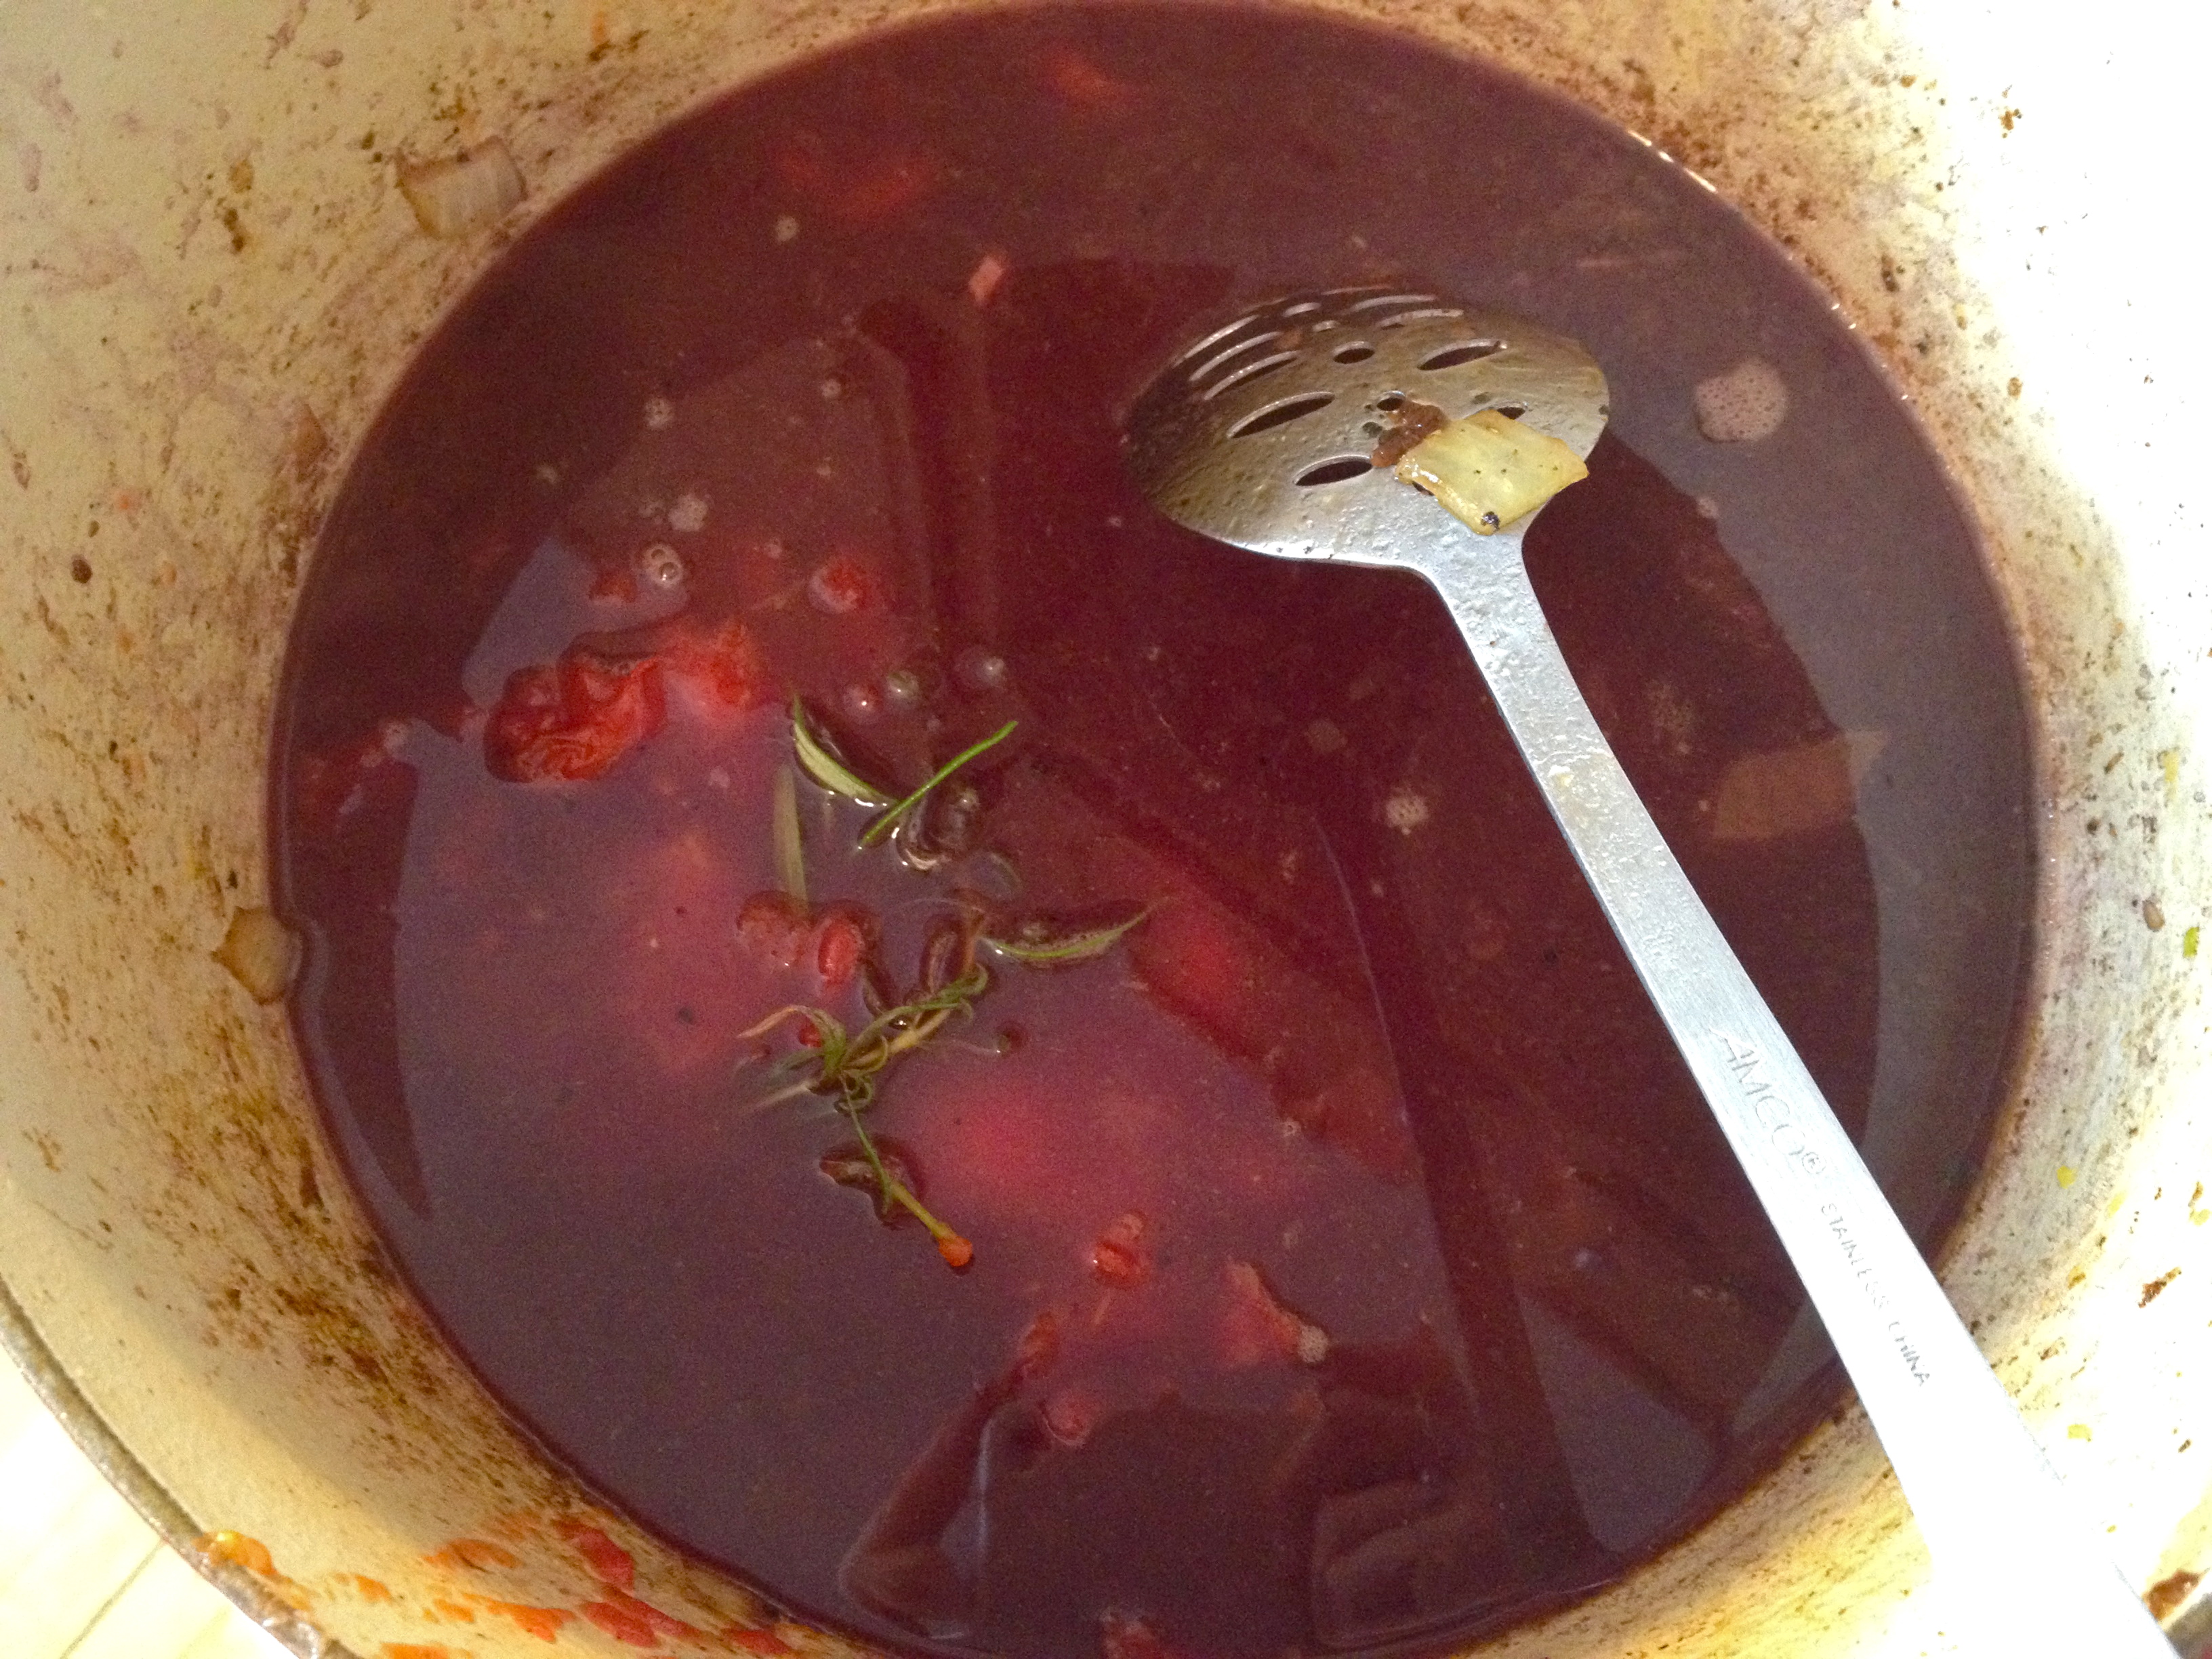
Add stock, Worcestershire sauce, and tomatoes. Then add the meat back to the pot, followed by the vegetables.

IMG_8024

Give it a stir, cover the pot, and bring to a low boil. Then place it in the oven and cook for 2-3 hours, until the meat is fall-apart tender or until you can’t wait any longer. I ended up turning the heat down to 275 F about 20 minutes in, to keep the stew at a low bubble instead of a more active simmer.

IMG_8028

Once the stew is done cooking, remove from the oven. Turn off the oven at this point – we’re done cooking.

IMG_8030

Stir in frozen peas and re-cover the pot. They’ll defrost and cook in the heat of the stew.

IMG_8034

Serve with warm, crusty bread, and if you like, sprinkle a bit of marjoram on top.

IMG_8043

Advertisement

Salmon Cakes and Baby Spinach Salad with Orange Vinaigrette.

On Friday night, I made baked salmon fillets for dinner. Intending to post the recipe afterward, I shot each step of the prep process – but when I sat down to eat, it was…just fine. Not great. And I tend not to blog about recipes that I don’t think are awesome or that I wouldn’t make again, so I decided not to write it up or post it here. Oh well, this happens fairly often, folks. I finished eating one of the fillets,  and I shredded up the second and put it in the fridge. I unenthusiastically figured I would make some kind of salad out of it. Meh. But then I thought, there is a lot I could do with this average-tasting salmon that would make it totally delicious! So I combed the internet a bit and found a recipe from Rachel Ray that really got me going. I adapted it a bit and the result is what you see here: a tasty dinner that sees an ugly duckling salmon fillet turned into a real swan of a meal (birds and fish – stop me if the metaphor-mixing gets to be too much). Long story short: “blah.” became “ta-da!”

IMG_8001

INGREDIENTS

for the salmon and salad:
1 egg
1 – 1 1/2 cups salmon, cooked and flaked (1 can of salmon will work here as well)
1 green onion, sliced thin
1/3 cup bread crumbs (I used Panko – use gluten-free bread crumbs if you like)
1 tsp of your favorite fish seasoning (I used Lake Shore Drive Seasoning from the Spice House – love this stuff!)
a squeeze or two of hot sauce (I use Sriracha)
a small handful of fresh parsley, chopped
a pinch of cayenne pepper
salt and pepper
a few tablespoons of vegetable oil (not olive oil or butter – we need it to have a pretty high smoke point)
1 1/2 cups fresh baby spinach, washed and dried
shredded carrots or any other salad fixins’ you like

for the orange vinaigrette dressing:
1 tbsp orange juice
1 tsp red wine vinegar
3-4 tbsp extra virgin olive oil
salt and pepper to taste

Just the Recipe link: Salmon Cakes and Baby Spinach Salad with Orange Vinaigrette

DIRECTIONS

Get the pan going over medium heat (not medium high). We’ll add the oil in a little bit; for now, just heat the pan.

Crack the egg into a mixing bowl and add the salmon. Use a fork to mash up the salmon a little bit and combine it with the egg. Add green onion, bread crumbs, seasoning, hot sauce, parsley, cayenne pepper, and salt and pepper, and stir together to combine everything evenly.

IMG_7991

At this point, add the oil to the pan – just enough to cover the bottom. Let it get hot while you form the salmon into cakes. Divide the mixture into two even portions, and use your hands to shape each portion into a patty about 3/4 inch thick. Add them to the pan and cook until browned and a little bit crispy on each side. Mmm.

IMG_7994

While the cakes cook, prep the salad. I tossed the baby spinach onto a pretty plate and topped it with shredded carrots. Then make the dressing, which is incredibly easy. Just stir together all the ingredients with a fork.

IMG_7997

Then it’s just a matter of dressing the salad and plating the salmon cakes. Perch them right on top of the greens, and if you have any dressing leftover, drizzle a bit on the cakes. The orange is delicious here. I could hardly believe this was the boring salmon I had made the night before. Enjoy!

IMG_7998

Loaded Chili.

Garnishes. Goodies. Fixins’. At least half the reason I love chili is the toppings you get to put on it. Oh, my, the toppings. This recipe is about making an amazing chili that will eventually become an Ode to Toppings, and I want you to use them all: avocado, cheese, cilantro, tomato—whatever your heart desires. And you know what? You are a great cook and a wonderful person, and you deserve a beautiful meal. So thank yourself for making this by plating it up like a work of art and garnishing the heck out of it. Heidi at 101 Cookbooks is the master at this. Here are some of her most gorgeously garnished soups: Split Pea, Broccoli Cheddar, Yellow Split Pea, and Posole in broth. Let life imitate art and load up this chili!

IMG_7707

INGREDIENTS

for the chili:
olive oil
1/2 onion, chopped
1/2 red bell pepper, chopped
2 cloves garlic, minced
1/4 tsp cayenne pepper
1 tsp oregano
1/2 tsp coriander
1/2 tsp cumin
1/4 tsp red pepper flakes
salt and pepper to taste
1 lb ground meat (I used pork)
1 28oz can diced tomatoes
2 cups stock (I used beef stock)
2 tbsp fresh cilantro, chopped
1 16oz can black beans, drained and rinsed
1 16 oz can corn, drained and rinsed

all the fixins’:
avocado, sliced
fresh cilantro, chopped
cheese, shredded
fresh tomato, chopped
onion or green onion, thinly sliced or minced
squeeze of lime

Just the Recipe link: Loaded Chili

DIRECTIONS

Heat oil in a pan and add onion and red pepper. Cook about 8 minutes, until softened.

IMG_7683

Add the garlic and the cayenne pepper, oregano, coriander, cumin, red pepper flakes, salt, and pepper. Stir and cook 1-2 minutes, until fragrant and yummy-smelling.

IMG_7687

Add the ground pork and use your spoon to break it up. Cook until browned, stirring occasionally.

IMG_7691

Once the meat is browned, pour in the canned tomatoes and the stock. Toss in a bay leaf for good measure. Bring to a boil and then turn down to a simmer. Simmer for 45 minutes.

IMG_7692

After 45 minutes have gone by, add the cilantro, corn, and beans, and simmer for another 15 minutes.

IMG_7699

Taste for seasoning and your chili is good to go! Now dress it up. And make it look beautiful, for heaven’s sake! You’re worth it.

IMG_7706

Scarborough Fair Roast Chicken.

Are you going to Scarborough Fair?
Parsley, sage, rosemary, and thyme
Remember me to the one who lives there
She once was a true love of mine.

If you love this song as I do, it’s likely because you know the beautiful version sung by Simon and Garfunkel. And if you love it as I do, you might also use it as a guide to seasoning chicken (more on that later). Knowing it was much older than a 60s hit, I decided to comb the web a bit to learn about the history of the song. There’s a pretty interesting Wikipedia article on this old ballad that gives a bit of background; the playfulness of the lyrics is what interests me most. Part of the song is from the point of view of a young man who instructs his love to do impossible tasks for him, and then it switches to her point of view. She gives him equally impossible tasks—and their relationship depends on the completion of these tasks. It’s sweet and a little goofy, despite the utterly mournful vibe of the S&G hit.

But when you really pay attention to the words of “Scarborough Fair,” it doesn’t make sense, at least to me, why the four herbs (parsley, sage, rosemary, and thyme) are mentioned in every single verse. They don’t have anything to do with the rest of the song! For me, this lovely herbal repetition has dictated the way I season chicken dishes for as long as I’ve been cooking (so it’s no surprise that parsley, sage, rosemary, and thyme feature in my whole roast chicken as well). But since I’m sure the point wasn’t to help people flavor meat, I did some Googling to see if there was an explanation. I found a few theories, my favorite of which says that these four herbs, when used together, ward off the evil eye. So look away, all you devils out there—this chicken is protected by musical magic! Taste the magic, people.

I have one serving suggestion that I will repeat at the end of the recipe, because it really is a good idea: make sure to have a crusty baguette on hand, because you’re going to want to sop up those heavenly juices.

IMG_7451

INGREDIENTS

1 whole chicken, rinsed and patted dry
olive oil (regular, not extra virgin)
1 tbsp dried parsley
1 tsp dried sage
1 tsp dried rosemary
1 tbsp dried thyme
1/2 tsp garlic powder
1/4 tsp cayenne pepper
2 bay leaves
salt and pepper to taste

Just the Recipe link: Scarborough Fair Roast Chicken

DIRECTIONS

Preheat oven to 400 F.

Put your chicken in a pan, legs- and breasts-side down, and drizzle with olive oil. Combine the parsley, sage, rosemary, thyme, garlic powder, cayenne pepper, salt, and pepper, and sprinkle half over the chicken. Then flip the chicken so that the legs and breasts are facing up, and repeat the olive-oil-drizzling and the spice-sprinkling. You could massage the spices into the chicken a bit if you like; I didn’t feel like it today. It’s the cook’s prerogative.

IMG_7453

Pop it in the oven for about an hour and 15 minutes, depending on the size of your bird. It’s done when the juices run clear and the meat has lost its inner pinkness.

IMG_7461

That’s all! Roast chicken is incredibly easy. Definitely not the kind of task that the young man in “Scarborough Fair” would have requested of his lover. And when you eat this, you’ll enjoy it so much more if you have a nice crusty loaf of bread to dip into the juices—sometimes I think they’re the star of the show, they’re just that good.

IMG_7473

Roasted Spiced Chickpeas.

Lately at work, I’ve been hanging around a lot of talk about snack foods. Normally I’m not really much of a snacker; I never buy chips or pretzels or anything like that, because I generally don’t crave them. But for the past week, I’ve been taking a lot of notes about people’s snacking habits, and as a result, I found myself really craving salty snack foods. This led me to two thoughts: 1) I have a reaffirmed belief in the power of advertising to get people interested in products they never would have cared about before (i.e., me craving snack foods), and 2) I wanted to give these roasted chickpeas a go, after having seen them on a handful of blogs over the past month or so. Roasted chickpeas make a fantastic replacement for chips. They’re crunchy, salty, spicy, and come in any flavor you can make. So make some!

IMG_6710

INGREDIENTS

1 can chickpeas
olive oil
salt
extra virgin olive oil
seasonings of your choice (I used Ukrainian Village Seasoning from the Spice House)

Just the Recipe link: Roasted Spiced Chickpeas

DIRECTIONS

Preheat oven to 350 F.

The chickpeas require quite a bit of prep: Drain them. Rinse them off. Remove the skin from each little bean, pretending you’re a rabbi conducting a hundred brises. Lay them out on a towel and gently pat them dry. In a bowl, toss them with a drizzle of olive oil and a good sprinkling of salt.

IMG_6701

Lay the salted, oiled chickpeas out on a baking sheet.

IMG_6705

Bake about 50 minutes, until they’re crunchy and browned.

IMG_6708

Now, the seasoning part. There are so many flavor combos that I want to try! Paprika and cumin, parsley and granulated garlic, honey and cayenne pepper, and good old salt and pepper – all yummy pairings. For this batch, I used one of the Spice House‘s awesome Chicago neighborhoods spice blends – the Ukrainian Village seasoning – which has a great blend of onion and pepper flavors. I topped it off with a little sprinkle of truffle salt, just because I was feelin’ fancy.

IMG_6709

That’s it! I love these. They’re a great, substantial snack to munch on when you need a crunch but don’t want to go the chips or nuts route. Enjoy! And be sure to let them cool completely before you put them in any kind of container, or else the heat/condensation will make the chickpeas soggy.

Cream Potatoes Anna.

Pommes Anna is a classic potato dish in French cuisine. It’s usually made with butter, but, taking a page out of chef Laura Calder’s book, I used half and half. It’s melty and creamy. It’s herby and warm. It’s the perfect side to any kind of meat, but especially pork chops. Or chicken breasts. Or steak. Or buffalo. Or zebra filets. Okay fine, everything! And pommes Anna is fun to make too. Lots of layering and a bit of flexibility with herbs and spices. These were very calming to make, and the finished product proved a satisfying reward after having spent the morning tiring out a new puppy. Please welcome Penny the Black Lab Puppy, a much-loved new addition to our family!

IMG_6134

She tried her hardest to get at these potato goodies while I was shooting them, but only managed to snag my red and white checked towel in her little mouth, prancing away as she tripped over the dragging ends of it. What a little troublemaker.

IMG_6164

INGREDIENTS

4 potatoes (small-ish – this recipe makes 2 ramekins, so adjust accordingly), peeled and thinly sliced into discs
1/2 cup half and half or heavy cream
rosemary and thyme, chopped
pinch of paprika
salt and pepper
butter or non-stck spray

Just the Recipe link: Cream Potatoes Anna

DIRECTIONS

Preheat oven to 400 F.

Place the potatoes in a large dish and toss them in the half and half. Let them soak about 15 minutes.

IMG_6145

Meanwhile, break out the parchment paper. You’ll need to trace a sheet of paper that will fit into the bottom of whatever baking dish you’re using (I used two ramekins, so I cut two circles to fit into the bottom). Then, you’ll need a slightly larger sheet of parchment paper to fit on top of the dish, covering the assembled potatoes. I find it easier to just cut all the parchment paper pieces at once and then set the top pieces aside. Butter or spray the bottom piece(s) and place into the bottom of the pan, butter side up.

IMG_6139

Next, take the potatoes out of the cream and start layering them into your dish. Make a single layer of potatoes, then sprinkle with a bit of the salt, pepper, paprika, rosemary, and thyme. Keep alternating potatoes and seasonings until you use up all the potatoes.

IMG_6149

Butter the top piece(s) of parchment paper and place firmly on top of the potatoes. If you’re using ramekins, place them in another larger pan.

IMG_6157

Place a heavy pan on top of the potatoes; this weighs them down and bakes them into a creamy potato cake. Yum. Bake until super tender and let cool before turning out into a beautiful, delectably melty potato cake.

IMG_6161

Enjoy! Oh and P.S. – happy Mayan end of the world day! See you all tomorrow….or not?!

IMG_6170