Creamy Chocolate-Coffee Tart with an Almond Crust.

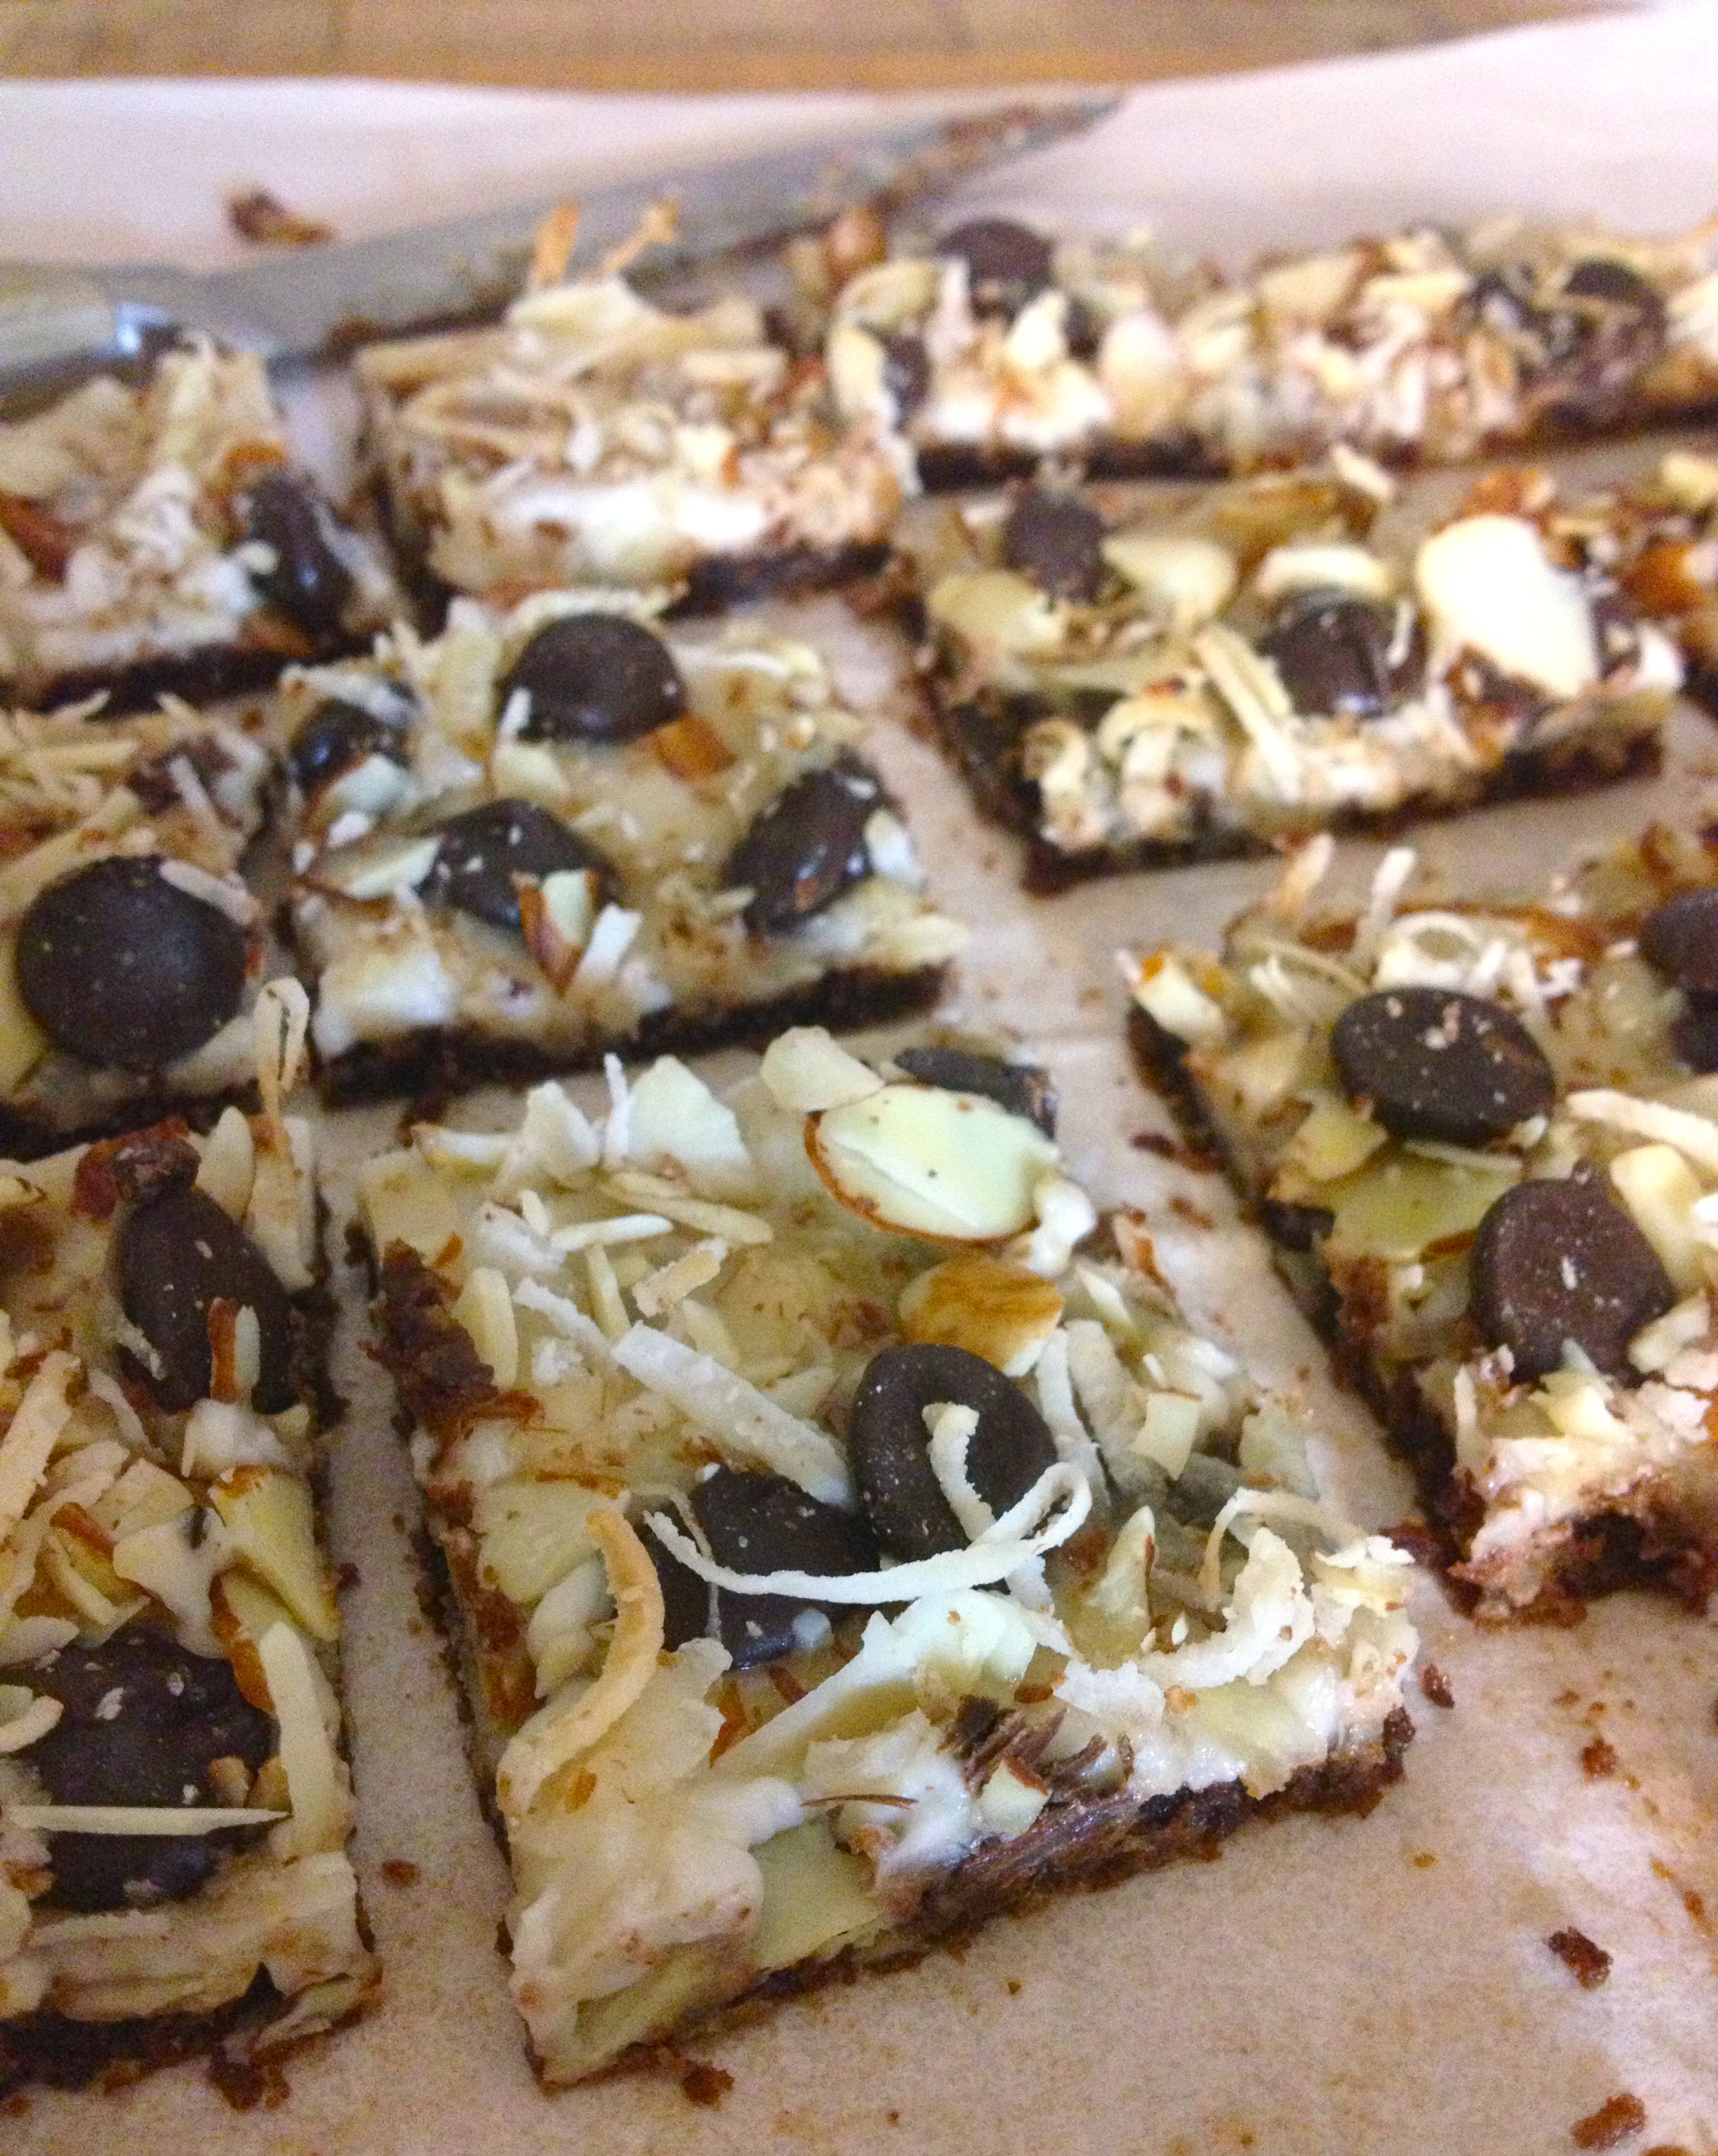
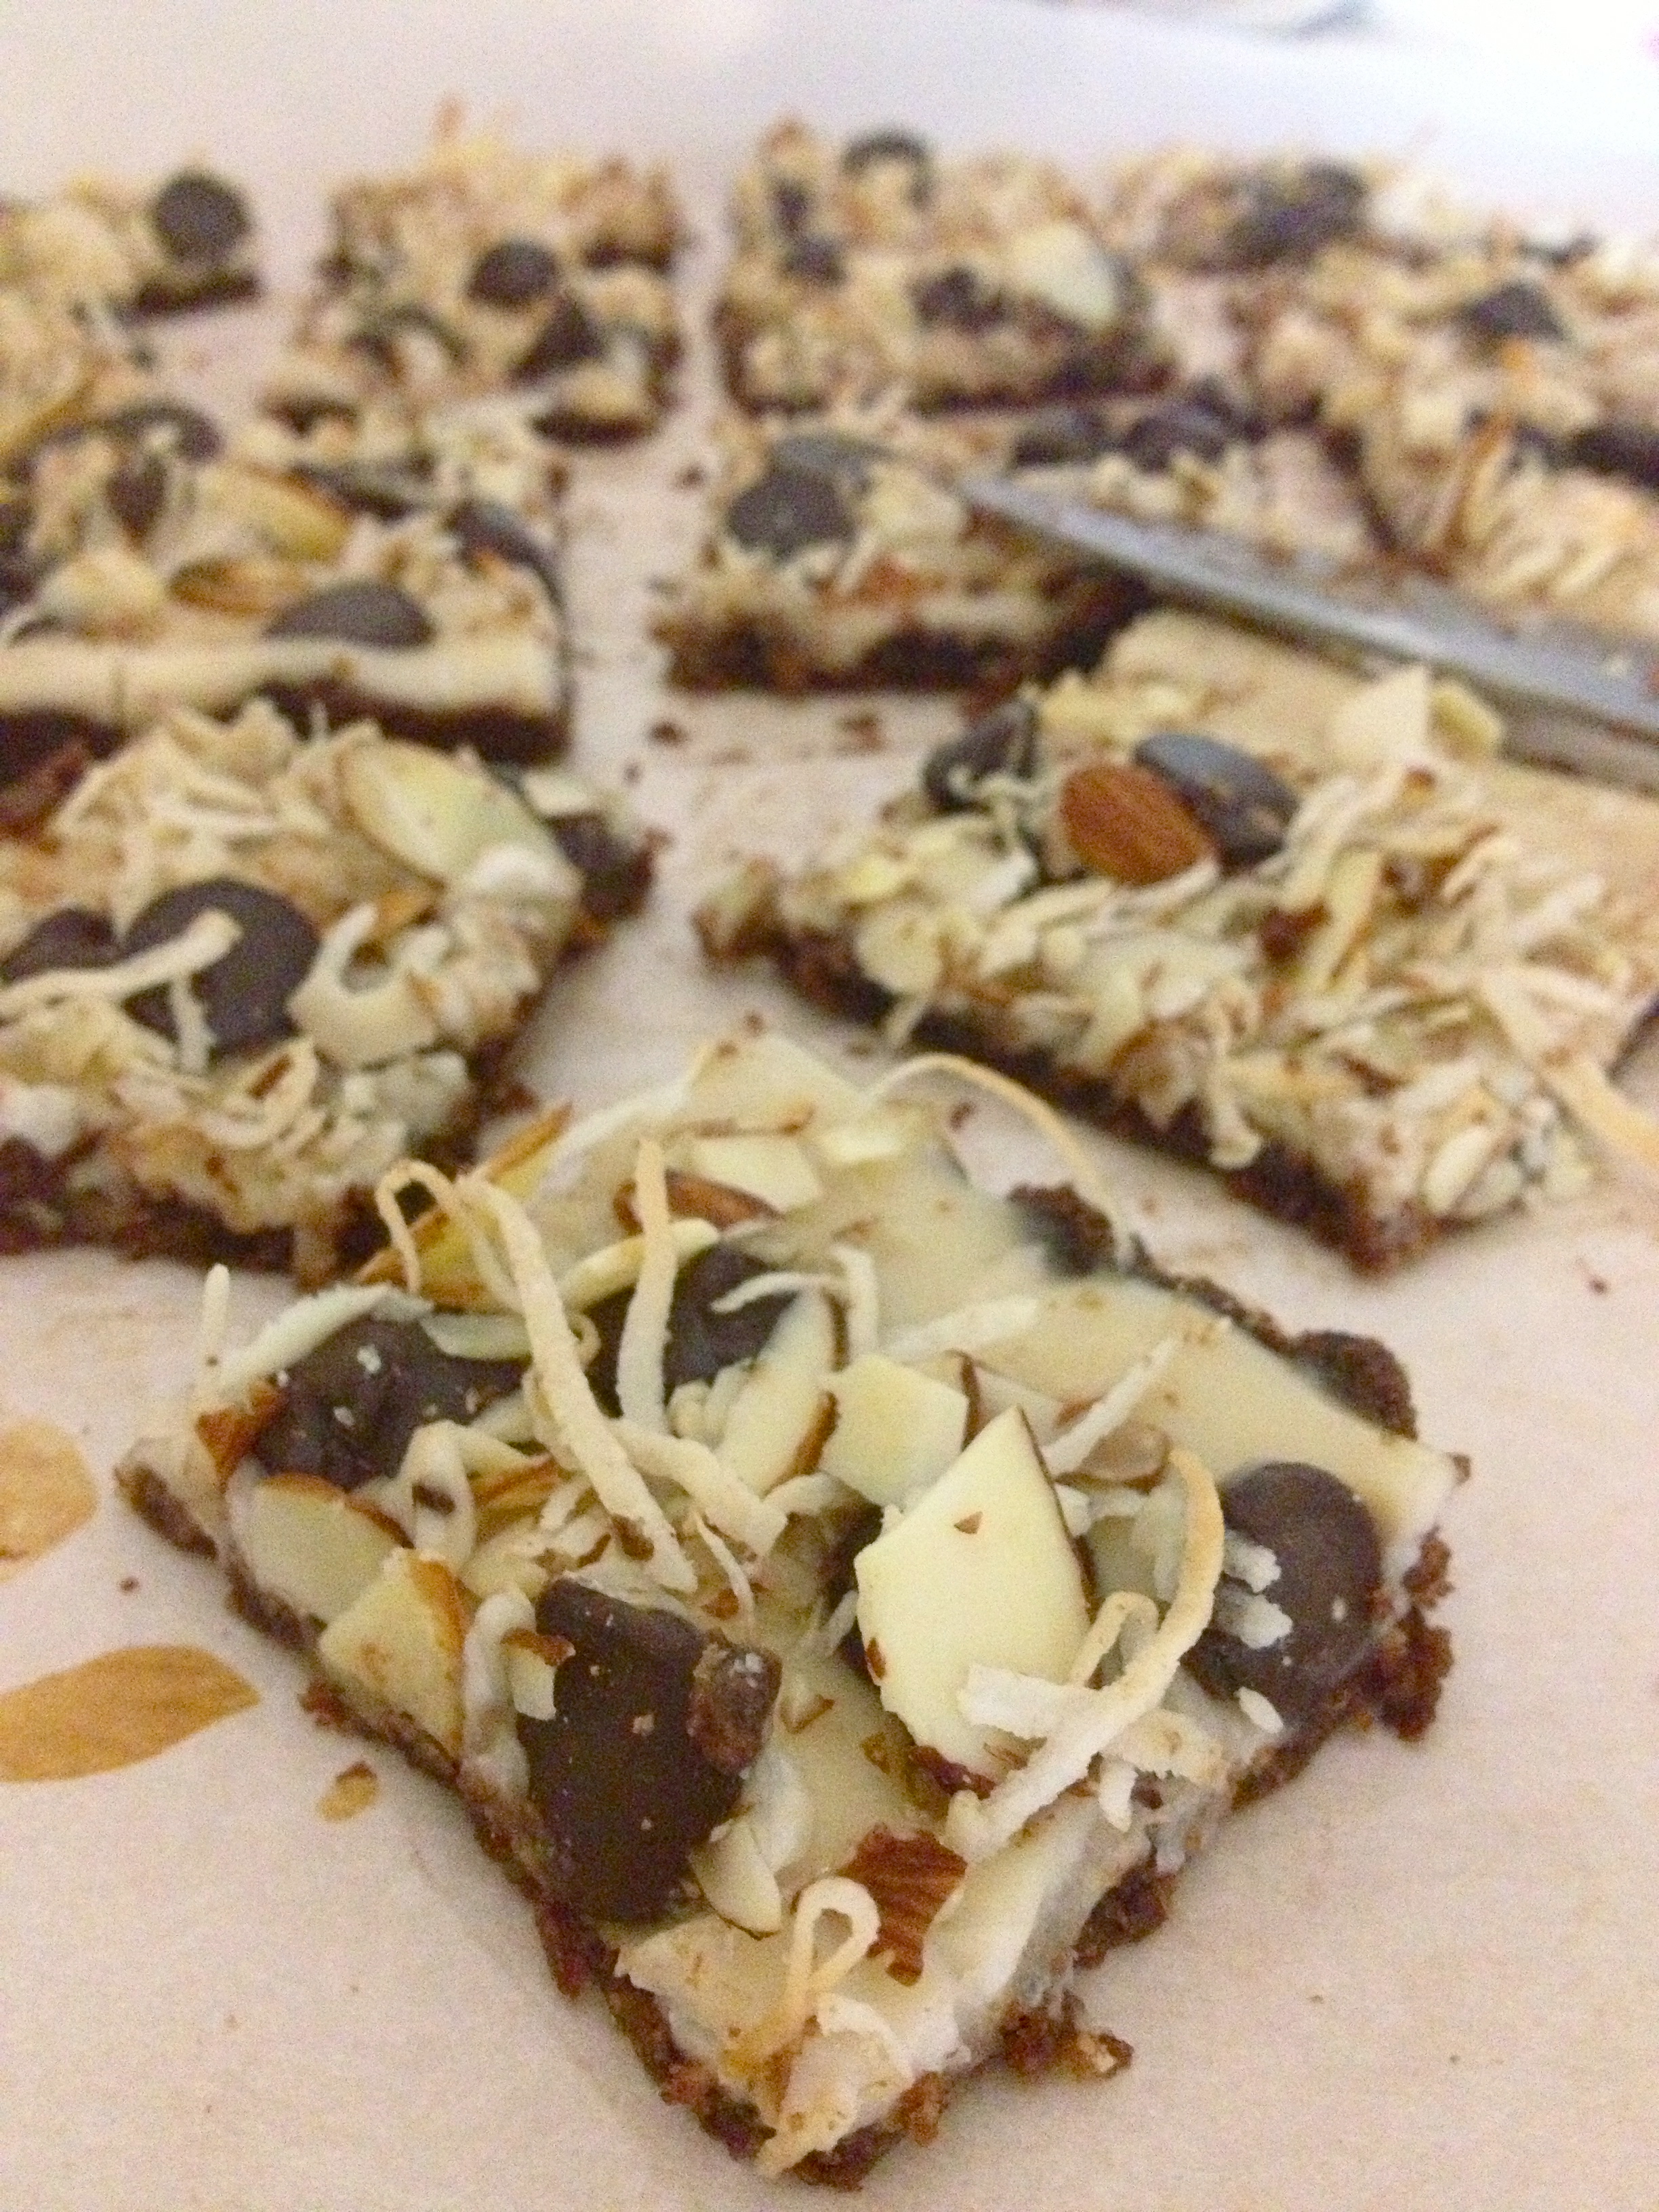
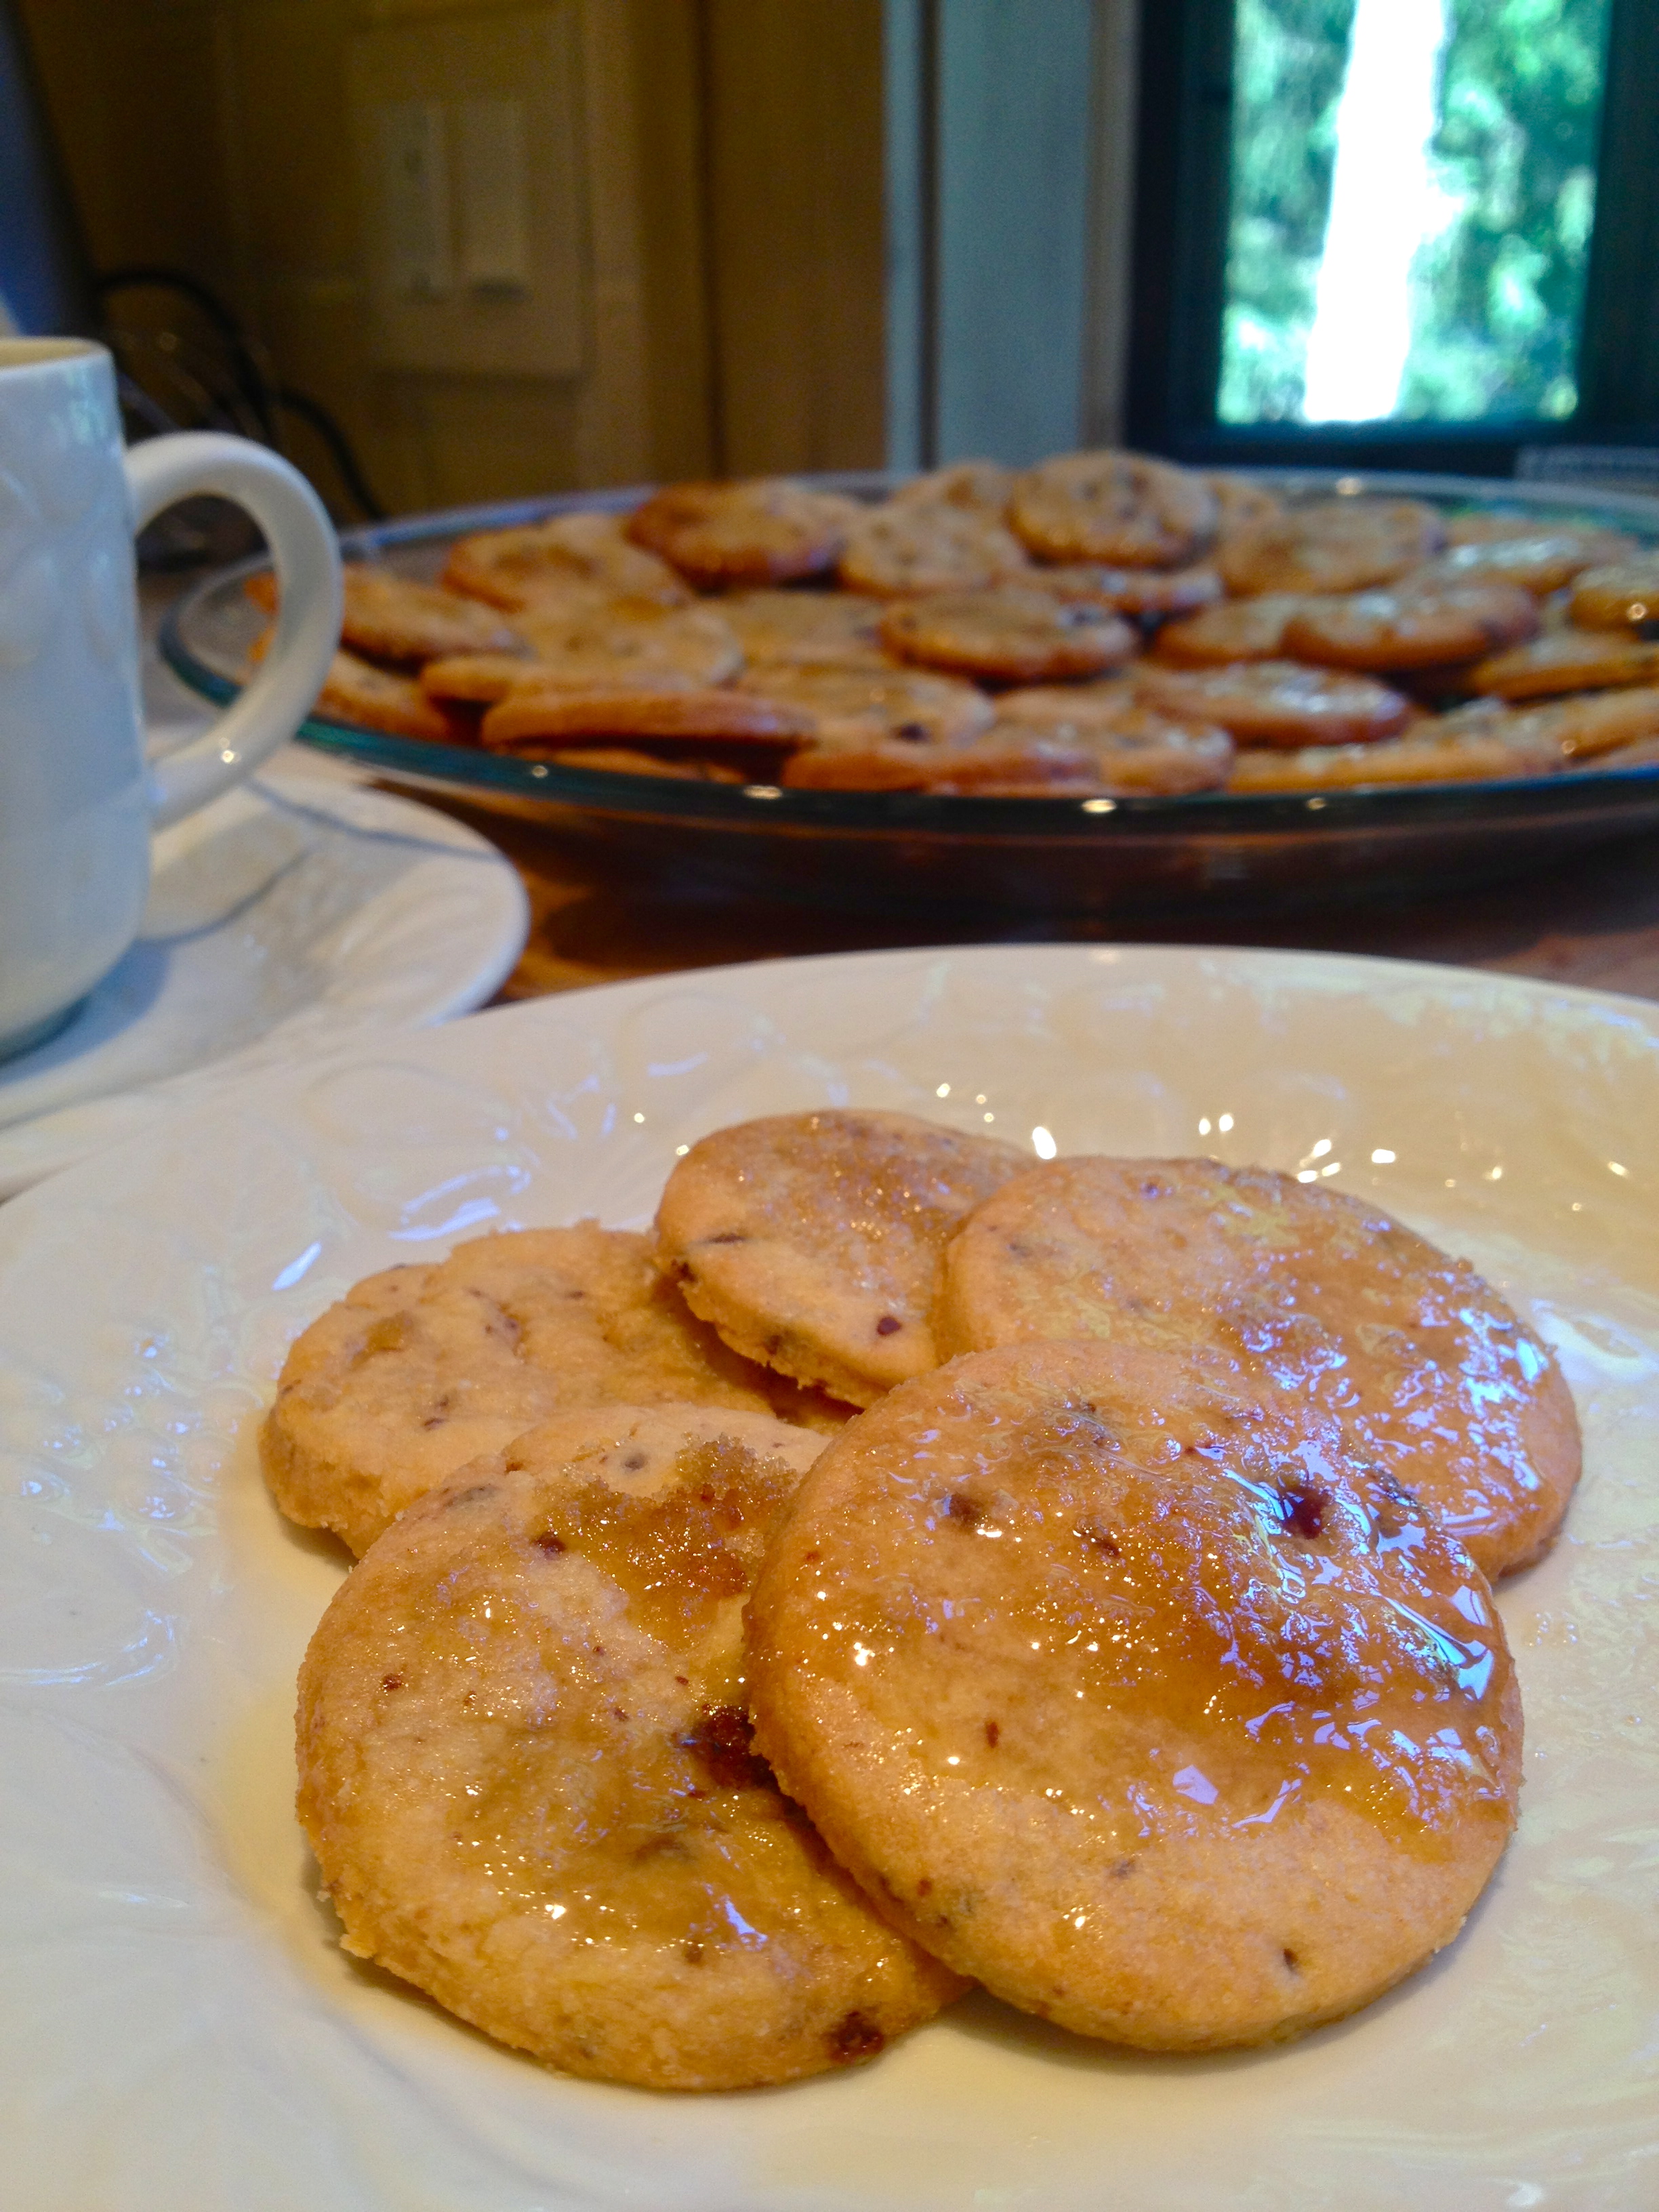
Yogurt is good. Chocolate is good. Coffee is good. Almonds are good. Chocolate is really good. So naturally, this recipe is good. The buttery almond crust is like the delicious nutty cousin of your standard graham cracker crust, but it’s much easier on us carb-avoiders and any gluten-free peeps among us. And the creamy chocolate-coffee filling is just sweet and decadent enough, without going sugar-overboard. It’s a quick and easy road to creamy nutty goodness. I like to give it a sprinkling of chocolate chips, but it would be pretty groovy to drizzle some melted chocolate over the top and really up that glamor factor.

NOTE: This isn’t a good dessert to make far in advance. It will last in the fridge about 36 hours before the yogurt starts to dry out from air exposure. The good news is, it doesn’t take long to make, but if you need to do some prep ahead of time, make and bake the crust and keep it in the fridge. Then, a few hours before you’ll need it, mix up the filling and assemble the tart.

IMG_0742

INGREDIENTS

for crust:
4 tbsp butter, melted
1 tbsp honey
1 1/2 cups almond meal
1/2 tsp salt
1/2 tsp cinnamon

for filling:
1 1/2 cups Greek yogurt (I use Fage because it’s SUBLIME)
2 1/2 tbsp cocoa powder
1 tsp instant coffee granules (not coffee grounds!)
2 tbsp hot water (the point of the hot water plus instant coffee granules is to get 2 tbsp coffee, so if you want, skip the granules and hot water step and just use 2 tbsp coffee)
2 tbsp brown sugar
chocolate chips

DIRECTIONS

Preheat oven to 350 F.

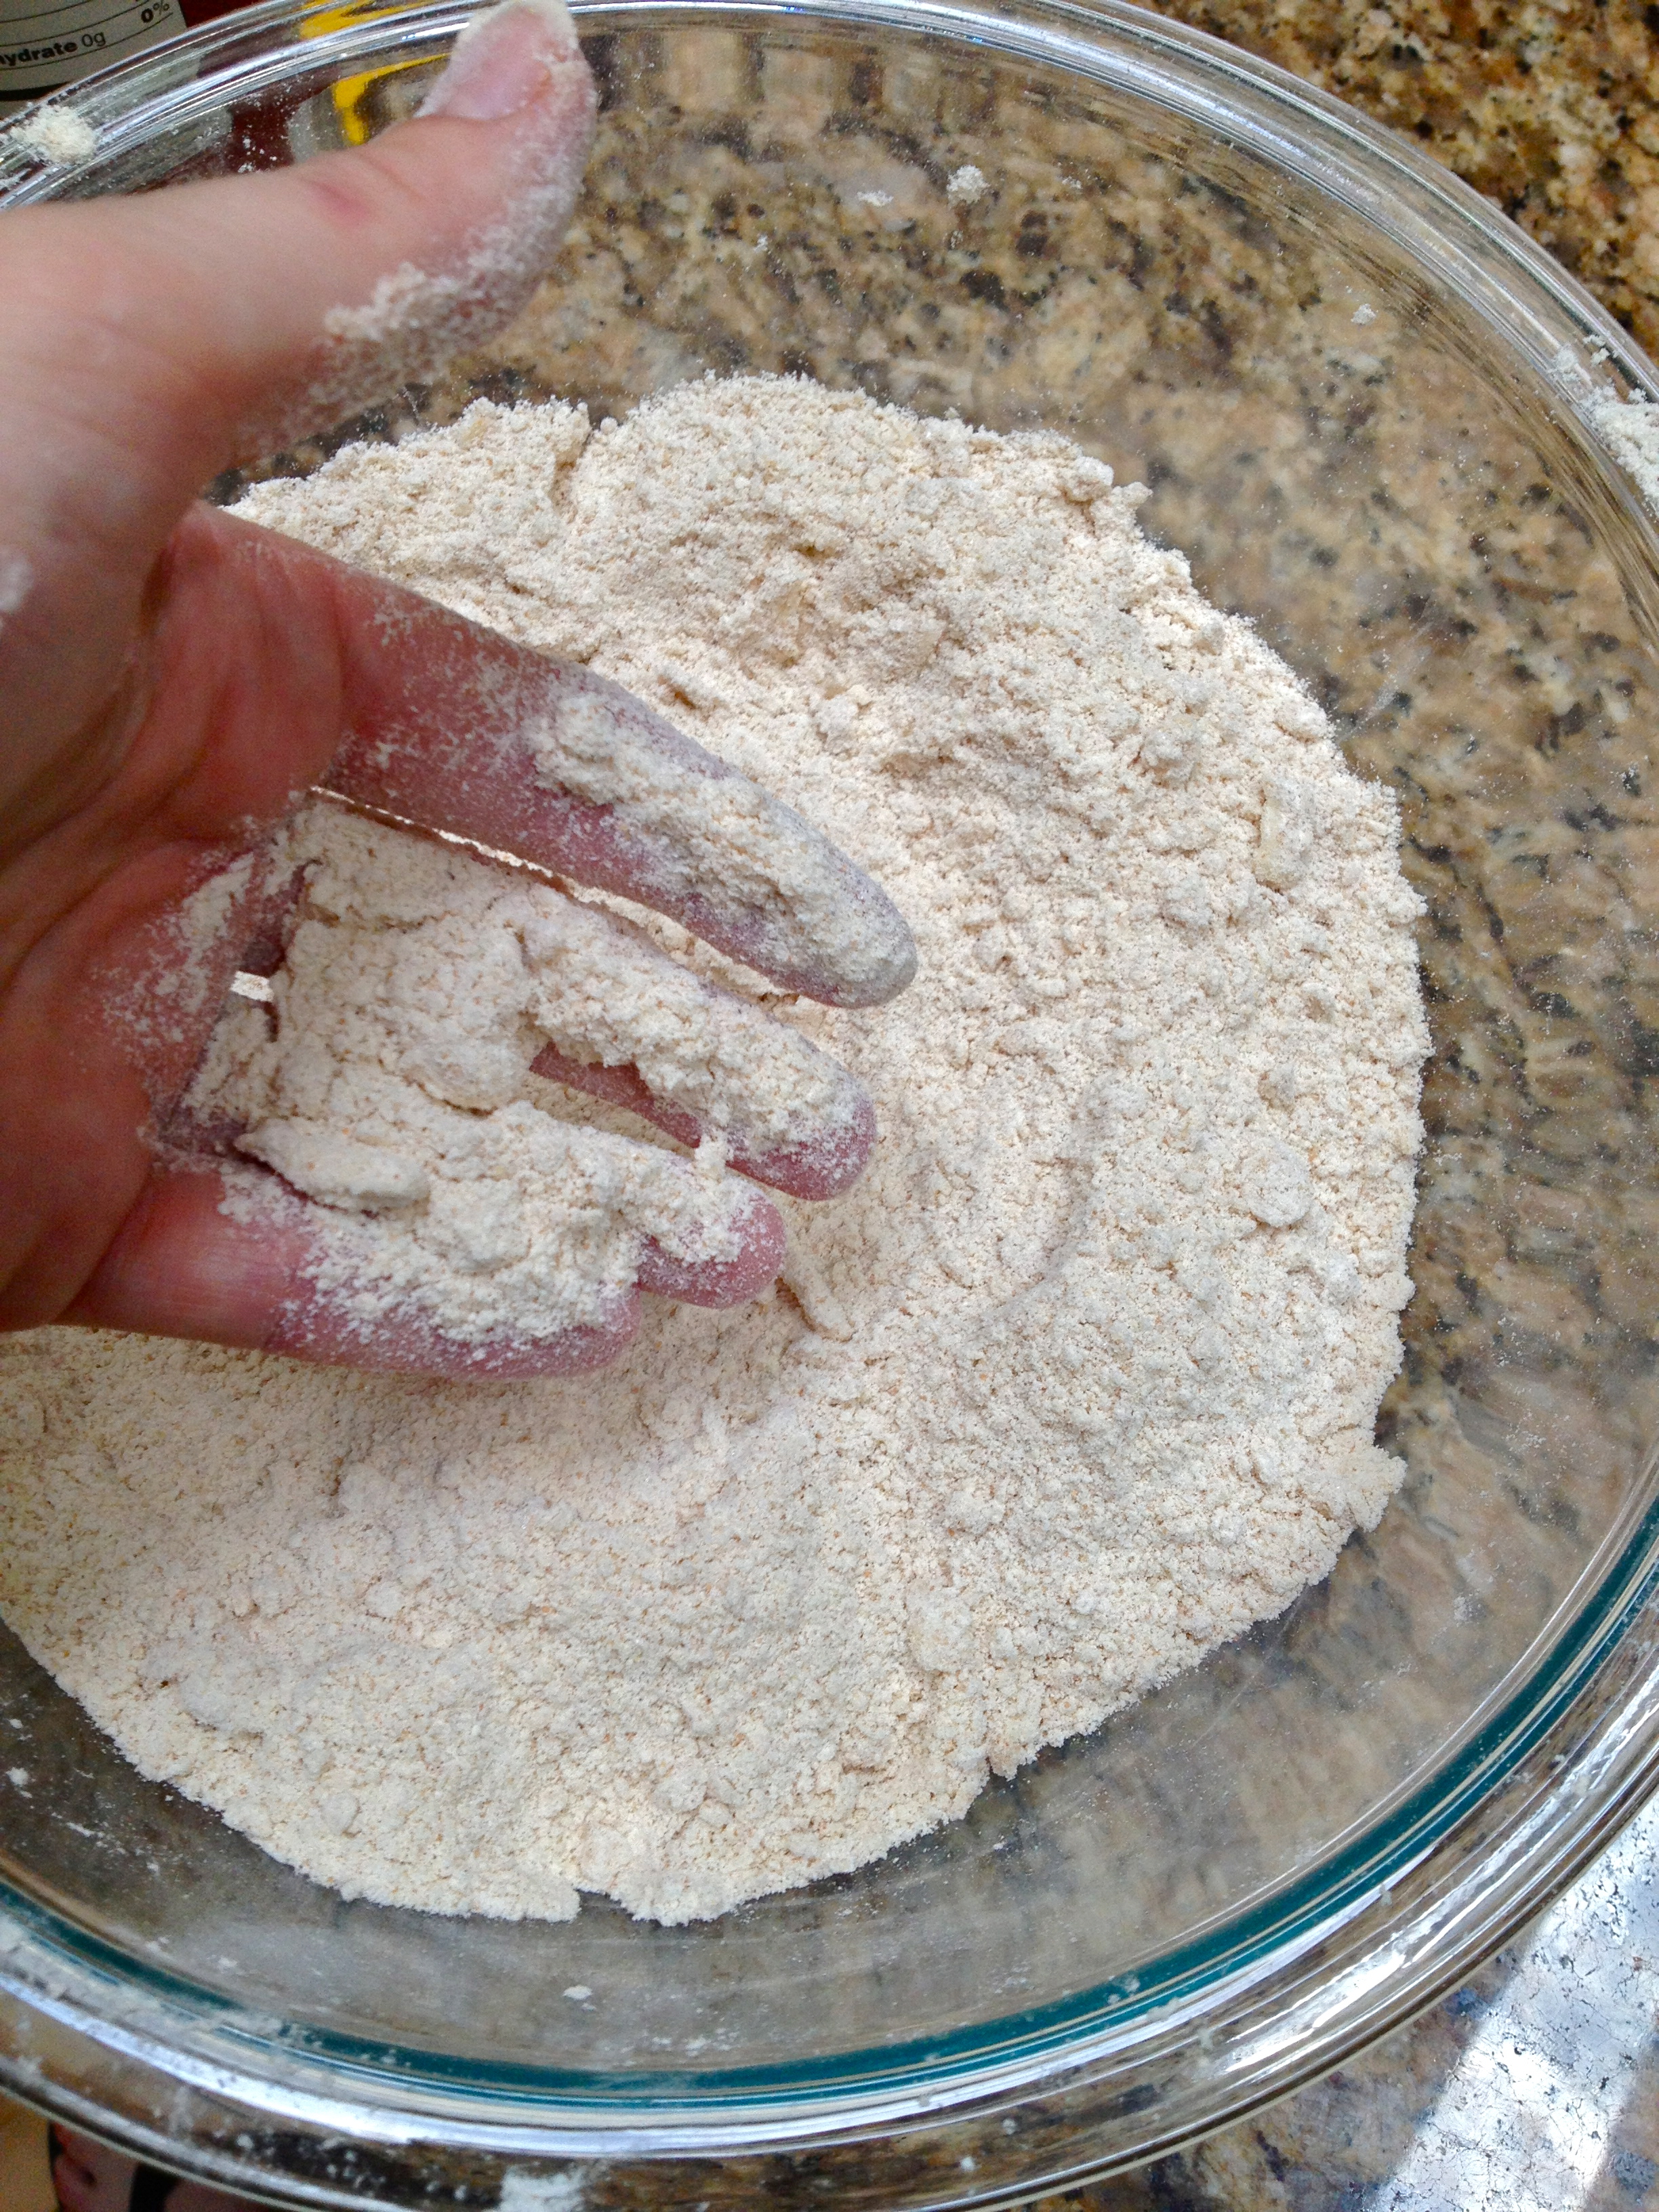
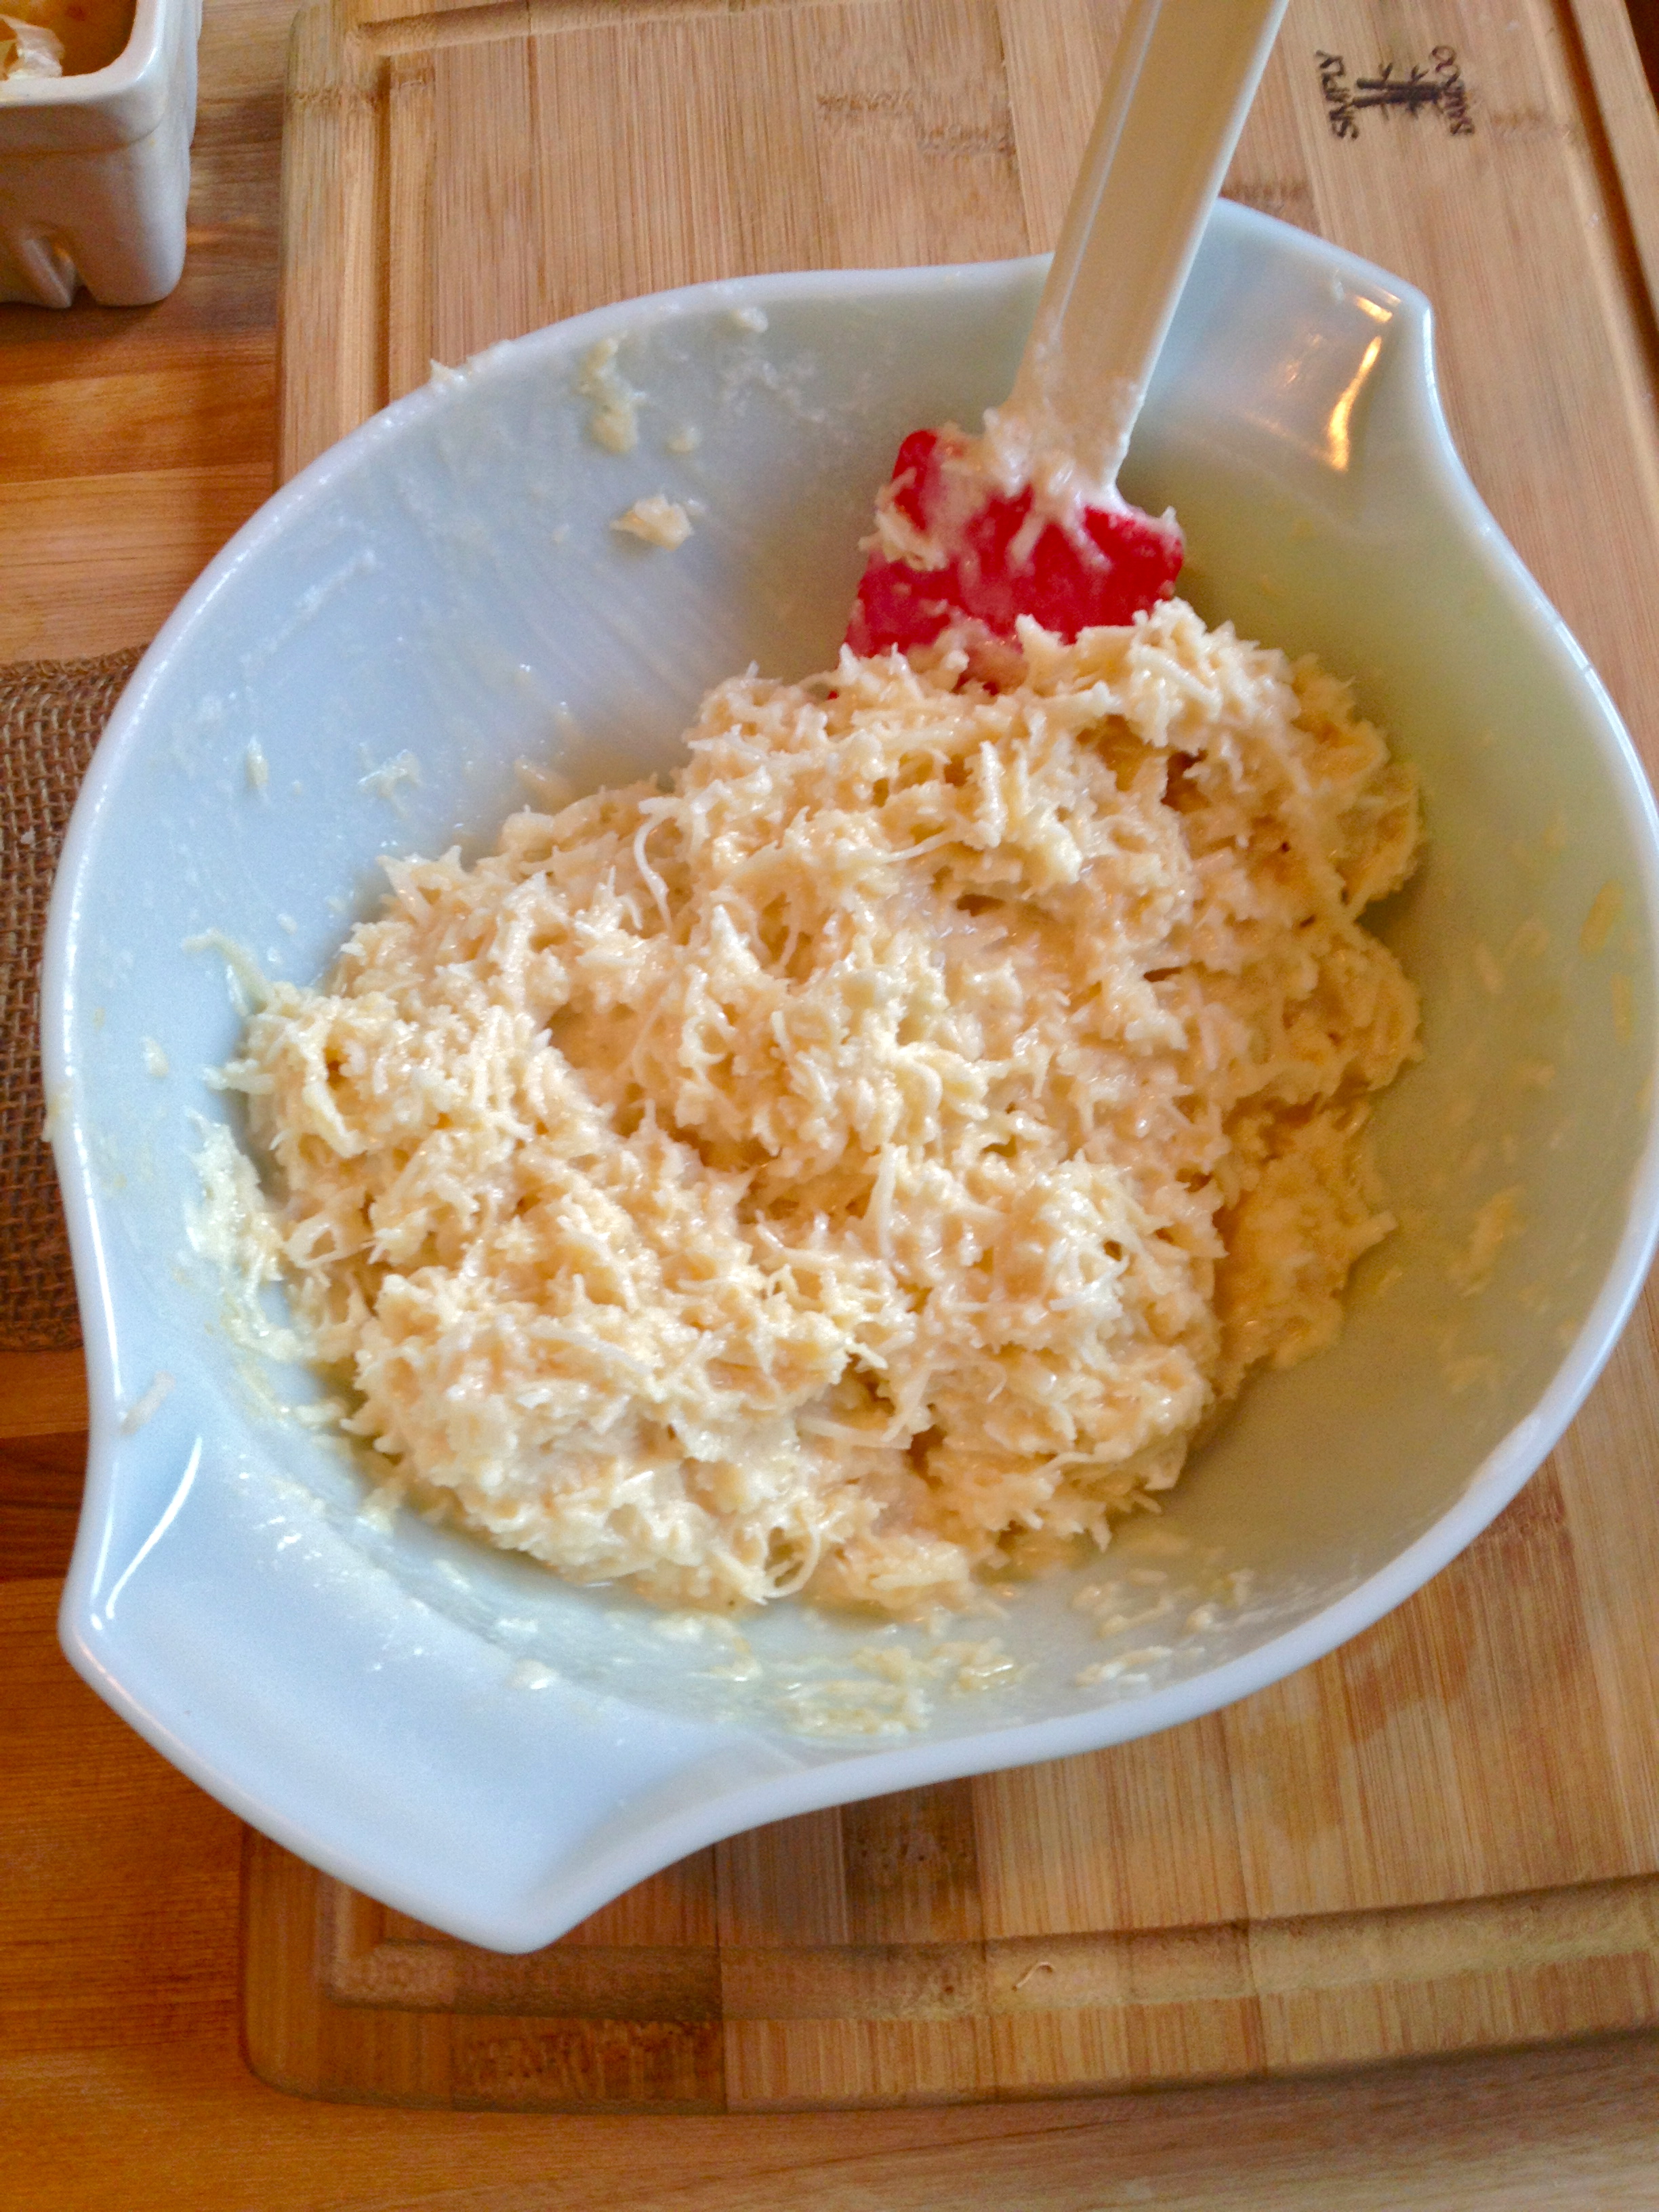
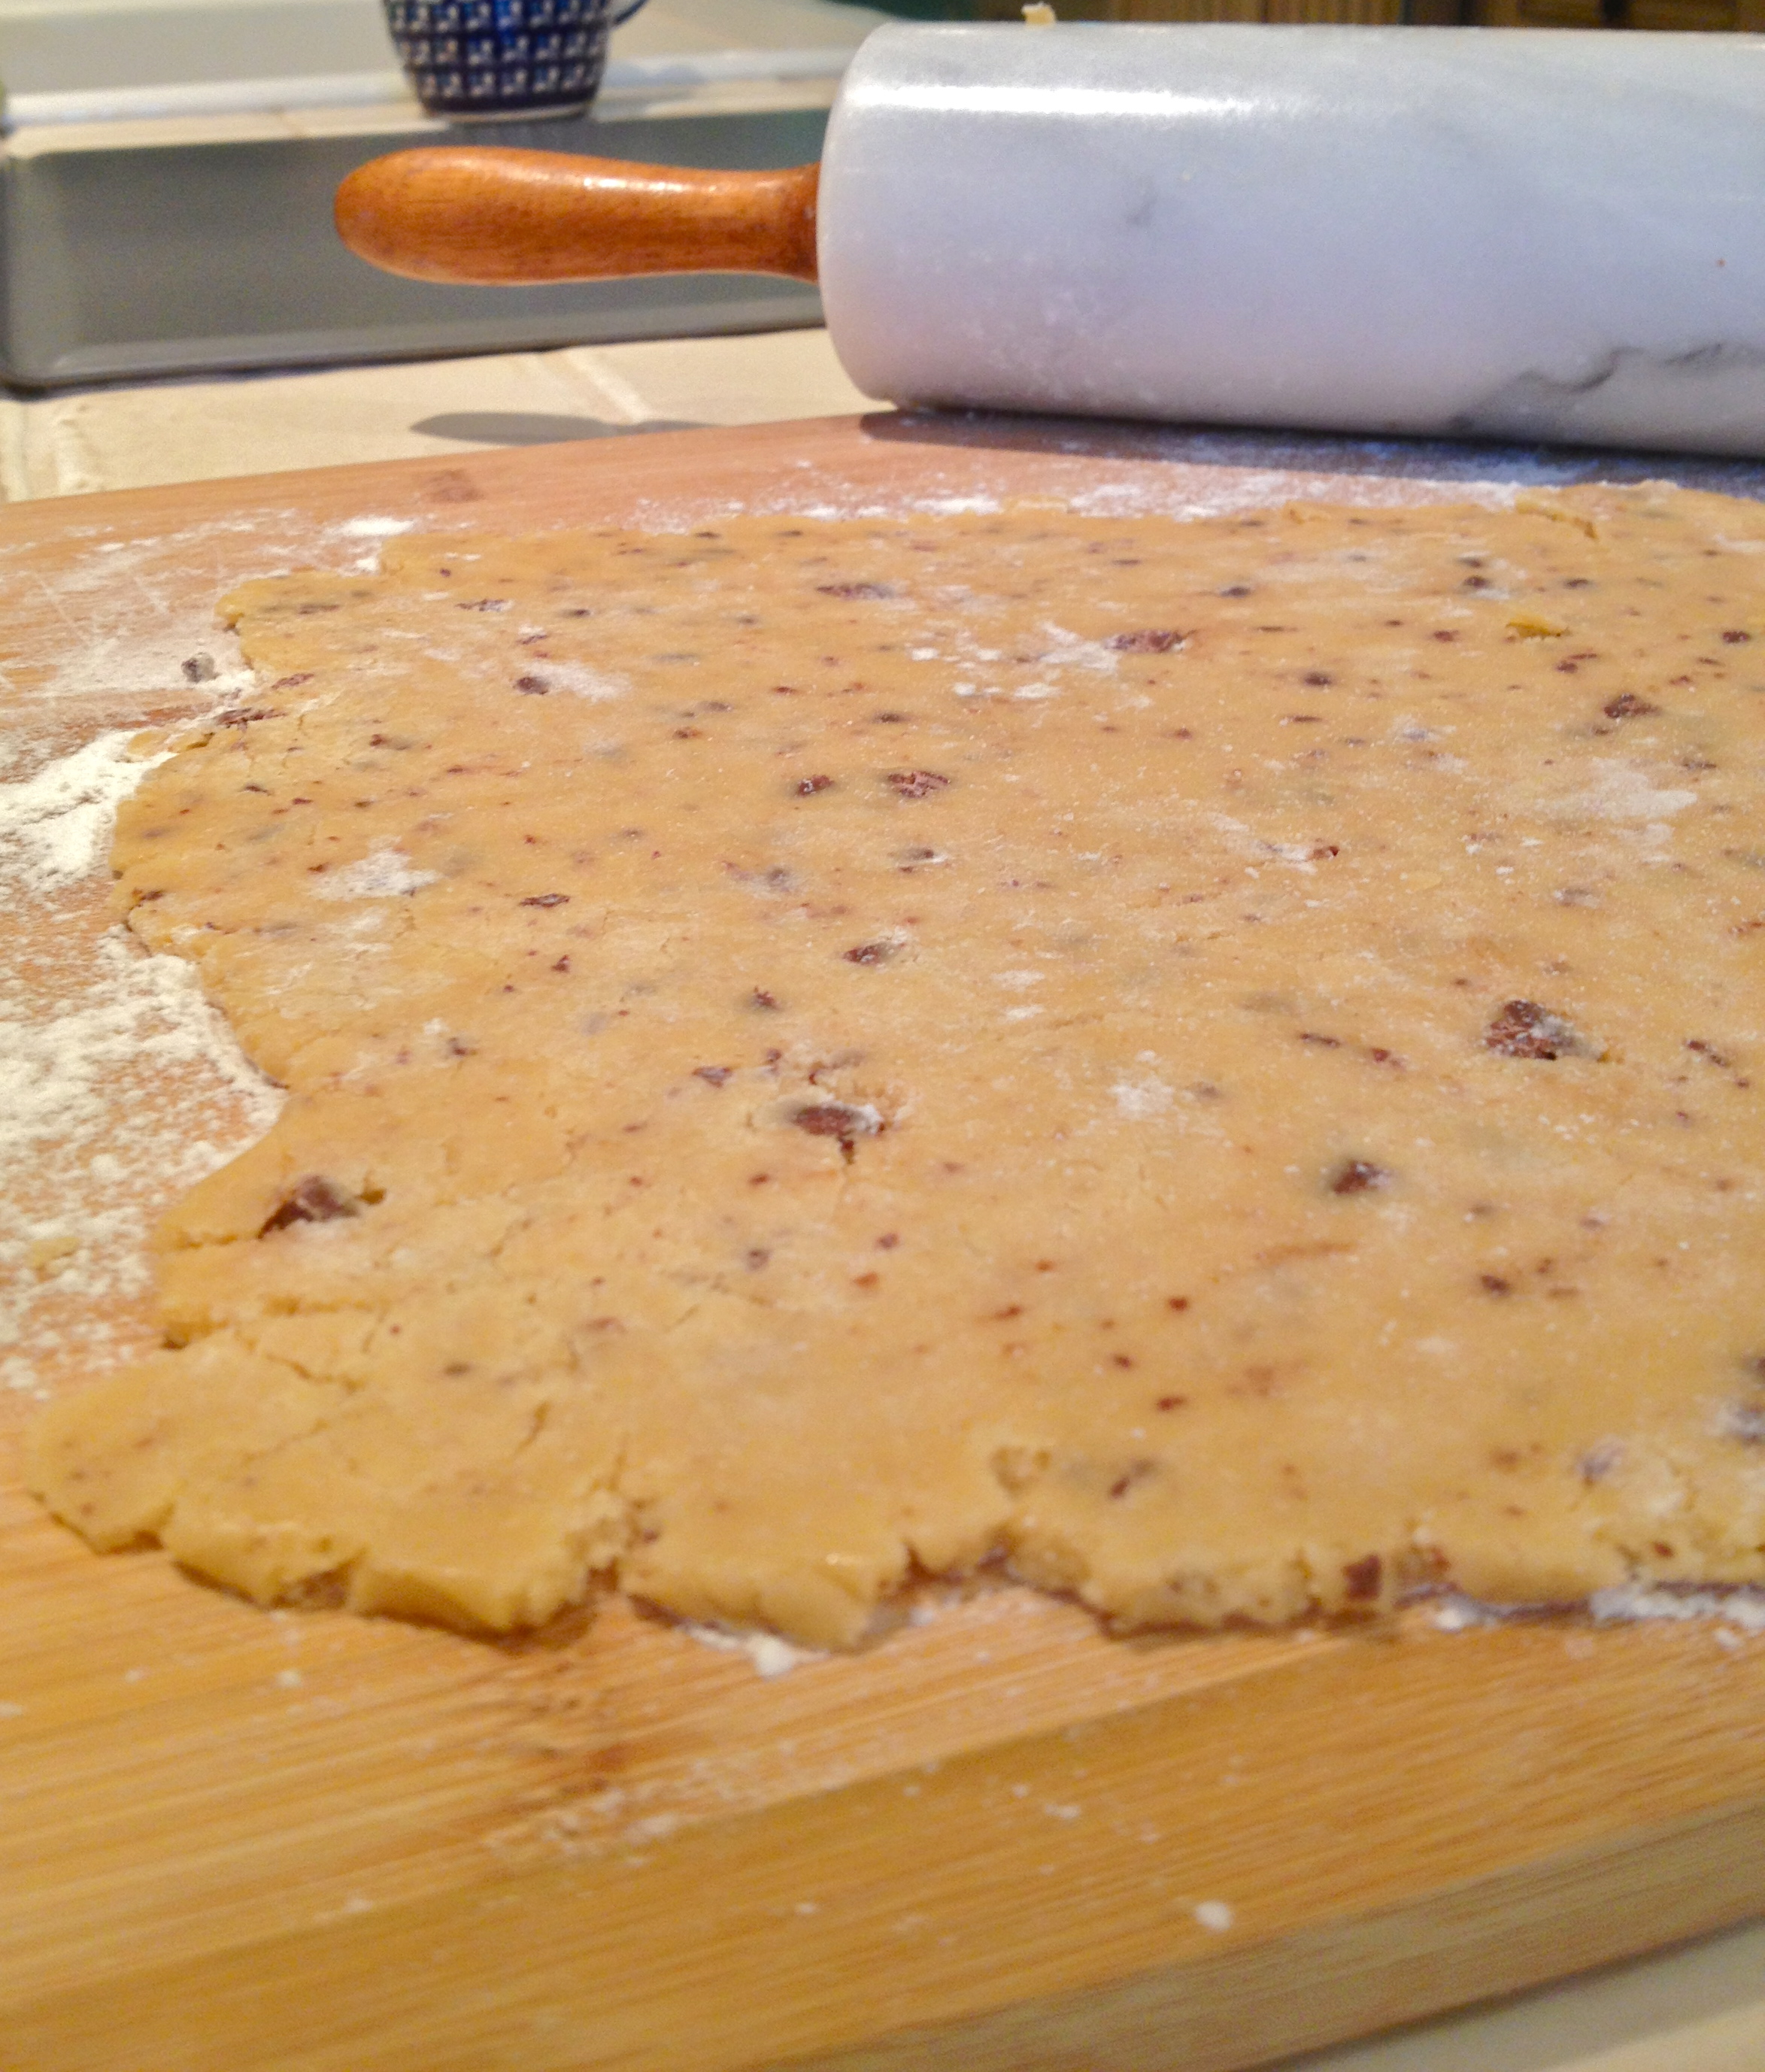
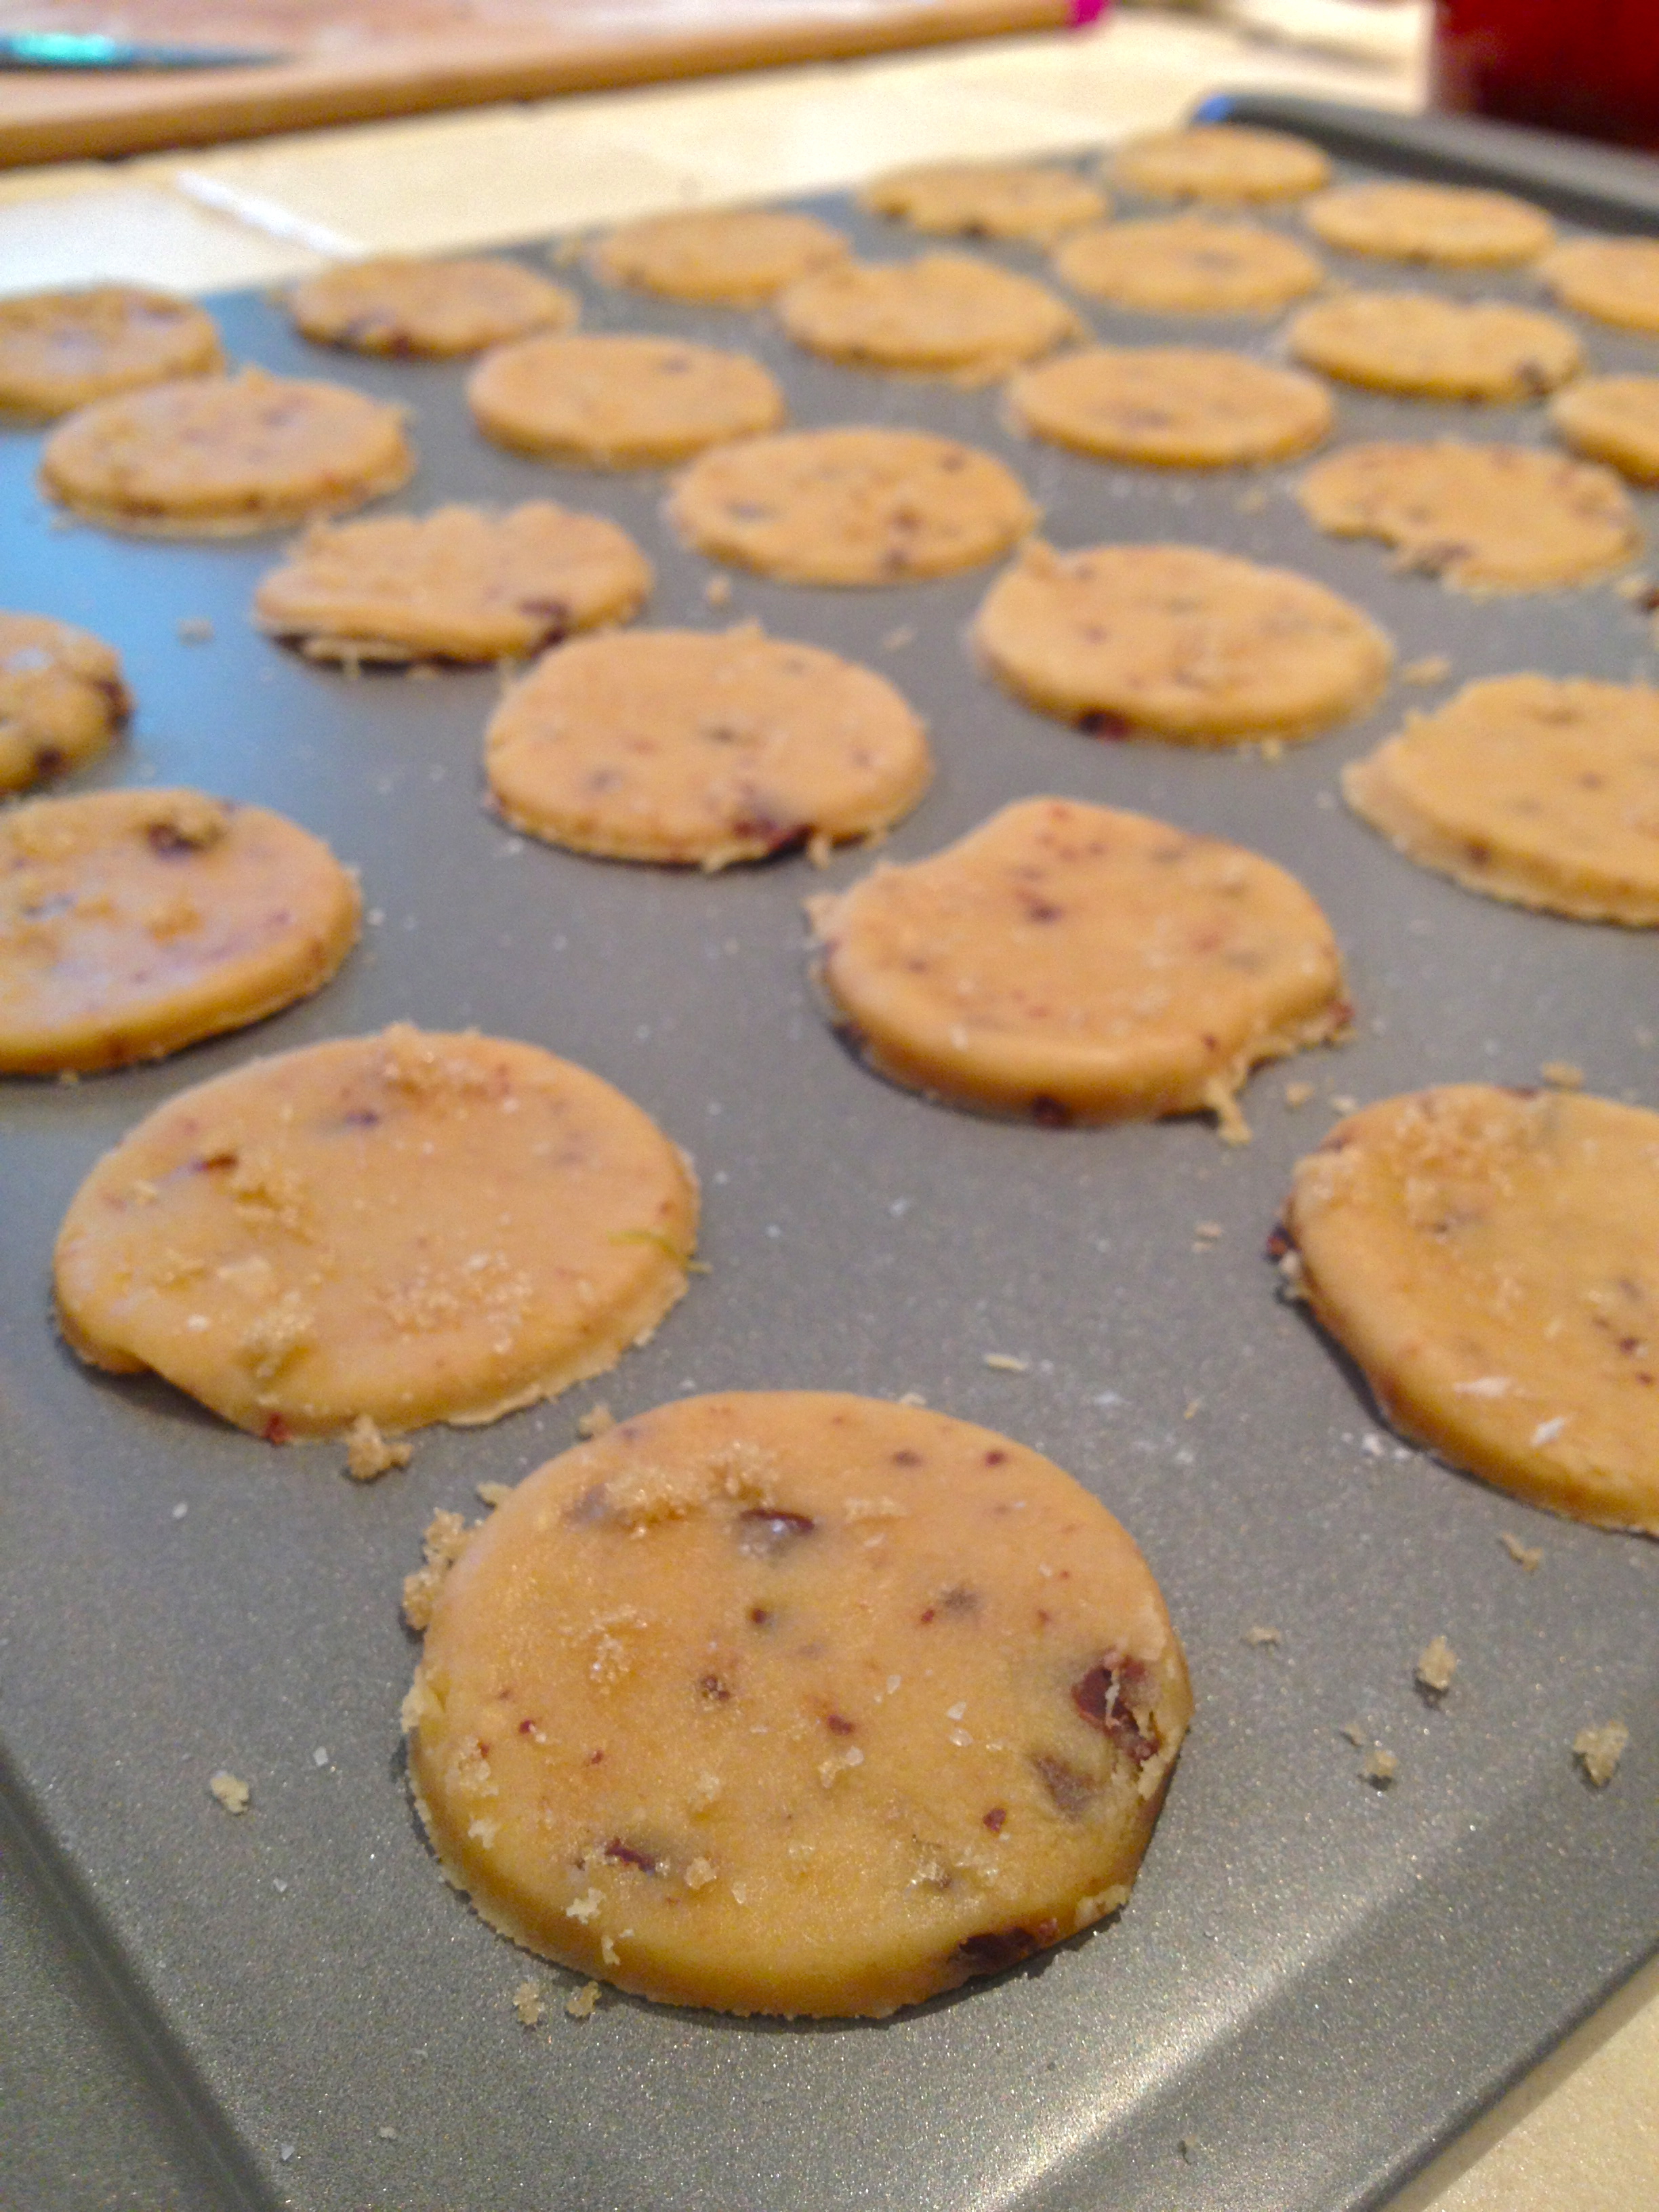
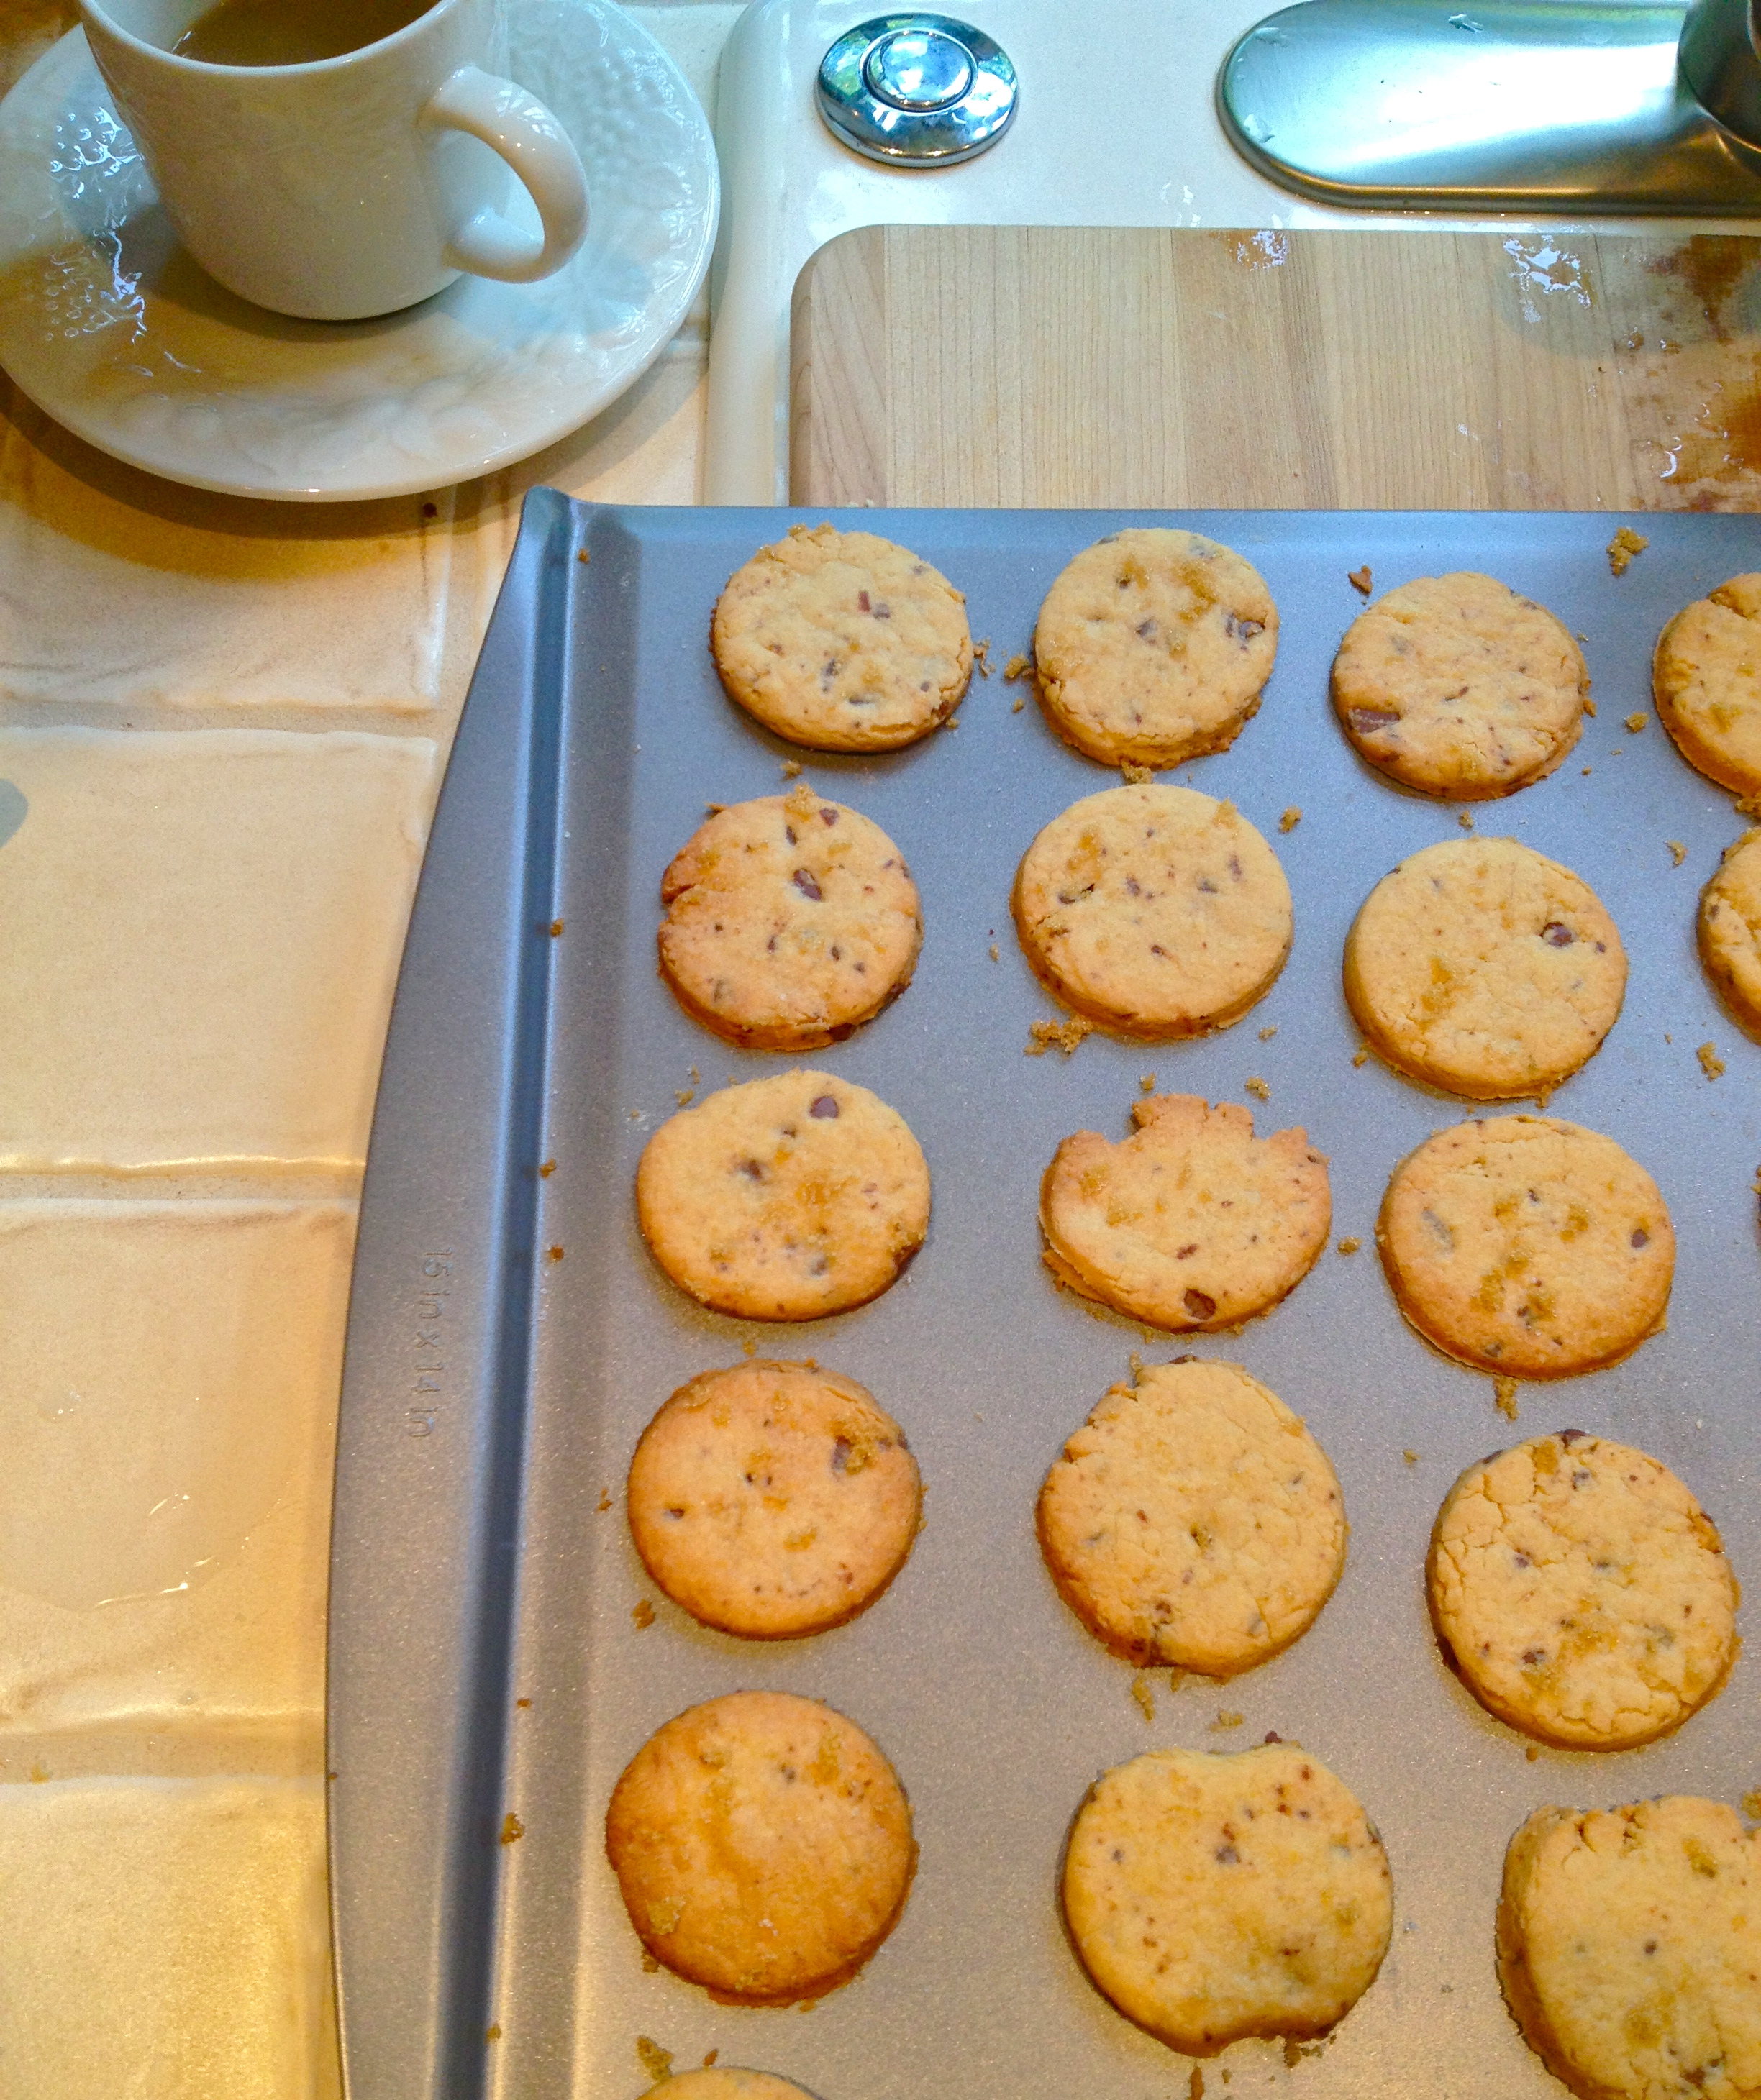
Stir honey into melted butter. In a mixing bowl, combine butter and honey with almonds, salt, and cinnamon. Press into a tart shell or pie dish. Bake for 15-20 minutes, until it’s a medium brown color. I would tell you to wait for it to be “golden brown,” but it’s pretty much golden brown before it even starts cooking. If it starts to brown too quickly (mine did), tent the crust with tinfoil to protect it from burning. When the crust is done, remove it from the oven and let it cool at least half an hour.

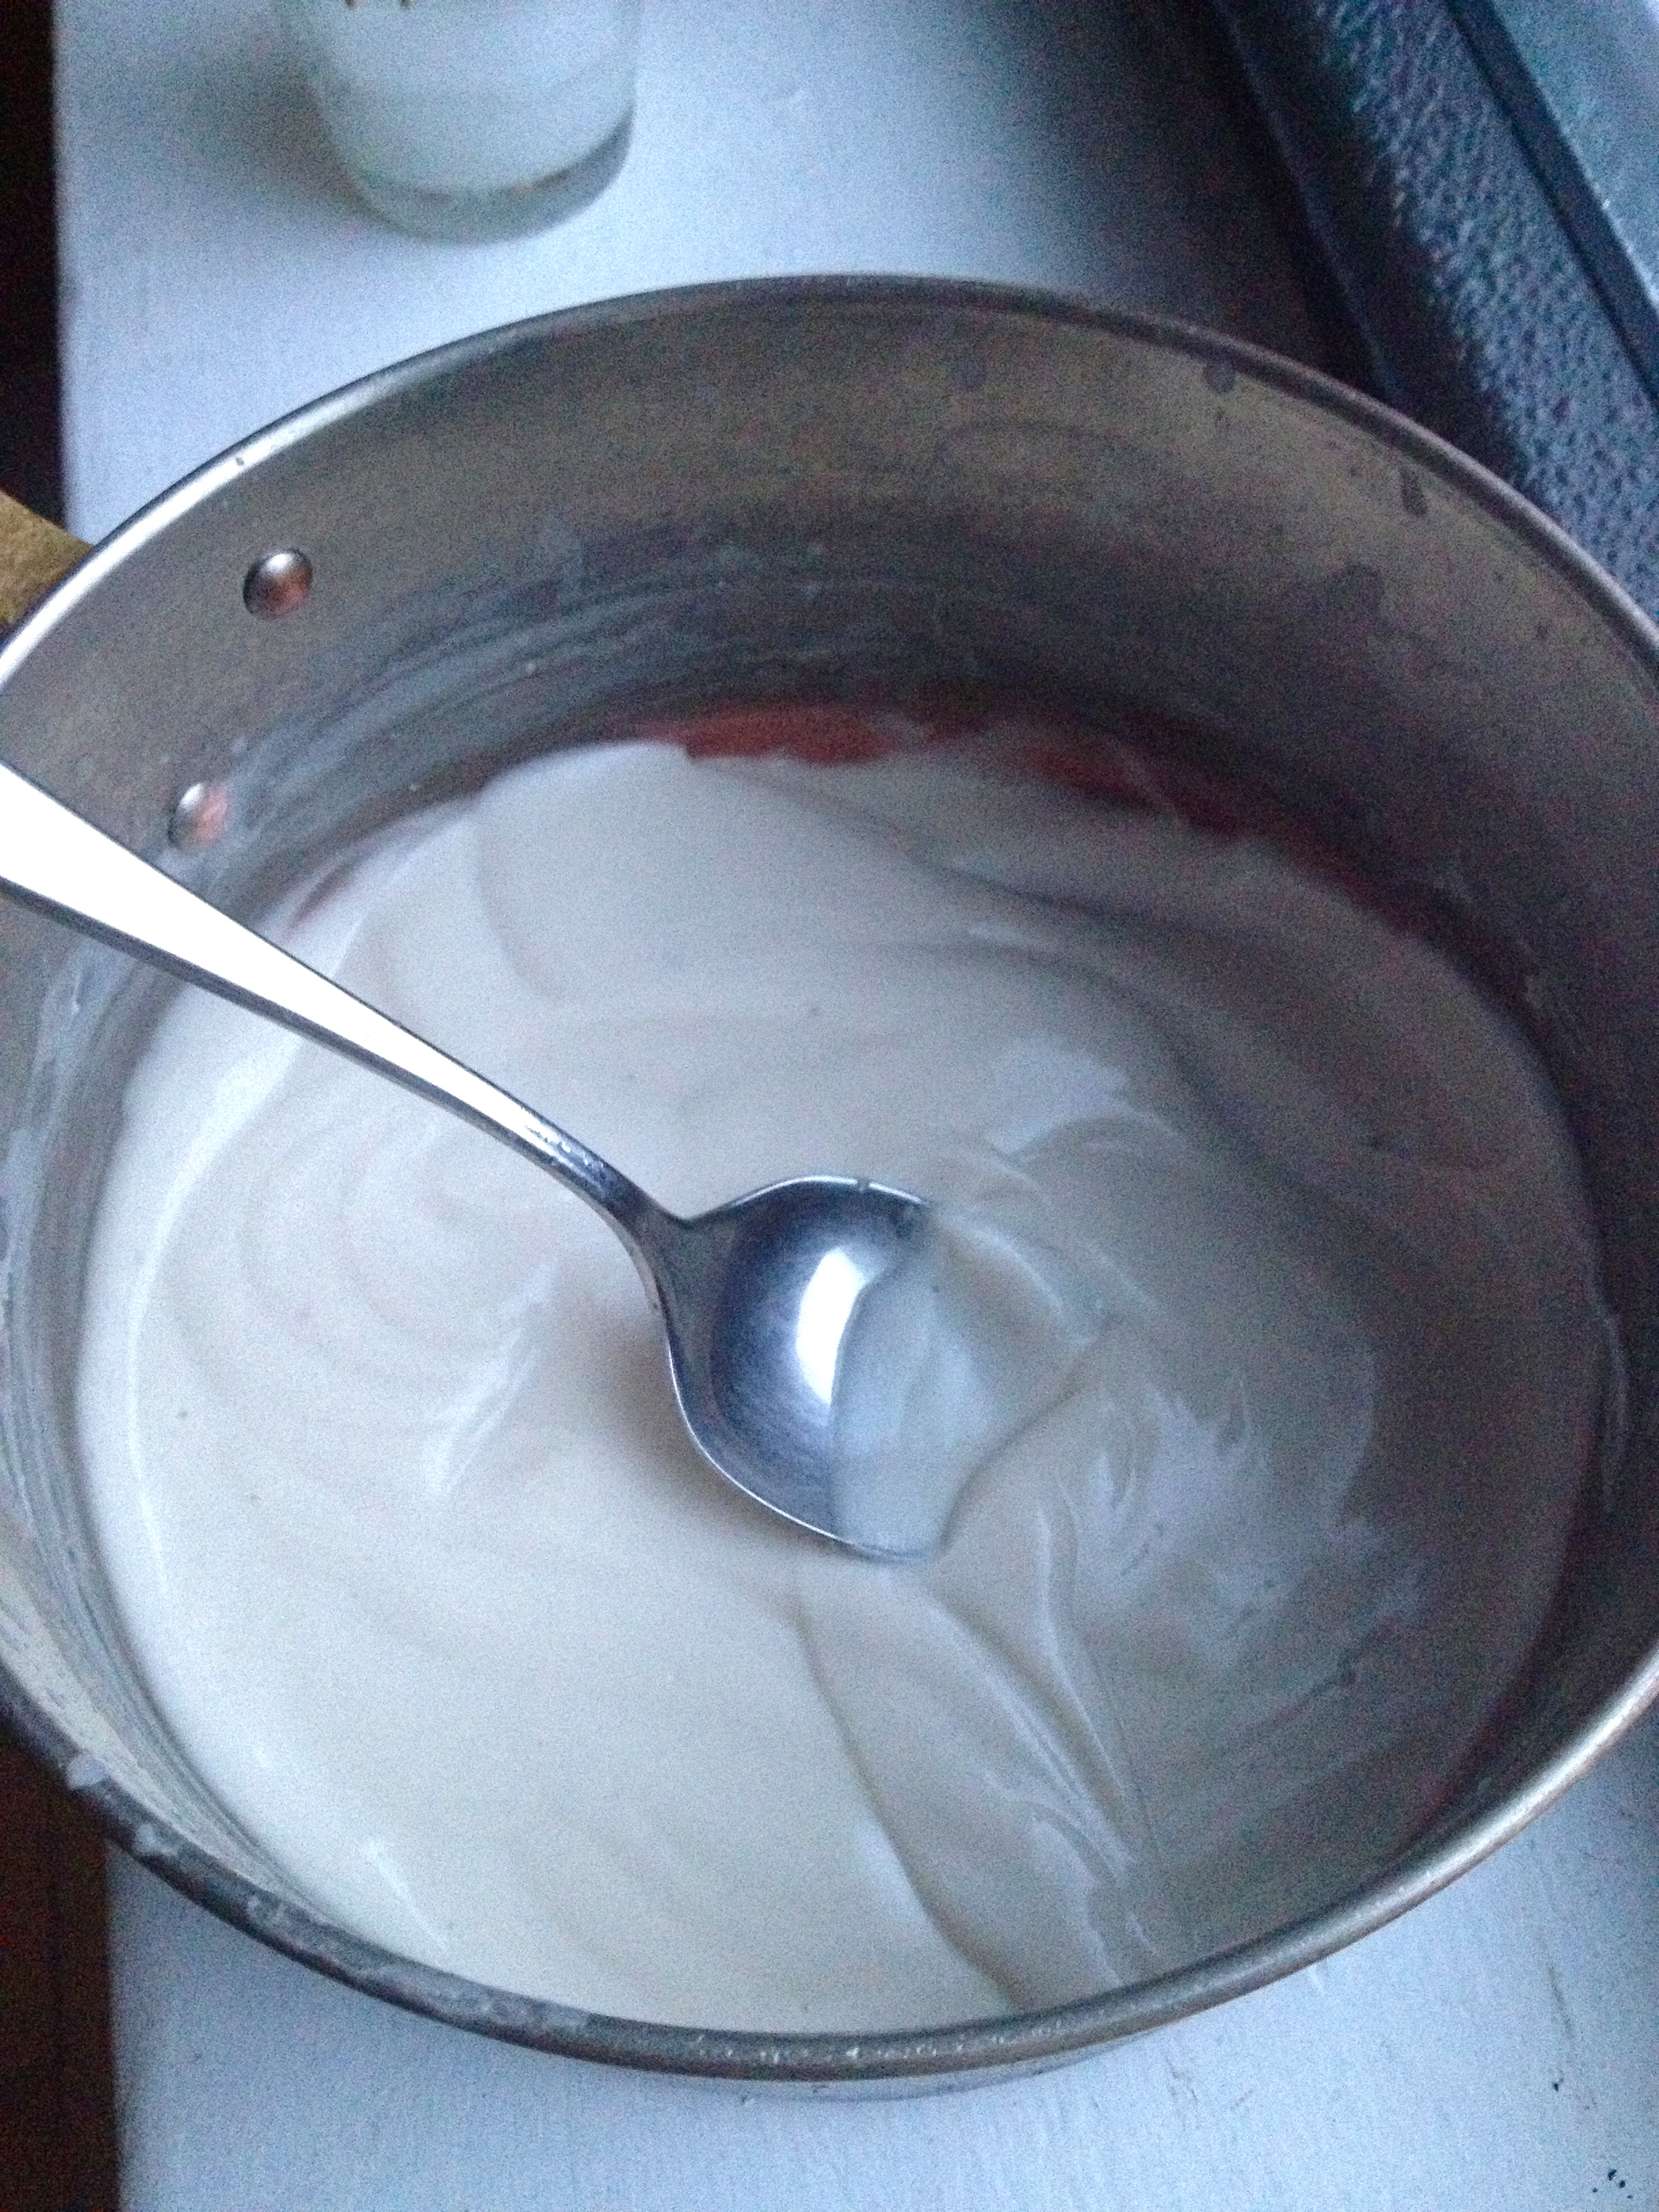
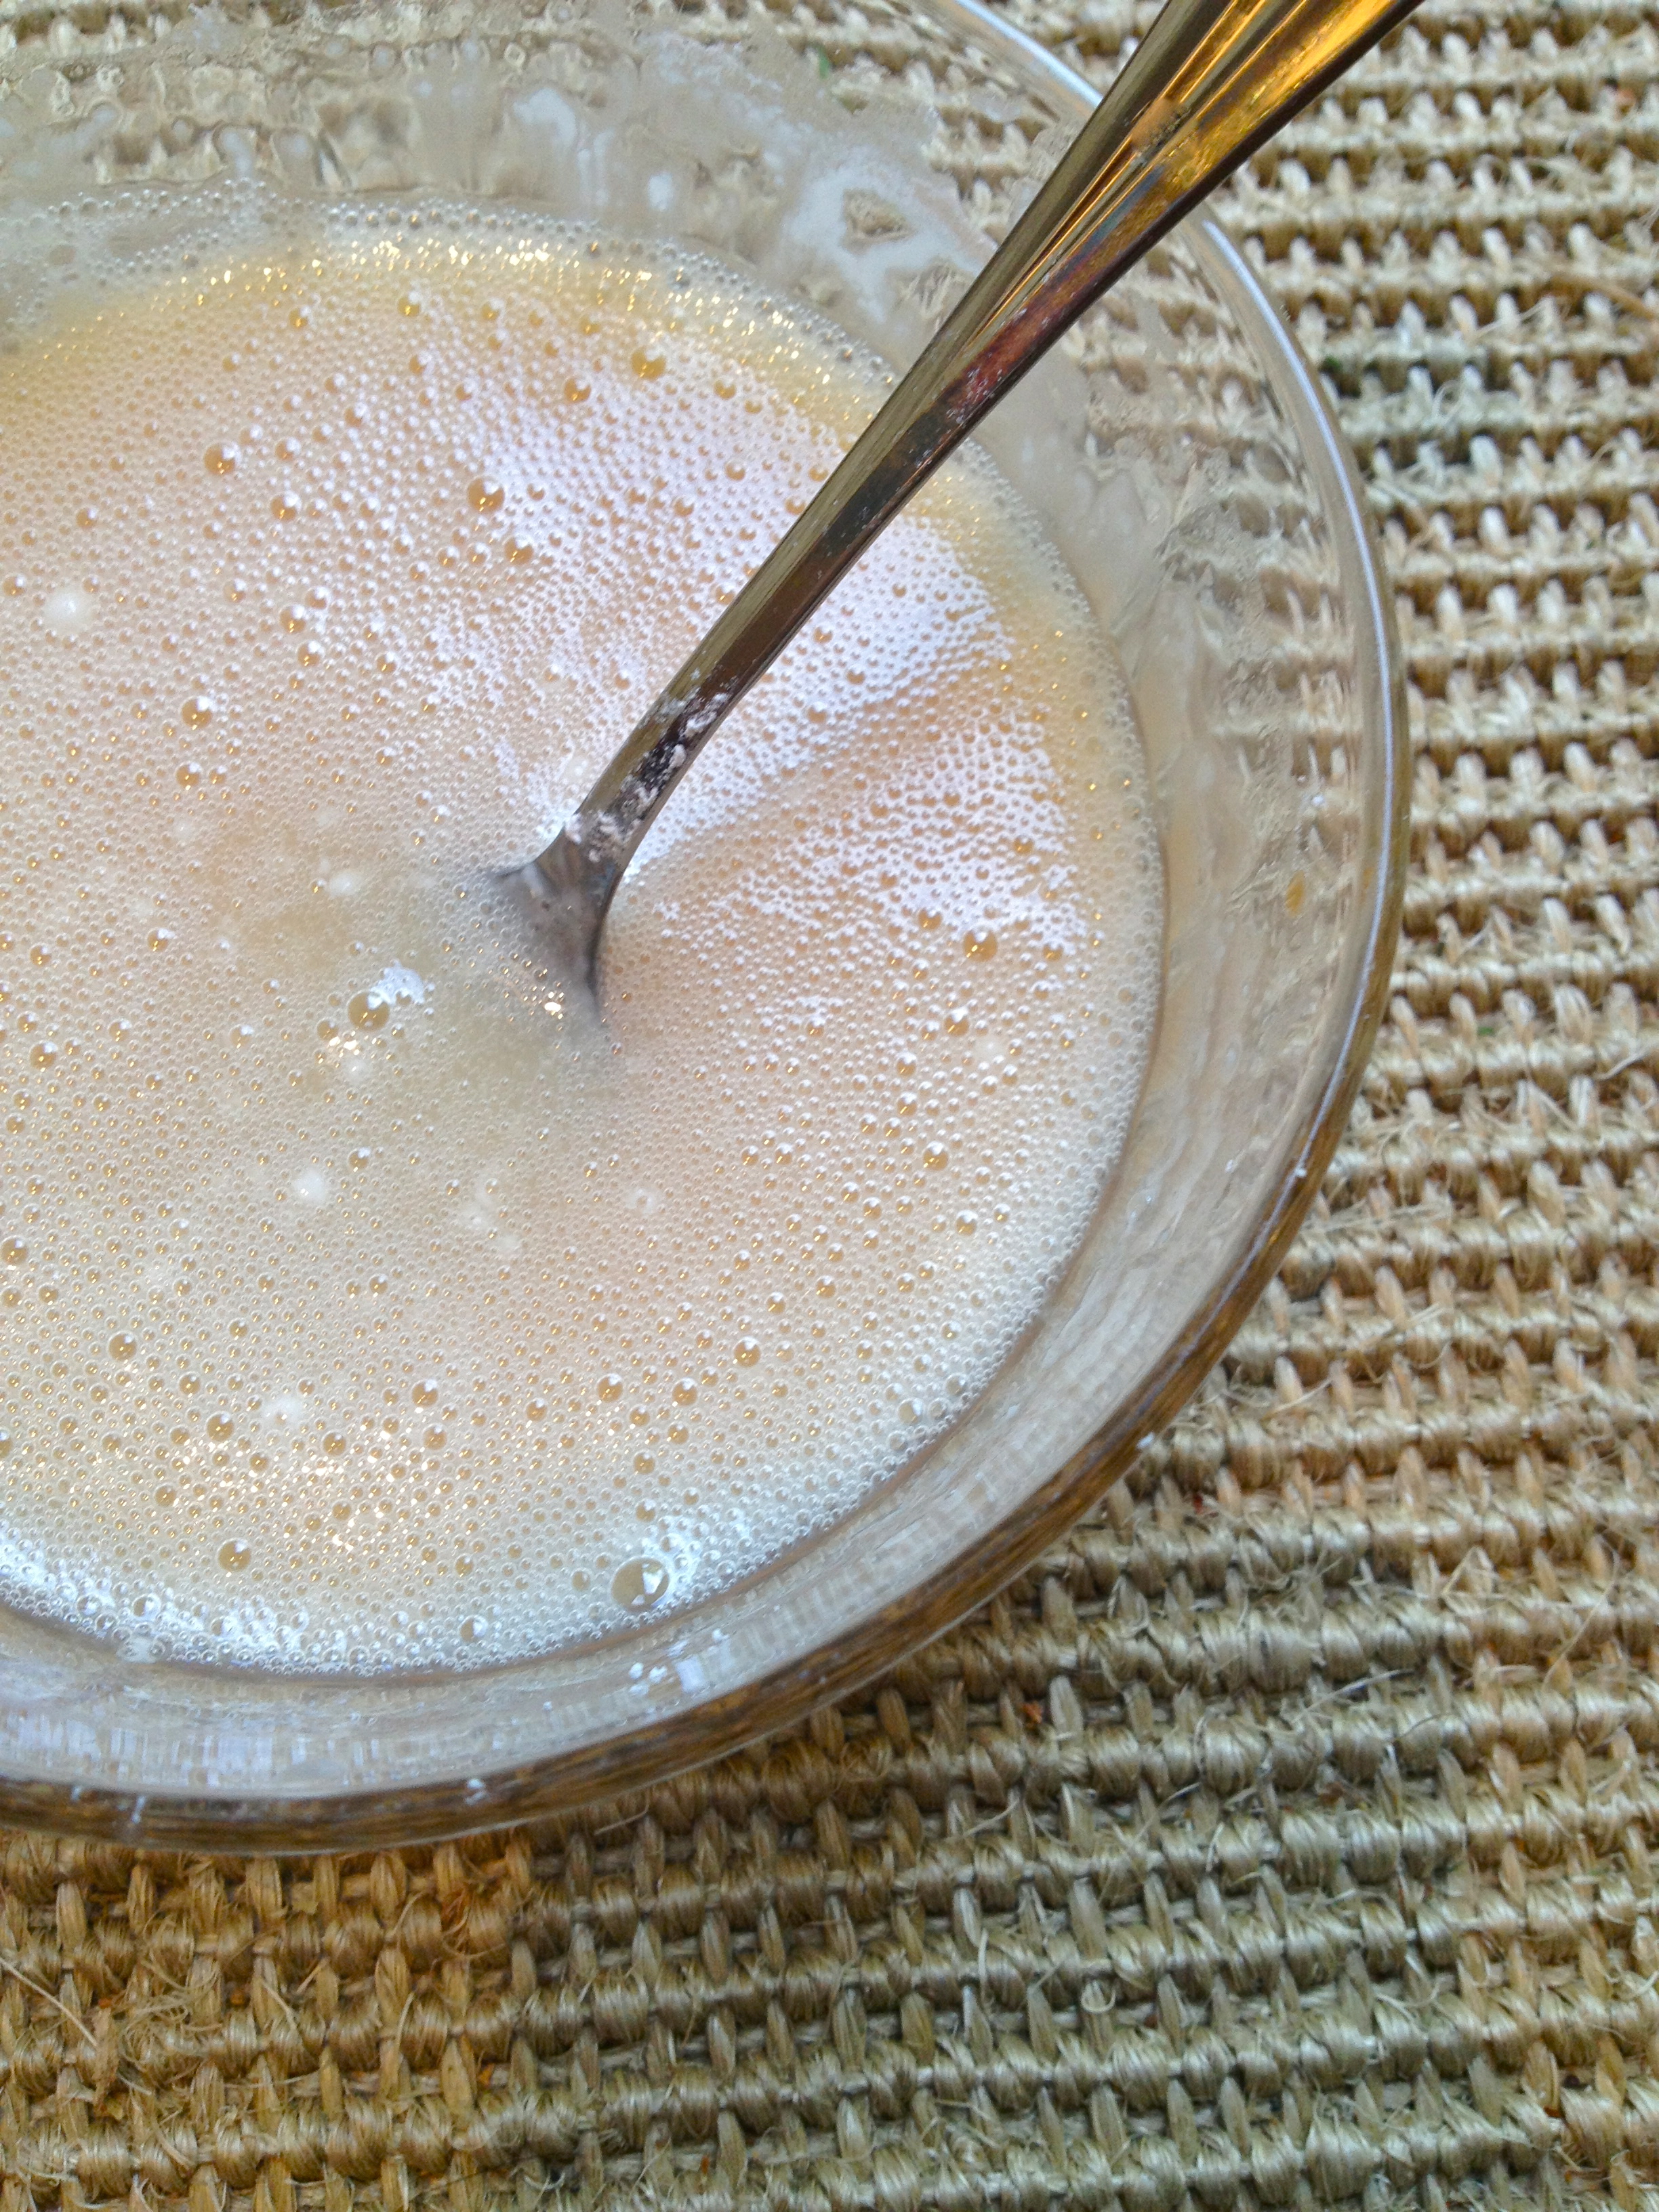
While the crust cools, prepare the filling. Dissolve the coffee granules in the hot water. Stir together the Greek yogurt, coffee, cocoa powder, and brown sugar. Keep it in the fridge until the crust has cooled.

IMG_0738

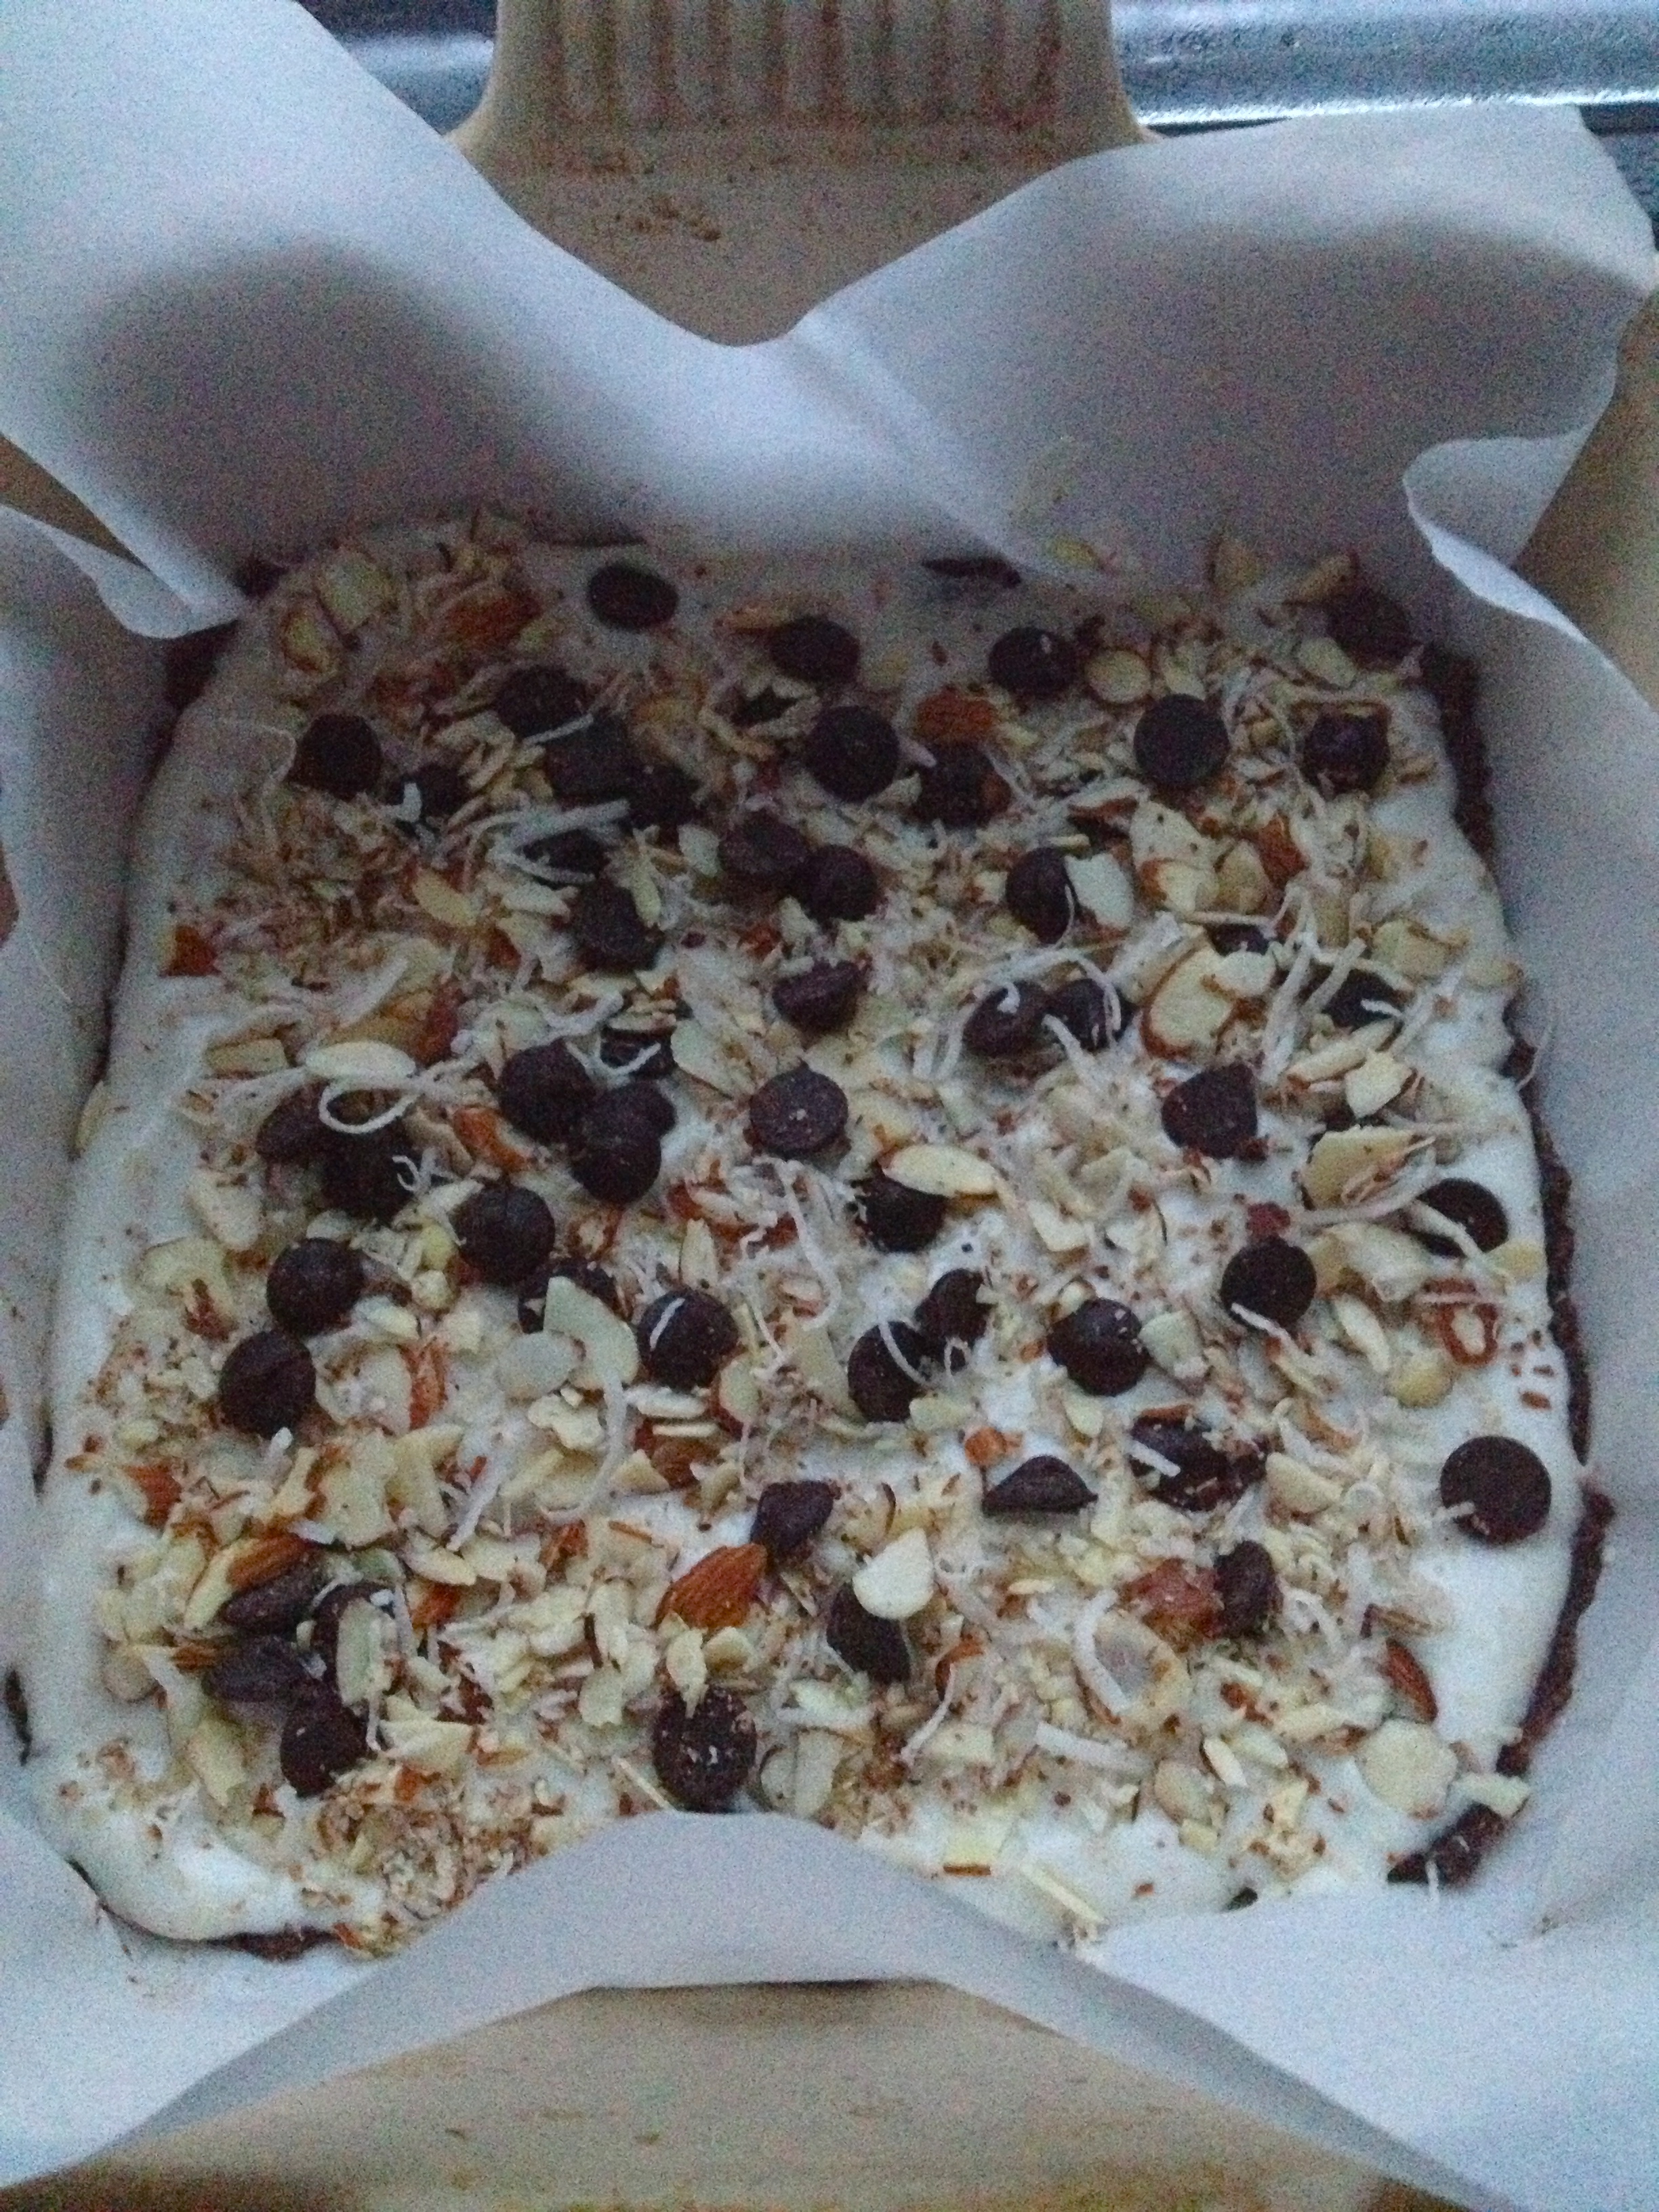
Once the crust is cooled, spread the yogurt filling evenly over it. Sprinkle with chocolate chips and dig in!

IMG_0745

Advertisement

Sweet Coconut Milk Bars.

“Healthy desserts.” Let’s be honest for a second: I’ve tried making a lot of healthy and healthy-esque dessert recipes at this point, and I’m convinced that they’ll just never be as good as the really decadent stuff they’re supposed to replace. Because, surprise! other fats don’t taste as good as butter, other sweeteners don’t cut it when compared to sugar, etc. Since I do have a sweet tooth, but don’t want to “splurge” every time I crave something sweet, I try to work with what I’ve got by making something that hits the spot without sabotaging my otherwise healthy day. So if you’re looking for a recipe that rivals key lime pie or chocolate chip cookies in its delectable sweet treat power, I’ll level with you—this is probably not gonna be it. But if you’re looking for a really good low-sugar, low-carb dessert option, then I highly highly recommend these Sweet Coconut Milk Bars! Inspired by a recipe from a great blog called Living Healthy with Chocolate, these are creamy and rich and just sweet enough to do the trick, with a bunch of nuts and very little added sugars. Good stuff. I’m looking at you, New Years Resolution-Makers!

IMG_0545

INGREDIENTS

1 can full-fat coconut milk (this is a different type of coconut milk than the stuff you get in a carton – do not substitute)
1 1/2 tbsp honey
1/4 cup walnuts, toasted in a pan and ground to a fine meal in a food processor
3/4 cup ground almond meal
½ teaspoon vanilla extract
3 tablespoons butter, melted (or use coconut oil)
2 tablespoons cocoa powder
1/4 cup sliced almonds
1/4 cup sweetened shredded coconut
1/4 cup chocolate chips

Just the Recipe link: Sweet Coconut Milk Bars

DIRECTIONS

First, get the sweetened condensed coconut milk going. Empty the can of coconut milk into a sauce pan and stir in the honey. Bring to a boil, stirring pretty consistently, and then reduce to a mellow simmer. Stir occasionally and cook for about an hour and 15 minutes, until the mixture has reduced by half and has darkened slightly in color. It should coat a spoon thickly and be the consistency of gently whipped cream.

IMG_0529

To prepare the crust, first preheat oven to 350 F. Mix together ground walnuts, almond meal, vanilla extract, butter, and cocoa powder. Line a small baking dish with parchment paper and transfer the crust mixture to the dish. Use your fingers to press the crust into a thin layer that covers the bottom of the pan. Bake for 5 minutes.

To assemble the filling, mix together the almonds, shredded coconut, and chocolate chips. Spread the condensed coconut milk over the crust and sprinkle the chocolate chip mixture over the top. Bake for 15 minutes.

IMG_0531

Take the bars out of the oven and carefully lift the parchment paper up and out of the pan and set it on a wire rack to cool for one hour. Then transfer to the refrigerator. Let them set in the fridge for at least an hour before cutting into squares. To make sure the squares hold their shape and don’t fall apart, keep them refrigerated.

IMG_0547

Glazed Apple Bundt Cake.

First, let me mention that you don’t need a bundt pan to make this cake. That said, bundt cakes are adorable. I’ve admired them from afar for years, but I never owned a bundt pan myself…until now. This year, I asked my maternal Santa for one, and when I woke up on Christmas morning, there was a beautiful ornate bundt pan under the tree with my name on it! Here is the link to my bundt pan. Isn’t it a glory?! It’s like something out of Beauty and the Beast. I think there will be a lot of bundt-baking in my future. And if this first foray is any indication, beauty and taste definitely go together, because it tastes as good as it looks. Inspired by a recipe from The Bite Sized Baker, the addition of shredded apples and Greek yogurt keep this cake moist and almost creamy, and a sweet maple glaze is both figuratively and literally the icing on the cake. Please come to my apartment for tea and take this cake off my hands before I eat it all. Thank you.

IMG_0464

INGREDIENTS

for cake: (makes about 6 cups of batter)
8 tbsp (1 stick) butter, room temperature
1 1/2 cups light brown sugar, packed
2 eggs
1 tsp vanilla extract
1 cup Greek yogurt
2 cups all-purpose flour
1 tsp baking soda
1 tsp ground cinnamon
1/2 tsp salt
about 2 cups apples, peeled, then shredded in a food processor or grated by hand (I used 3 Granny Smith apples)

for glaze:
2 tbsp butter
1 1/4 cup powdered sugar
2 tbsp maple syrup
about 1-2 tbsp water

Just the Recipe link: Glazed Apple Bundt Cake

DIRECTIONS

Preheat oven to 350 F.

Cream together the butter and brown sugar, until smooth. Add the eggs one at a time, beating between each addition until incorporated. Then stir in the vanilla extract and yogurt.

In a second bowl, sift together the flour, baking soda, cinnamon, and salt. Add half the flour mixture to the butter mixture and stir until just incorporated. Then add the second half of the flour mixture and stir, again just until it comes together. Don’t overmix. Finally, stir in the shredded apple until it’s distributed throughout the batter. It should smell pretty amazing at this point.

Pour the apple-y batter into a greased bundt pan (if you don’t have one, a loaf pan or even a springform cake pan will work too). Don’t over-fill the pan, as the cake will rise as it bakes. Two-thirds filled is a good rule of thumb for bundt pans, and for my pan, that means about 6 cups. Which is how much batter this makes!

IMG_0434

Put the pan in the oven and bake 35-45 minutes, until the center of the cake is set but still moist and tender. You know the toothpick test? The one where you poke a toothpick into the center of your cake to see if it comes out clean, thereby showing that your cake is done? Well, bundt pans are very deep…too deep for a tiny little toothpick. So instead, I use a wooden chopstick as my tester, and when it comes out clean from the center of the cake, I know it’s ready.

IMG_0436

Let the cake cool in the pan for 10 minutes before removing to a cooling rack. You have two options for cooling: if you want your glaze to soak into the cake, let the cake cool for 15 minutes, or if you want the glaze to harden and look more like icing, let the cake cool completely. I opted for the quick-cool soaking option, mostly because I was impatient to dig in.

IMG_0444

As the cake cools, make the glaze. In a saucepan, melt the butter and use a fork to stir in the powdered sugar and maple syrup until smooth. Then slowly add water until it reaches the consistency you want – a slightly runny syrup. When your cake is cooled, drizzle the glaze along the top and allow it to spill over the sides, inside and out. Messy is good!

IMG_0456

Oh baby. Look at the glaze drip happening here. That’s what this cake is all about. It’s soft and tender and not too sweet, and this beautiful glaze just pushes it right over the edge. Amazing with a hot cup of tea on a winter day!

IMG_0460

Pretzel Milk and Chocolate Chip Scones.

On a cute and crazy-creative blog called “A Cozy Kitchen, ” I saw blogger/pancake expert Adrianna do something magical: she made pretzel milk pancakes. This is one of the most food-genius things I’ve seen in a long time: she roasted pretzels in the oven, soaked them in milk, and then strained them out so that the milk was left in faintly golden pretzel-flavored perfection, making her pancakes deliciously pretzely. I was mesmerized by this idea, and initially wanted to make a cookie using the pretzel milk method. I’m still working on the cookie version of this recipe, but for now, these scones are pretty amazing. Pretzel milk – I am so glad we’ve found each other. The lightly golden milk gives the finished product the most unusual and profound savoriness—not in-your-face pretzely, but more of a welcome note of something warm and deep. It’s pretty special.

I have a question for my beloved readers: what to do with the milk-steeped pretzels you’re left with after making the pretzel milk? I ate a few (they’re actually good, in a weird, slightly soggy kind of way), but there’s got to be something interesting they could be used for. Crush them up and stir them into muffin batter, or even cookie dough? Or food-processer them with lots butter and maple syrup, shape the butter mixture into a log, toss it in the fridge, and a few hours later you’ve got maitre d’ maple pretzel butter for toast and waffles and all those goodies? If you come up with a good use for them, let me know! And PS – when they’re in the oven, watch these more carefully than I did….my scones got a little bit toastier than I would have liked. Still awesome though!

IMG_9058

INGREDIENTS

3 cups pretzels
1 1/2 cups cream or half-and-half
1 cup all-purpose flour
1 cup whole wheat flour (feel free to use all A-P flour if you prefer)
1 tbsp baking powder
4 tbsp sugar
1/2 tsp salt
5 tbsp unsalted butter, chilled and cut into little cubes
1/2 cup chocolate, chopped into small bits (I used semi-sweet)
optional: turbinado sugar, for sprinkling

Just the Recipe link: Pretzel Milk and Chocolate Chip Scones

DIRECTIONS

Preheat oven to 350 F. Spread pretzels onto a sheet pan in a single layer and roast until they turn a nice dark brown, about 10 minutes. Let them cool completely (don’t worry, they cool very quickly).

IMG_9042

Preheat the oven to 450 F.

Transfer the cooled pretzels to the cream or half-and-half and let them soak for about 15 minutes. Then strain, leaving just the beautiful pretzel-y cream. The pretzels will have soaked up some of the liquid; you’ll need just 1 cup total for this recipe. If you have any leftover milk, keep it on hand and maybe dip the scones into it once they’re baked. This stuff is amazing.

IMG_9045

Place flour, baking powder, sugar, and salt in a mixing bowl or food processor. Whisk or pulse together until combined. Add the butter; if using your fingers, quickly rub the flour mixture into the butter until the mixture resembles coarse sand, handling the butter as little as possible and careful not to melt it as you go. If you’re using a food processor, pulse together until the mixture resembles coarse sand.

IMG_9040

Add the chocolate bits and stir or pulse briefly to combine. Transfer mixture to a mixing bowl if it was in a food processor. Stir in the pretzel milk until the dough starts to come together. Then turn it out onto a floured workspace.

IMG_9046

Knead the dough a few times gently with your hands, just until it comes together in a ball – the less you work the dough, the better, since you don’t want the heat of your hands to melt the butter.

Flatten the dough into the shape of a rectangle (roughly….), about 3/4 inch -thick. Okay fine, so this dough is obviously not in a rectangle. I took this picture before I decided what shape I wanted the scones to be. Whatever.

IMG_9047

Cut the dough into squares. Then cut each square diagonally in half, to make little triangles…..Or, cut them however you want!

IMG_9050

If you like, sprinkle each scone with a bit of turbinado sugar. It’s sweet and gives the scones a little bit of crunch. And it’s pretty.

IMG_9051

Place sconces on a baking sheet and bake until light brown, about 12-15 minutes. Cool slightly before serving. These more than rock with sweet cream butter and a cup of black tea.

IMG_9053

And seriously – any ideas what to do with these already-steeped pretzels??

IMG_9043

Coconut Macaroons.

These are as as delectable as they are adorable. I saw Ina Garten make ’em recently on Barefoot Contessa and have had them in the back of my mind ever since. Oh man, are these coconut macaroons delicious. But my favorite part about them (okay, one of my many favorite parts) is how totally easy they are. Just look at the ingredient list – so simple! As I was whipping them up, I thought about adding a new section on my Recipe List page where I could collect my simplest, easiest recipes in one place. So if you check out the Recipe List now, you’ll see a new section called “Easiest, Simplest Recipes,” where I’ve called out all my recipes that are amazingly basic and basically amazing. And these  chewy, gooey coconut macaroons are going right there.

IMG_8747

INGREDIENTS

14 oz sweetened shredded coconut
14 oz sweetened condensed milk
1 tsp vanilla
2 egg whites, room temperature
1/4 tsp salt

Just the Recipe link: Coconut Macaroons

DIRECTIONS

Preheat oven to 350 F.

Stir together the coconut, sweetened condensed milk, and vanilla in a large bowl.

IMG_8734

In a separate bowl, use a whisk to beat the egg whites and salt until they form medium-stiff peaks. Fold the whites gently into the coconut mixture.

IMG_8735

Use an ice cream scoop (or your fingers) to drop little scoops of batter on a baking sheet lined with parchment paper or a baking mat. Don’t put the cookies too close, as they spread out a little bit.

IMG_8742

Bake for about 25 minutes, until golden brown and set. Devour.

IMG_8750

Sticky Glazed Vanilla-Chocolate Shortbread Cookies.

I haven’t been baking much recently. I miss it! Cutting way down on sugar and processed grains, as I have been, means a lot of my favorite baking activities are on hold. This weekend, however, I was up at my family’s lakehouse in Wisconsin, celebrating my sister’s seventeenth birthday with a handful of her girlfriends. And I saw my chance. My chance to make these cookies, inspired by 101 Cookbooks. Ever the pragmatist, I recognized in this group of high schools girls a captive audience; I knew, if I placed a platter of gleaming sweets in the midst of their Beyonce-listening sunbathe-fest of Saturday, they’d happily help me out by disposing of the evidence. And they did not let me down—when we left the lakehouse on Sunday, only one cookie remained. Nicely done, girls. And happy birthday, Kathleen!

IMG_8701

INGREDIENTS:

for cookies:
12 tbsp (or 1 1/2 sticks) unsalted butter, softened to room temperature
2/3 cup brown sugar
, plus more for sprinkling
2 large egg yolks
1 tablespoon vanilla extract
2 1/2 cups all-purpose flour
1 teaspoon baking powder
1 scant teaspoon salt
about 3 tbsp chocolate, finely chopped (I used semi-sweet)
2-3 tablespoons milk (I ended up using about 1 ½ tbsp)

for glaze:
2 tbsp milk
about 6 heaping tbsp. powdered sugar
splash of good quality vanilla extract (you want to use the good stuff here – don’t skimp on quality)

Just the Recipe link: Sticky Glazed Vanilla-Chocolate Shortbread Cookies

DIRECTIONS:

Using an electric mixer (or your best elbow grease), cream the butter until it’s fluffy. Then add half the brown sugar, stir it in, and scrape the sides of the bowl, and repeat with the other half. Beat in the egg yolks and the vanilla until combined.

IMG_8647

In a separate bowl, mix together the flour, baking powder, salt, and chopped chocolate. You want the chocolate very finely chopped – if the pieces are too big, your dough won’t hold together as well when you’re rolling it out.

IMG_8637

Stirring by hand, gently mix part of the flour into the butter and sugar, just until it combines. Add the rest of the flour, careful not to over-mix. If the dough looks too dry, add a tbsp of milk or two – we’re looking for the dough to just hold together when pressed into a ball. Which, conveniently, is the next step.

IMG_8655

Turn out the dough into a cutting board or countertop and form it into a ball using your hands.

IMG_8656

Then divide the ball into 4 equal sections.

IMG_8660Form the sections into balls and then flatten them into discs. Wrap each disc in plastic wrap and refrigerate for at least half an hour.

IMG_8664

When the dough has chilled, preheat oven to 350 F.

Take one of the discs out of the fridge. Lightly flour a flat workspace and use a rolling pin to roll out the dough very very thin, like wafer thin.

IMG_8667

With a cookie cutter (or a small glass, because I couldn’t find any cookie cutters) cut out the cookies and place them on a baking sheet. They don’t spread out much, so crowding the cookies is okay. Sprinkle each one with a bit of brown sugar. Repeat with the other 3 sections of dough.

IMG_8668

Now, to the oven. Depending on how big the cookie cutter you use is, these bake pretty quickly because of how flat they are, so watch them. Mine baked about 8 minutes, just until the edges started to turn golden brown.

IMG_8675

Put the cookies on a cooling rack and cool completely before glazing.

To make the glaze, pour the milk into a small bowl and add the vanilla. Then add 4 tbsp of powdered sugar and whisk or use a fork to combine. From there, add the rest of the powdered sugar as needed until you reach the right consistency – thin, but not watery.

IMG_8682

When the cookies have cooled, glaze them. The quick way is to spoon the glaze over the cookies, drizzling a bit on each one. If you want to put a bit more TLC into the glazing process, dip the top of each cookie into the glaze. Either way, set them back on the cooking rack to set before plating.

IMG_8688

That’s all! Enjoy.

IMG_8696

But be careful – my tasters found these pretty addicting.

IMG_8704