Clementine Cake.

Rosy lips above the water
Blowing bubbles mighty fine
But, alas, I was no swimmer,
So I lost my Clementine.

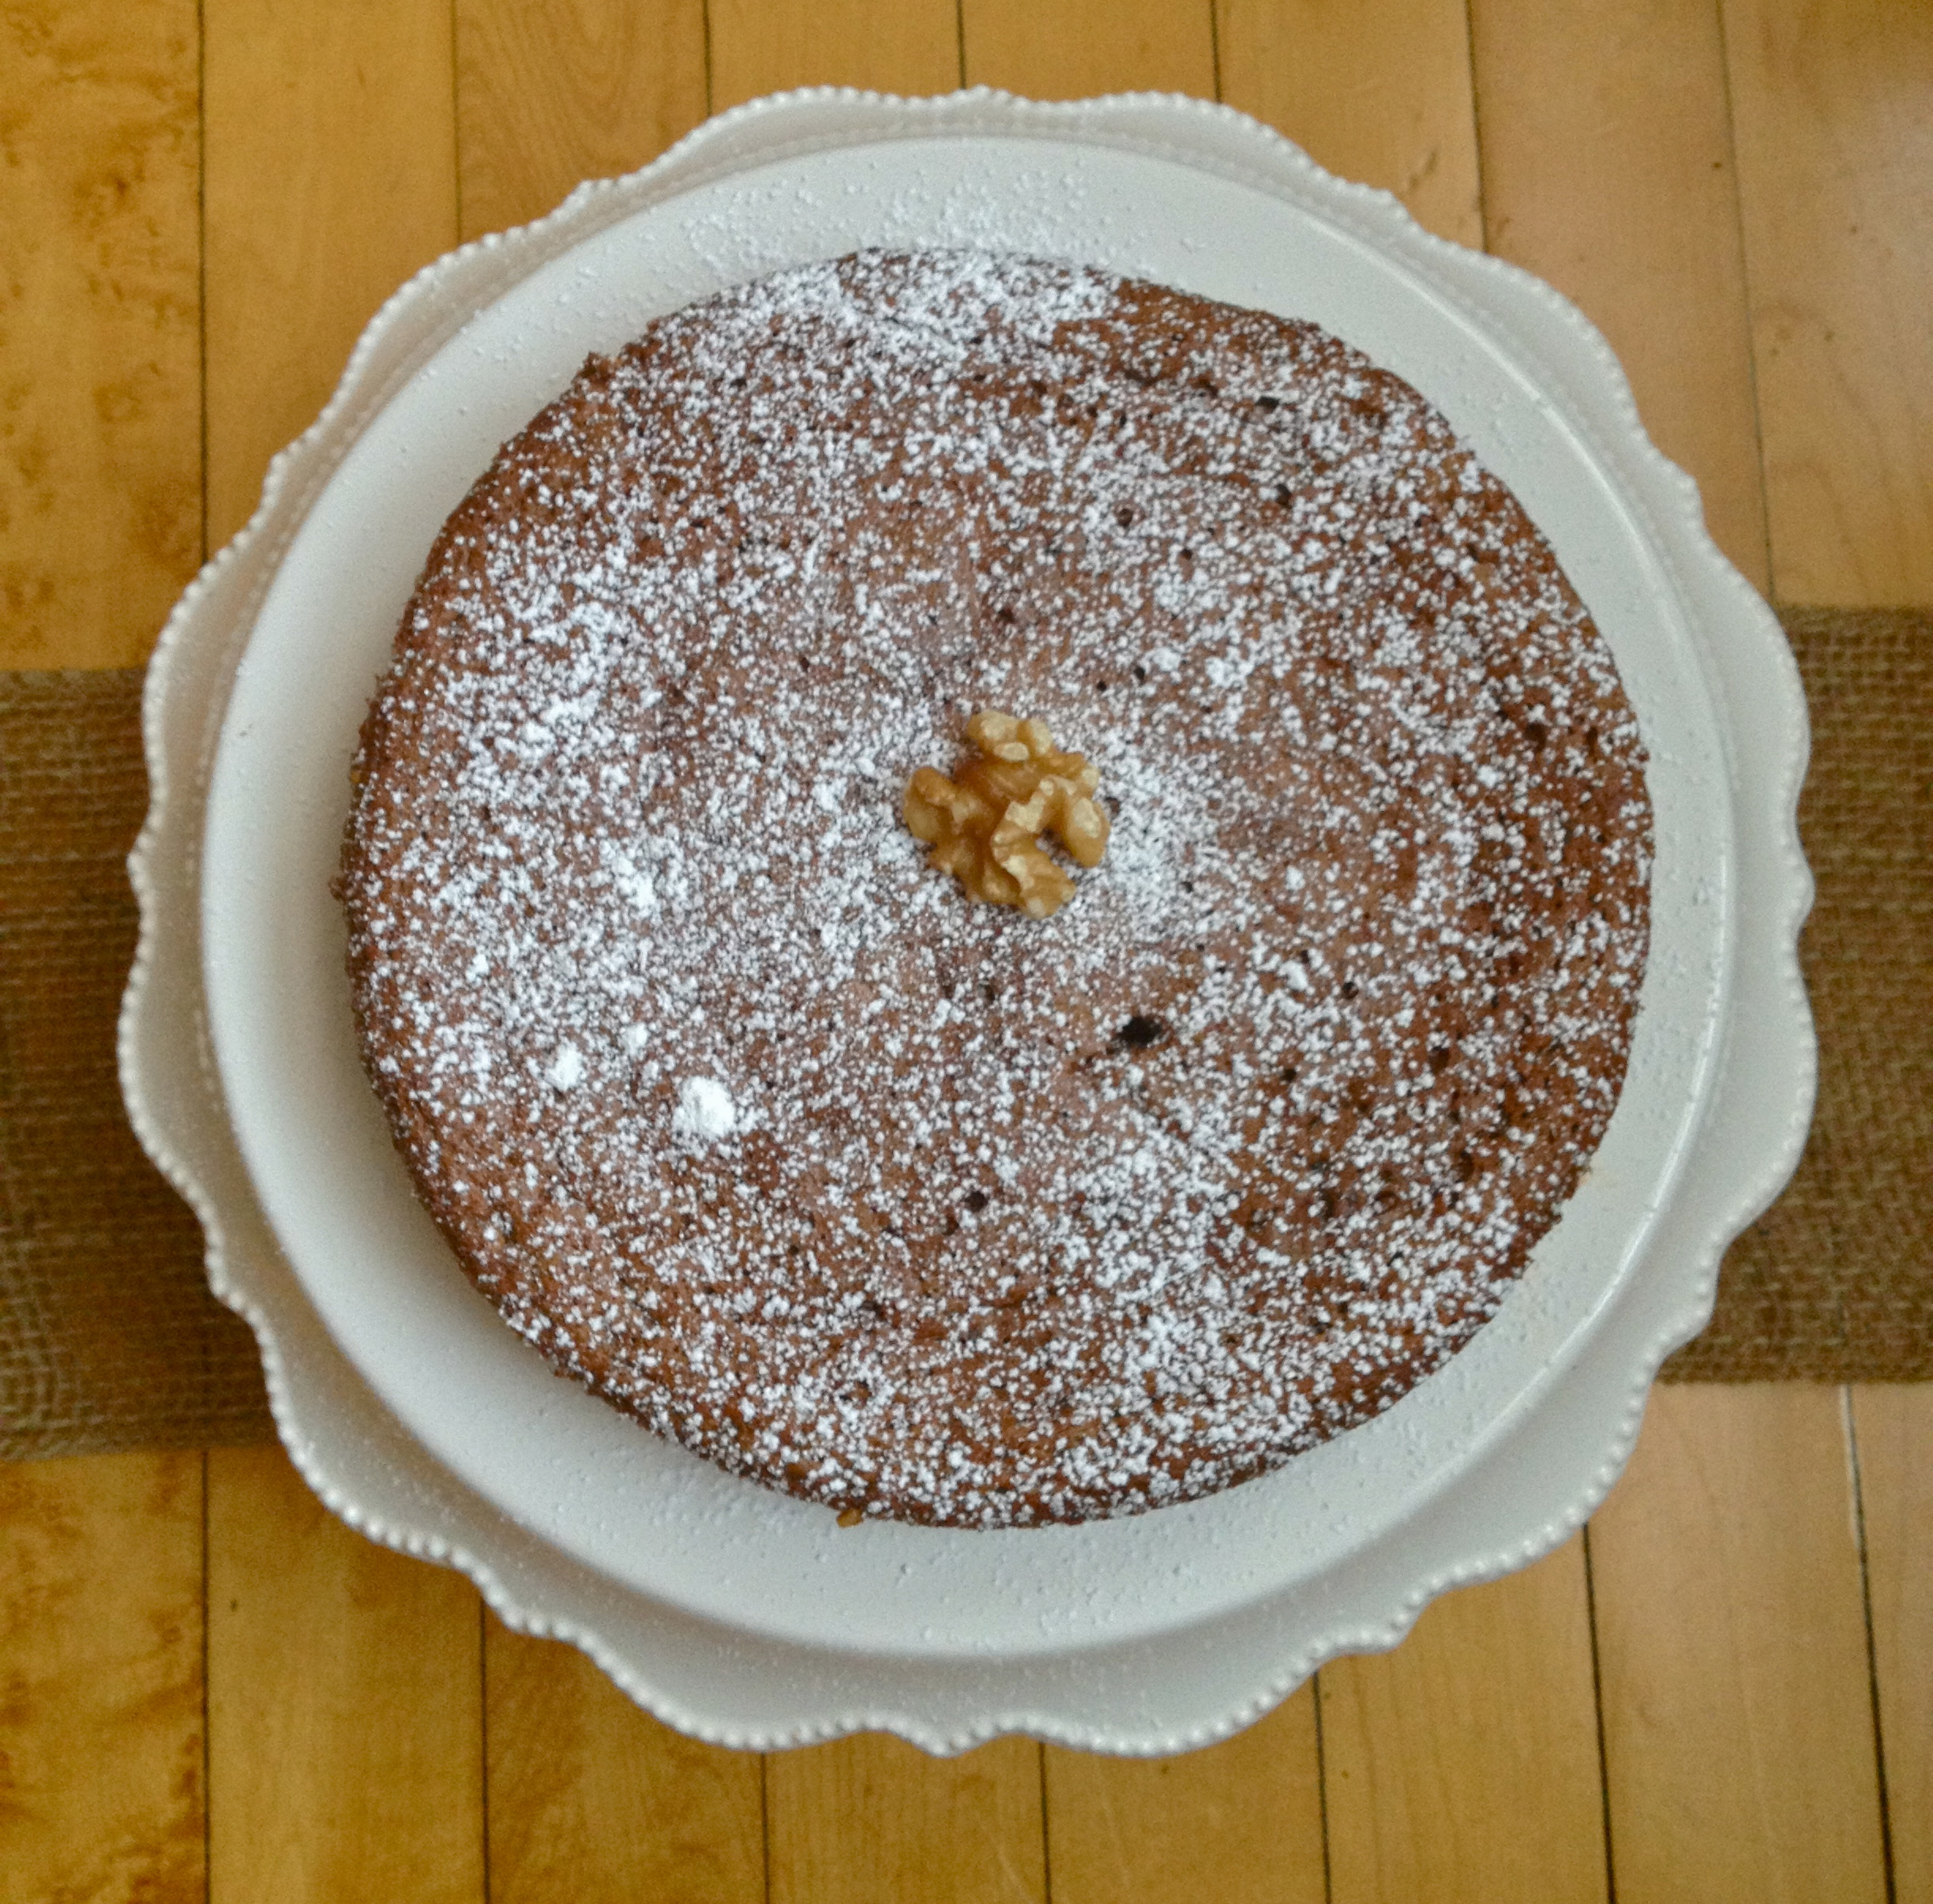
Maybe Clementine had a slice of this dense, nutty-sweet almond cake in her pocket the day she “fell into the foaming brine,” because she sank straight to the bottom, poor thing. This cake is named after the fruit, not the miner’s daughter, but that doesn’t mean it’s any less melodious. And as it bakes, the whole house smells wonderfully of toasty almonds and fresh citrus.

INGREDIENTS

1 3/4 cups raw almonds
6 eggs, whites and yolks separated
1 cup sugar
3 clementines
splash of vanilla extract
1/2 cup powdered sugar, plus more for dusting

DIRECTIONS

Preheat oven to 350 F.

In a food processor, blitz almonds to about the consistency of wet sand. A few small chunks are okay.

Combine sugar and egg yolks in a large bowl and beat until they form a pale cream.

Add vanilla, the zest of the 3 clementines, and the juice of one of them (save the other two), and stir until combined.

Then stir in the ground almonds.

In another bowl, beat the egg whites until they form stiff peaks.

Take a spoonful of the whites and stir it into the yolk mixture to even out the consistencies a bit.

Then, gently fold in the whites until combined.

Pour into greased spring-form pan and bake for 40 minutes, until cake has set and is golden brown. Cool for 15 minutes before icing.

In a small bowl, stir together powdered sugar and juice of the remaining two clementines, adding more powdered sugar as needed to reach desired consistency. Spoon or drizzle icing over the slightly cooled cake and allow it to soak in. Just before serving, dust cake with powdered sugar. Enjoy a big slice, but wait an hour before going swimming, lest you end up like poor Clementine.

Cayenne Pepper and Orange Brownies.

Remember that Johnny Depp and Juliette Binoche movie called Chocolat? About a mother and her daughter who move to a little French town and open up a patisserie? It was a pretty cute movie, but more importantly, it was about chocolate. There’s one scene where a character drinks a cup of hot chocolate with some kind of chili pepper in it, and she loves how exotic and surprising the flavor is. This scene really stuck in my head–what an interesting combo that would be! I’ve wanted to try the chocolate-and-chili flavor duo ever since I first saw Chocolat, and when I decided to make brownies yesterday, I gave it a try. They turned out really well–the tiniest hint of pepper and orange gives these brownies a really deep and complex flavor.

INGREDIENTS

200 g unsweetened bakers chocolate
1 1/4 sticks softened butter
1 scant cup cocoa powder
3/4 cup almond meal (all-purpose flour works too)
1 tsp baking powder
1 3/4 cups sugar
1/8 tsp cayenne pepper
1 tsp orange zest
2 tbsp orange juice
4 eggs, lightly beaten

DIRECTIONS

Preheat oven to 350 F.

In a pan over very low heat, carefully melt butter and chocolate until smooth. Don’t burn it!

In a separate bowl, combine cocoa powder, almond meal or flour, baking powder, and sugar. Stir in the melted butter and chocolate and mix well.

Add cayenne pepper and orange zest and juice and combine.

Add to batter and stir until smooth.

Pour into greased pan and bake for about 25 minutes. Cool 1 hour before cutting into them. Dust with powdered sugar and enjoy with a frosty glass of Blue Moon and an orange wedge…yum.

Easy French Bread.

My search for an easy recipe for a perfect loaf of French bread started on my trip to Denver last month. My cousin and I were browsing bread recipes and found them all totally convoluted, intense, and just impractical, so I promised that I’d find out the secret to easy French bread and then share it with her on this blog. Well, I’ve found that secret in another gem from my cooking idol, Laura Calder. I’ve switched up a few things from her original recipe: I added a bit more salt and used half whole wheat flour. A word of caution, though: it might be an easy recipe, but it takes a really long time—you might even say, foreverrrr.

INGREDIENTS

1 1/2 cups all-purpose flour
1 1/2 cups whole wheat flour
1/2 tbsp salt
1/4 tsp dry active yeast
1 1/2 cups plus 1/4 cup warm water
additional flour or cornmeal, for dusting

DIRECTIONS

Whisk together flours, salt, and yeast. Stir in 1 1/2 cups warm water, and add the 1/4 cup water if needed. The dough should not be dry, and it’s okay if it’s pretty wet–it should be sticky, rather than a firm dough ball.

Cover the bowl with a tea towel or plastic wrap and let sit in a warm place for at least 12 hours, or at most 24 hours (I let mine sit 16 hours in the oven–keep the oven off, but leave the oven light on).

The dough is ready for the next step when you see little bubbles formed on top, and it will have just about doubled in size. If a brown crust has formed over the top of the dough, just use a spatula to fold it over once or twice to work this crust into the rest of the dough.

Take a tea towel and flour it generously. Place the dough onto the floured towel and turn the dough over so that all sides are floured. Knead it twice, fold the sides underneath it and shape into a dome.

Dust with more flour or cornmeal and wrap dough ball lightly in floured tea towel. Let sit for 2 hours.

Just before 2 hours is up, preheat oven to 450 F with Dutch oven or bread pan inside to heat. The dough ball will have more than doubled in size.

When the oven is preheated, transfer dough, seam side up, into the pan. Shake the sides of the pan to settle dough evenly, and bake for 30 minutes with the lid on.

After 30 minutes have passed, remove lid and let bread finish baking uncovered, about 20 minutes, until nicely browned.

I love this bread with cold butter and orange marmalade, and it makes great garlic bread too. Enjoy it, and be proud of how gorgeous this easy bread turns out!

Sausage and Onion Tart.

I struggle with making my own pastries. It’s so much easier to just buy a pre-made pastry, but I’m one of those people who gets weirded out by any product whose ingredients include things I wouldn’t add if I were making it myself. For example, “distilled monoglycerides” and “soybean oils colored with beta carotene” would never make it into my homemade pastry crust, but they are ingredients in Pepperidge Farm’s frozen puff pastry sheets. Just yuck. So I’ve been on a little journey to learn to make a decent pastry. The added bonus, of course, is that after I make the pastry, I get to use it in a recipe! Here’s one of my favorites so far: an easy pastry crust with simple toppings that makes a great little French lunch tart. Inspired by Laura Calder.

INGREDIENTS:

for pastry crust:
1/2 cup whole wheat flour
1/2 cup all-purpose flour
1 stick (8 tbsp) cold butter, cubed
2 egg yolks
pinch of salt
splash of water

for tart:
about 1/2 cup Greek yogurt or sour cream
1/2 small onion, sliced thin
4-5 uncooked breakfast sausages, sliced small (or  use bacon instead)
salt, pepper, and chopped parsley to taste

DIRECTIONS

First, the pastry crust. In a food processor, blitz flours and butter until well-combined.

Then add egg yolks, salt, and a small splash of water to help it hold together, and pulse lightly until just combined. Turn out onto wax paper, mold into a ball, wrap tightly in paper, and refrigerate for 30 minutes.

Preheat oven to 450 F. Remove chilled dough from fridge and let it warm up for about 5 minutes. On a floured surface, roll it out into a sort of free-form oval shape. Now it gets a bit tricky: carefully transfer to a baking sheet. It’s okay if it falls apart a little bit; I always have to put it back together a bit once it’s onto the pan. No need to be fancy! Just let it be. Par-bake your pastry crust for about 5 minutes, until the edges start to brown. Then remove from oven.

Let the crust cool for 5 minutes. Scoop the yogurt or sour cream onto the crust and carefully spread it out, right to the edges. I like to use my fingers to do this because the crust is so tender, it can fall apart easily. Then strew the onions, sausage, and seasonings over the crust and put it back in the oven for 15-20 minutes, until onions are browning at the edges and sausage is cooked. Let is cool a bit before serving and enjoy!

Russian Sour Cream Coffee Cake.

Yesterday it was my turn to bring breakfast for our weekly work Breakfast Club. Taking a more traditional approach than I did last time, when I brought in my quesadilla maker (Olé), I volunteered to bring in two coffee cakes.  One had to be Sicilian Orange Cake, because it just might be the king of all coffee cakes. But I wanted to try something new for my second offering, so I made this Russian recipe. Its sour cream base makes it creamy and moist, and the nut topping gives a little bit of texture and spice. And if the “king” title is already taken, this one can be the coffee cake Tsar.

*Wondering where the photo of the finished product is? Well, in the chaos of my cake-laden commute that morning, I forgot to give it its proper photo shoot. I guess that means I’ll just have to make it again!

INGREDIENTS

1 cup (2 sticks) butter, softened
1 cup sour cream
1 cup sugar, plus 1/2 cup, divided
3 eggs
1 tbsp vanilla extract
2 1/2 cups flour
1 tsp baking soda
3 tsp baking powder
1/4 tsp salt
3/4 cup chopped walnuts
1/8 tsp powdered ginger
pinch of nutmeg

DIRECTIONS

Preheat oven to 350 F.

Cream together butter,  sour cream, 1 cup of the sugar, eggs, and vanilla. In a separate bowl, combine flour, baking soda, baking powder, and salt. Add the dry ingredients to the wet in three batches, stirring well after each addition.

In a separate bowl, combine the walnuts, ginger, nutmeg, and the 1/2 cup of sugar.

Grease a baking pan. Spread half the batter into the pan and top with half the nut mixture. Then spread the rest of the batter over the top and add the rest of the nut mixture. Using a knife, make several slashes through the batter; this draws some of the nut mixture deeper into the cake.

Bake on middle rack for about 50 minutes, or until a toothpick inserted into the middle comes out clean. Priyatnogo appetita!

Drunken Squirrel’s Cake.

Yes, Drunken Squirrel’s Cake. Named for two of its distinguishing ingredients, walnuts and Kahlua, this flourless cake is gooey and delicious with a hot cup of tea on a chilly afternoon. Inspired by a cake from Laura Calder, it bakes up brown and beautiful and has a super-tender soft texture thanks to its nutty flourless batter. If you can, use a more petite cake pan, as this little guy is meant to be smaller and taller rather than wide and flat. The air that we’ll beat into the eggs makes everything puff up while baking and then fall down while cooling, which makes for a cake that’s both dense and airy at the same time. Squirrels and people everywhere, rejoice!

IMG_0615

INGREDIENTS

2/3 cup walnuts
about 2 tbsp plain breadcrumbs (I’ve used regular bread crumbs, panko, and a crumbled up piece of toast, and they all work great)
3 eggs, room temperature
1/2 cup sugar
3 tbsp grated semi-sweet chocolate
2 tbsp warm honey
1/4 cup melted butter (melted just to easy pouring consistency, but not so melted that it becomes oily and separates)
1 tbsp Kahlua
powdered sugar for serving

Just the Recipe link: Drunken Squirrel’s Cake

DIRECTIONS

Preheat oven to 350 F.

Heat a pan over medium and add the walnuts. Toast them until they’re nutty and fragrant, careful not to burn them. Then blitz the walnuts and breadcrumbs in a food processor until powdery.

Separate eggs into two bowls. Don’t use a plastic bowl for the yolks, as you’ll need to whisk them over heat. Add the sugar to the yolks and place it over a saucepan of simmering water. Don’t let the bottom of the bowl touch the water in the pan. Whisk over heat until the yolk mixture has tripled in size and is “thick, pale, and ribbony.” Remove from heat.

IMG_0599

Add nut mixture, chocolate, honey, butter, and Kahlua to yolks. Gently fold together.

Now whisk egg whites until they form stiff peaks. This takes some elbow grease, but don’t lose heart–you’ll get there.

Add a spoonful of whites to the yolk mixture and gently combine, to loosen the yolk batter. Then fold in the rest of the whites. Pour into a well-greased cake pan.

IMG_0602

Bake for 30-35 minutes, until a toothpick inserted in the middle comes out clean. Cool completely in the pan; because we beat so much air into the eggs, the cake will fall a bit, so don’t worry if you see it starting to sink.

Remove the cooled cake from the pan. Sprinkle with powdered sugar and garnish with another walnut or two. Lovely!

IMG_0610