Green Taco Burger Wraps.

I love lettuce wraps – I think I even prefer when things are wrapped in lettuce to any tortilla or bun (excluding hot dogs, of course). The cool crunch and the light freshness of the lettuce just seems to pair well with a lot of the foods that we think of as bun-worthy. This recipe for what I’m calling “green taco burger wraps” combines the best of cheeseburgers and tacos and wraps the whole thing in nice crunchy lettuce. The burger meat is spiced with cumin and oregano to give it a bit of Mexican flavor, and the toppings are all my taco favorites (especially avocado….mmmm). They’re easy and healthy and so delicious!

IMG_7911

INGREDIENTS

about 3/4 lb ground meat (I used beef)
1 egg
1/2 tsp cumin
1/2 tsp garlic powder
1/2 tsp paprika
1/4 tsp ground coriander
1/4 tsp cayenne pepper
salt and pepper to taste
red onion, diced
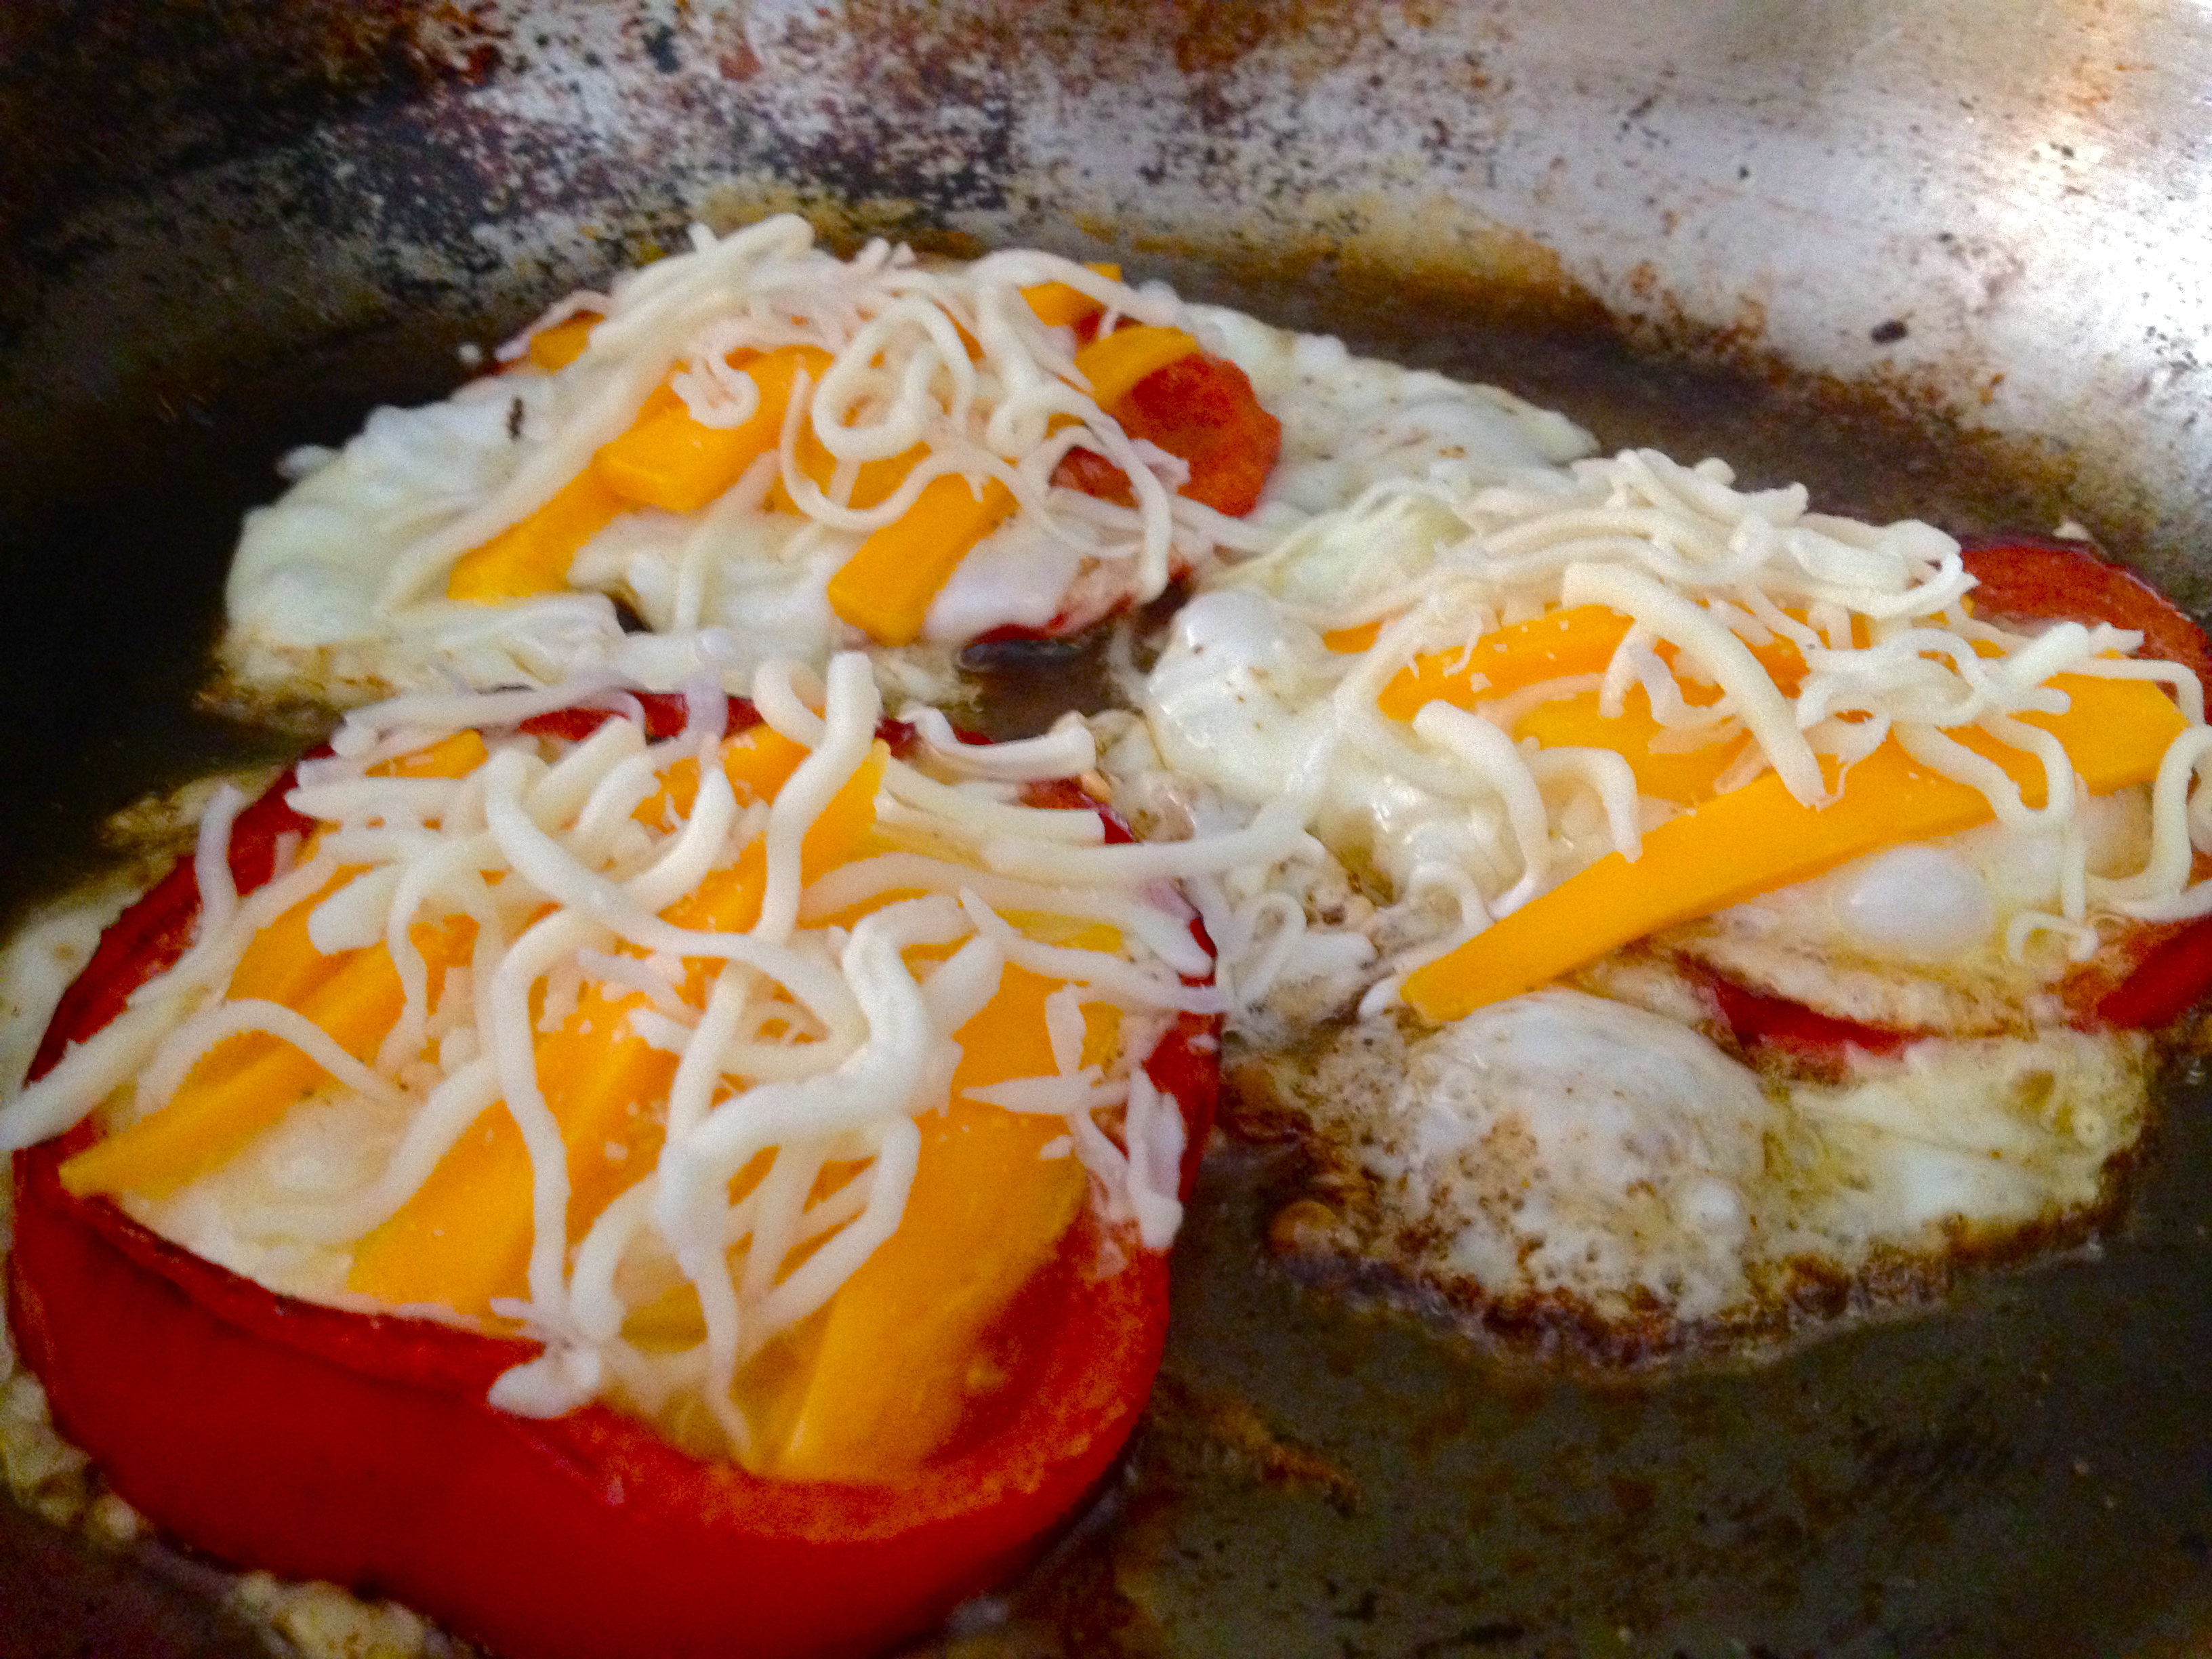
cheese, sliced (I used cheddar)
cilantro, rough chop
tomato, chopped
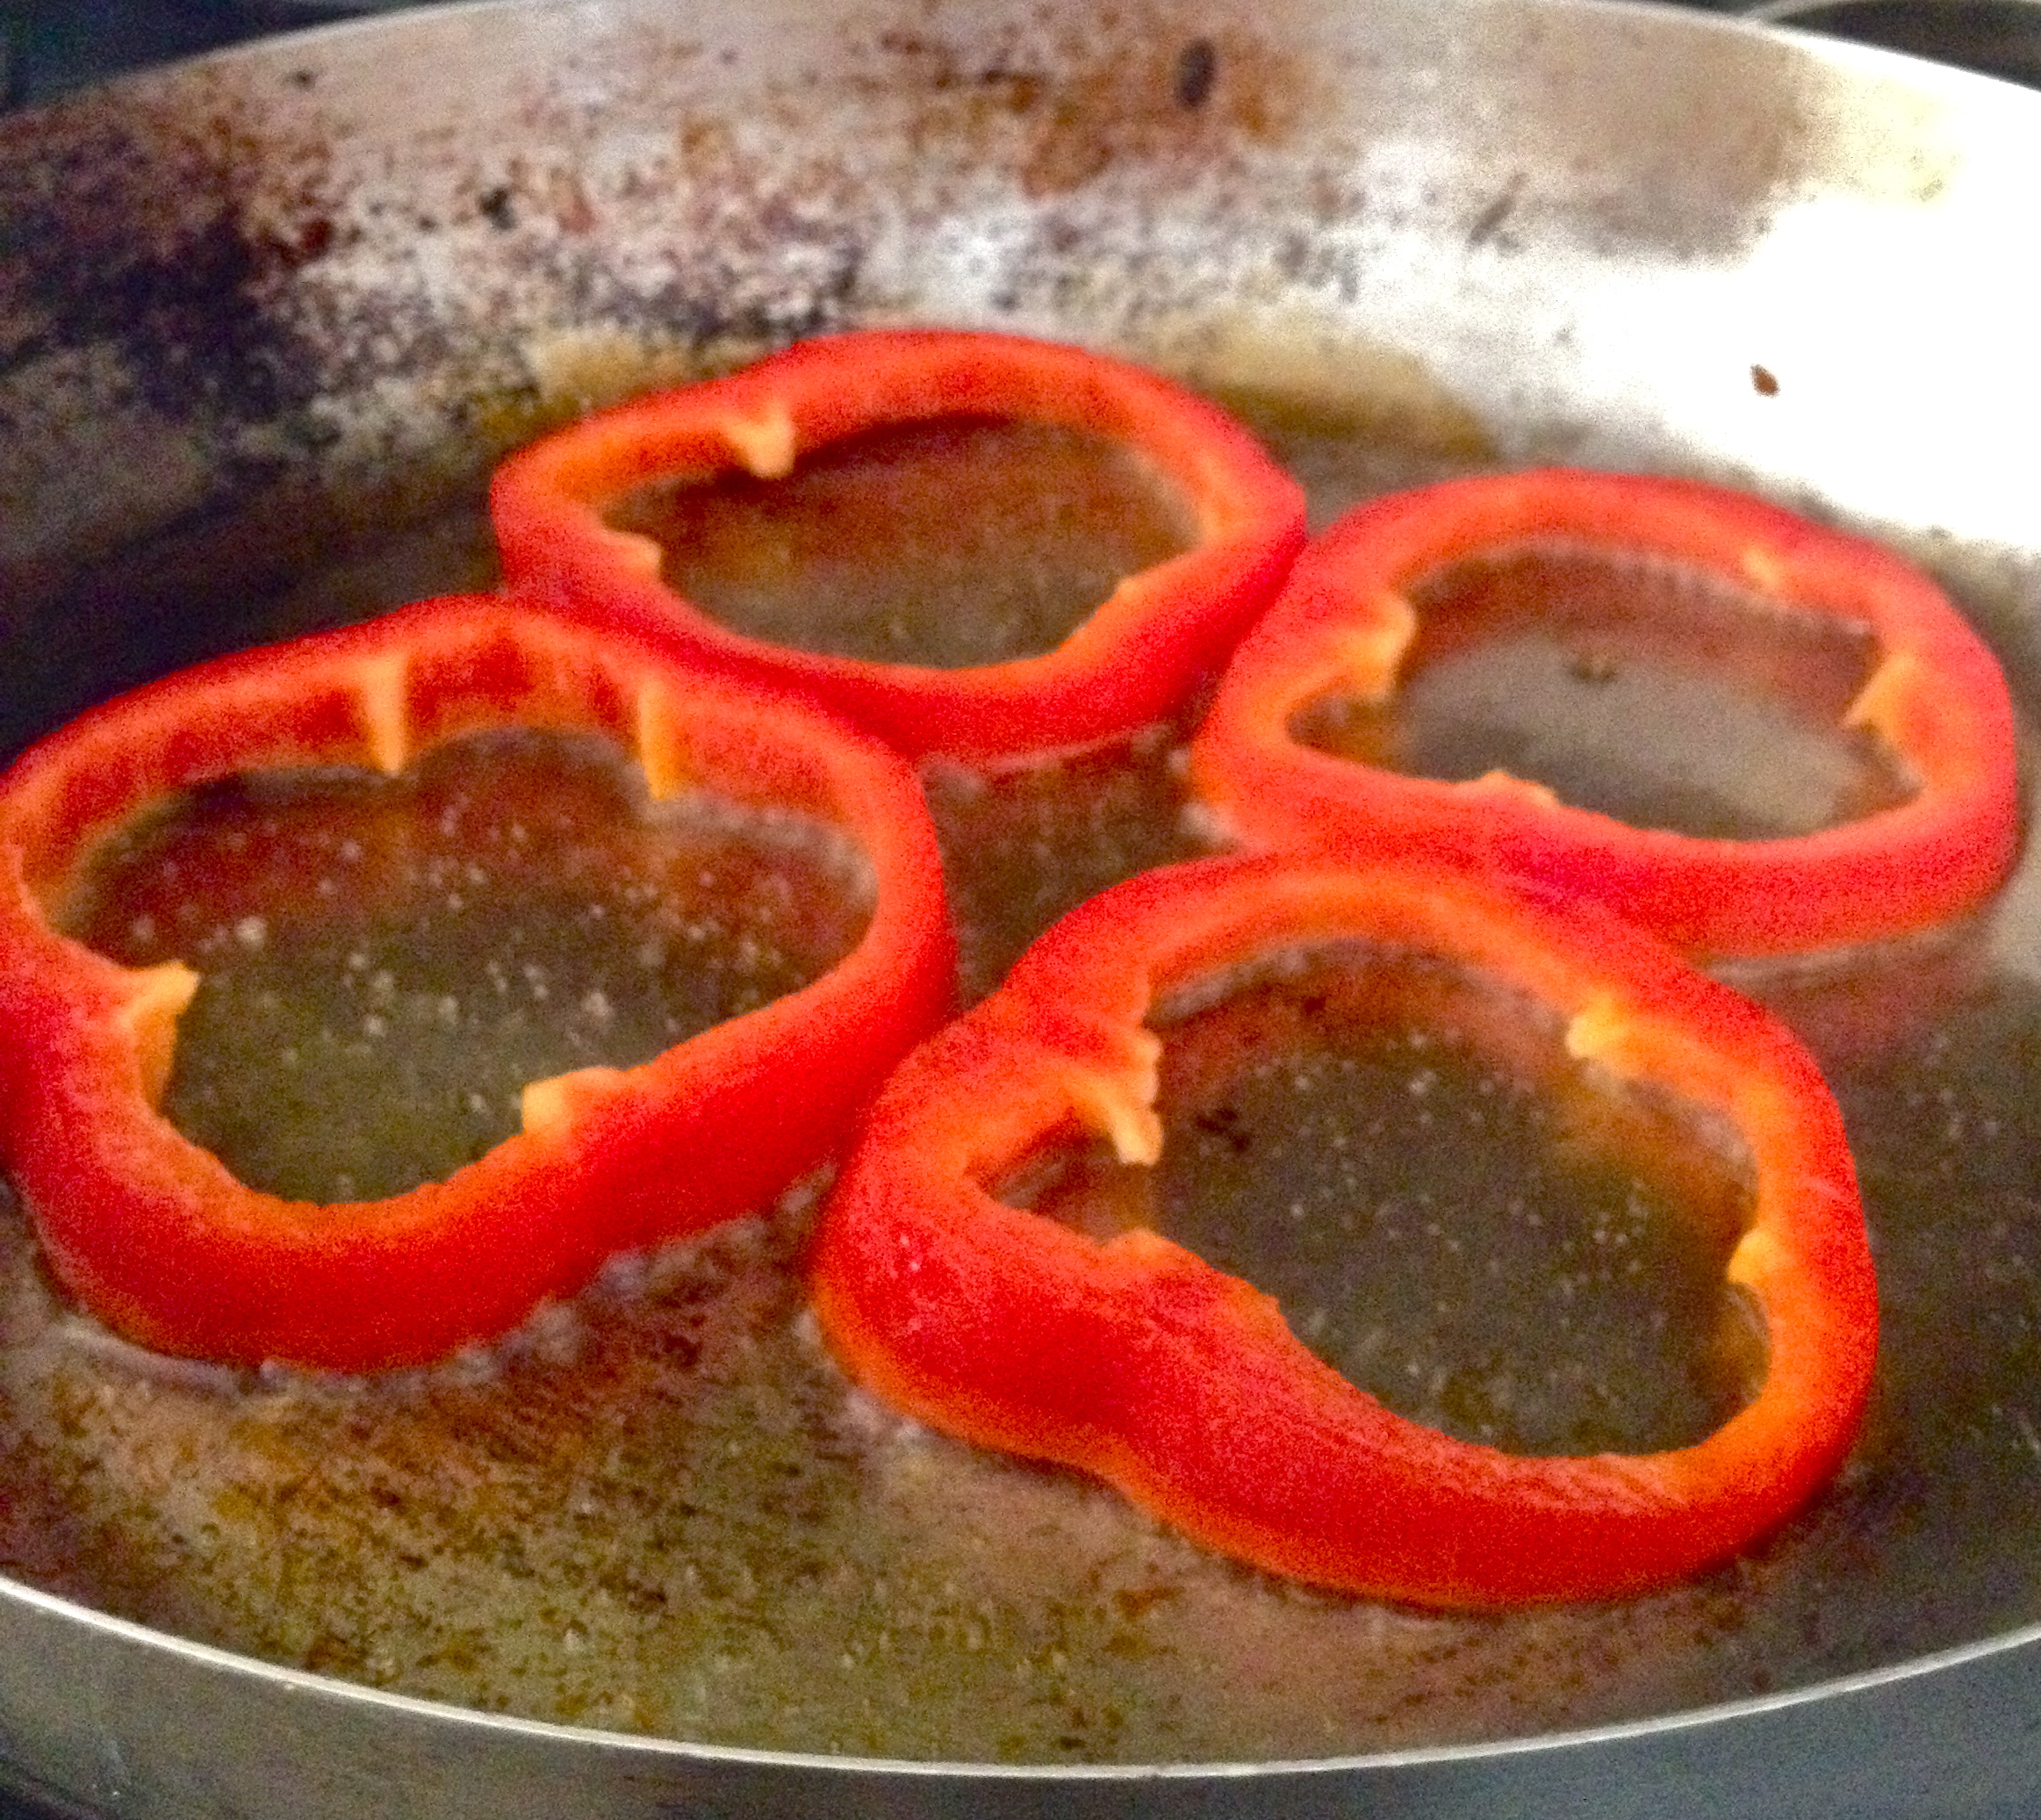
red pepper, raw or lightly sauteed
4 large lettuce leaves, rinsed and patted dry
avocado, sliced
green onion, sliced
1 lime, sliced

Just the Recipe link: Green Taco Burger Wraps

DIRECTIONS

First, season the burger meat. In a large bowl, add meat, egg, cumin, garlic powder, paprika, ground coriander, cayenne pepper, salt and pepper, and red onion to taste. I set the rest of the red onion aside in a little ramekin to top the burgers with later. Use your hands to mix all the ingredients together.

IMG_7900

That’s the only cooking prep you’ll do in this recipe. At this point, I set the meat aside to let the flavors hang out a bit while I chopped up everything else and put all the amazing toppings into their own little bowls.

IMG_7902

When everything else is ready to go, cook the burgers. First, use your hands to form them into small patties (we made two little patties per person). I cooked them on my beautiful new Le Creuset grill pan from Williams-Sonoma, but a regular grill or a pan can do the trick as well. Put your pan over medium high heat and lightly grease before adding the burgers. Cook until browned on each side and medium-rare in the middle (or however you like your burgers cooked!). Set aside for 5 minutes to let the meat rest.

IMG_7907

The next step is just assembly!

IMG_7904

I started with the lettuce wrapper, then laid the burger on top and placed the cheese on top of that, so it would get a little melty. Then it’s only a matter of topping to your heart’s content – cilantro, red pepper, red onion, green onion, avocado, and a finishing squeeze of lime make these a perfect fresh and healthy lunch. Before you take a bite, just wrap the lettuce around your taco-topped burger. Then dig right in!

IMG_7914

Loaded Chili.

Garnishes. Goodies. Fixins’. At least half the reason I love chili is the toppings you get to put on it. Oh, my, the toppings. This recipe is about making an amazing chili that will eventually become an Ode to Toppings, and I want you to use them all: avocado, cheese, cilantro, tomato—whatever your heart desires. And you know what? You are a great cook and a wonderful person, and you deserve a beautiful meal. So thank yourself for making this by plating it up like a work of art and garnishing the heck out of it. Heidi at 101 Cookbooks is the master at this. Here are some of her most gorgeously garnished soups: Split Pea, Broccoli Cheddar, Yellow Split Pea, and Posole in broth. Let life imitate art and load up this chili!

IMG_7707

INGREDIENTS

for the chili:
olive oil
1/2 onion, chopped
1/2 red bell pepper, chopped
2 cloves garlic, minced
1/4 tsp cayenne pepper
1 tsp oregano
1/2 tsp coriander
1/2 tsp cumin
1/4 tsp red pepper flakes
salt and pepper to taste
1 lb ground meat (I used pork)
1 28oz can diced tomatoes
2 cups stock (I used beef stock)
2 tbsp fresh cilantro, chopped
1 16oz can black beans, drained and rinsed
1 16 oz can corn, drained and rinsed

all the fixins’:
avocado, sliced
fresh cilantro, chopped
cheese, shredded
fresh tomato, chopped
onion or green onion, thinly sliced or minced
squeeze of lime

Just the Recipe link: Loaded Chili

DIRECTIONS

Heat oil in a pan and add onion and red pepper. Cook about 8 minutes, until softened.

IMG_7683

Add the garlic and the cayenne pepper, oregano, coriander, cumin, red pepper flakes, salt, and pepper. Stir and cook 1-2 minutes, until fragrant and yummy-smelling.

IMG_7687

Add the ground pork and use your spoon to break it up. Cook until browned, stirring occasionally.

IMG_7691

Once the meat is browned, pour in the canned tomatoes and the stock. Toss in a bay leaf for good measure. Bring to a boil and then turn down to a simmer. Simmer for 45 minutes.

IMG_7692

After 45 minutes have gone by, add the cilantro, corn, and beans, and simmer for another 15 minutes.

IMG_7699

Taste for seasoning and your chili is good to go! Now dress it up. And make it look beautiful, for heaven’s sake! You’re worth it.

IMG_7706

Gail’s Baked Mac ‘n’ Cheese.

I went to college about 1000 miles away from home, and at times it was rough for a homebody like me! Home is comforting and safe and easy—and that’s part of the reason why I wanted to go far, far away. To stretch myself a bit, get uncomfortable, and try something a little bit scary.

But not every experience needs to be new and unknown; sometimes safe and comfortable is just what the doctor ordered. And without any of my own family nearby, college-me found it especially thrilling to get to spend a weekend at the homes of some of my friends. It was so much fun to hang out with their families, pet their dogs, and see what it was like in the towns where they grew up. Visiting my beloved roommate Maura’s family was always a lot of fun for many reasons, not the least of which was the amazing FOOD! Maura’s mom and dad are awesome cooks and never failed to whip up something absolutely delicious whenever I came to visit; I have droolingly fond memories of her mom Gail’s key lime pie, and her mac ‘n’ cheese was always out of this world. I was overcome with a craving for it this past weekend, and they were nice enough to share the recipe with me. And, no surprise, it was the best mac ‘n’ cheese I’ve ever home-made myself. Check it out – this is the amazing Gail’s Baked Mac ‘n’ Cheese!

IMG_7567

INGREDIENTS (this served 3 people 2 BIG helpings each, with leftovers)

1 lb (1 box) cavatappi or your favorite pasta
4 tbsp butter
olive oil
1 small onion, diced
3 tbsp flour
3 cups milk (approximately – you’re just going for the right sauce consistency, so eyeball it a bit)
1 cup Gruyere cheese, shredded
1 1/2 cups cheddar cheese, shredded
nutmeg, salt, and pepper to taste
1 tbsp or more Sriracha or other hot sauce
3/4 tsp Dijon mustard
panko bread crumbs

Just the Recipe link: Gail’s Baked Mac ‘n’ Cheese

DIRECTIONS

Preheat oven to 350 F.

Cook the pasta in boiling salted water until slightly underdone. Reserve 1 cup of the pasta cooking water (it’s nice and starchy and is great to have on hand to add to the sauce later), and then drain the pasta and set it aside. It will finish cooking in the oven later.

Heat butter and a drizzle of olive oil over medium high, and add the onions. Cook until softened and translucent.

img_7542

Add the flour and stir as it forms a paste. Let it cook for about 2 minutes, stirring the whole time.

img_7544

Then grab your whisk and slowly pour in 1 cup milk, whisking vigorously to avoid creating any lumps. Once this first addition of milk is incorporated, whisk in the rest of the milk. once all the milk is incorporated, you can trade in your whisk for a spoon if you like, and keep stirring as the sauce thickens.

img_7546

Once the sauce has thickened and coats the spoon thickly, stir in the cheese.

img_7549

Add the nutmeg, salt, pepper, Sriracha, and Dijon mustard at this point, tasting and adjusting to get the flavor you want. I ended up adding a lot more Sriracha than I initially planned. It’s just so good in here.

img_7553

By this time, the sauce had thickened a little more than I wanted it to. To get it back to that gooey creamy sauciness, I added a bit of the pasta water that I had set aside earlier. When the sauce consistency is to your liking, stir in the pasta and coat it completely in beautiful cheesy goodness.

img_7554

Pour the whole thing into a greased baking dish and spread it out evenly. Top with bread crumbs and drizzle with a bit of olive oil.

img_7556

Bake for 20-30 minutes, or until the sides are bubbling and the topping is browned and crunchy.

img_7563

Devour!

img_7564

Scarborough Fair Roast Chicken.

Are you going to Scarborough Fair?
Parsley, sage, rosemary, and thyme
Remember me to the one who lives there
She once was a true love of mine.

If you love this song as I do, it’s likely because you know the beautiful version sung by Simon and Garfunkel. And if you love it as I do, you might also use it as a guide to seasoning chicken (more on that later). Knowing it was much older than a 60s hit, I decided to comb the web a bit to learn about the history of the song. There’s a pretty interesting Wikipedia article on this old ballad that gives a bit of background; the playfulness of the lyrics is what interests me most. Part of the song is from the point of view of a young man who instructs his love to do impossible tasks for him, and then it switches to her point of view. She gives him equally impossible tasks—and their relationship depends on the completion of these tasks. It’s sweet and a little goofy, despite the utterly mournful vibe of the S&G hit.

But when you really pay attention to the words of “Scarborough Fair,” it doesn’t make sense, at least to me, why the four herbs (parsley, sage, rosemary, and thyme) are mentioned in every single verse. They don’t have anything to do with the rest of the song! For me, this lovely herbal repetition has dictated the way I season chicken dishes for as long as I’ve been cooking (so it’s no surprise that parsley, sage, rosemary, and thyme feature in my whole roast chicken as well). But since I’m sure the point wasn’t to help people flavor meat, I did some Googling to see if there was an explanation. I found a few theories, my favorite of which says that these four herbs, when used together, ward off the evil eye. So look away, all you devils out there—this chicken is protected by musical magic! Taste the magic, people.

I have one serving suggestion that I will repeat at the end of the recipe, because it really is a good idea: make sure to have a crusty baguette on hand, because you’re going to want to sop up those heavenly juices.

IMG_7451

INGREDIENTS

1 whole chicken, rinsed and patted dry
olive oil (regular, not extra virgin)
1 tbsp dried parsley
1 tsp dried sage
1 tsp dried rosemary
1 tbsp dried thyme
1/2 tsp garlic powder
1/4 tsp cayenne pepper
2 bay leaves
salt and pepper to taste

Just the Recipe link: Scarborough Fair Roast Chicken

DIRECTIONS

Preheat oven to 400 F.

Put your chicken in a pan, legs- and breasts-side down, and drizzle with olive oil. Combine the parsley, sage, rosemary, thyme, garlic powder, cayenne pepper, salt, and pepper, and sprinkle half over the chicken. Then flip the chicken so that the legs and breasts are facing up, and repeat the olive-oil-drizzling and the spice-sprinkling. You could massage the spices into the chicken a bit if you like; I didn’t feel like it today. It’s the cook’s prerogative.

IMG_7453

Pop it in the oven for about an hour and 15 minutes, depending on the size of your bird. It’s done when the juices run clear and the meat has lost its inner pinkness.

IMG_7461

That’s all! Roast chicken is incredibly easy. Definitely not the kind of task that the young man in “Scarborough Fair” would have requested of his lover. And when you eat this, you’ll enjoy it so much more if you have a nice crusty loaf of bread to dip into the juices—sometimes I think they’re the star of the show, they’re just that good.

IMG_7473

Celery Root and Sweet Potato Soup.

I’ve been wanting to try this type of thing for a while. Have you ever noticed, while you wander through the grocery store, a really knobby, homely-looking reject vegetable? One that looks like something went wrong when a normal vegetable was growing and it came out all messed-up? That’s celery root, also called celeriac. It’s notorious in the culinary world as one of those foods that many home cooks tend to shy away from, never knowing its versatility and great flavor. I hope to learn a lot more about celery root and to have some more recipes up here in the near future! For now, this warming, pale orange soup is just lovely, despite celeriac’s homeliness. Thank you to Frugal Feeding for the inspiration.

IMG_7268

INGREDIENTS

2 tbsp butter, divided (or skip the butter and just stick with oil)
olive oil (any oil really will work  – I used sunflower oil. Because I felt like it.)
2 small onions, diced
2 stalks celery, diced
2 cloves garlic, minced
1 small celery root, peeled and diced
1 large sweet potato, peeled and diced
4-5 cups vegetable or chicken stock
thyme, paprika, salt, pepper to taste (I used a small palmful of each)
bay leaf
1/2 – 1 cup half and half
fresh parsley for garnish

Just the Recipe link: Celery Root and Sweet Potato Soup

DIRECTIONS

Heat oil and, if using, 1 tbs if butter in a large soup pot, and add onion and celery. Cook until translucent, stirring occasionally. When the onions are nearly there, stir in the garlic.

IMG_7253

Add the celery root and sweet potato and cook 5 minutes.

Next, pour in the stock and add your thyme, paprika, salt, pepper, and bay leaf. If you’re using butter, add the second tbsp here and stir in to melt. Simmer, stirring occasionally, until the sweet potato and celery root are totally soft.

IMG_7256

Remove from heat and puree in batches, either using a blender or food processor, or, if you’re lucky enough to have one (I do not!) use an immersion blender.

IMG_7260

Pour in the half and half and stir, and you’re ready to serve! Garnish with fresh chopped parsley. I had a nice little lunch of this soup with a butternut squash and green onion quesadilla.

IMG_7262

Egg in the Pepper.

Red Pepper Egg in the Hole? Egg in the Red Pepper Hole? Actually it’s more like Egg in and Around the Hole. I wasn’t sure what to call these. Basically it’s your standard egg in the hole, only instead of being in a hole, they’re in slices of red pepper. I love the shape of red pepper slices, and I was just struck with the idea to do this while I was making breakfast over the weekend. Eggs in the Pepper are really good for breakfast, and here’s why: They’re easy. They don’t have a lot of ingredients. They’re fast. And they feel fancy. Happy eating.

IMG_7204

INGREDIENTS

1 red pepper
olive oil
2 slices of ham (or use some baby spinach instead, if you like)
6 eggs
cheese, for sprinkling (I used cheddar and mozzarella)
salt and pepper to taste

Just the Recipe link: Egg in the Pepper

DIRECTIONS

Lay the red pepper down horizontally and cut into 6 slices, cleaning out all the seeds and stuff inside.

IMG_7189

Heat oil in a pan and fry the peppers a few minutes on eat side, until tender and lightly browned. Work in two batches until they’re all cooked.

IMG_7190

Then fry up the ham (or spinach instead, if you like). Just give it a minute or two on each side, and remove it to a plate. This will be the base for the peppers and eggs.

IMG_7198

Now put 3 of the cooked pepper slices back into the pan with some more oil. Crack 3 of the eggs into the middle of the peppers – no worries if some of the egg spills out the sides; it probably won’t be perfect. Cover the pan with a lid.

IMG_7195

When the eggs are almost done, sprinkle some cheese on top and cover again to melt.

IMG_7196

Remove from heat and plate on top of ham or spinach. Repeat with the last 3 red pepper slices and eggs. We served these with hash browns – such a great breakfast!

IMG_7210