Gail’s Baked Mac ‘n’ Cheese.

I went to college about 1000 miles away from home, and at times it was rough for a homebody like me! Home is comforting and safe and easy—and that’s part of the reason why I wanted to go far, far away. To stretch myself a bit, get uncomfortable, and try something a little bit scary.

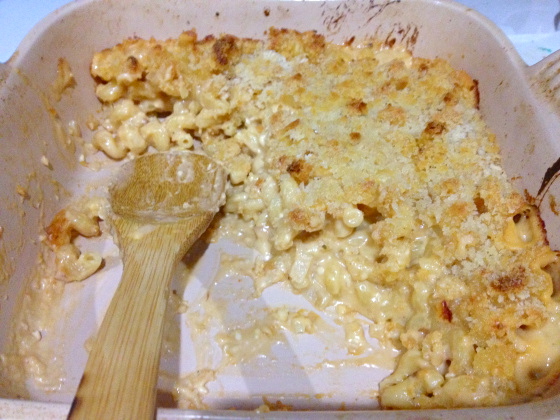
But not every experience needs to be new and unknown; sometimes safe and comfortable is just what the doctor ordered. And without any of my own family nearby, college-me found it especially thrilling to get to spend a weekend at the homes of some of my friends. It was so much fun to hang out with their families, pet their dogs, and see what it was like in the towns where they grew up. Visiting my beloved roommate Maura’s family was always a lot of fun for many reasons, not the least of which was the amazing FOOD! Maura’s mom and dad are awesome cooks and never failed to whip up something absolutely delicious whenever I came to visit; I have droolingly fond memories of her mom Gail’s key lime pie, and her mac ‘n’ cheese was always out of this world. I was overcome with a craving for it this past weekend, and they were nice enough to share the recipe with me. And, no surprise, it was the best mac ‘n’ cheese I’ve ever home-made myself. Check it out – this is the amazing Gail’s Baked Mac ‘n’ Cheese!

IMG_7567

INGREDIENTS (this served 3 people 2 BIG helpings each, with leftovers)

1 lb (1 box) cavatappi or your favorite pasta
4 tbsp butter
olive oil
1 small onion, diced
3 tbsp flour
3 cups milk (approximately – you’re just going for the right sauce consistency, so eyeball it a bit)
1 cup Gruyere cheese, shredded
1 1/2 cups cheddar cheese, shredded
nutmeg, salt, and pepper to taste
1 tbsp or more Sriracha or other hot sauce
3/4 tsp Dijon mustard
panko bread crumbs

Just the Recipe link: Gail’s Baked Mac ‘n’ Cheese

DIRECTIONS

Preheat oven to 350 F.

Cook the pasta in boiling salted water until slightly underdone. Reserve 1 cup of the pasta cooking water (it’s nice and starchy and is great to have on hand to add to the sauce later), and then drain the pasta and set it aside. It will finish cooking in the oven later.

Heat butter and a drizzle of olive oil over medium high, and add the onions. Cook until softened and translucent.

img_7542

Add the flour and stir as it forms a paste. Let it cook for about 2 minutes, stirring the whole time.

img_7544

Then grab your whisk and slowly pour in 1 cup milk, whisking vigorously to avoid creating any lumps. Once this first addition of milk is incorporated, whisk in the rest of the milk. once all the milk is incorporated, you can trade in your whisk for a spoon if you like, and keep stirring as the sauce thickens.

img_7546

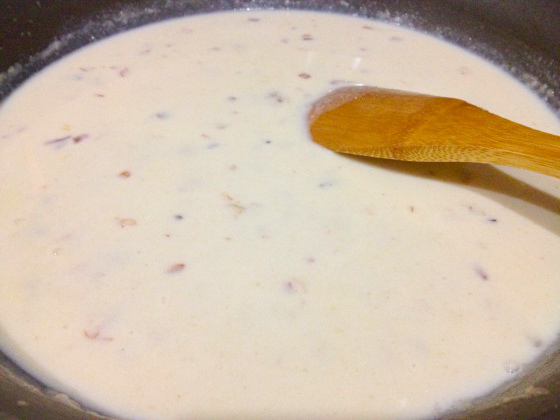
Once the sauce has thickened and coats the spoon thickly, stir in the cheese.

img_7549

Add the nutmeg, salt, pepper, Sriracha, and Dijon mustard at this point, tasting and adjusting to get the flavor you want. I ended up adding a lot more Sriracha than I initially planned. It’s just so good in here.

img_7553

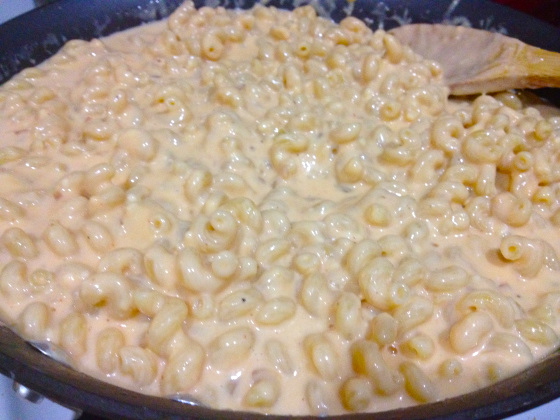
By this time, the sauce had thickened a little more than I wanted it to. To get it back to that gooey creamy sauciness, I added a bit of the pasta water that I had set aside earlier. When the sauce consistency is to your liking, stir in the pasta and coat it completely in beautiful cheesy goodness.

img_7554

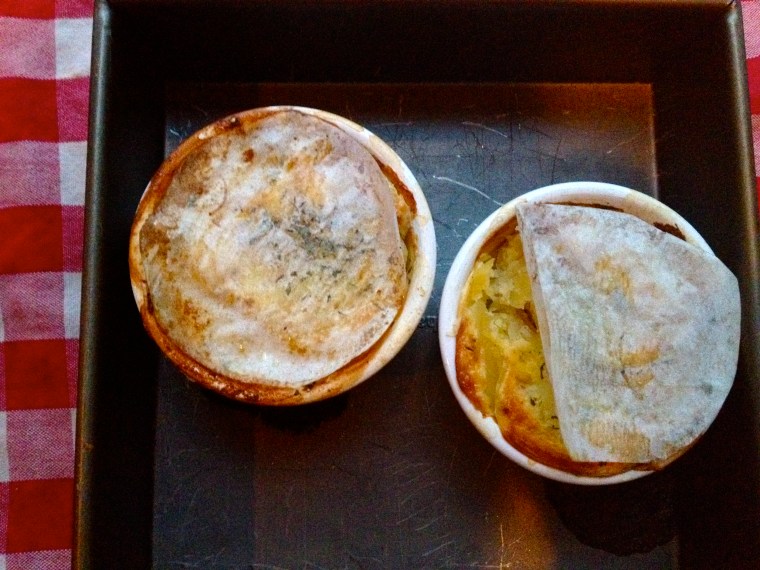
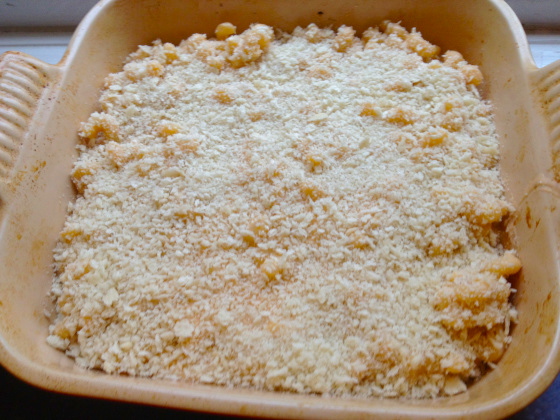
Pour the whole thing into a greased baking dish and spread it out evenly. Top with bread crumbs and drizzle with a bit of olive oil.

img_7556

Bake for 20-30 minutes, or until the sides are bubbling and the topping is browned and crunchy.
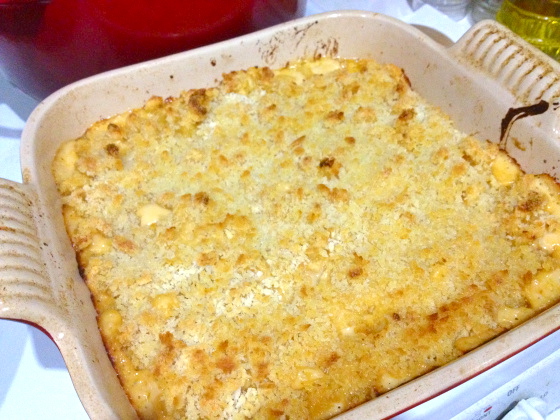
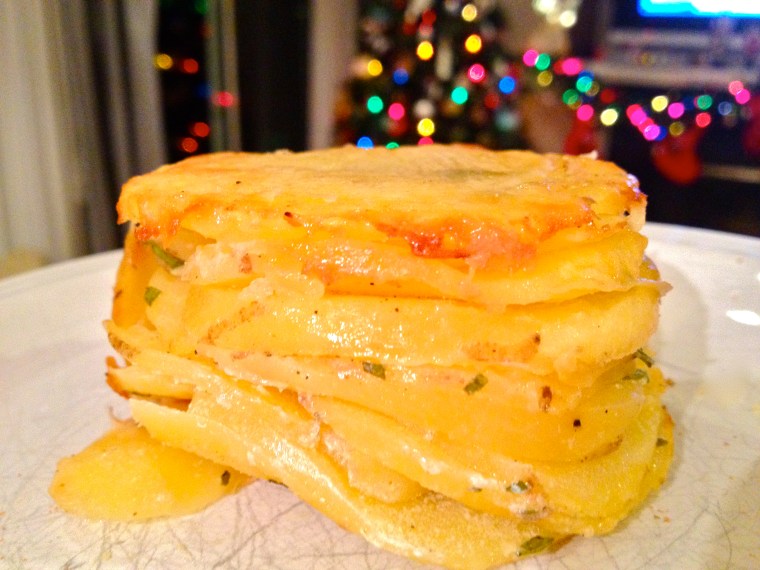
img_7563

Devour!

img_7564

Advertisement

Roasted Spiced Chickpeas.

Lately at work, I’ve been hanging around a lot of talk about snack foods. Normally I’m not really much of a snacker; I never buy chips or pretzels or anything like that, because I generally don’t crave them. But for the past week, I’ve been taking a lot of notes about people’s snacking habits, and as a result, I found myself really craving salty snack foods. This led me to two thoughts: 1) I have a reaffirmed belief in the power of advertising to get people interested in products they never would have cared about before (i.e., me craving snack foods), and 2) I wanted to give these roasted chickpeas a go, after having seen them on a handful of blogs over the past month or so. Roasted chickpeas make a fantastic replacement for chips. They’re crunchy, salty, spicy, and come in any flavor you can make. So make some!

IMG_6710

INGREDIENTS

1 can chickpeas
olive oil
salt
extra virgin olive oil
seasonings of your choice (I used Ukrainian Village Seasoning from the Spice House)

Just the Recipe link: Roasted Spiced Chickpeas

DIRECTIONS

Preheat oven to 350 F.

The chickpeas require quite a bit of prep: Drain them. Rinse them off. Remove the skin from each little bean, pretending you’re a rabbi conducting a hundred brises. Lay them out on a towel and gently pat them dry. In a bowl, toss them with a drizzle of olive oil and a good sprinkling of salt.

IMG_6701

Lay the salted, oiled chickpeas out on a baking sheet.

IMG_6705

Bake about 50 minutes, until they’re crunchy and browned.

IMG_6708

Now, the seasoning part. There are so many flavor combos that I want to try! Paprika and cumin, parsley and granulated garlic, honey and cayenne pepper, and good old salt and pepper – all yummy pairings. For this batch, I used one of the Spice House‘s awesome Chicago neighborhoods spice blends – the Ukrainian Village seasoning – which has a great blend of onion and pepper flavors. I topped it off with a little sprinkle of truffle salt, just because I was feelin’ fancy.

IMG_6709

That’s it! I love these. They’re a great, substantial snack to munch on when you need a crunch but don’t want to go the chips or nuts route. Enjoy! And be sure to let them cool completely before you put them in any kind of container, or else the heat/condensation will make the chickpeas soggy.

Cream Potatoes Anna.

Pommes Anna is a classic potato dish in French cuisine. It’s usually made with butter, but, taking a page out of chef Laura Calder’s book, I used half and half. It’s melty and creamy. It’s herby and warm. It’s the perfect side to any kind of meat, but especially pork chops. Or chicken breasts. Or steak. Or buffalo. Or zebra filets. Okay fine, everything! And pommes Anna is fun to make too. Lots of layering and a bit of flexibility with herbs and spices. These were very calming to make, and the finished product proved a satisfying reward after having spent the morning tiring out a new puppy. Please welcome Penny the Black Lab Puppy, a much-loved new addition to our family!

IMG_6134

She tried her hardest to get at these potato goodies while I was shooting them, but only managed to snag my red and white checked towel in her little mouth, prancing away as she tripped over the dragging ends of it. What a little troublemaker.

IMG_6164

INGREDIENTS

4 potatoes (small-ish – this recipe makes 2 ramekins, so adjust accordingly), peeled and thinly sliced into discs
1/2 cup half and half or heavy cream
rosemary and thyme, chopped
pinch of paprika
salt and pepper
butter or non-stck spray

Just the Recipe link: Cream Potatoes Anna

DIRECTIONS

Preheat oven to 400 F.

Place the potatoes in a large dish and toss them in the half and half. Let them soak about 15 minutes.

IMG_6145

Meanwhile, break out the parchment paper. You’ll need to trace a sheet of paper that will fit into the bottom of whatever baking dish you’re using (I used two ramekins, so I cut two circles to fit into the bottom). Then, you’ll need a slightly larger sheet of parchment paper to fit on top of the dish, covering the assembled potatoes. I find it easier to just cut all the parchment paper pieces at once and then set the top pieces aside. Butter or spray the bottom piece(s) and place into the bottom of the pan, butter side up.

IMG_6139

Next, take the potatoes out of the cream and start layering them into your dish. Make a single layer of potatoes, then sprinkle with a bit of the salt, pepper, paprika, rosemary, and thyme. Keep alternating potatoes and seasonings until you use up all the potatoes.

IMG_6149

Butter the top piece(s) of parchment paper and place firmly on top of the potatoes. If you’re using ramekins, place them in another larger pan.

IMG_6157

Place a heavy pan on top of the potatoes; this weighs them down and bakes them into a creamy potato cake. Yum. Bake until super tender and let cool before turning out into a beautiful, delectably melty potato cake.

IMG_6161

Enjoy! Oh and P.S. – happy Mayan end of the world day! See you all tomorrow….or not?!

IMG_6170

Roasted Carrots.

Nothing fancy here, just an easy side dish. But there’s something kind of magical that happens when you roast carrots this way. They develop a silky texture with a warm, rich flavor that’s both sweet and savory. I love these—if you’re not usually a cooked carrot fan, make these and you will totally rethink your stance on the vegetable. They go great with baked chicken, lamb steaks, pork chops, and almost any other simple main dish you can think of. And the added perk that makes me even more excited about this recipe is the garlic cloves: after the carrots are done and the cloves are softened in the oven, toast up a piece of crusty bread, slather it with some good butter, and then spread the garlic all over that baby. Just don’t try to kiss anyone afterwards. Or alternatively, make them eat some garlic, too.

INGREDIENTS

6-10 whole carrots, washed and dried
olive oil
salt
pepper
3 cloves garlic, skin on, crushed

DIRECTIONS

Preheat oven to 350 F.

In a pan or baking dish, toss carrots in olive oil, salt, and pepper. Drop in the garlic cloves.

Bake until tender and slightly caramelized. Yum.