Glazed Lemon Madeleines.

I’ve been looking for the perfect homemade madeleine. I think this is it. I would say that this recipe is “adapted from David Lebovitz,” but I realized that I really didn’t change much of anything! His recipe is perfect just the way it is (if you’ve never been to his website, please check it out – he usually inspires me either to cook something beautiful or to speed along my plan-making for another trip to Paris).

IMG_7527

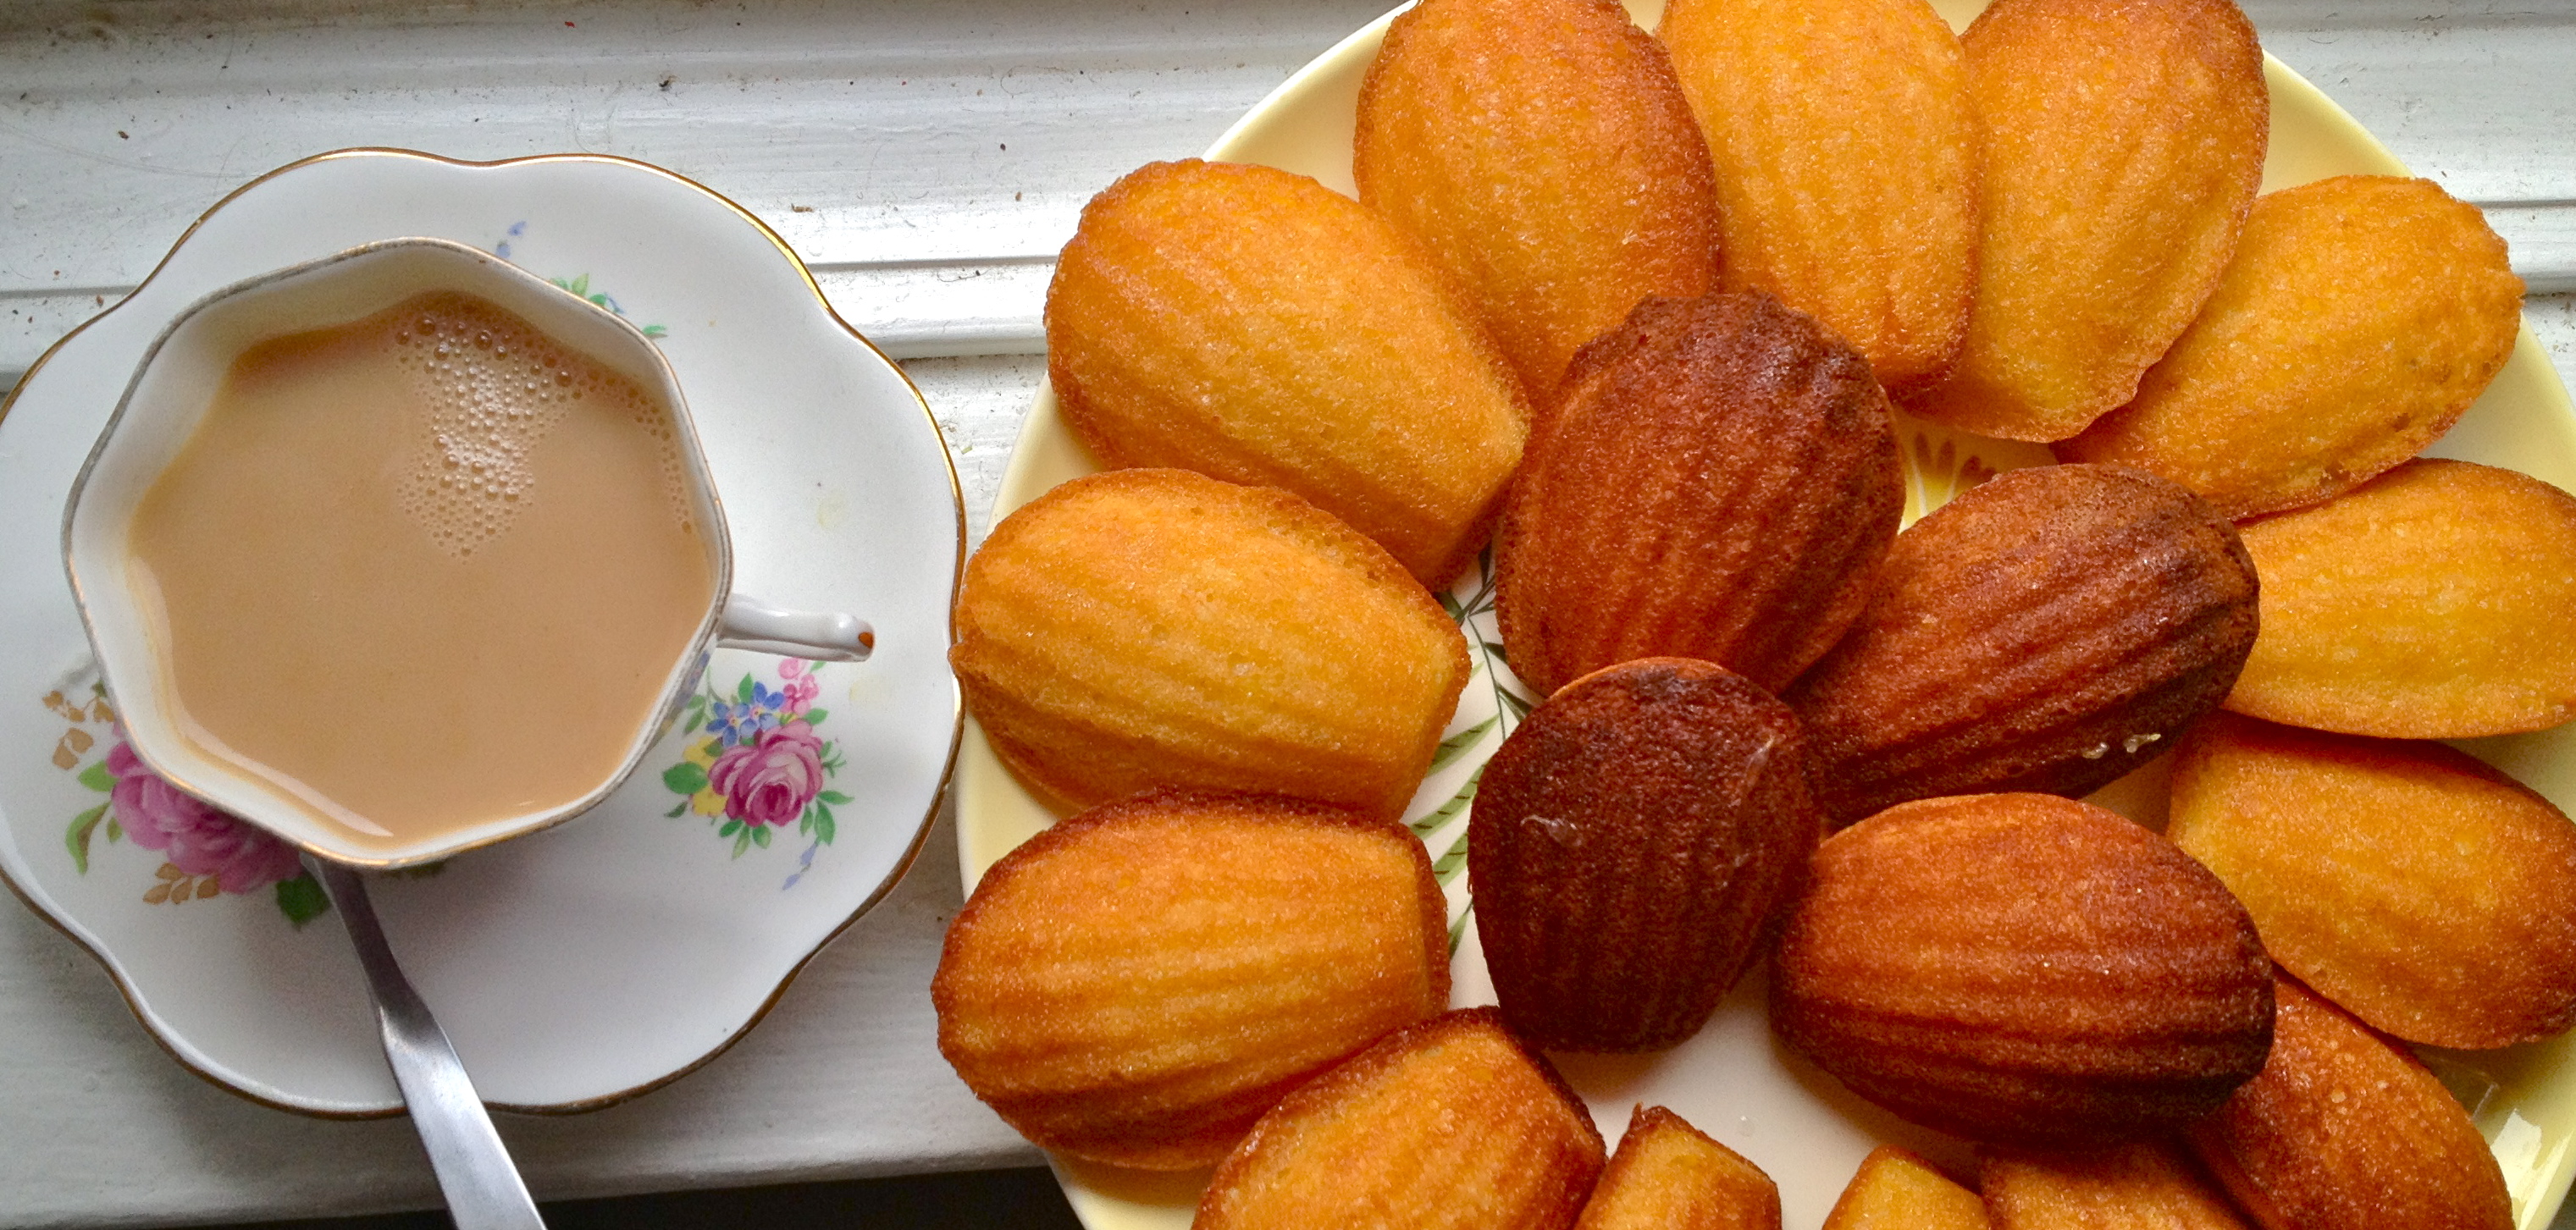
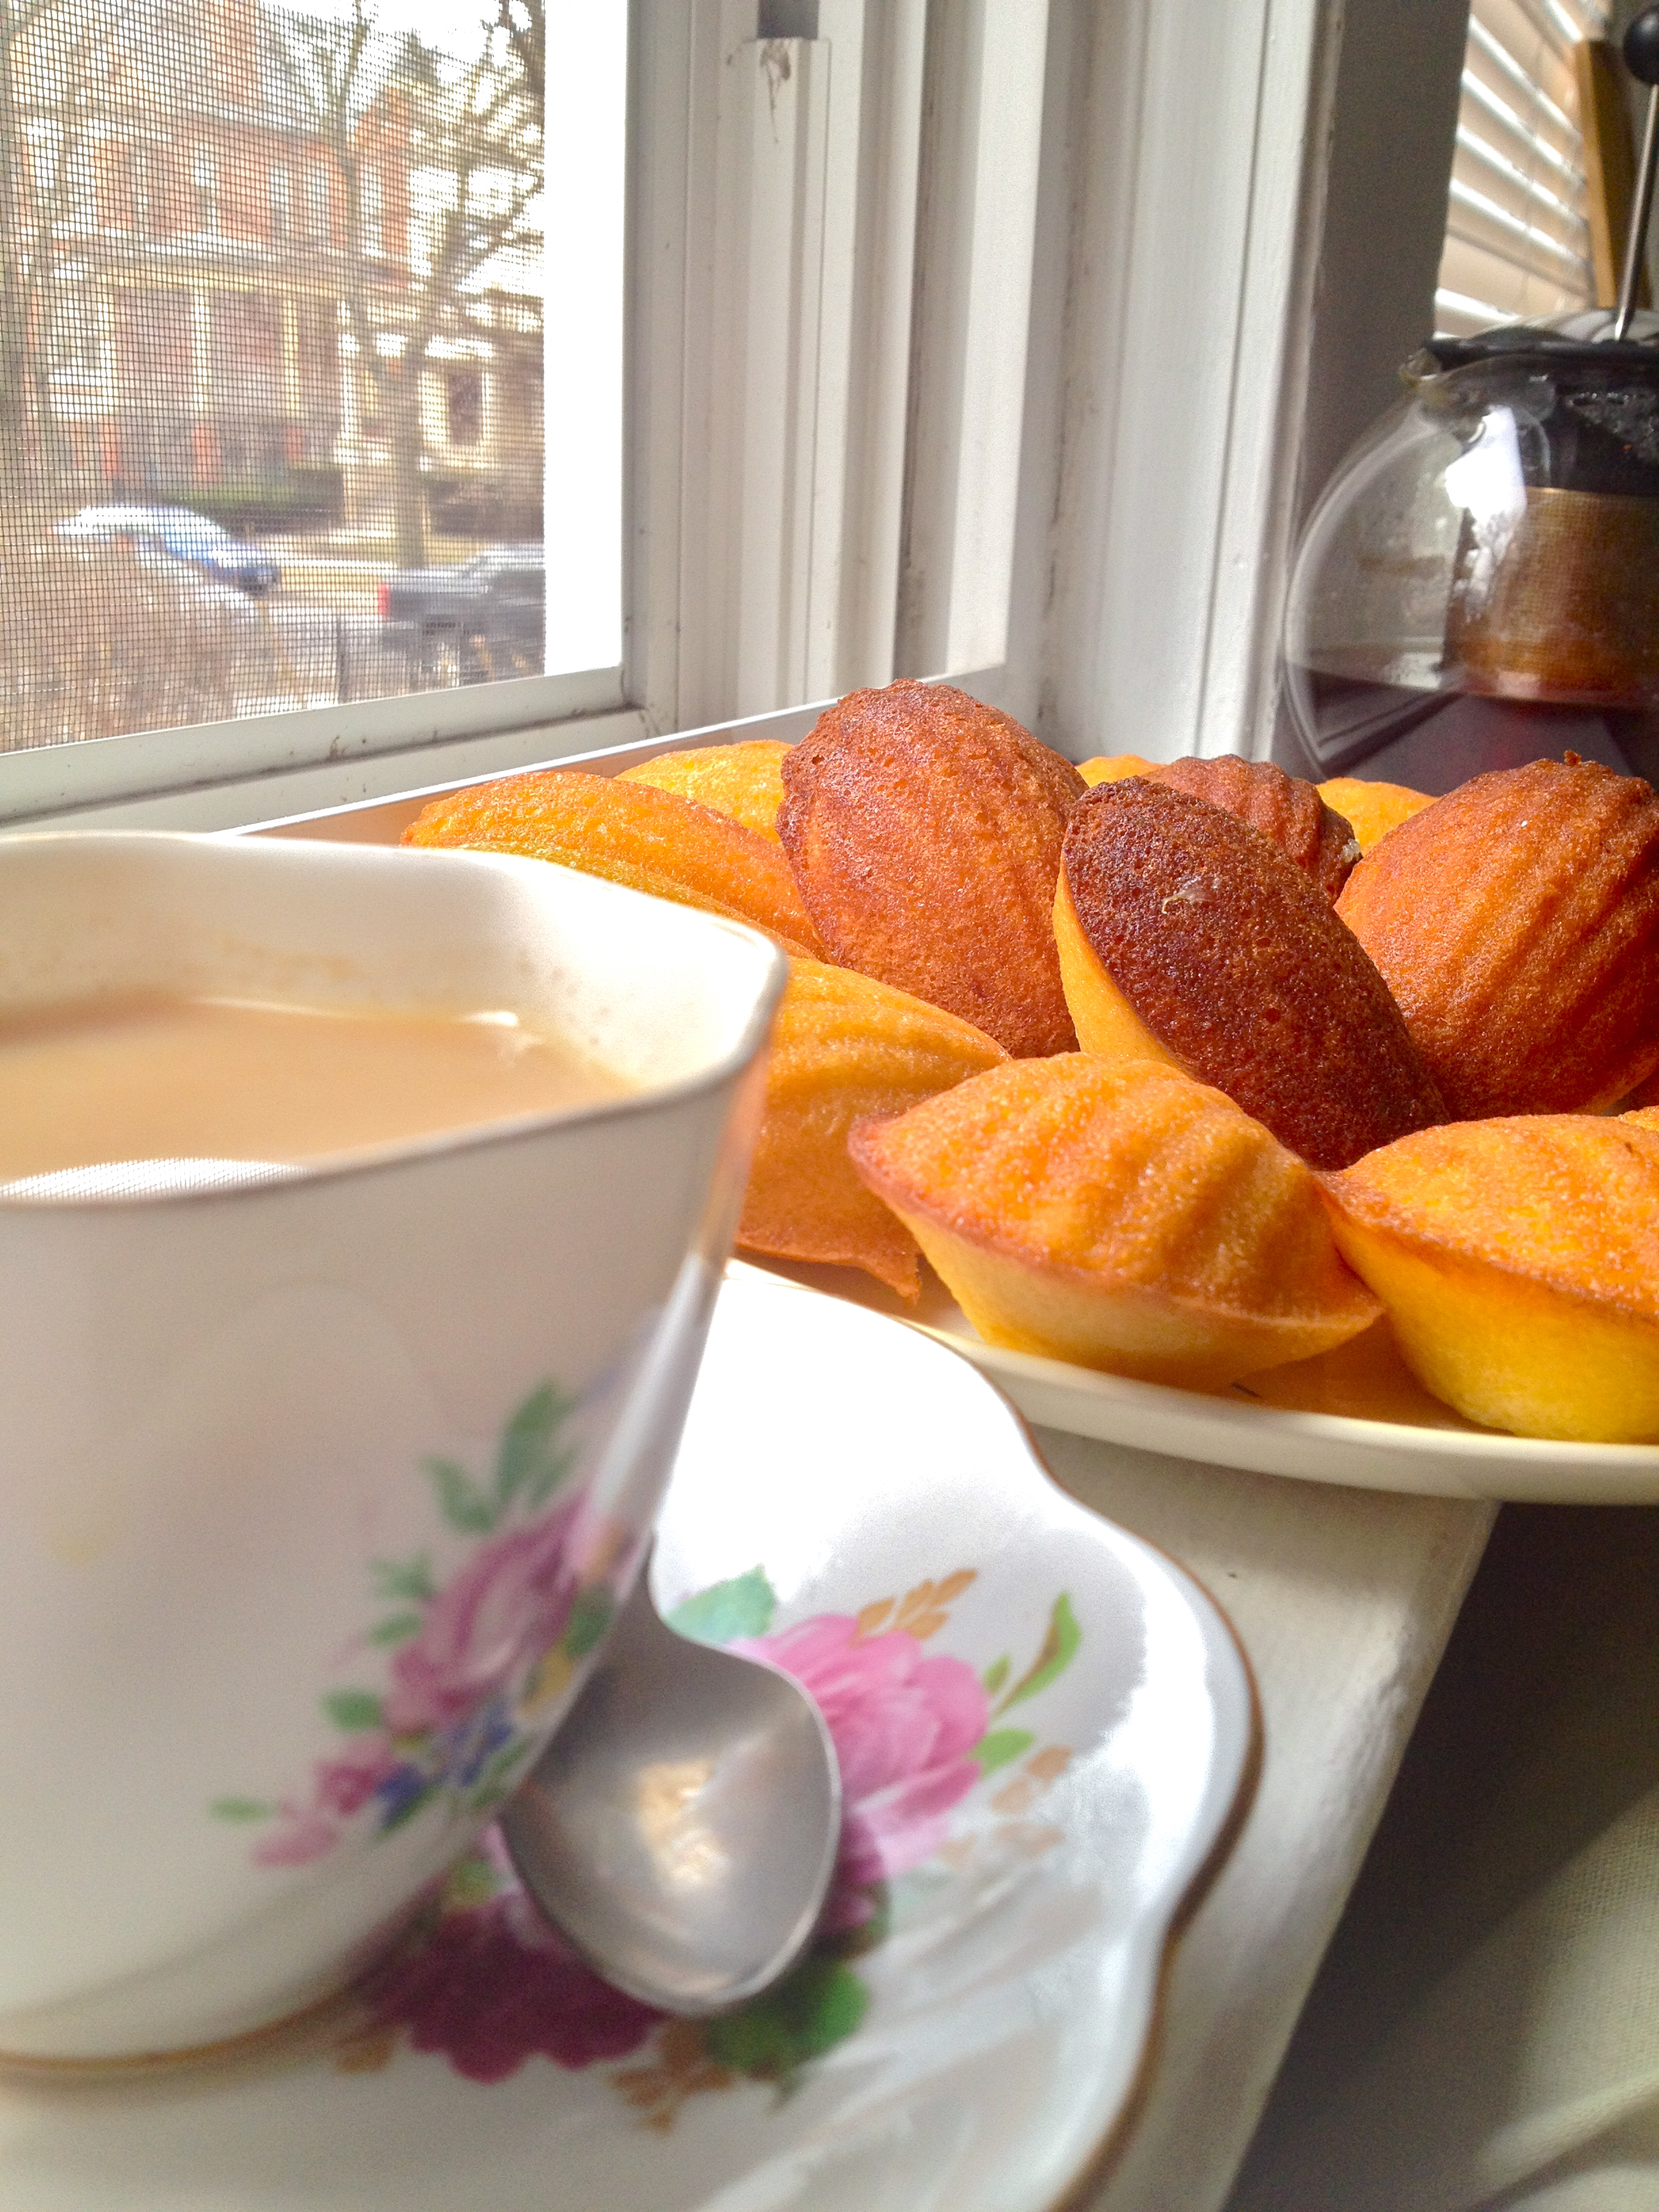
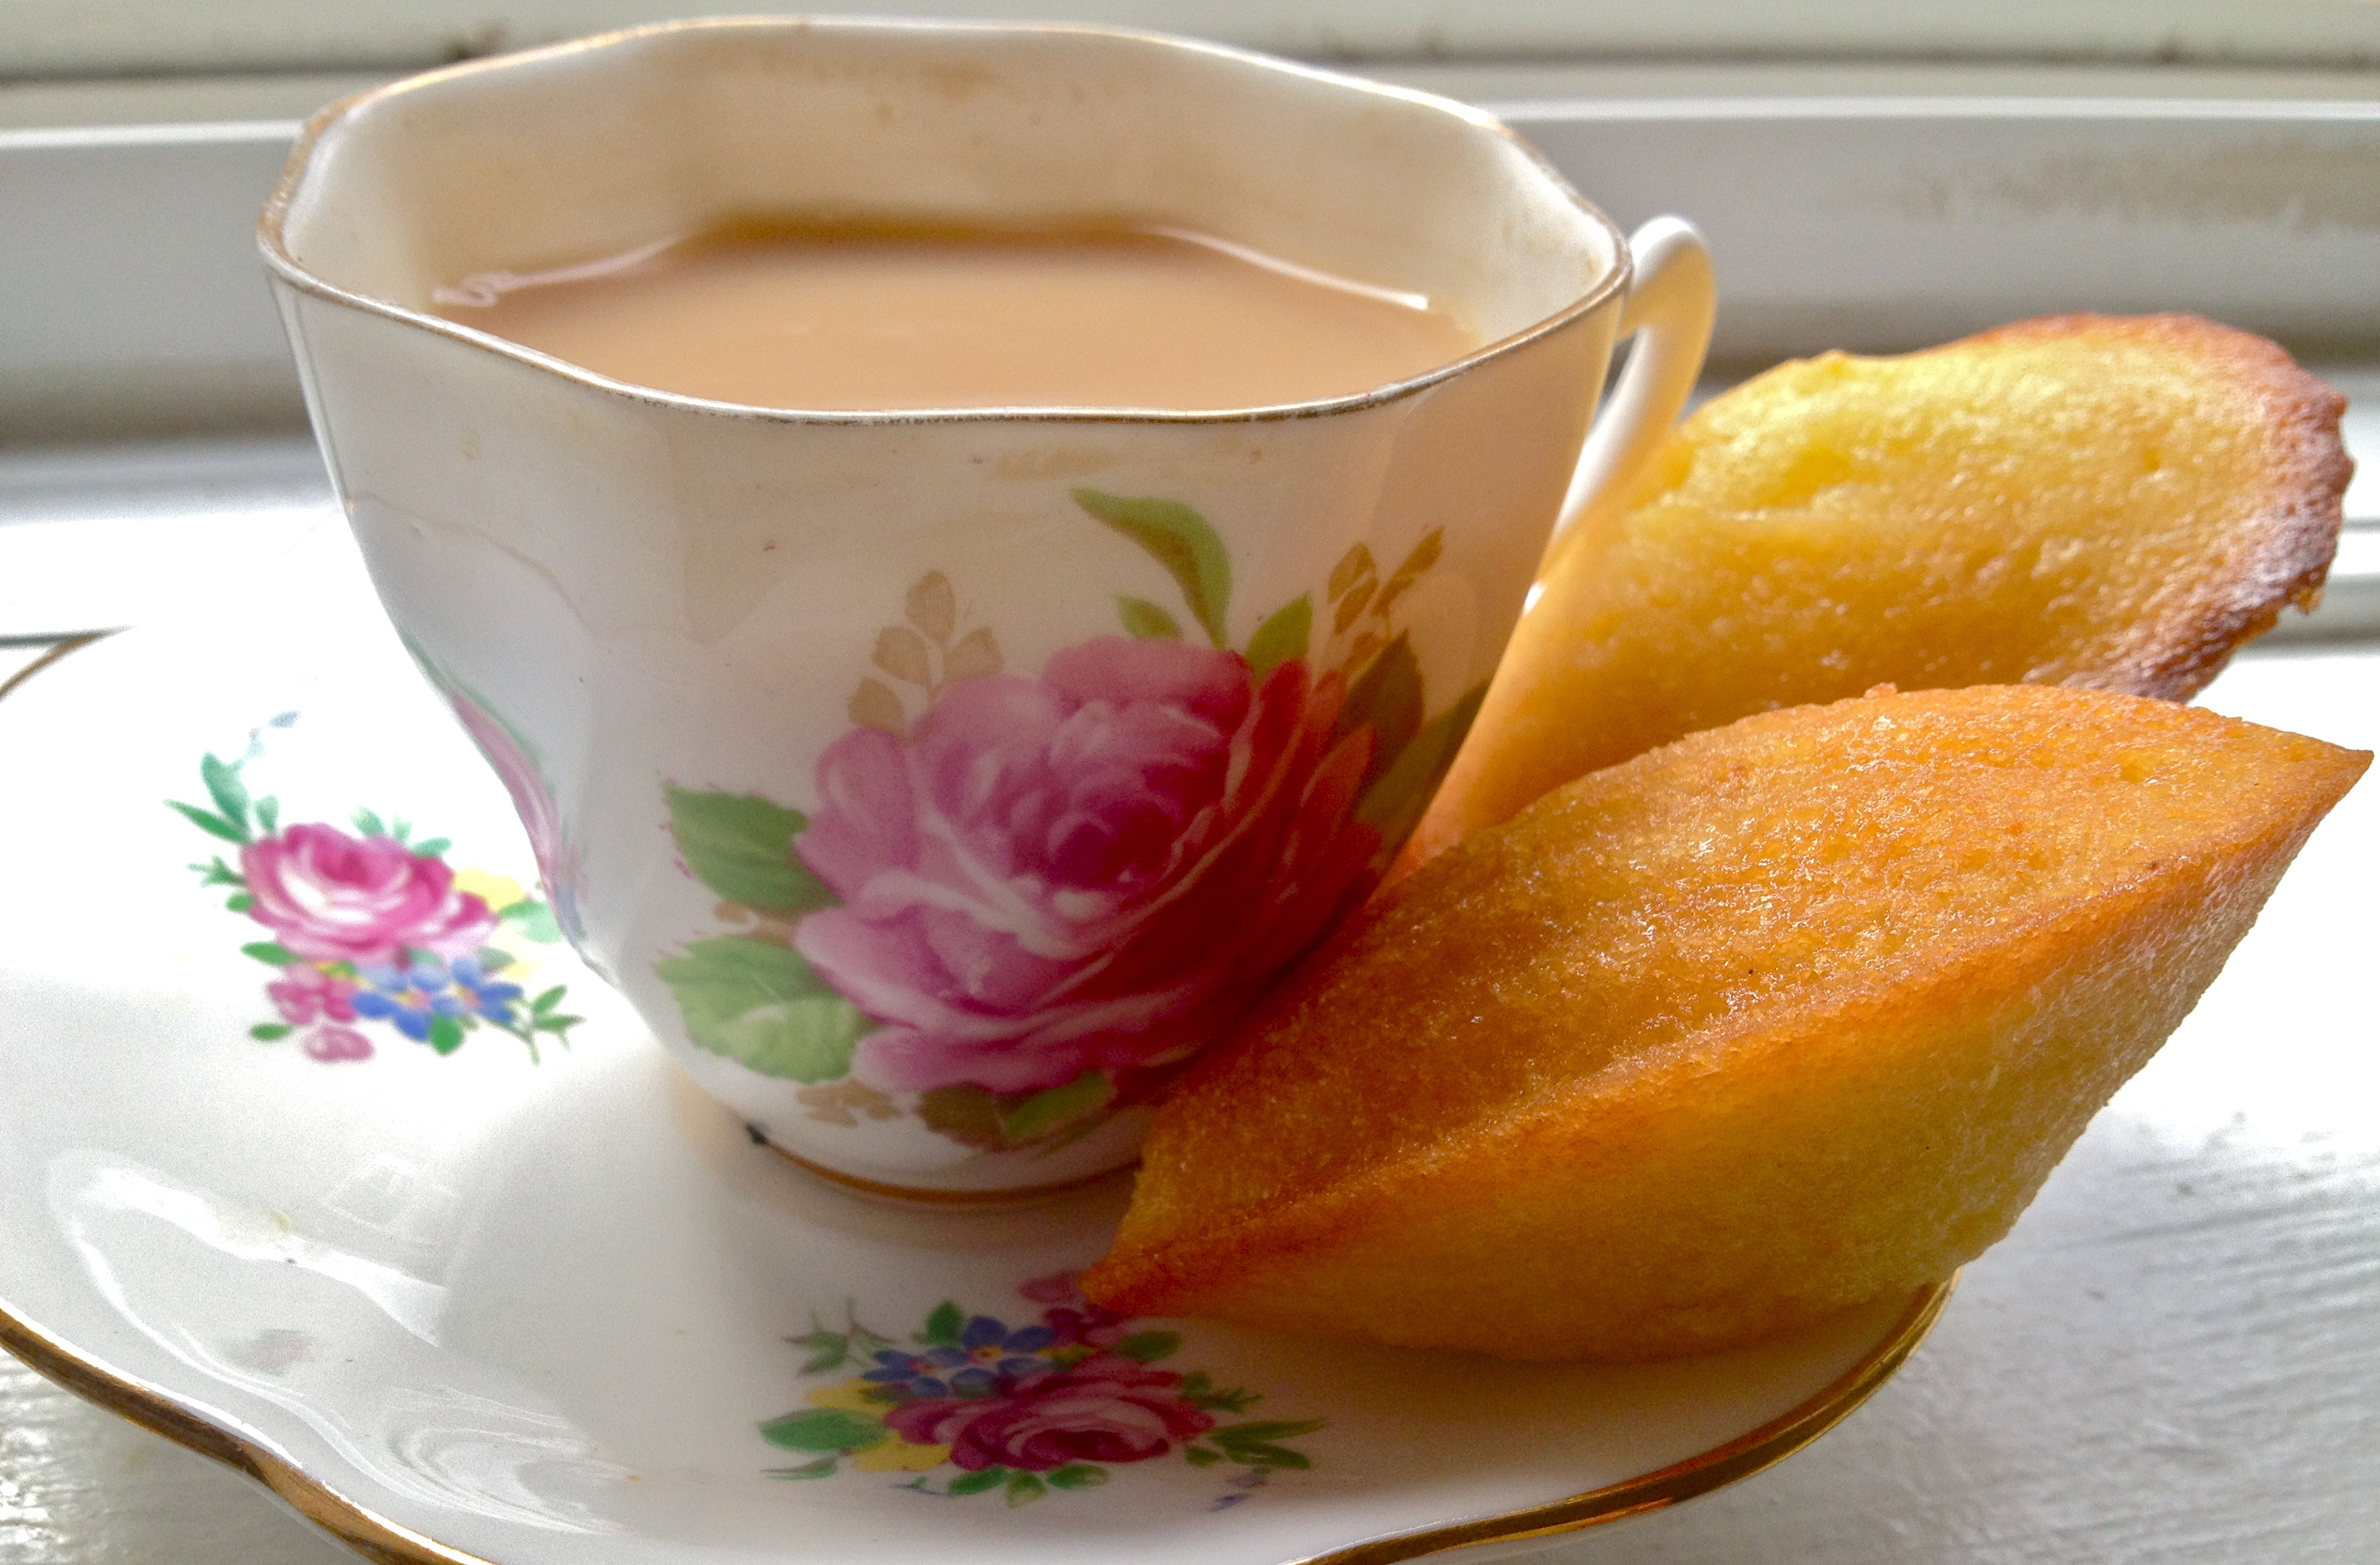
I love these lemon madeleines anytime. My roommate can attest that for some inexplicable reason I even made them during the Super Bowl this year–not BEFORE the Super Bowl, but actually DURING THE GAME. I have no excuse or explanation for that. And while they’re fine with football, they’re especially well-paired with tea. Lemon madeleines are actually one of the only things in this world for which I will actually delay drinking my daily pot of tea in order to whip up a quick batch.

IMG_7531

To give these adorable little cookie-cakes their distinctive shell shape, you need a special pan, called a madeleine pan (go figure). The pan gives them their scalloped bottom and humped and fluffy top. I’m quite happy with my madeleine pan, so if you ask me, it’s worth the investment for this little lemony French treat. However, if you want to try these but don’t have a madeleine pan of your own, just follow the directions exactly as written but use a mini muffin pan instead.

IMG_7532

INGREDIENTS

3 eggs, room temperature
2/3 cup sugar
2 healthy pinches of salt
1 1/4 cups flour
1 tsp baking powder (optional – it helps them rise when baking, and I haven’t decided my opinion on it yet.)
zest of one medium lemon
9 tbsp butter, melted and cooled to room temperature
1 tbsp lemon juice
3/4 cup powdered sugar
up to 2 tbsp water

Just the Recipe link: Glazed Lemon Madeleines

IMG_7540

DIRECTIONS

First, grease your madeleine pan and put it in the freezer. This will make sure the madeleines hump up when they’re in the oven.

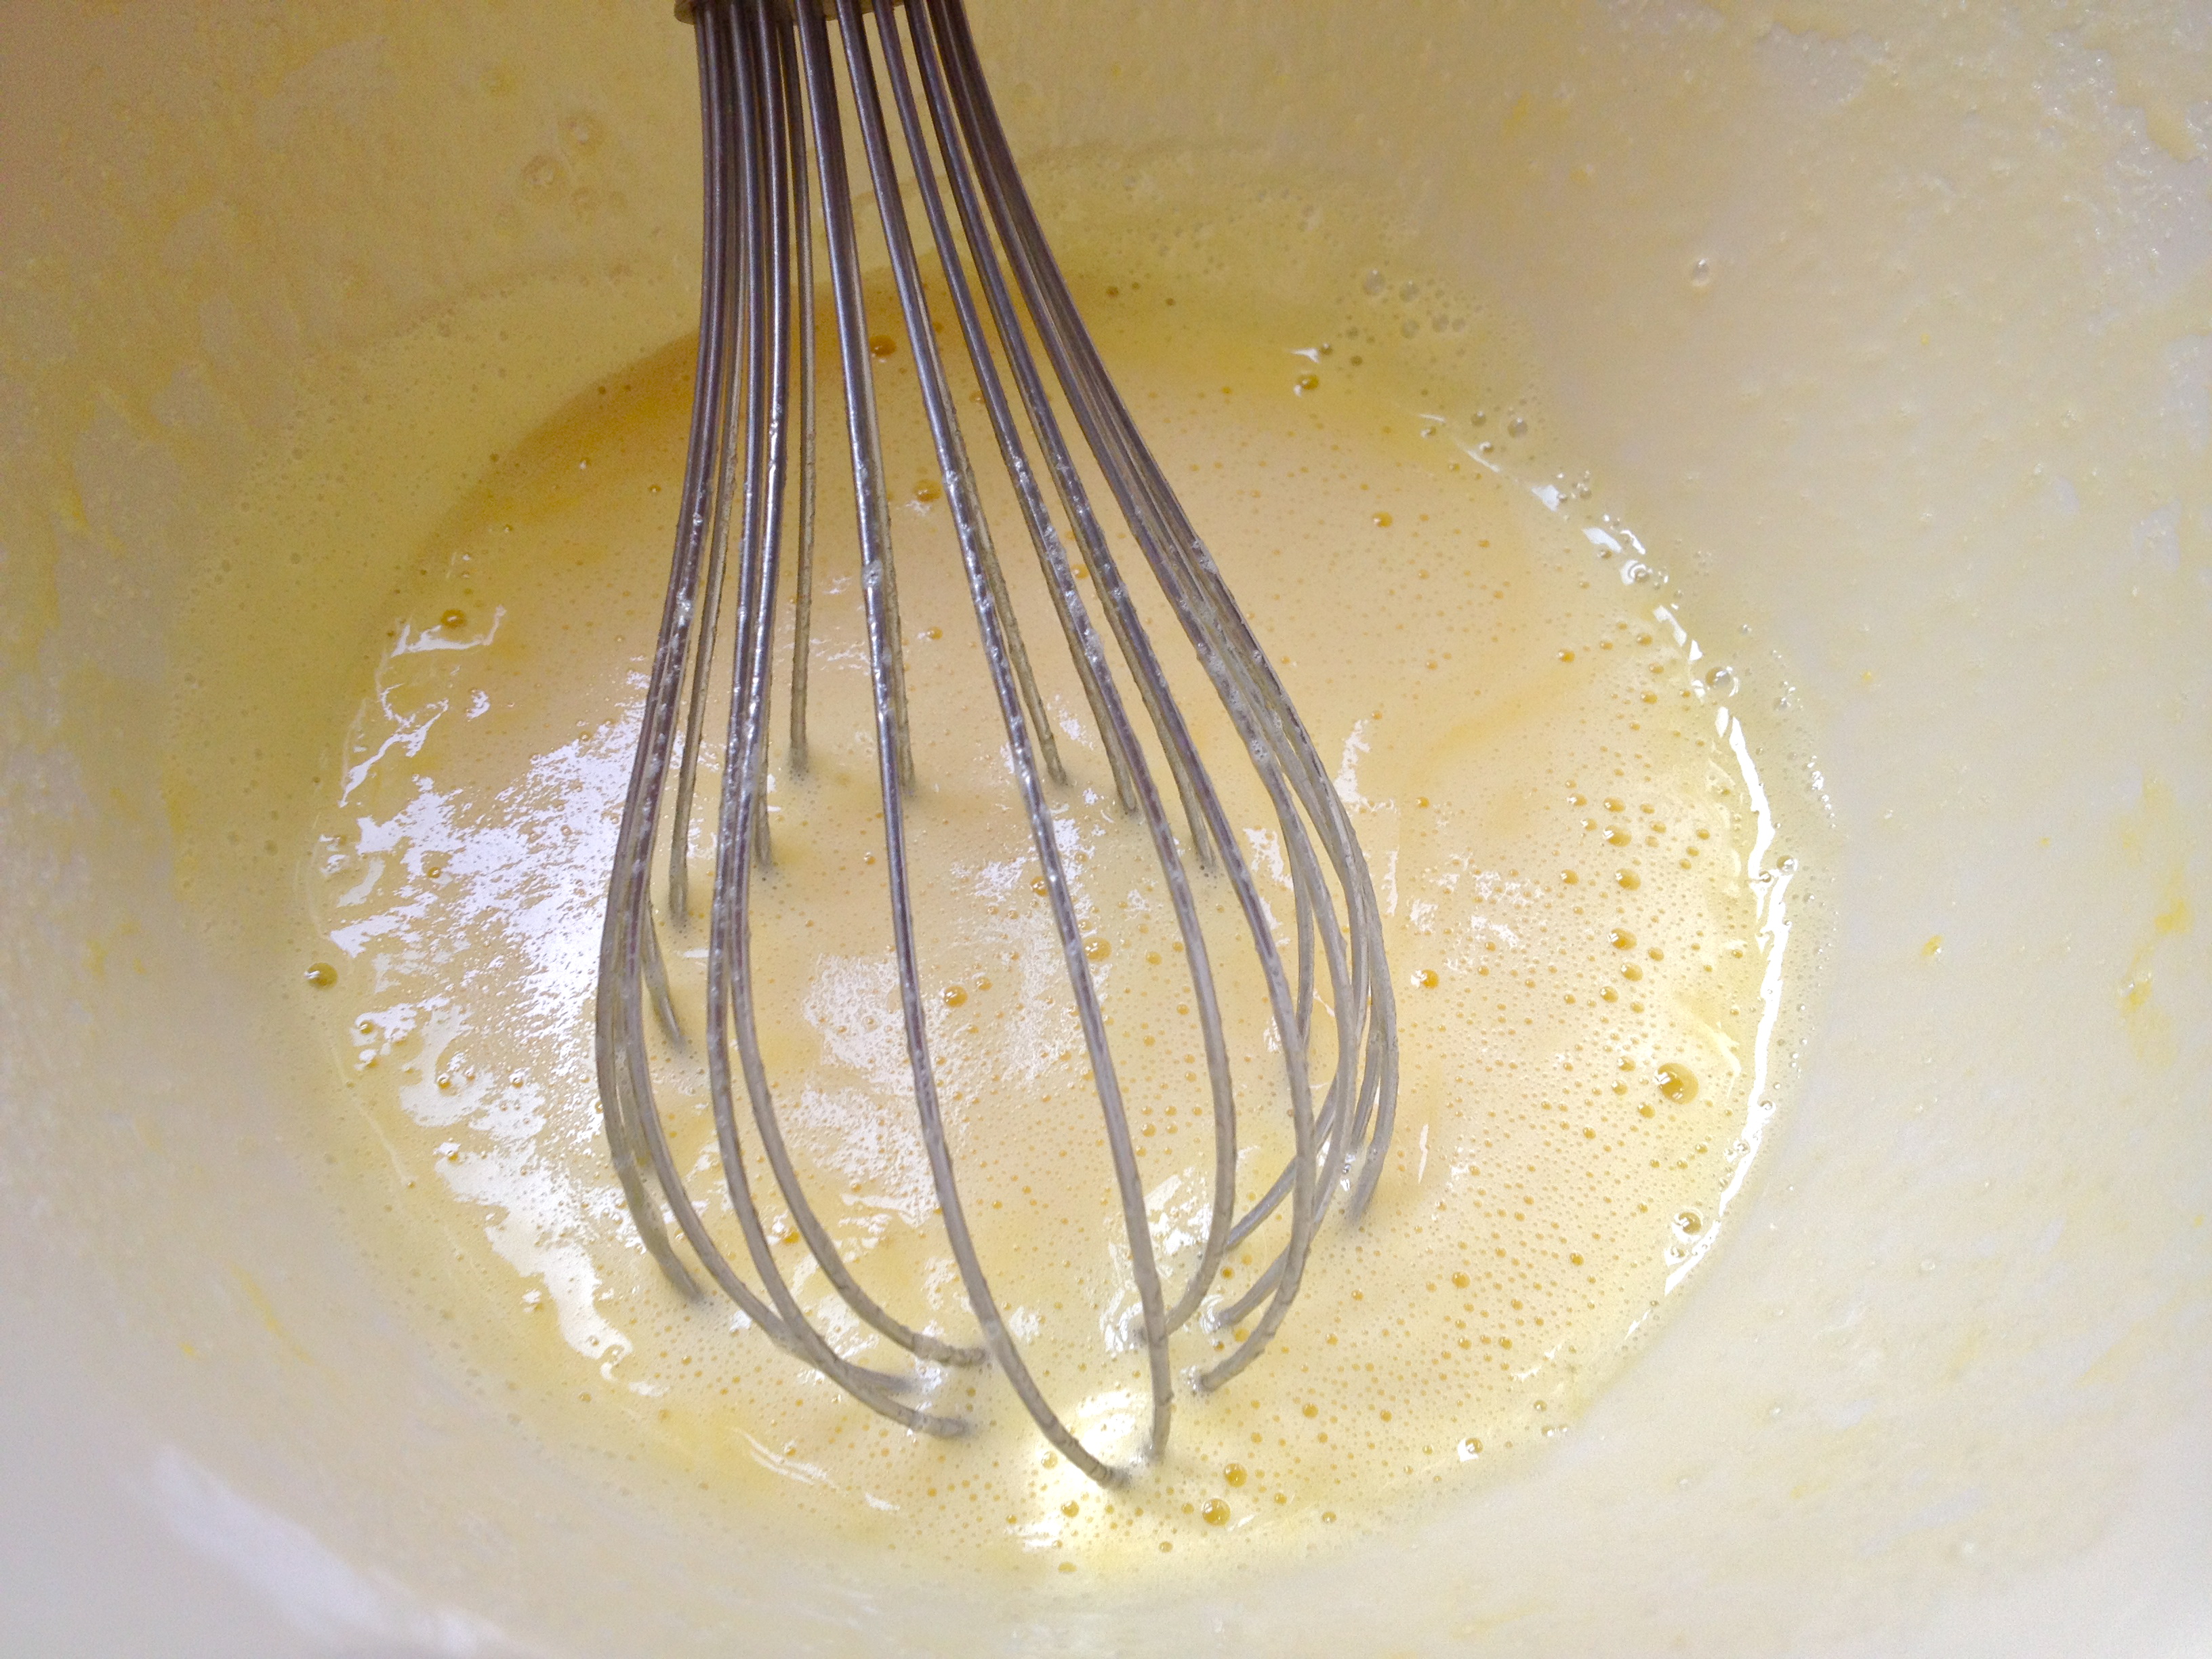
Add eggs, sugar, and salt to a bowl. Whisk like crazy until frothy and thickened.

IMG_7518

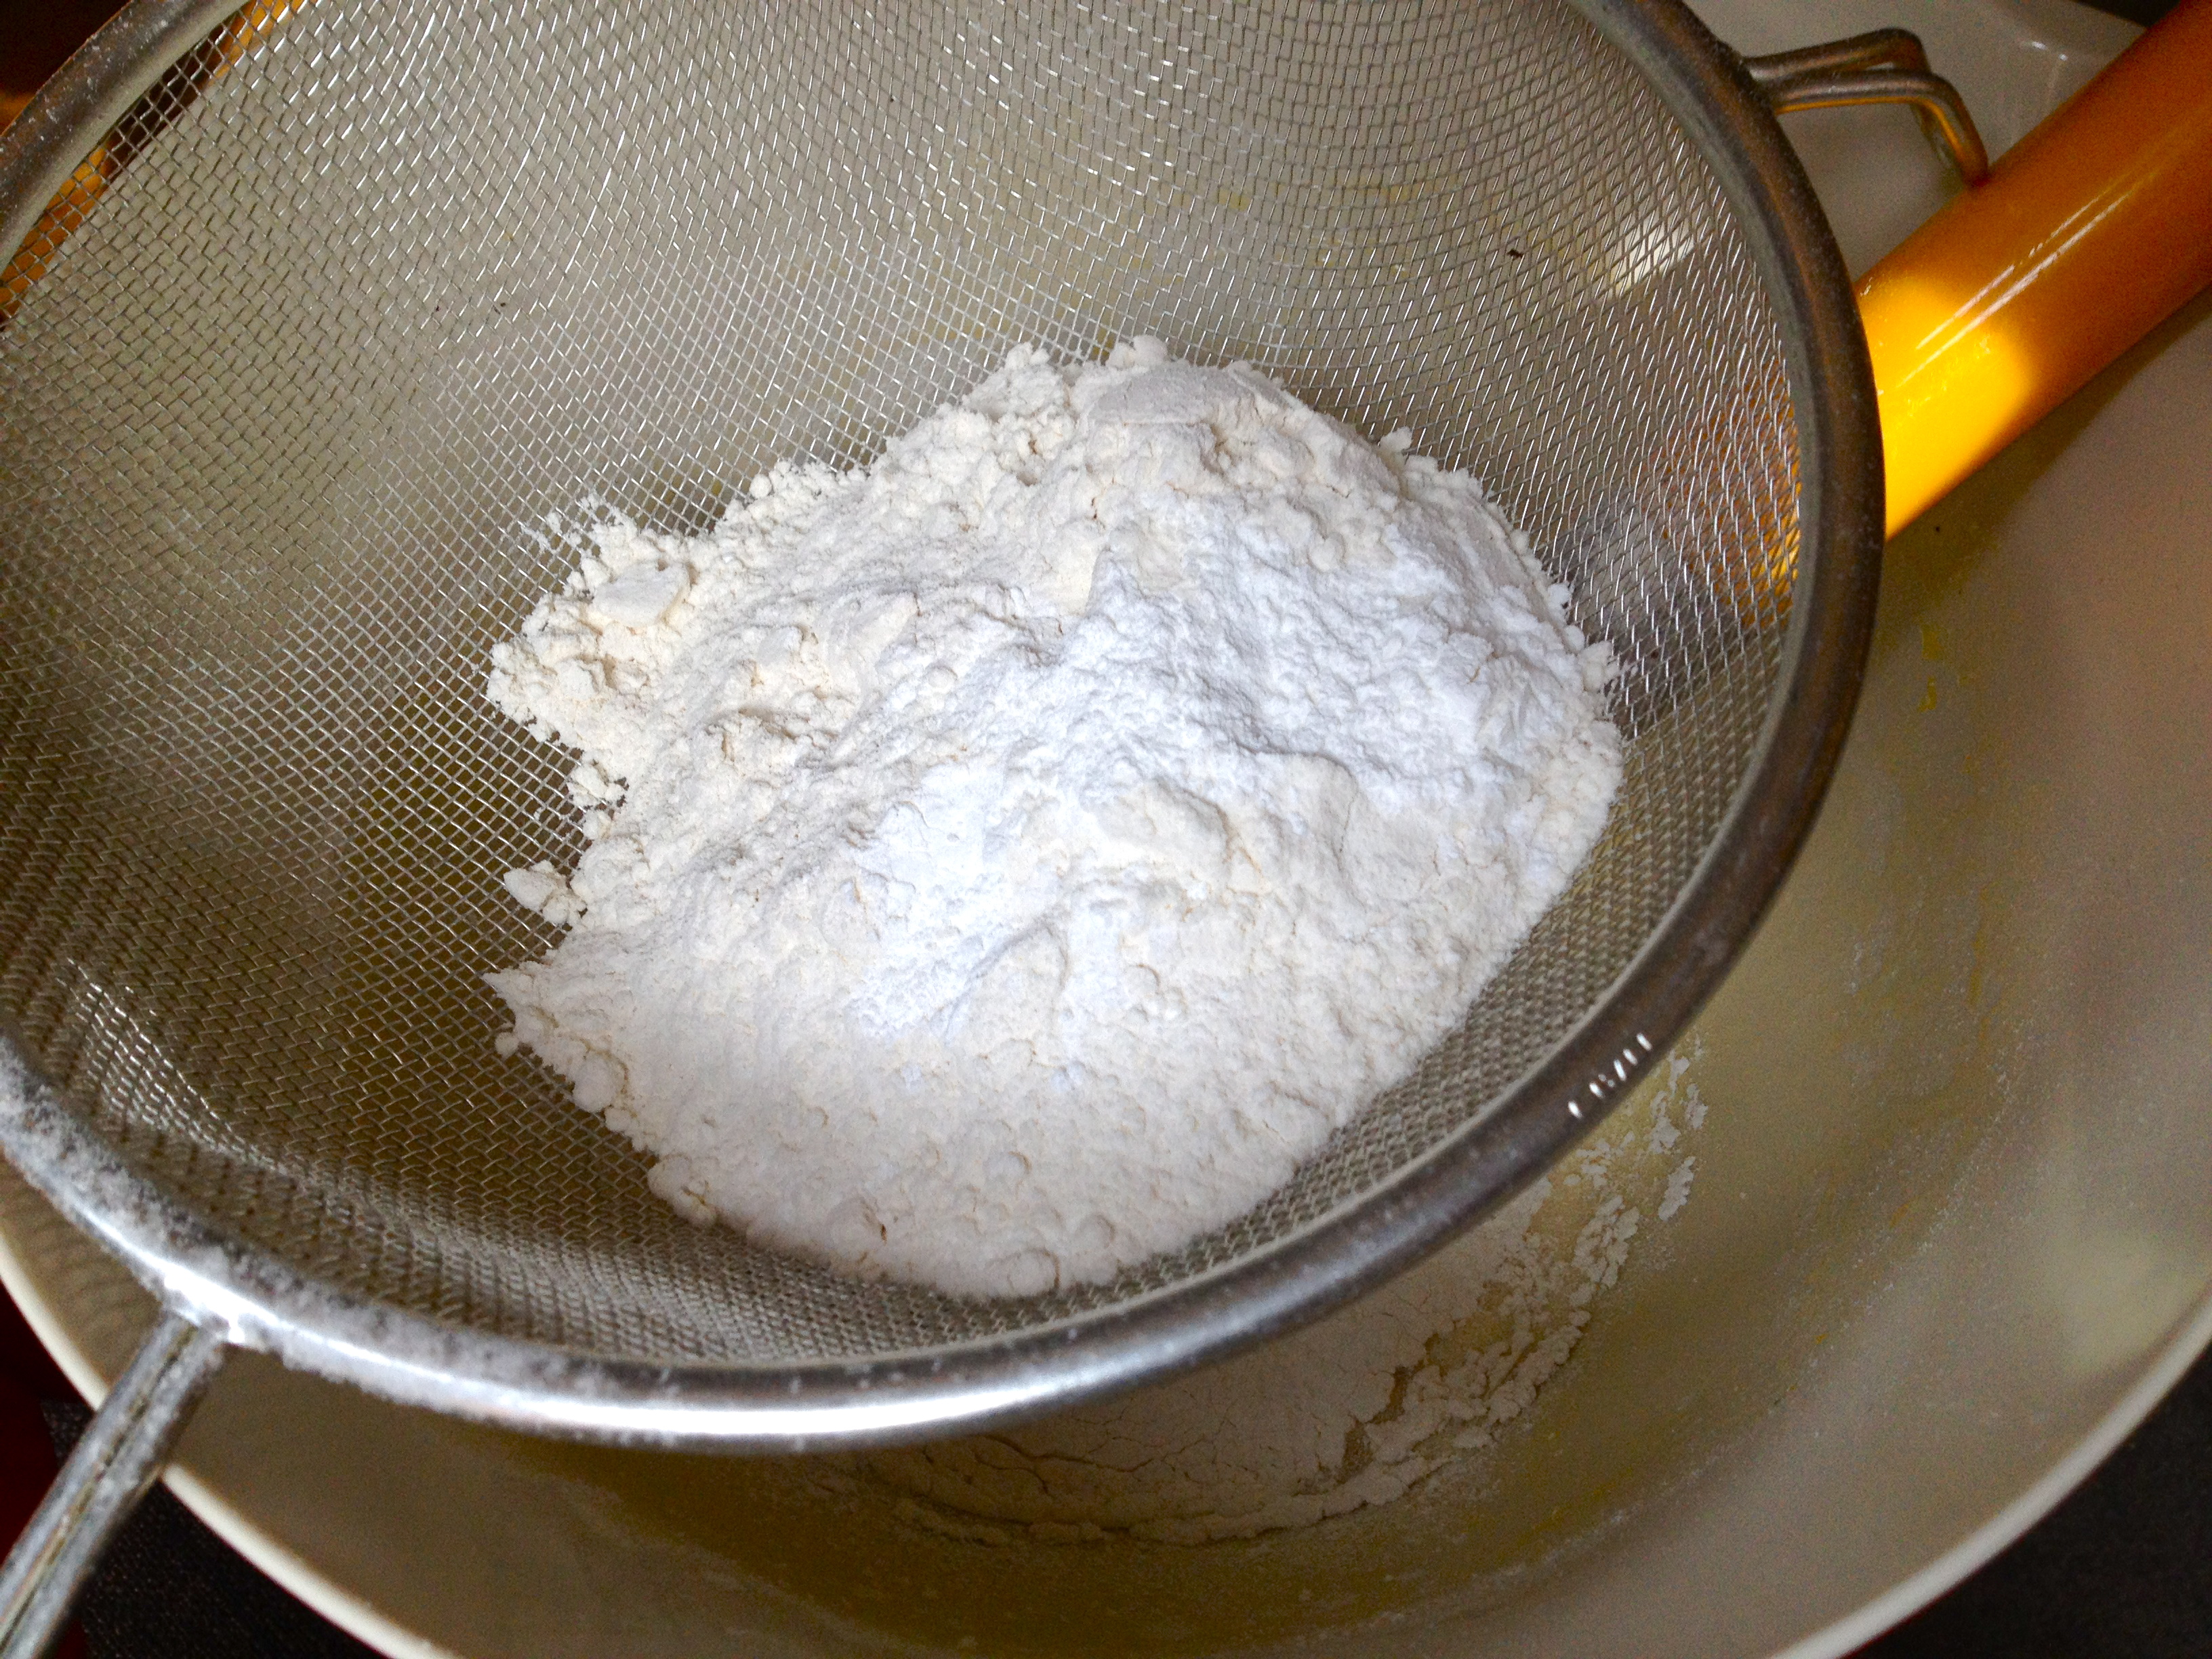
Sift in the flour and baking powder and fold into the egg mixture.

IMG_7519

Gently stir the lemon zest into the butter and pour into the flour and egg batter, stirring until just combined. Pop the batter into the refrigerator for about 15 minutes.

IMG_7521

As the batter chills, preheat the oven to 425 F.

Once the batter is slightly chilled, use a spoon to scoop into the cold madeleine pan. Don’t fill the scalloped cups up all the way to the rim, as the cakes will rise quite a bit.

IMG_7523

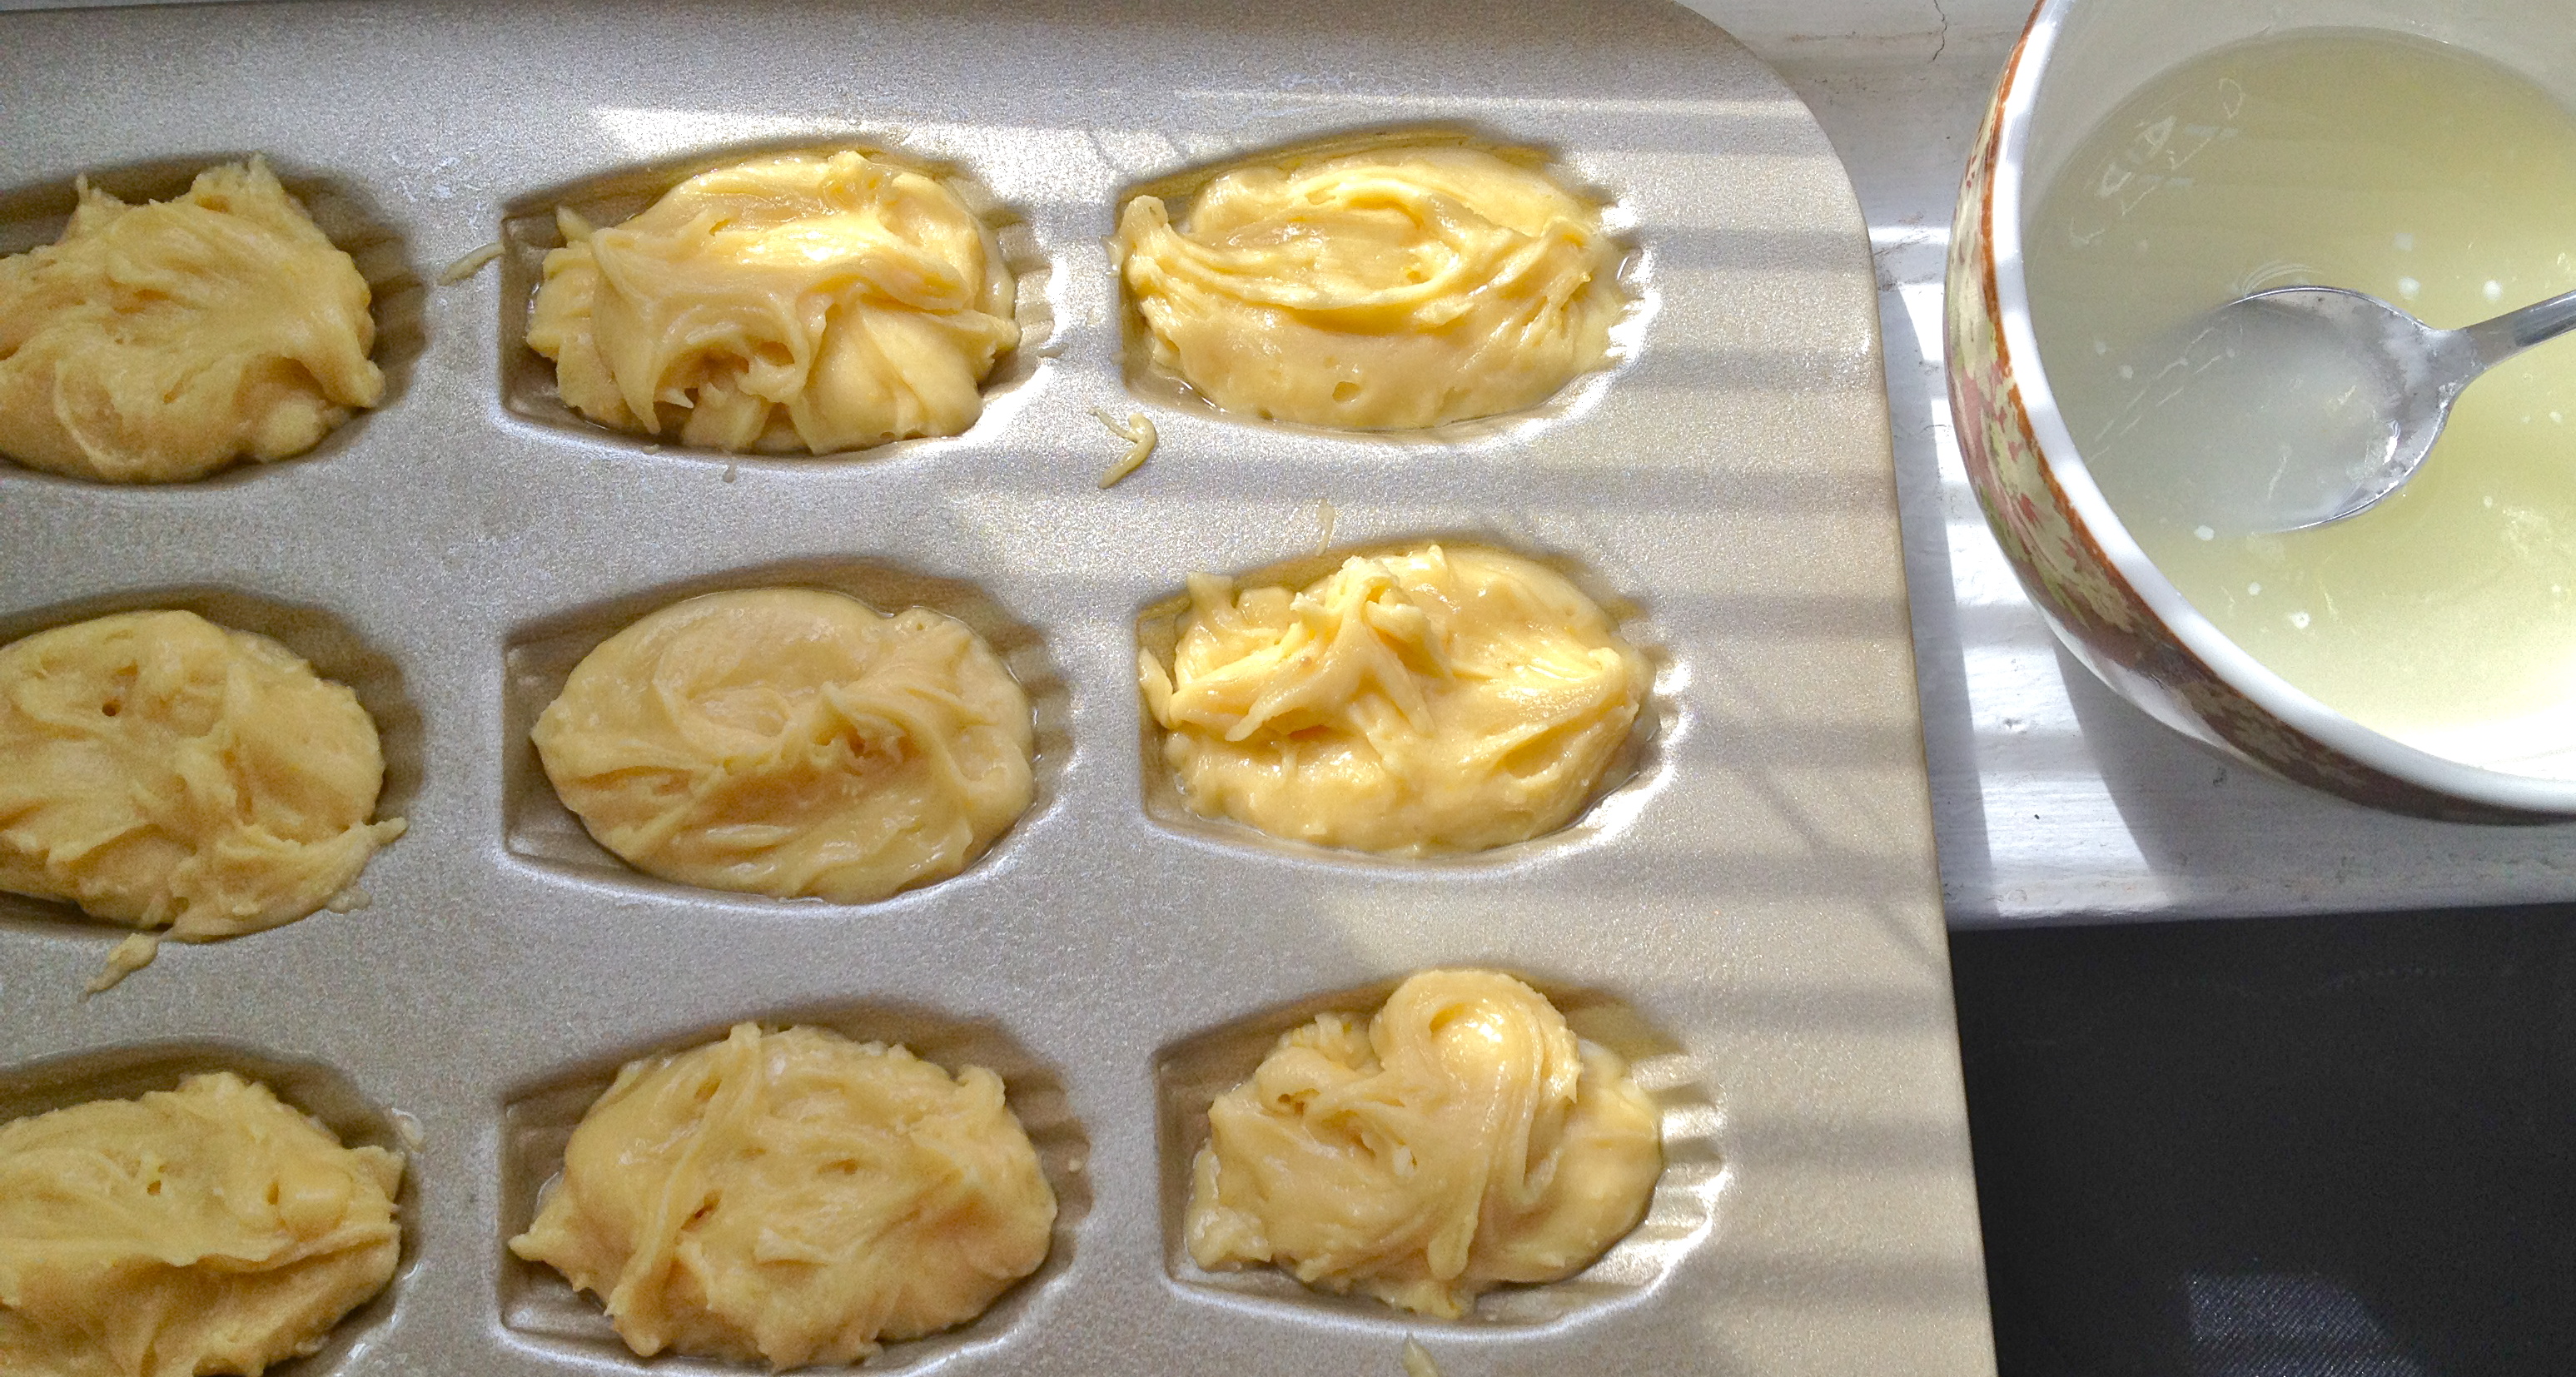
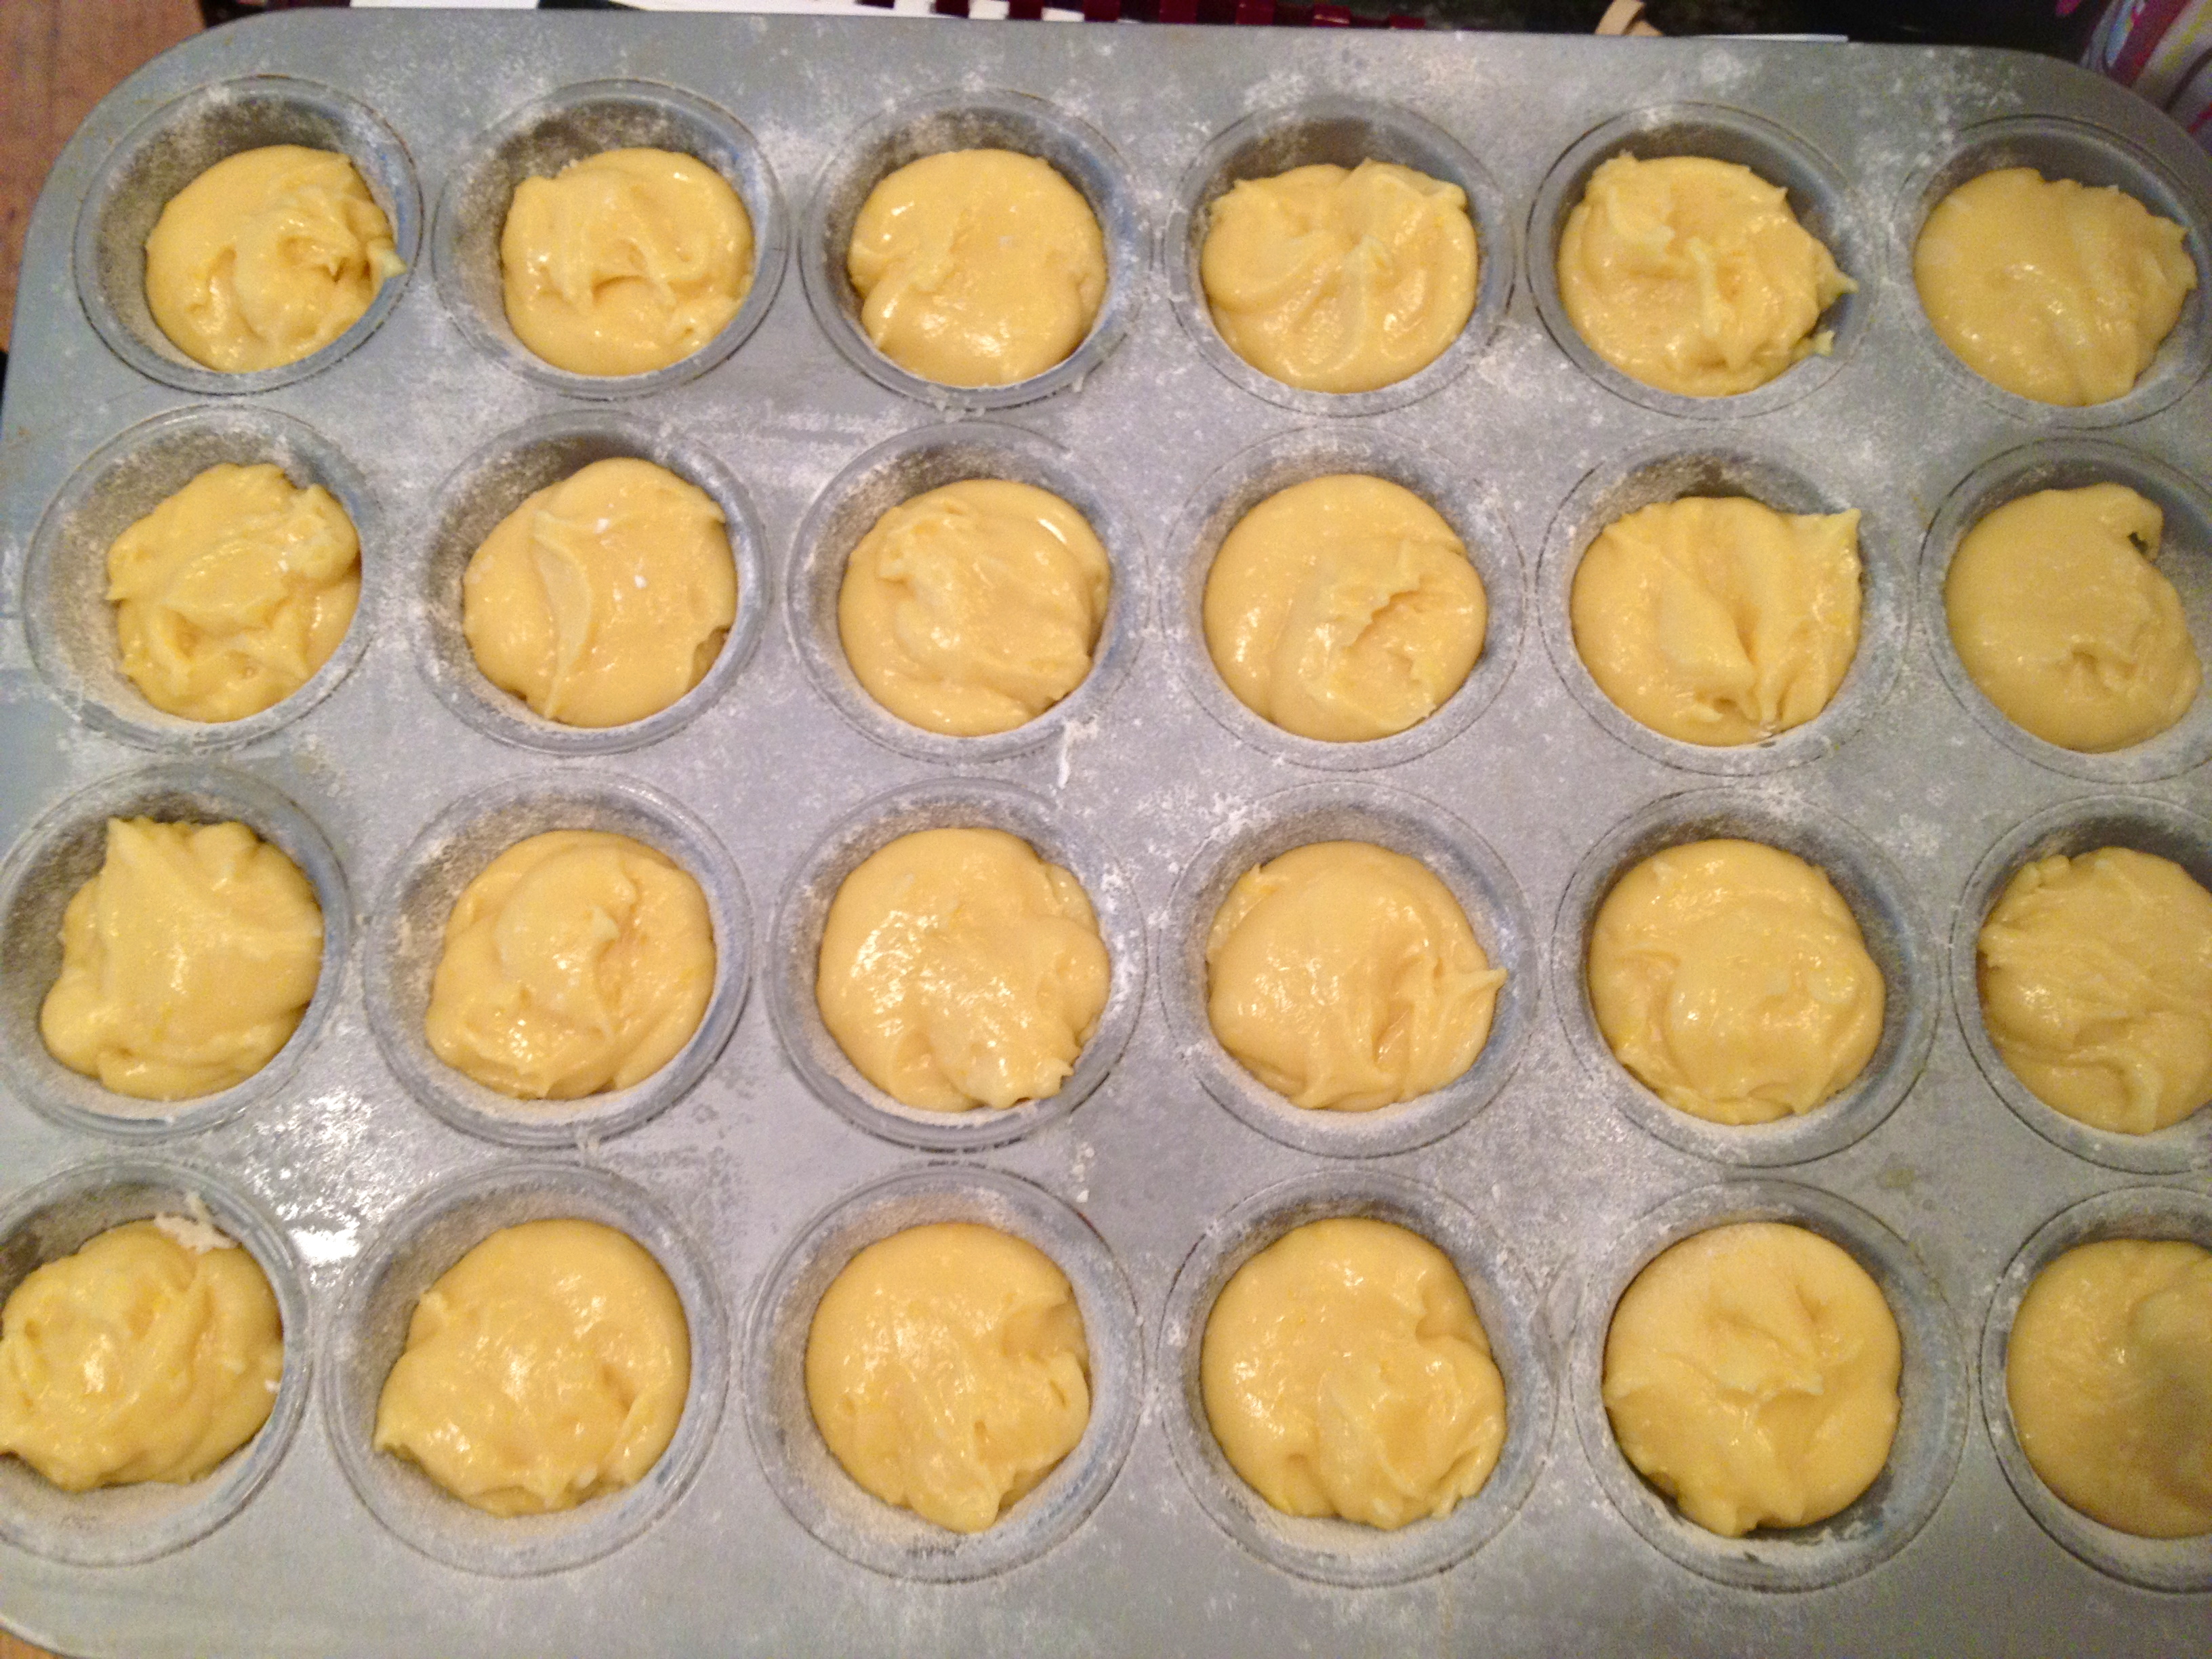
The same goes if you’re using a mini muffin pan – give them a little room to grow.

IMG_8261

Pop them in the oven for 8-9 minutes, until the tops are set and the bottoms are lightly browned. While they’re baking, mix the powdered sugar and lemon juice together for the lemon glaze, thinning with water until you reach the consistency you like – it should be pretty thin (think of a glazed doughnut).

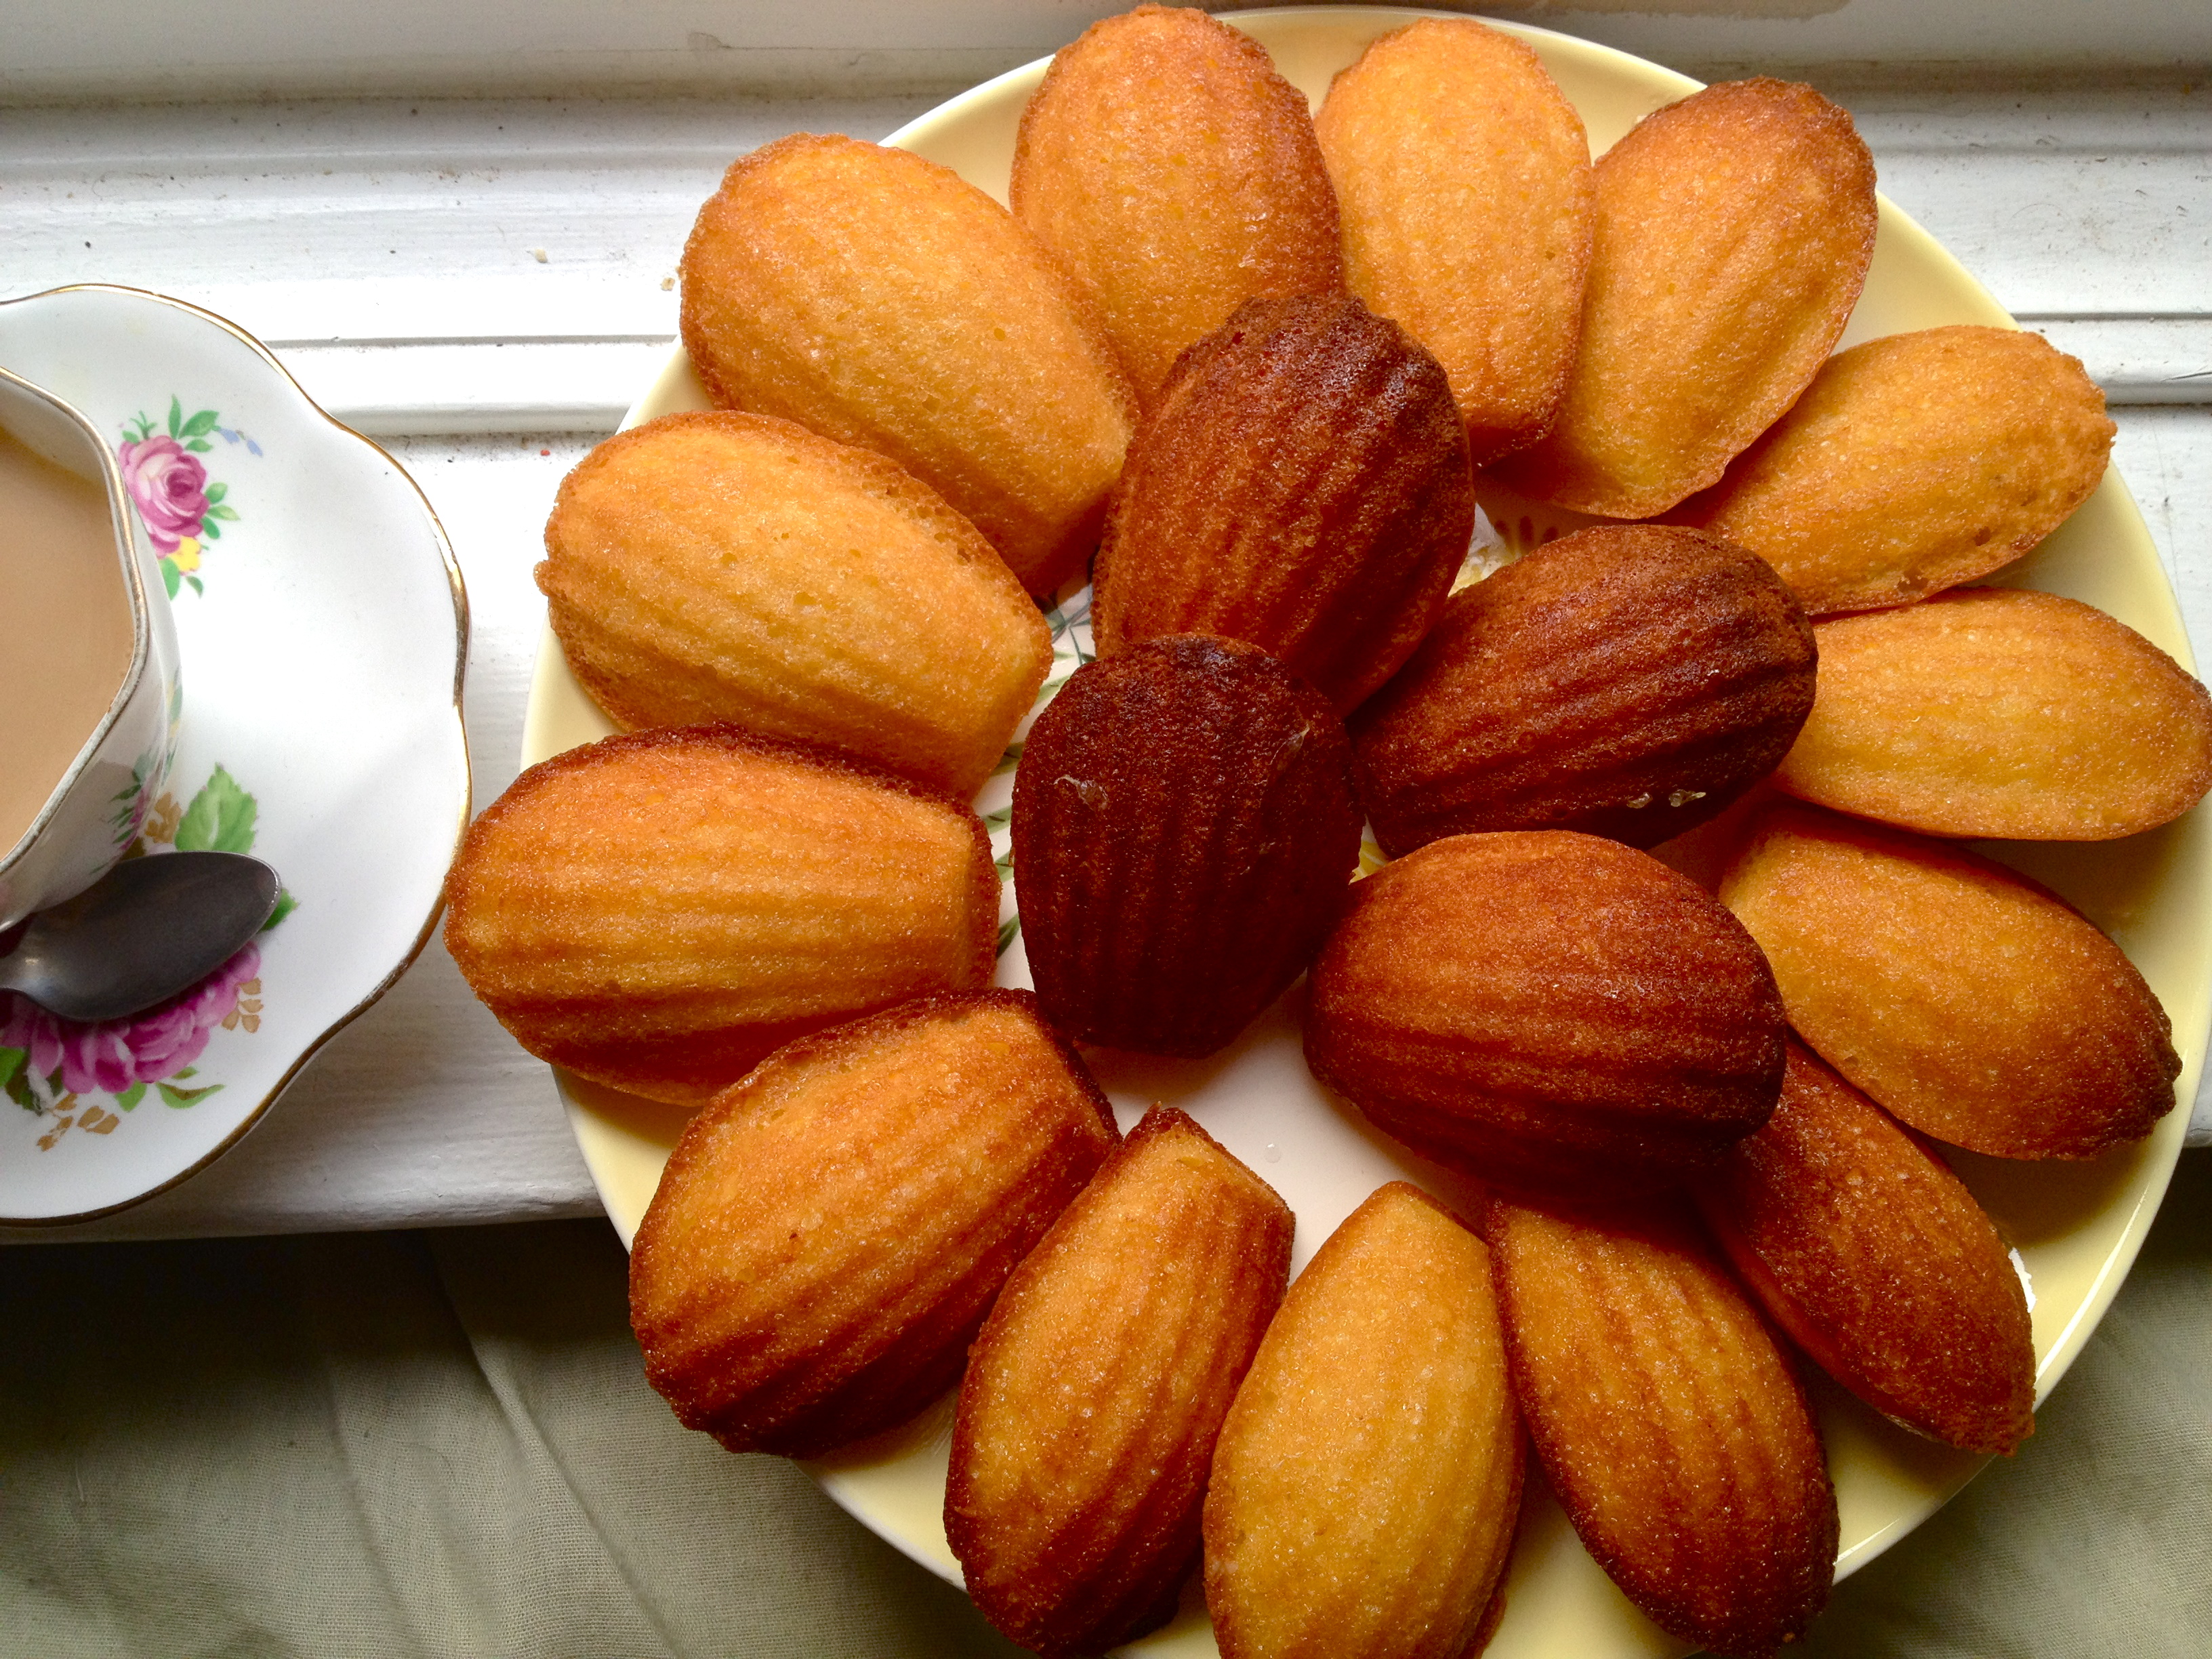
Set the baked cakes to cool on a cooling rack. As soon as they’re cool enough to handle, dip each one in the glaze, both sides (!), and set back on the cooling rack, scalloped-side up, letting the glaze set as the cakes cool all the way.

IMG_7535

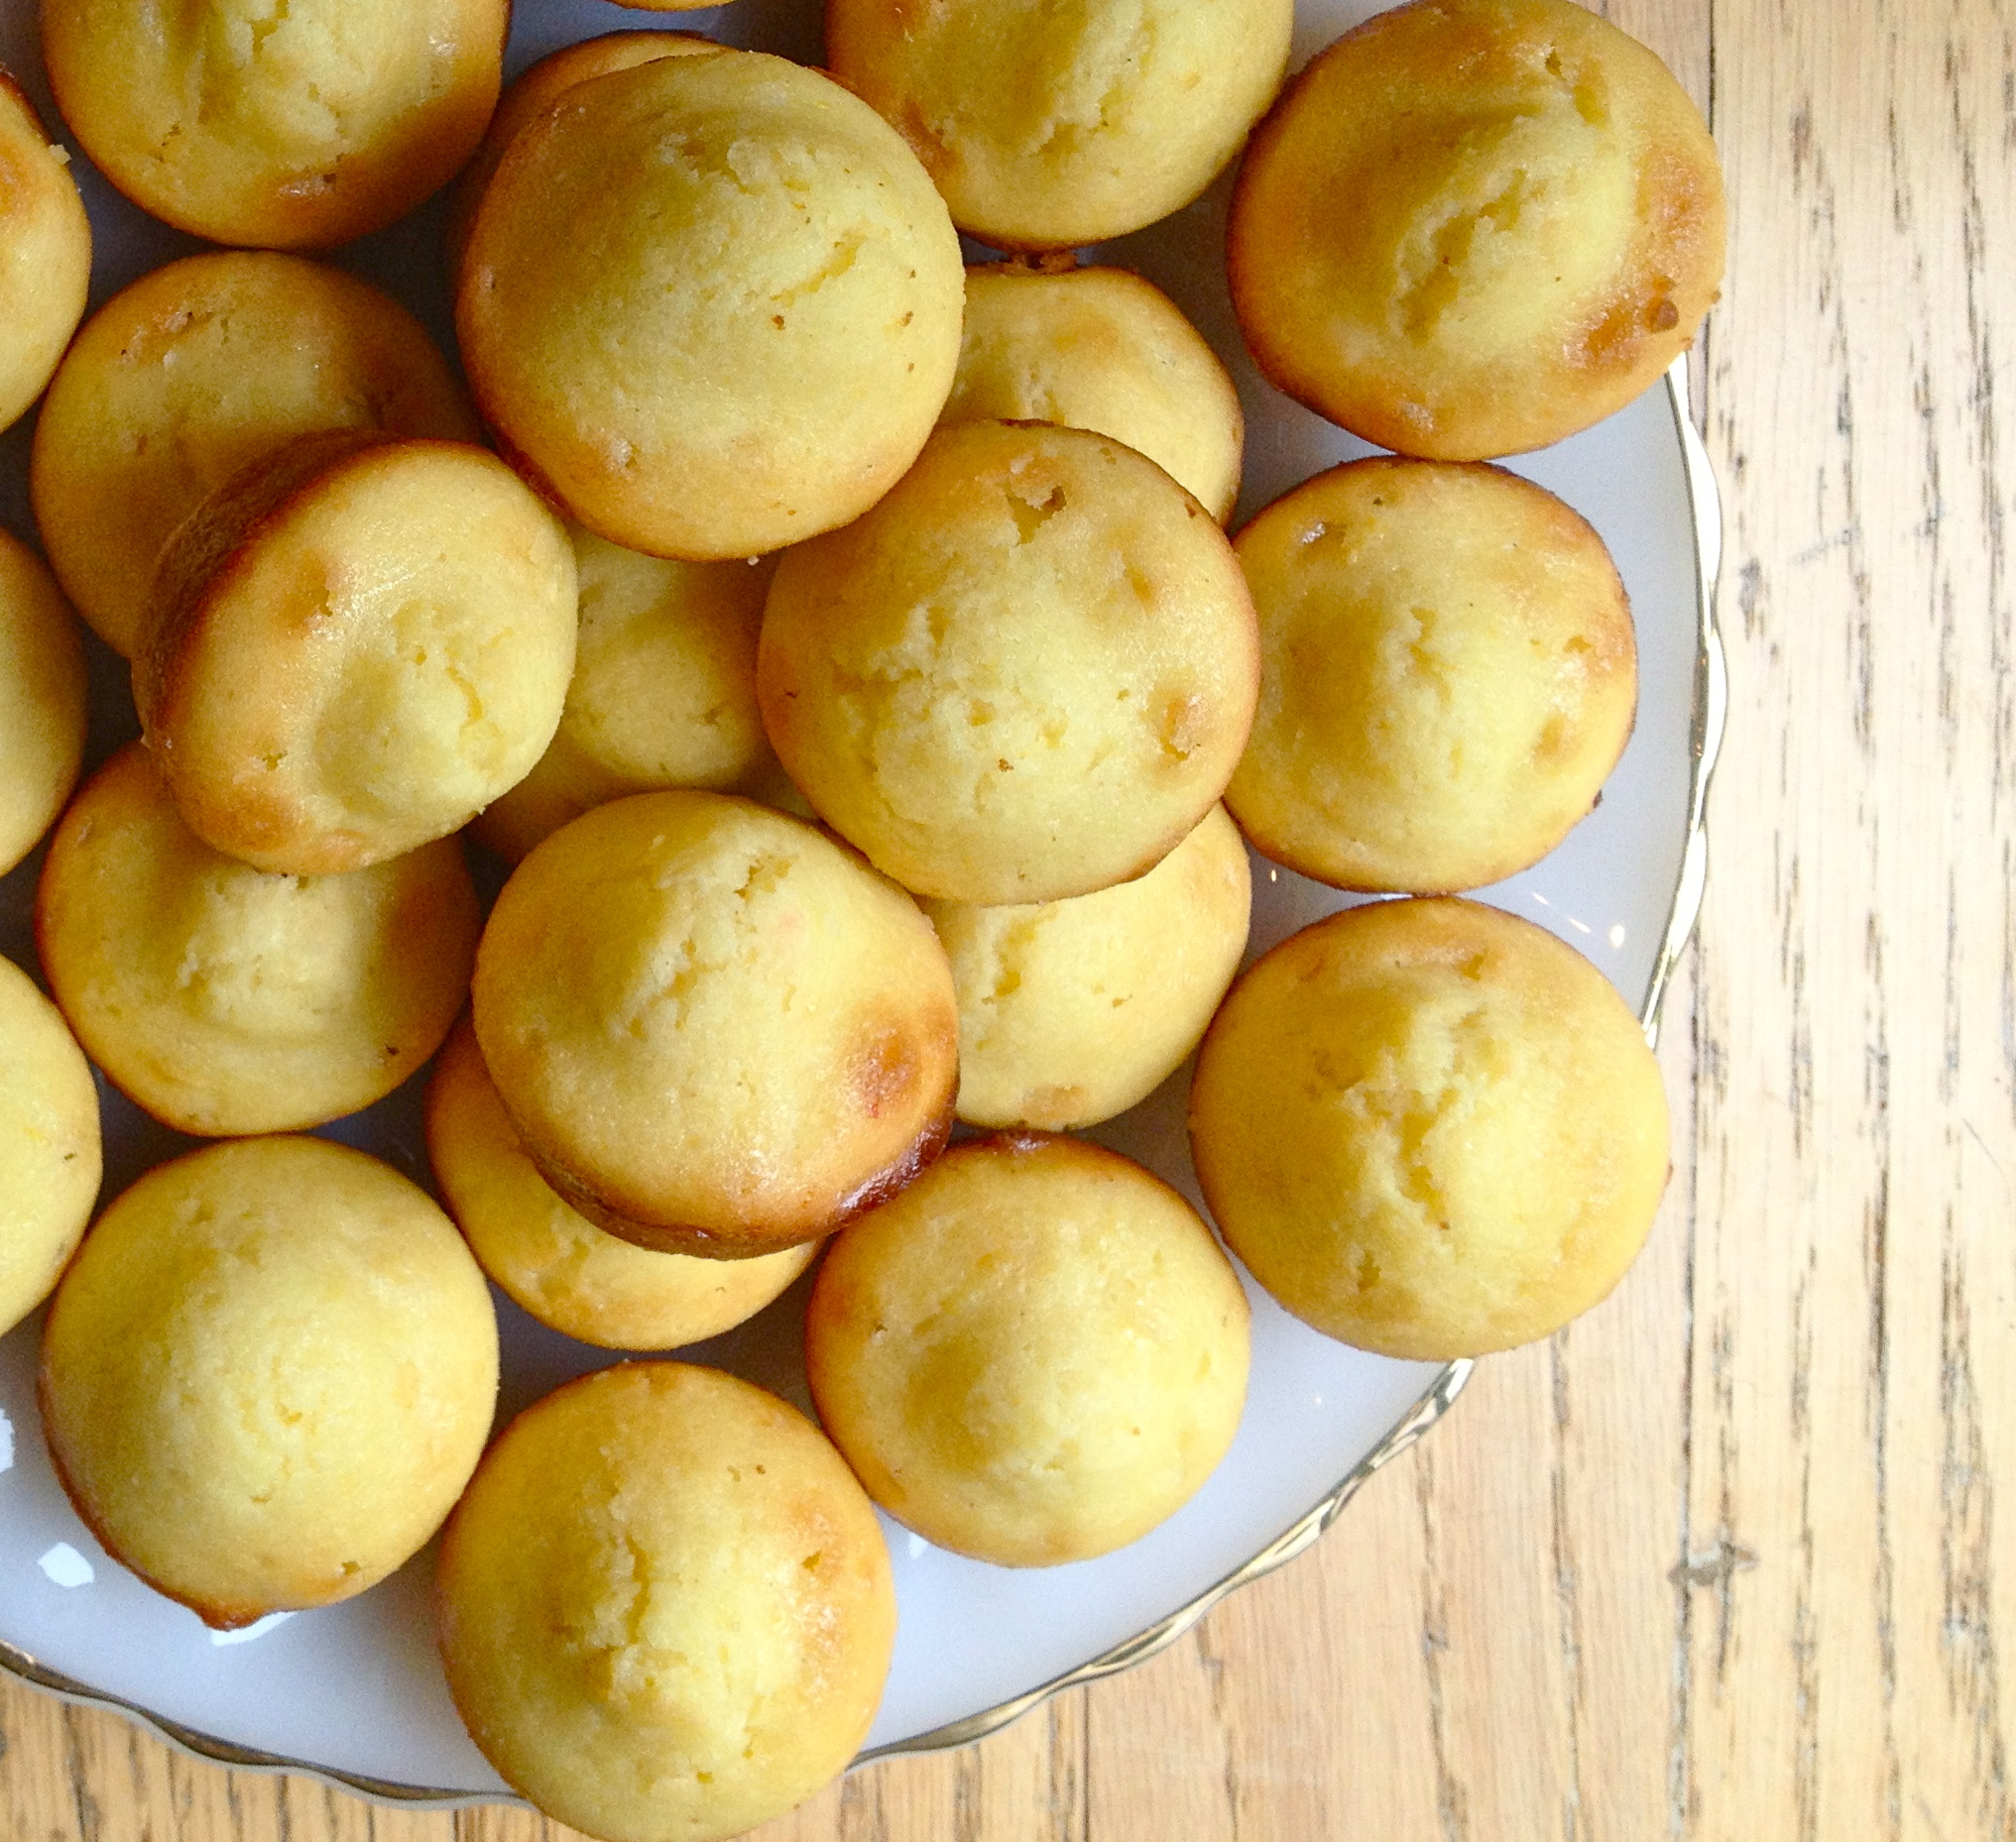
Here they are as little mini muffins. Not as dainty as the madeleine-shaped madeleines, but just as tasty!

IMG_8266

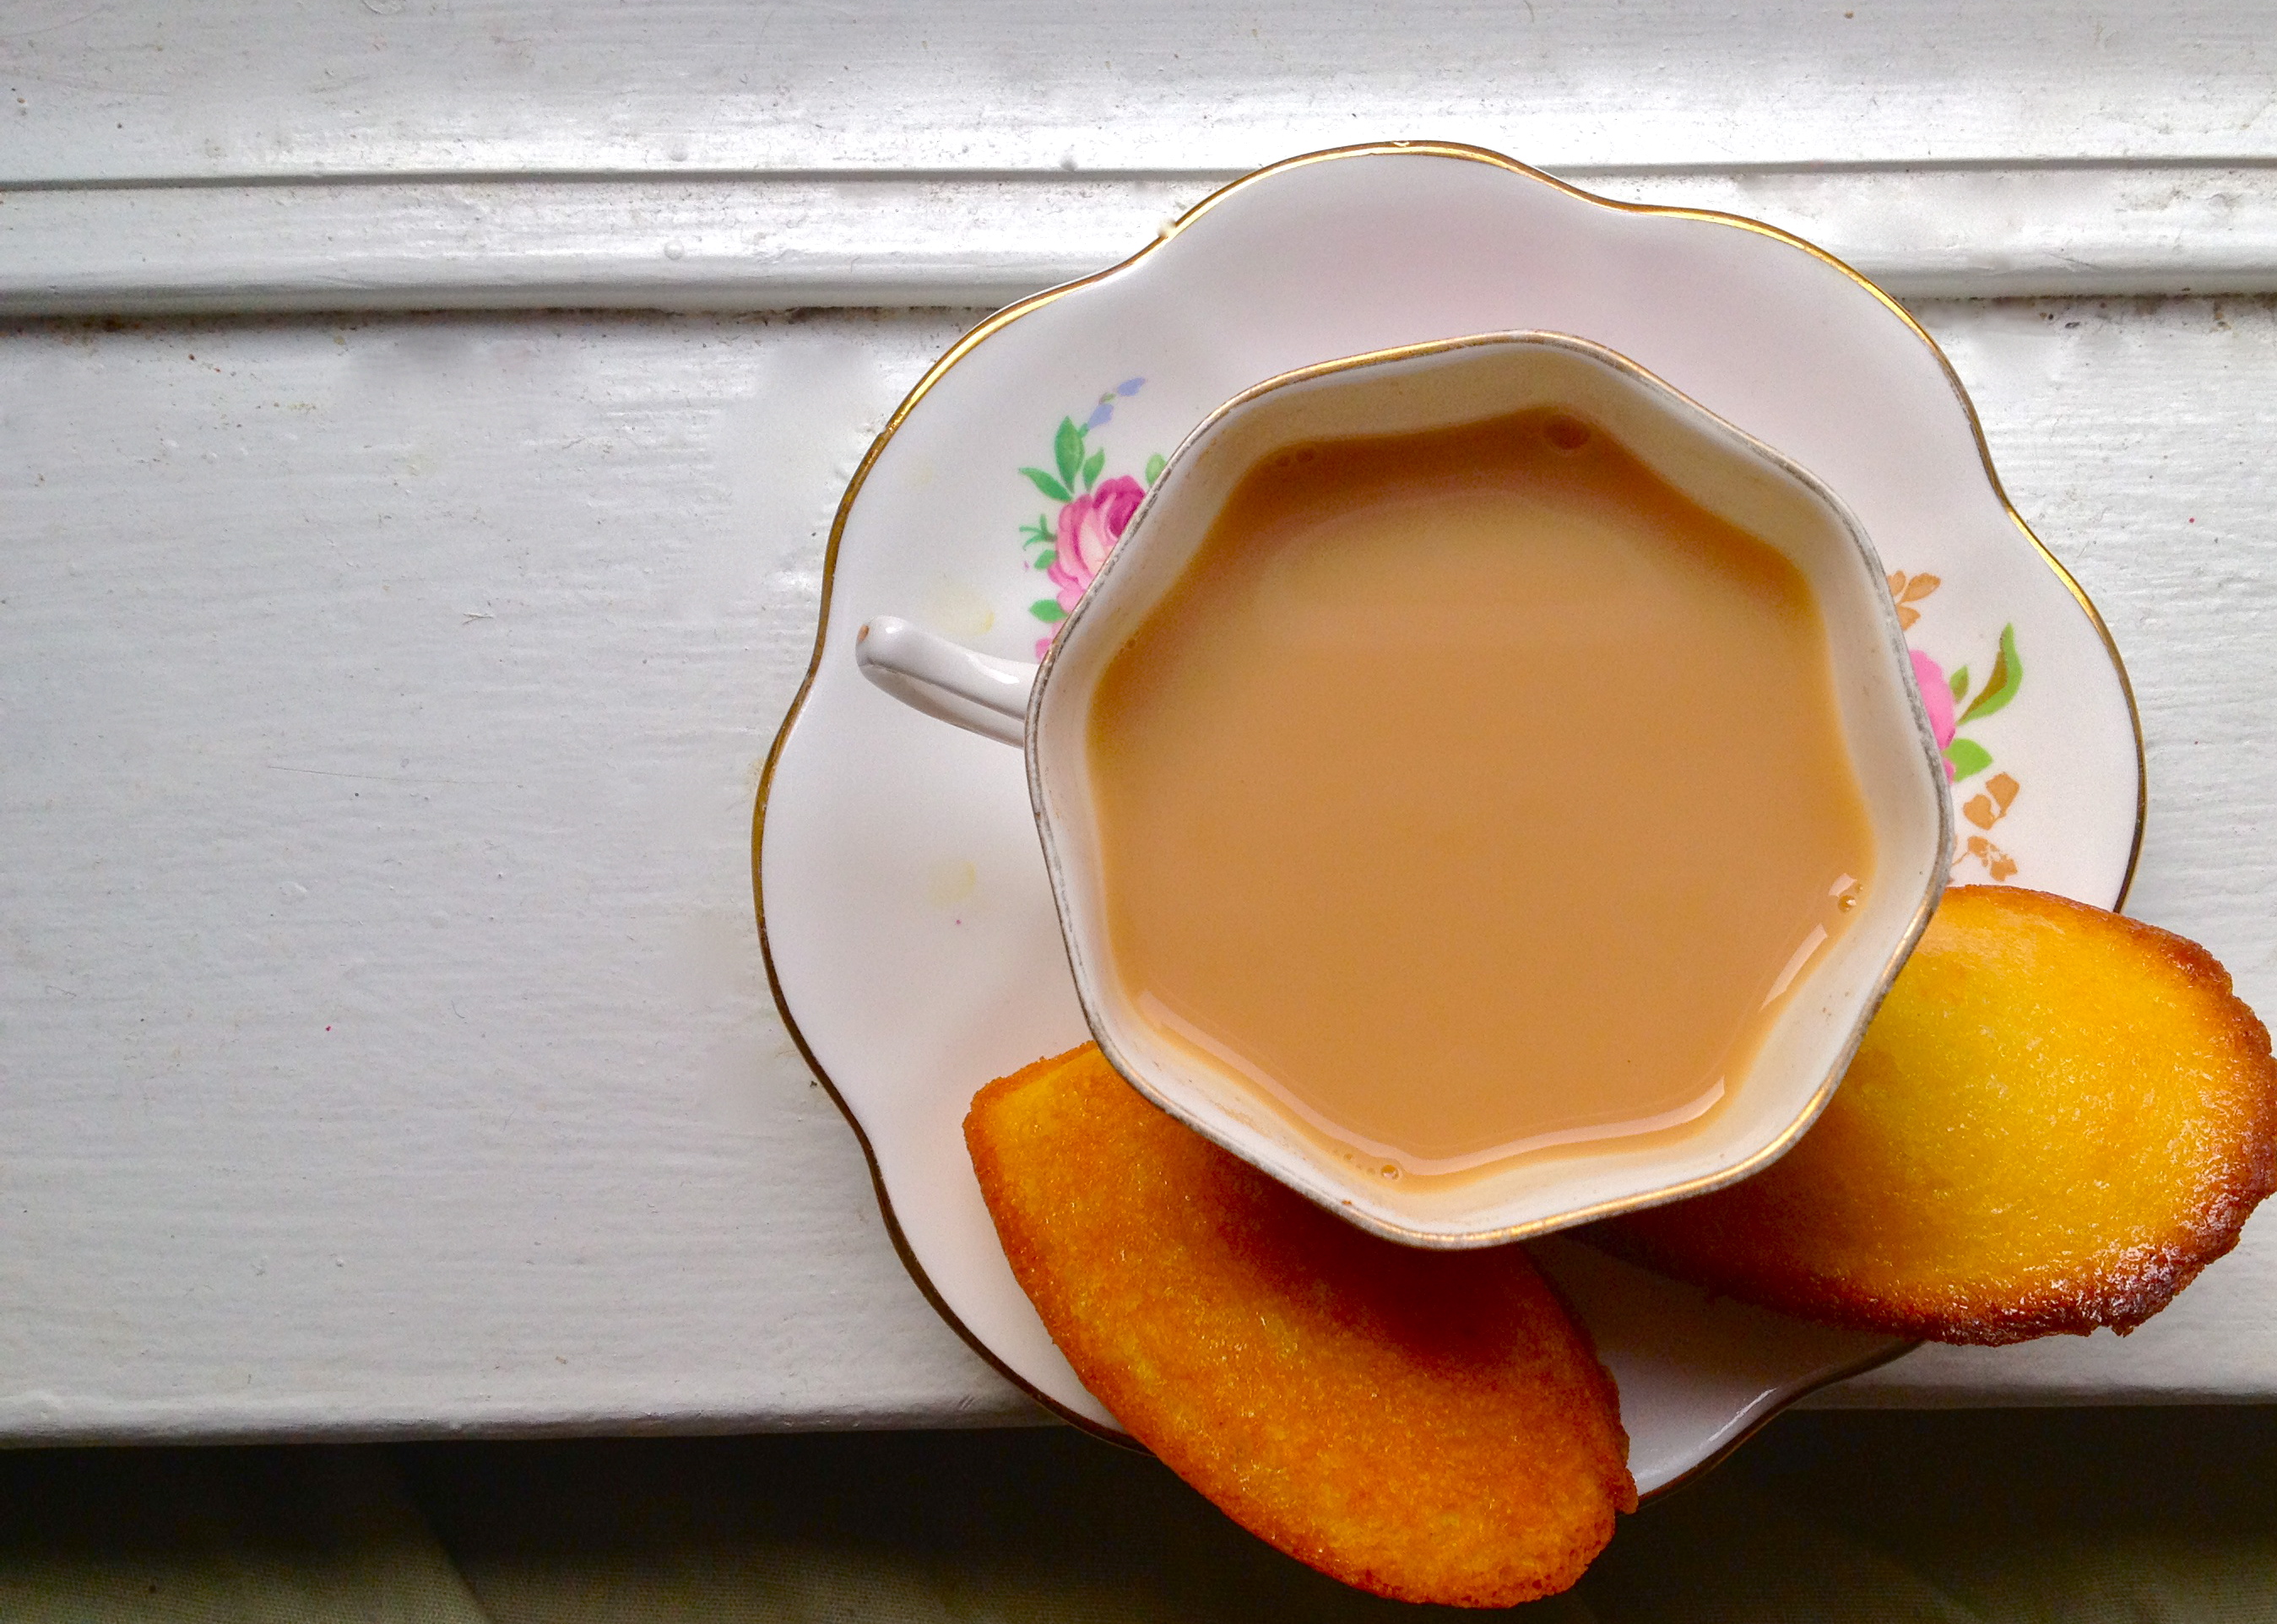
Serve immediately with a beautiful cup of tea or coffee. Make sure to use one of your prettiest cup-and-saucer pairs.

IMG_7536

Chocolate Peanut Butter Cheesecake.

As ever, Nigella Lawson dishes out another perfect dessert recipe. There isn’t much need of an introduction for this beaut. I’ll just say that every step of the process is spoon-smackingly, bowl-lickingly good, and that the finished product is indulgent and fluffy and dreamy in every way. A graham cracker crust with bits of chocolate in it, filled with a smooth and creamy peanut butter cheesecake, and finished with a sweet, chocolate topping. Glamorous. Indulgent. Chocolate peanut butter cheese cake. Enjoy.

IMG_7471

PS I looked for the video footage from Nigella’s show of the episode for which she makes this cheesecake, but I couldn’t find it. It looks so dang amazing when she makes it, I’ve had it on my list for at least a year.

IMG_7469

INGREDIENTS

for crust:
12 graham crackers (or 1 1/2 packets, from a box of three 8-cracker packets) (sub any gluten-free cookies if you like)
4 tbsp butter, softened
1/4 cup salted peanuts
1/2 cup semi-sweet chocolate chips
1-2 tsp vegetable oil

for filing (all these ingredients must be at room temperature):
16 oz cream cheese or neufchatel cheese (I used one packet of low fat and 1 packet of full-fat)
3 eggs
3 egg yolks
3/4 cup sugar
heaping 1/2 cup of sour cream or Greek yogurt (I used non-fat Greek yogurt)
1 cup smooth peanut butter

for topping:
1/2 cup milk chocolate chips
3 tbsp brown sugar
1 scant cup sour cream or Greek yogurt

Just the Recipe link: Chocolate Peanut Butter Cheesecake

Let your puppy eat the pieces of graham cracker that you'll inevitably drop.
Let your puppy eat the pieces of graham cracker that you’ll inevitably drop.

DIRECTIONS

Preheat oven to 338 F (okay, so you can go with 350 F if you like and you’ll be fine. I converted this recipe from metric, and the original 170 C is exactly 338 F. I do what I’m told).

Next, the crust. In all honesty, crust is my favorite part of any cheesecake, and this one is awesome. One thing I didn’t do, but I think I will next time, is to start by pulverizing the chocolate chips in the food processor, so that they’ve broken up before the rest of the ingredients are added. This time, I added all the crust ingredients at once and pulsed until they came together, drizzling in just enough of the vegetable oil until the crust started to hold together. There were some chunks of chocolate left un-blitzed, so next time I’ll blitz the chocolate separately first.

IMG_7441

Turn it out into a well-greased spring-form pan and use your fingers to press it into the bottom and up the sides. Put the crust in the fridge while you make the filling.

IMG_7442

In a food processor, combine all the filling ingredients until totally smooth. Jeez, that’s beautiful.

IMG_7446

Pour filling into the graham cracker shell. Spread it gently into all the “corners ” (can circles have corners?), careful not to mess with the tenuous architecture of the crust.

IMG_7450

Bake for about an hour, but check it as it nears the end of the baking time. You want the top to be set and no longer wet or sticky, but for the inside to still be jiggly. In Nigella’s words, we’re looking for the center to have “just a hint of inner-thigh wibble.” Perfection. But I forgot to take a picture before I doused it in chocolate. See next step.

When the cheesecake is nearing the end of it’s bake time, melt all the topping ingredients in a pan over low until they come together. Pour over the cheesecake once it comes out of the oven, and then pop it right back into the oven for about 10 minutes, so that the topping can set.

IMG_7460

Take it out of the oven and pop it right into the fridge to chill overnight, cake pan and all (careful when you take it out of the pan though, as the chocolate topping is prone to stick to the sides). To be honest, I made this cheesecake to give to friends, so all it got was a quick chill in the freezer for an hour and then another hour or so in the fridge until we ate it. So the overnight chilling time isn’t mandatory, but it is nice.

IMG_7468

Scarborough Fair Roast Chicken.

Are you going to Scarborough Fair?
Parsley, sage, rosemary, and thyme
Remember me to the one who lives there
She once was a true love of mine.

If you love this song as I do, it’s likely because you know the beautiful version sung by Simon and Garfunkel. And if you love it as I do, you might also use it as a guide to seasoning chicken (more on that later). Knowing it was much older than a 60s hit, I decided to comb the web a bit to learn about the history of the song. There’s a pretty interesting Wikipedia article on this old ballad that gives a bit of background; the playfulness of the lyrics is what interests me most. Part of the song is from the point of view of a young man who instructs his love to do impossible tasks for him, and then it switches to her point of view. She gives him equally impossible tasks—and their relationship depends on the completion of these tasks. It’s sweet and a little goofy, despite the utterly mournful vibe of the S&G hit.

But when you really pay attention to the words of “Scarborough Fair,” it doesn’t make sense, at least to me, why the four herbs (parsley, sage, rosemary, and thyme) are mentioned in every single verse. They don’t have anything to do with the rest of the song! For me, this lovely herbal repetition has dictated the way I season chicken dishes for as long as I’ve been cooking (so it’s no surprise that parsley, sage, rosemary, and thyme feature in my whole roast chicken as well). But since I’m sure the point wasn’t to help people flavor meat, I did some Googling to see if there was an explanation. I found a few theories, my favorite of which says that these four herbs, when used together, ward off the evil eye. So look away, all you devils out there—this chicken is protected by musical magic! Taste the magic, people.

I have one serving suggestion that I will repeat at the end of the recipe, because it really is a good idea: make sure to have a crusty baguette on hand, because you’re going to want to sop up those heavenly juices.

IMG_7451

INGREDIENTS

1 whole chicken, rinsed and patted dry
olive oil (regular, not extra virgin)
1 tbsp dried parsley
1 tsp dried sage
1 tsp dried rosemary
1 tbsp dried thyme
1/2 tsp garlic powder
1/4 tsp cayenne pepper
2 bay leaves
salt and pepper to taste

Just the Recipe link: Scarborough Fair Roast Chicken

DIRECTIONS

Preheat oven to 400 F.

Put your chicken in a pan, legs- and breasts-side down, and drizzle with olive oil. Combine the parsley, sage, rosemary, thyme, garlic powder, cayenne pepper, salt, and pepper, and sprinkle half over the chicken. Then flip the chicken so that the legs and breasts are facing up, and repeat the olive-oil-drizzling and the spice-sprinkling. You could massage the spices into the chicken a bit if you like; I didn’t feel like it today. It’s the cook’s prerogative.

IMG_7453

Pop it in the oven for about an hour and 15 minutes, depending on the size of your bird. It’s done when the juices run clear and the meat has lost its inner pinkness.

IMG_7461

That’s all! Roast chicken is incredibly easy. Definitely not the kind of task that the young man in “Scarborough Fair” would have requested of his lover. And when you eat this, you’ll enjoy it so much more if you have a nice crusty loaf of bread to dip into the juices—sometimes I think they’re the star of the show, they’re just that good.

IMG_7473

Celery Root and Sweet Potato Soup.

I’ve been wanting to try this type of thing for a while. Have you ever noticed, while you wander through the grocery store, a really knobby, homely-looking reject vegetable? One that looks like something went wrong when a normal vegetable was growing and it came out all messed-up? That’s celery root, also called celeriac. It’s notorious in the culinary world as one of those foods that many home cooks tend to shy away from, never knowing its versatility and great flavor. I hope to learn a lot more about celery root and to have some more recipes up here in the near future! For now, this warming, pale orange soup is just lovely, despite celeriac’s homeliness. Thank you to Frugal Feeding for the inspiration.

IMG_7268

INGREDIENTS

2 tbsp butter, divided (or skip the butter and just stick with oil)
olive oil (any oil really will work  – I used sunflower oil. Because I felt like it.)
2 small onions, diced
2 stalks celery, diced
2 cloves garlic, minced
1 small celery root, peeled and diced
1 large sweet potato, peeled and diced
4-5 cups vegetable or chicken stock
thyme, paprika, salt, pepper to taste (I used a small palmful of each)
bay leaf
1/2 – 1 cup half and half
fresh parsley for garnish

Just the Recipe link: Celery Root and Sweet Potato Soup

DIRECTIONS

Heat oil and, if using, 1 tbs if butter in a large soup pot, and add onion and celery. Cook until translucent, stirring occasionally. When the onions are nearly there, stir in the garlic.

IMG_7253

Add the celery root and sweet potato and cook 5 minutes.

Next, pour in the stock and add your thyme, paprika, salt, pepper, and bay leaf. If you’re using butter, add the second tbsp here and stir in to melt. Simmer, stirring occasionally, until the sweet potato and celery root are totally soft.

IMG_7256

Remove from heat and puree in batches, either using a blender or food processor, or, if you’re lucky enough to have one (I do not!) use an immersion blender.

IMG_7260

Pour in the half and half and stir, and you’re ready to serve! Garnish with fresh chopped parsley. I had a nice little lunch of this soup with a butternut squash and green onion quesadilla.

IMG_7262

Egg in the Pepper.

Red Pepper Egg in the Hole? Egg in the Red Pepper Hole? Actually it’s more like Egg in and Around the Hole. I wasn’t sure what to call these. Basically it’s your standard egg in the hole, only instead of being in a hole, they’re in slices of red pepper. I love the shape of red pepper slices, and I was just struck with the idea to do this while I was making breakfast over the weekend. Eggs in the Pepper are really good for breakfast, and here’s why: They’re easy. They don’t have a lot of ingredients. They’re fast. And they feel fancy. Happy eating.

IMG_7204

INGREDIENTS

1 red pepper
olive oil
2 slices of ham (or use some baby spinach instead, if you like)
6 eggs
cheese, for sprinkling (I used cheddar and mozzarella)
salt and pepper to taste

Just the Recipe link: Egg in the Pepper

DIRECTIONS

Lay the red pepper down horizontally and cut into 6 slices, cleaning out all the seeds and stuff inside.

IMG_7189

Heat oil in a pan and fry the peppers a few minutes on eat side, until tender and lightly browned. Work in two batches until they’re all cooked.

IMG_7190

Then fry up the ham (or spinach instead, if you like). Just give it a minute or two on each side, and remove it to a plate. This will be the base for the peppers and eggs.

IMG_7198

Now put 3 of the cooked pepper slices back into the pan with some more oil. Crack 3 of the eggs into the middle of the peppers – no worries if some of the egg spills out the sides; it probably won’t be perfect. Cover the pan with a lid.

IMG_7195

When the eggs are almost done, sprinkle some cheese on top and cover again to melt.

IMG_7196

Remove from heat and plate on top of ham or spinach. Repeat with the last 3 red pepper slices and eggs. We served these with hash browns – such a great breakfast!

IMG_7210

Cauliflower Crust Pizza.

This recipe is a tribute to a friend who so generously acted as beauty consultant / hair colorist for me yesterday. To thank her, I made these gluten-free pizzas, which are completely delicious whether g-free is your lifestyle (hers) or not (mine). Though gluten is fine by me, I’ve found that a lot of the things I love to cook (and eat) are already gluten-free. So when I find a recipe, like this one, that is totally dreamy and healthy AND fits in with the g-free life, I love to share it. This is one of those! I came upon essentially the same ingenious recipe on 3 of my favorite blogs, and this is my version of that awesomely tasty and healthy pizza. Yum! And thanks Jeni!

IMG_7186

INGREDIENTS

for crust:
2 cups cauliflower stems and florets, grated
1 cup mozzarella cheese, shredded
oregano and granulated garlic to taste
1 egg
salt and pepper
2-3 tbsp cottage cheese, to hold it together

topping ideas:
1/2 cubed chicken breast, sauteed with salt, pepper, and paprika
shredded mozzarella
grape tomatoes, quartered
green onions, chopped

Just the Recipe link: Cauliflower Crust Pizza

DIRECTIONS

Preheat oven to 450 F.

First, put the grated cauliflower into a bowl and microwave for 7 minutes, covered with a washcloth or paper towel. When it’s cooked, mix all the crust ingredients in a bowl. Use more or less cottage cheese, depending on how dry the mixture is and how it’s holding together.

IMG_7177

On a greased baking pan, shape the cauliflower mixture into two flat discs, as thick or thin as you like.

IMG_7178

Bake them for about 15 minutes, or until the edges are browned and the top is flecked with bits of golden melted cheese. The thickness of the crusts will affect baking time, so make sure to keep an eye on them.

IMG_7181

Once the crusts come out of the oven, I use a spatula to loosen them from the bottom of the pan and make sure they come off in one piece, because this will be a lot harder to do once they’re topped with cheese and other wonderful things.

Before you start with the toppings, turn up your oven to broil (or to very, very hot!). The pizzas only have a few minutes left to cook, and we want to do it at a high heat.

On to the beautiful toppings. They can truly be whatever you want – we went with chicken, green onion, tomato, and cheese, and they were fantastic!

IMG_7183

Stick back in the oven for 3-5 minutes, until the cheese is melted and has started to turn a little golden. Sprinkle with some more green onion or some oregano and dig in!

IMG_7185