Egg in the Pepper.

Red Pepper Egg in the Hole? Egg in the Red Pepper Hole? Actually it’s more like Egg in and Around the Hole. I wasn’t sure what to call these. Basically it’s your standard egg in the hole, only instead of being in a hole, they’re in slices of red pepper. I love the shape of red pepper slices, and I was just struck with the idea to do this while I was making breakfast over the weekend. Eggs in the Pepper are really good for breakfast, and here’s why: They’re easy. They don’t have a lot of ingredients. They’re fast. And they feel fancy. Happy eating.

IMG_7204

INGREDIENTS

1 red pepper
olive oil
2 slices of ham (or use some baby spinach instead, if you like)
6 eggs
cheese, for sprinkling (I used cheddar and mozzarella)
salt and pepper to taste

Just the Recipe link: Egg in the Pepper

DIRECTIONS

Lay the red pepper down horizontally and cut into 6 slices, cleaning out all the seeds and stuff inside.

IMG_7189

Heat oil in a pan and fry the peppers a few minutes on eat side, until tender and lightly browned. Work in two batches until they’re all cooked.

IMG_7190

Then fry up the ham (or spinach instead, if you like). Just give it a minute or two on each side, and remove it to a plate. This will be the base for the peppers and eggs.

IMG_7198

Now put 3 of the cooked pepper slices back into the pan with some more oil. Crack 3 of the eggs into the middle of the peppers – no worries if some of the egg spills out the sides; it probably won’t be perfect. Cover the pan with a lid.

IMG_7195

When the eggs are almost done, sprinkle some cheese on top and cover again to melt.

IMG_7196

Remove from heat and plate on top of ham or spinach. Repeat with the last 3 red pepper slices and eggs. We served these with hash browns – such a great breakfast!

IMG_7210

Cauliflower Crust Pizza.

This recipe is a tribute to a friend who so generously acted as beauty consultant / hair colorist for me yesterday. To thank her, I made these gluten-free pizzas, which are completely delicious whether g-free is your lifestyle (hers) or not (mine). Though gluten is fine by me, I’ve found that a lot of the things I love to cook (and eat) are already gluten-free. So when I find a recipe, like this one, that is totally dreamy and healthy AND fits in with the g-free life, I love to share it. This is one of those! I came upon essentially the same ingenious recipe on 3 of my favorite blogs, and this is my version of that awesomely tasty and healthy pizza. Yum! And thanks Jeni!

IMG_7186

INGREDIENTS

for crust:
2 cups cauliflower stems and florets, grated
1 cup mozzarella cheese, shredded
oregano and granulated garlic to taste
1 egg
salt and pepper
2-3 tbsp cottage cheese, to hold it together

topping ideas:
1/2 cubed chicken breast, sauteed with salt, pepper, and paprika
shredded mozzarella
grape tomatoes, quartered
green onions, chopped

Just the Recipe link: Cauliflower Crust Pizza

DIRECTIONS

Preheat oven to 450 F.

First, put the grated cauliflower into a bowl and microwave for 7 minutes, covered with a washcloth or paper towel. When it’s cooked, mix all the crust ingredients in a bowl. Use more or less cottage cheese, depending on how dry the mixture is and how it’s holding together.

IMG_7177

On a greased baking pan, shape the cauliflower mixture into two flat discs, as thick or thin as you like.

IMG_7178

Bake them for about 15 minutes, or until the edges are browned and the top is flecked with bits of golden melted cheese. The thickness of the crusts will affect baking time, so make sure to keep an eye on them.

IMG_7181

Once the crusts come out of the oven, I use a spatula to loosen them from the bottom of the pan and make sure they come off in one piece, because this will be a lot harder to do once they’re topped with cheese and other wonderful things.

Before you start with the toppings, turn up your oven to broil (or to very, very hot!). The pizzas only have a few minutes left to cook, and we want to do it at a high heat.

On to the beautiful toppings. They can truly be whatever you want – we went with chicken, green onion, tomato, and cheese, and they were fantastic!

IMG_7183

Stick back in the oven for 3-5 minutes, until the cheese is melted and has started to turn a little golden. Sprinkle with some more green onion or some oregano and dig in!

IMG_7185

Rosemary Lemon Roasted Brussels Sprouts.

Let’s keep this simple: I love Nigella Lawson.

I love her recipes. I love her witticisms. I love her energy.

My approach to cooking is strongly influenced by something she once said: “Don’t worry if bits of eggshell get into the bowl. It proves it’s homemade.”

So when I made her recipe for roasted brussels sprouts and discovered that a few lemon seeds had made their way into my final product, I wasn’t bothered in the least.

All is right with the world. Try these Rosemary Lemon Roasted Brussels Sprouts a la Nigellissima yourself, and just be sure to mind the pips!

Rosemary Lemon Roasted Brussels Sprouts | KellyintheKitchen | olive oil, lemon zest, 1 clove garlic, 1 sprig rosemary, 100 g brussels sprouts, 1 tbsp parmesan cheese, salt and pepper

INGREDIENTS

olive oil
1 lemon, zested to taste (I go lighter on lemon zest but Nigella’s recipe calls for the zest of a whole lemon)
1 clove garlic, grated or finely minced
1 sprig rosemary
a few handfuls of brussels sprouts, trimmed and halved (you want enough to form a single layer on the bottom of a standard sized cast iron skillet)
1-2 tbsp parmesan cheese (to taste)
salt and pepper
NOTE: this recipe doubles and triples easily if you’re cooking for a bigger group!

DIRECTIONS

Preheat oven to 425 F.

IMG_7081

Drizzle olive oil on the bottom of a pan (I used my cast-iron skillet). Grate the garlic and lemons zest into the pan and, tearing the rosemary leaves apart roughly, strew them about the pan. You can leave them large enough to remove at the end if you like. Add the brussels sprouts and toss to coat.

IMG_7083

Roast for about 15 minutes, until starting to become tender. Drizzle with lemon juice and sprinkle with parmesan and salt and pepper at pop back in the oven for another 5 minutes. They’re ready when they’re tender but still have a little bit of bite in them.

IMG_7087

Pull out the rosemary leaves and serve ’em up! These make a fantastic side dish to an herby roasted chicken, but we ate almost all of them straight out with our fingers. Yeah, they’re that good!

Chocolate Crepes with Berry Yogurt Filling.

IMG_6996

INGREDIENTS

1 tbsp butter
1/3 cup semi-sweet chocolate chips
1 cup milk
2 eggs
1 tsp vanilla extract
scant 1/4 cup sugar
1 cup flour, sifted
1 cup frozen berries (of course, fresh would be great, too – your filling will just be chunkier)
1 cup Greek yogurt
squeeze of honey
water
cooking spray or butter
lemon juice

Just the Recipe link: Chocolate Crepes with Berry Yogurt Filling

DIRECTIONS

Put the butter, chocolate, and milk in a pot over medium low heat and bring to a simmer, stirring to start the chocolate melting. Remove from heat and continue to stir until everything is dissolved.

Crack the eggs into a bowl with the sugar and vanilla and whisk together. Then switch to a big spoon and stir in the flour. You’ll get an annoyingly-sticky paste that is hard to stir. Pour in the milk mixture and stir to combine. Let this batter sit for 30 minutes.

IMG_6974

To make the berry filling, put the frozen berries in a bowl with warm water to thaw out. I usually change the water once, just to move the thawing along a little faster.

IMG_6976

Then drain the berries and mix with the yogurt and honey. Set aside.

After 30 minutes have passed, pour the crepe batter through a mesh strainer to get some of the lumps out. This step isn’t absolutely necessary, but I find that no matter how careful I am about lumps, I always have some in my crepe batter, so I like to strain it.

IMG_6978

At this point, check your batter for consistency. We’re going for a pretty watery consistency, almost like whole milk. So add water, one tablespoon at a time, until your batter is the right consistency.

IMG_6984

To cook, butter or spray a pan with cooking spray and heat over medium. Using a ladle or measuring cup, pour in a small amount of batter into the center of the pan and immediately swirl around to the edges of the pan. The first crepe is notoriously a failure, so don’t feel bad if your first one looks like this:

IMG_6988

The French say to give the reject first crepe to the dog. Since these have chocolate in them, I figured Penny’s little tummy wouldn’t appreciate it, so I ate the ugly one, because my tummy does appreciate it. Regardless, the next few should work out better.

IMG_6990IMG_6991

Once all the crepes are cooked, fill them. The two usual ways are to dollop the filling down the center of the crepe (the diameter, if we want to get geometric), and fold each side over to the center, like this:

IMG_6993

Or to spread the filling over one quadrant of the crepe (can breakfast foods have quadrants?), fold it in half, and spread over the crepe layer that sits on top of the filled quadrant and fold again (that sounds confusing….just look at my picture):

IMG_7007

To finish, drizzle with a squeeze of lemon. Dust with powdered sugar if you like – we were too hungry and ate them up before I could go rustling through the baking cabinet.

Roasted Spiced Chickpeas.

Lately at work, I’ve been hanging around a lot of talk about snack foods. Normally I’m not really much of a snacker; I never buy chips or pretzels or anything like that, because I generally don’t crave them. But for the past week, I’ve been taking a lot of notes about people’s snacking habits, and as a result, I found myself really craving salty snack foods. This led me to two thoughts: 1) I have a reaffirmed belief in the power of advertising to get people interested in products they never would have cared about before (i.e., me craving snack foods), and 2) I wanted to give these roasted chickpeas a go, after having seen them on a handful of blogs over the past month or so. Roasted chickpeas make a fantastic replacement for chips. They’re crunchy, salty, spicy, and come in any flavor you can make. So make some!

IMG_6710

INGREDIENTS

1 can chickpeas
olive oil
salt
extra virgin olive oil
seasonings of your choice (I used Ukrainian Village Seasoning from the Spice House)

Just the Recipe link: Roasted Spiced Chickpeas

DIRECTIONS

Preheat oven to 350 F.

The chickpeas require quite a bit of prep: Drain them. Rinse them off. Remove the skin from each little bean, pretending you’re a rabbi conducting a hundred brises. Lay them out on a towel and gently pat them dry. In a bowl, toss them with a drizzle of olive oil and a good sprinkling of salt.

IMG_6701

Lay the salted, oiled chickpeas out on a baking sheet.

IMG_6705

Bake about 50 minutes, until they’re crunchy and browned.

IMG_6708

Now, the seasoning part. There are so many flavor combos that I want to try! Paprika and cumin, parsley and granulated garlic, honey and cayenne pepper, and good old salt and pepper – all yummy pairings. For this batch, I used one of the Spice House‘s awesome Chicago neighborhoods spice blends – the Ukrainian Village seasoning – which has a great blend of onion and pepper flavors. I topped it off with a little sprinkle of truffle salt, just because I was feelin’ fancy.

IMG_6709

That’s it! I love these. They’re a great, substantial snack to munch on when you need a crunch but don’t want to go the chips or nuts route. Enjoy! And be sure to let them cool completely before you put them in any kind of container, or else the heat/condensation will make the chickpeas soggy.

Spinach and Tomato Tart with Bleu Cheese.

Most of the time, I like recipes that are quick and easy, require minimum dish-washing, and have an ingredient list that’s more like a haiku than a novel. Most of the time. But every once in a while, I am overcome with a sort of culinary patience and concentration that allows me to make a recipe like this one. There are a few separate characters in this play: the tart shell, buttery and crumbly-good; the creamy filling, eggy and spicy; and the veggies themselves, that make this whole thing totally worth it. So if you’ve got a good 2 hours or so and you really want to spoil yourself with something rich and beautiful, this is your guy. Of course, you can always use a store-bought tart crust, which would cut the prep time down, well, a lot. Either way, this dish combines the best of the tart and quiche worlds into one mega-brunch food.

IMG_6655

for tart shell:
12 tbsp cold butter, cubed
1 tbsp extra virgin olive oil
1 tsp salt
1/2 tsp pepper
1 1/3 cups all-purpose flour
water, if needed

for filling:
4 cups fresh spinach
2 cloves garlic, minced
olive oil
1/3 cup ham, cut into lardons, or strips
3 egg yolks
1 whole egg
1/2 cup Greek yogurt
1/2 cup chicken or vegetable stock
1 tsp dried parlsey
1/4 tsp paprika
1/4 tsp dry mustard powder
3 small tomatoes, de-seeded and sliced
crumbled bleu cheese, to taste, for sprinkling (feta or goat cheese would be delicious here, too)

Just the Recipe Link: Spinach and Tomato Tart with Bleu Cheese

DIRECTIONS

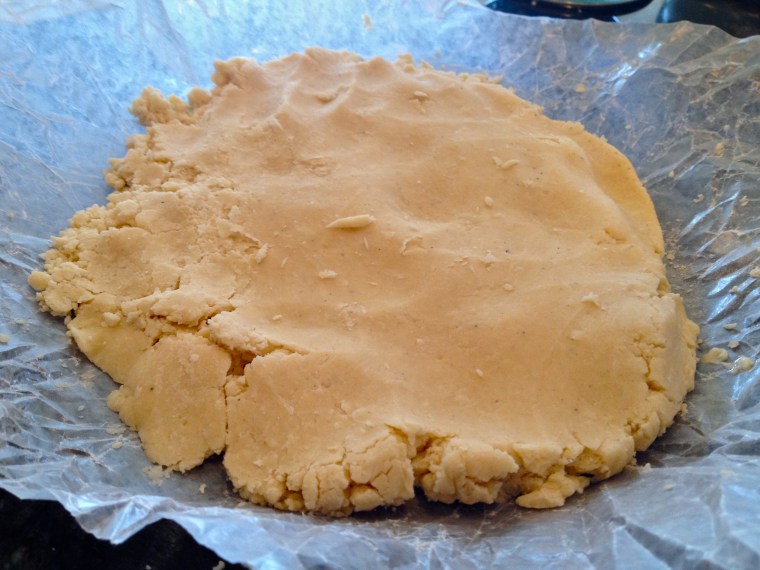
Get the crust going first. In a food processor, blitz together the butter, olive oil, salt, and pepper until the dough is the consistency of wet sand. You’re looking for the dough to just hold together, so check to see if it does. If it’s a bit too dry, add a splash or two of water at a time and pulse the food processor until the dough reaches the right consistency.

Turn the dough out on to a sheet of wax paper. Form it into a flat disc, wrap in the wax paper, and refrigerate for at least half an hour.

IMG_6610

While the dough chills, get the fillings going. Heat olive oil over medium heat. Add garlic and cook 1 minute, careful not to let it burn.

IMG_6612

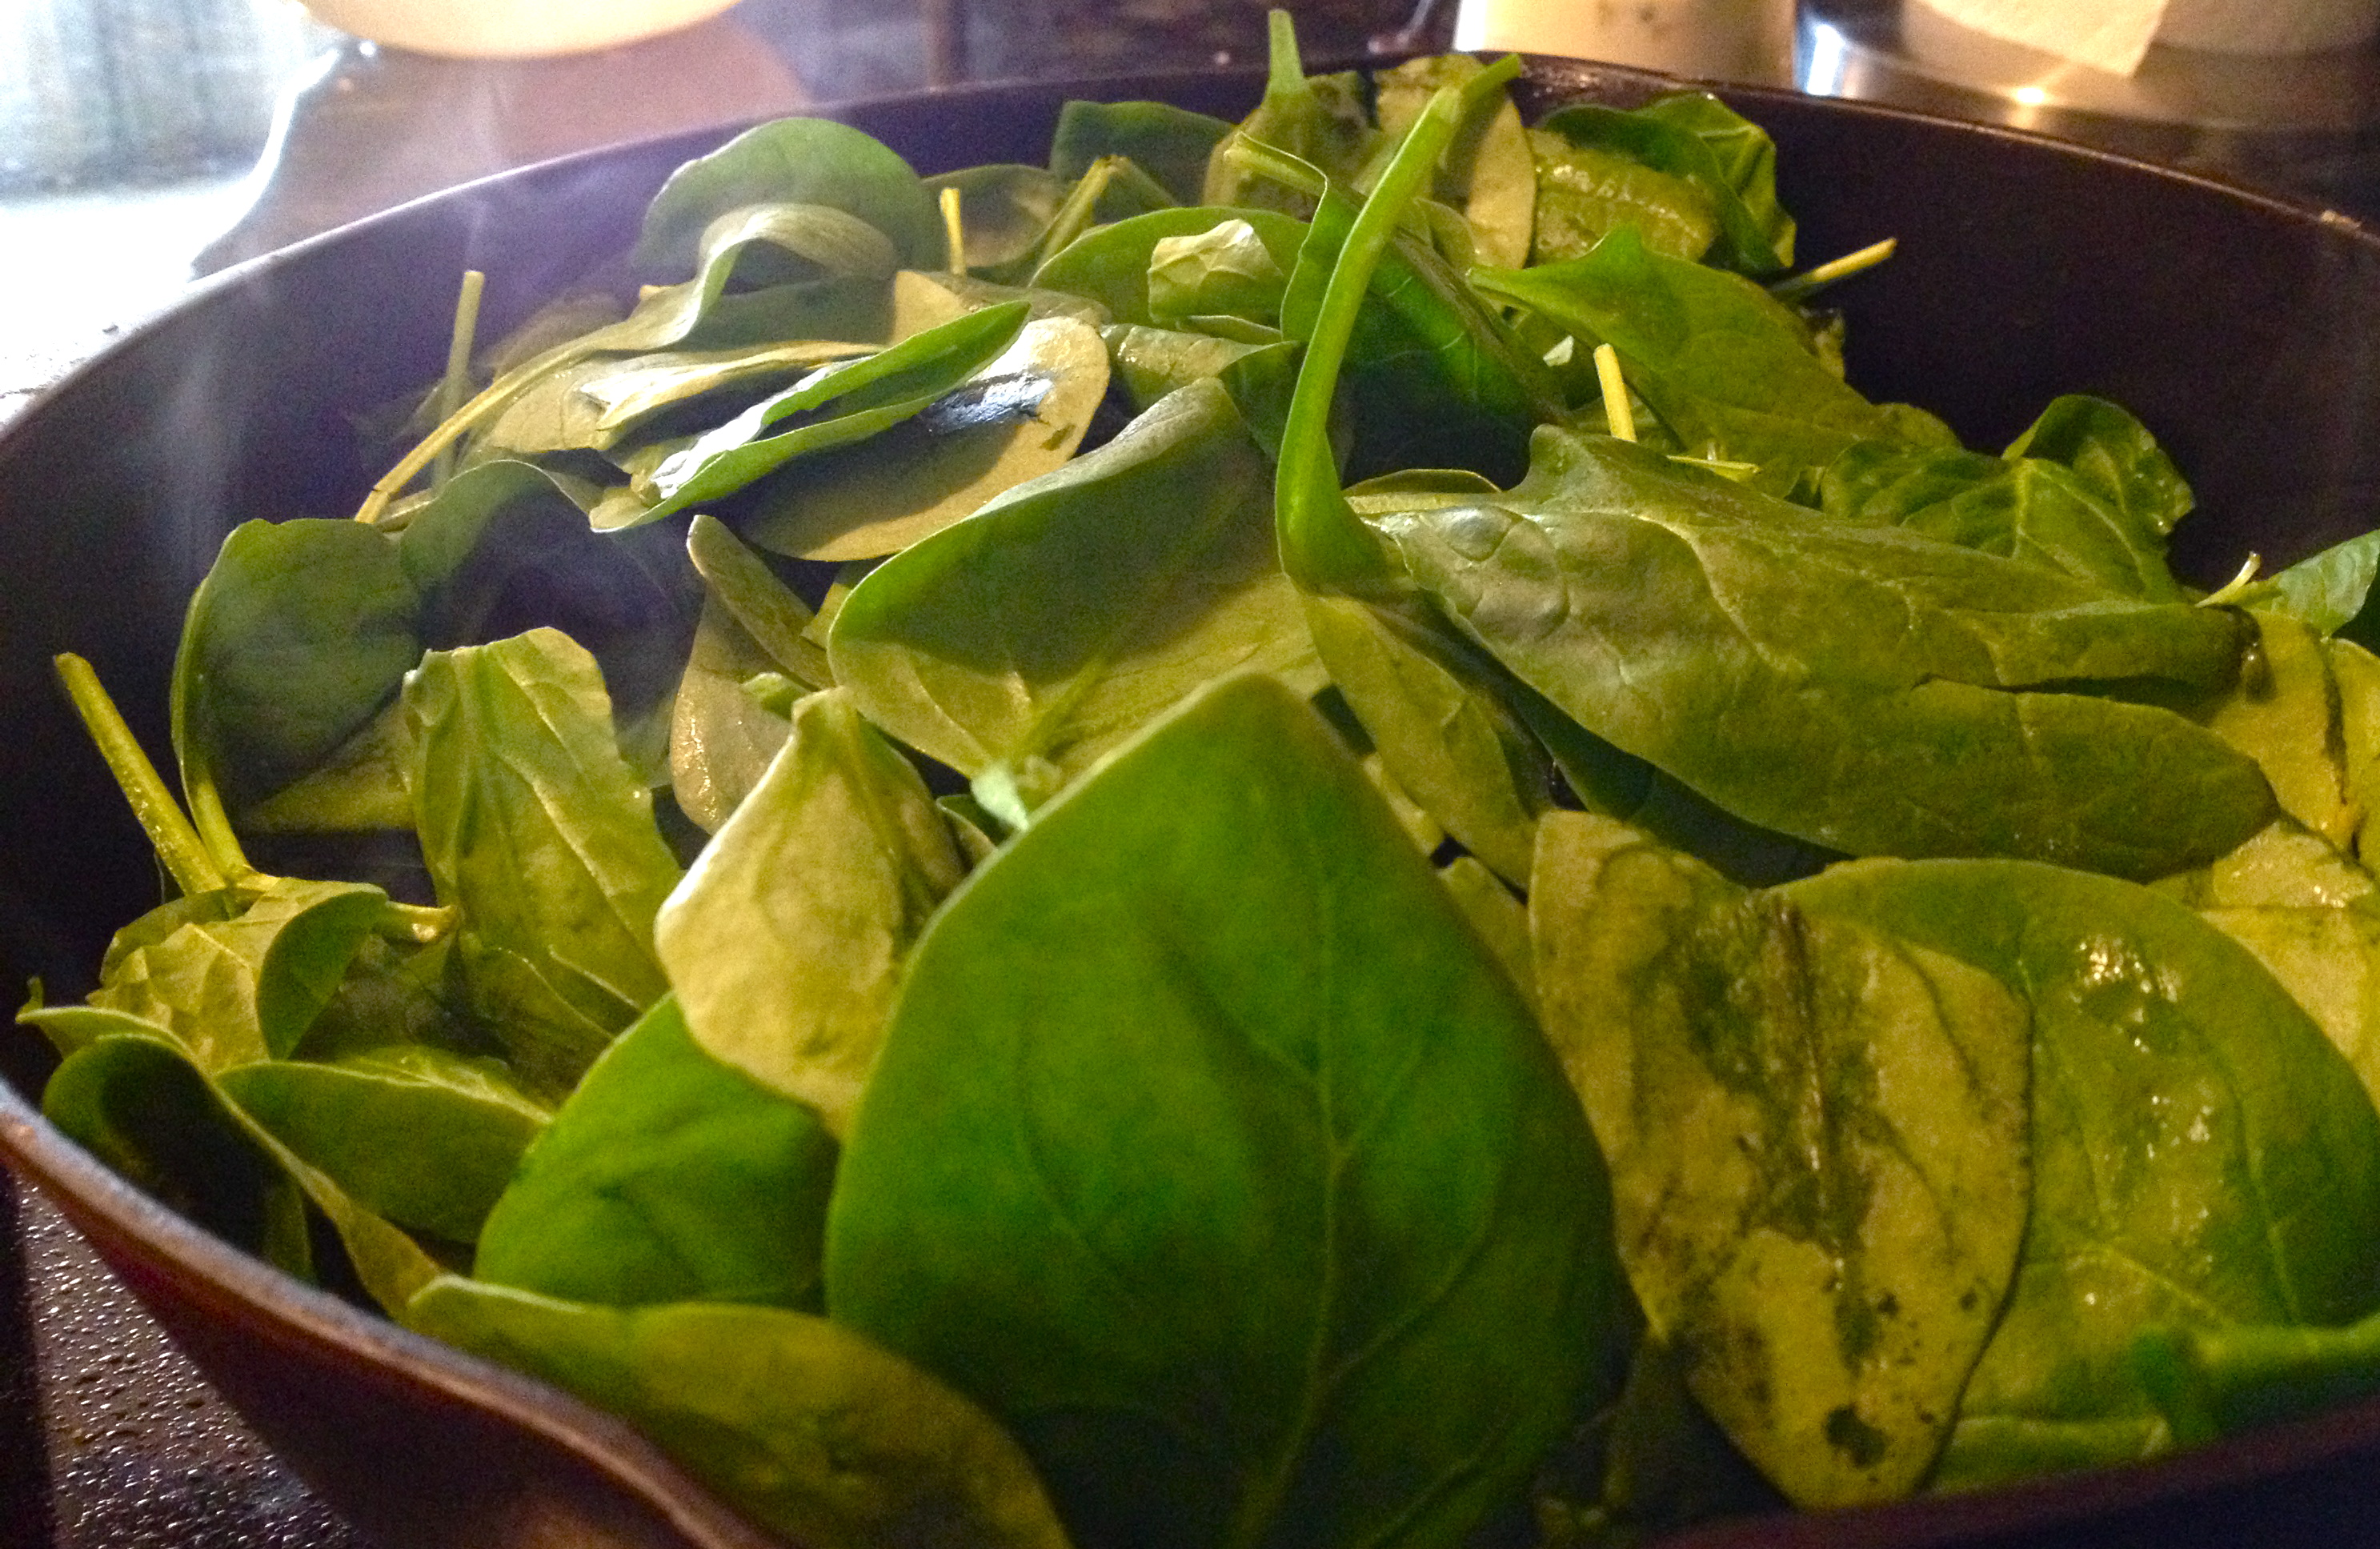
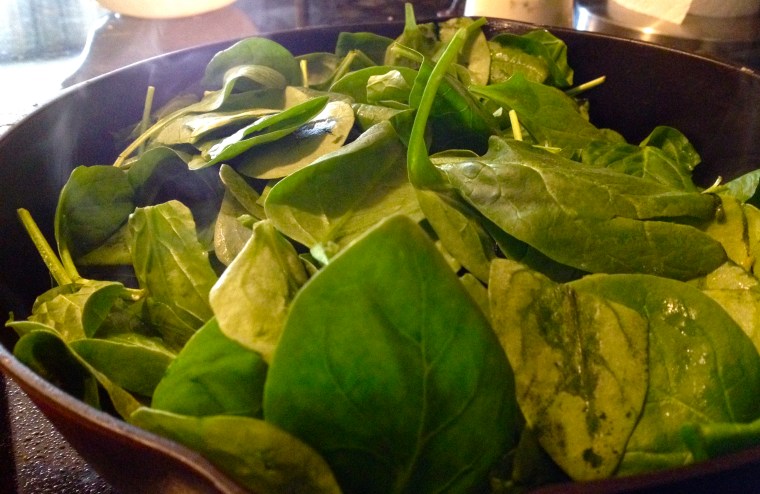
Add spinach. It will look like a ton of spinach, but it will cook down a lot.

IMG_6616

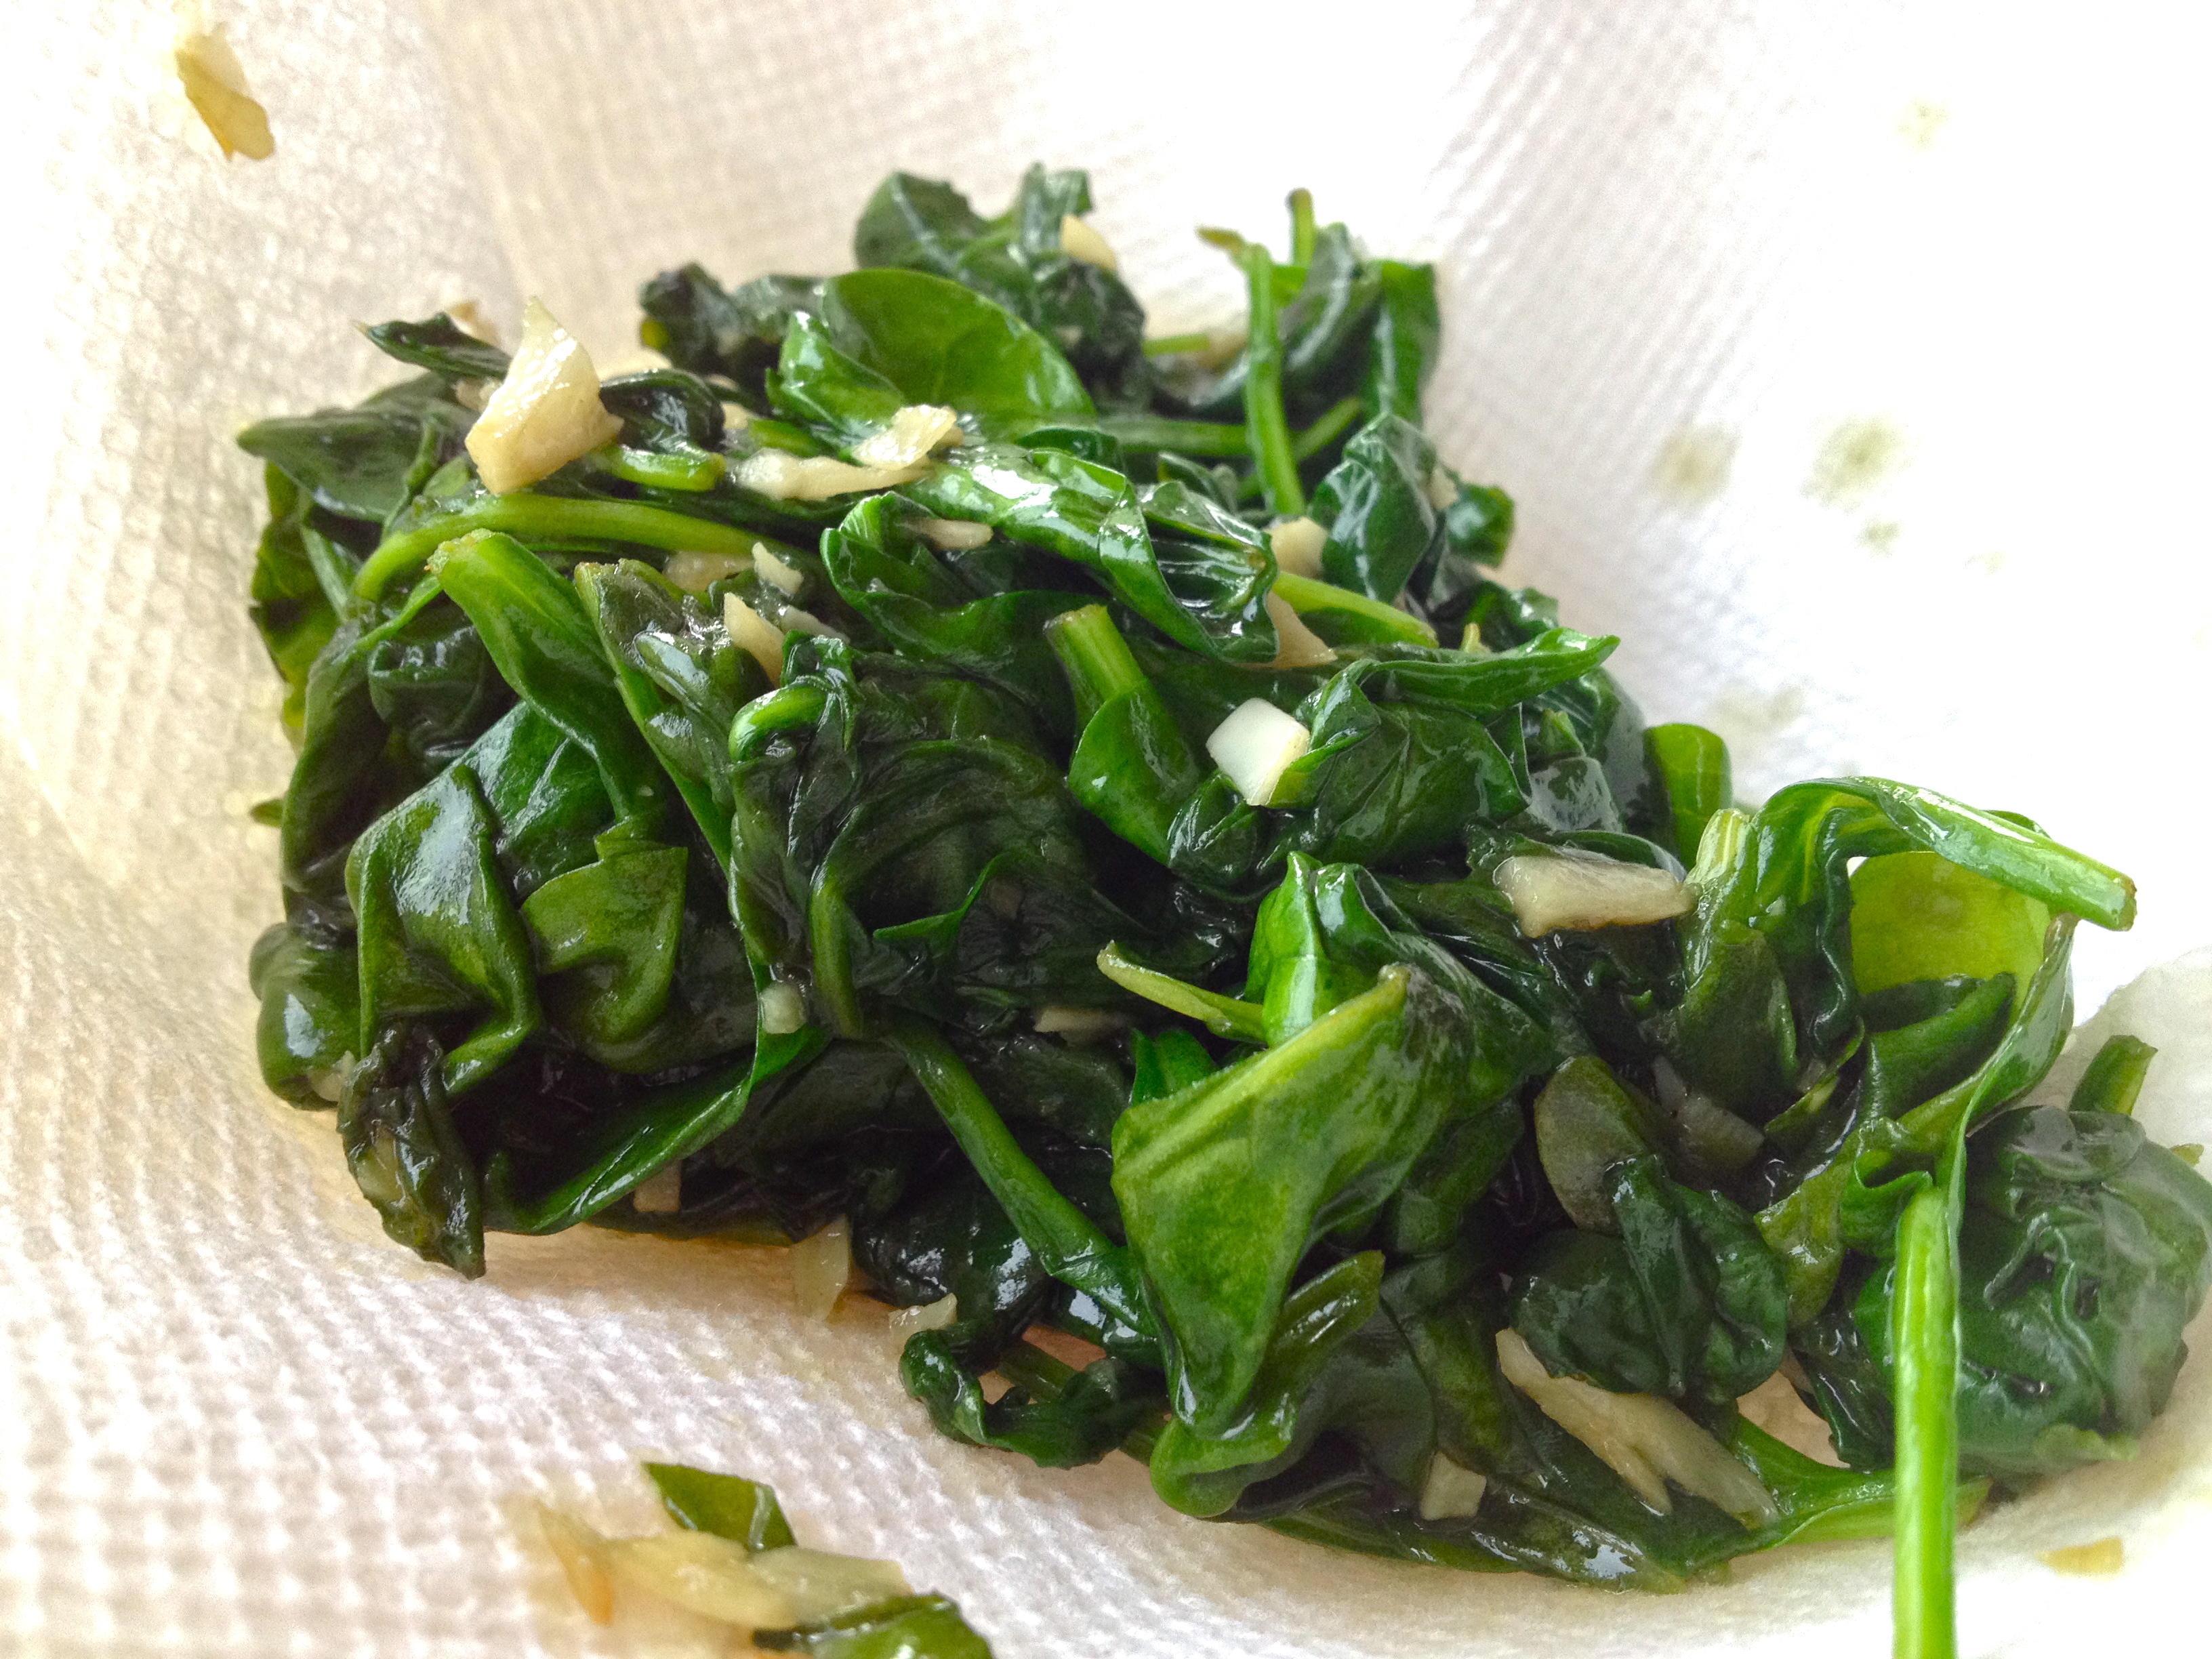
Cook the spinach, stirring, until nearly wilted. Turn off the heat and continue to stir until completely wilted.

IMG_6617

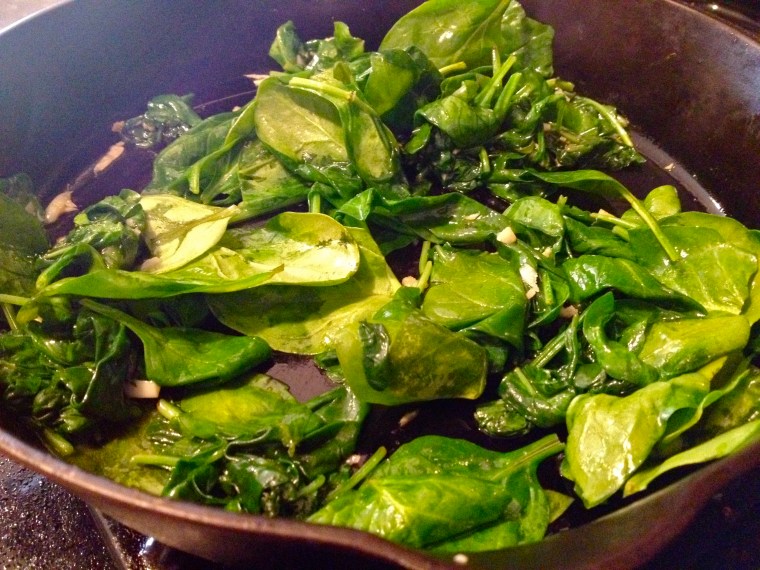
Put spinach in a bowl lined with paper towels or a washcloth (it will stain green, so use one you don’t care about).

IMG_6622

When it’s cool enough to touch, squeeze as much liquid as you can out of the spinach. I usually start with my hands and then realize that I can get more liquid out if I squeeze it between two dishes. Once you’re satisfied that you’ve gotten enough water out, set aside.

IMG_6624

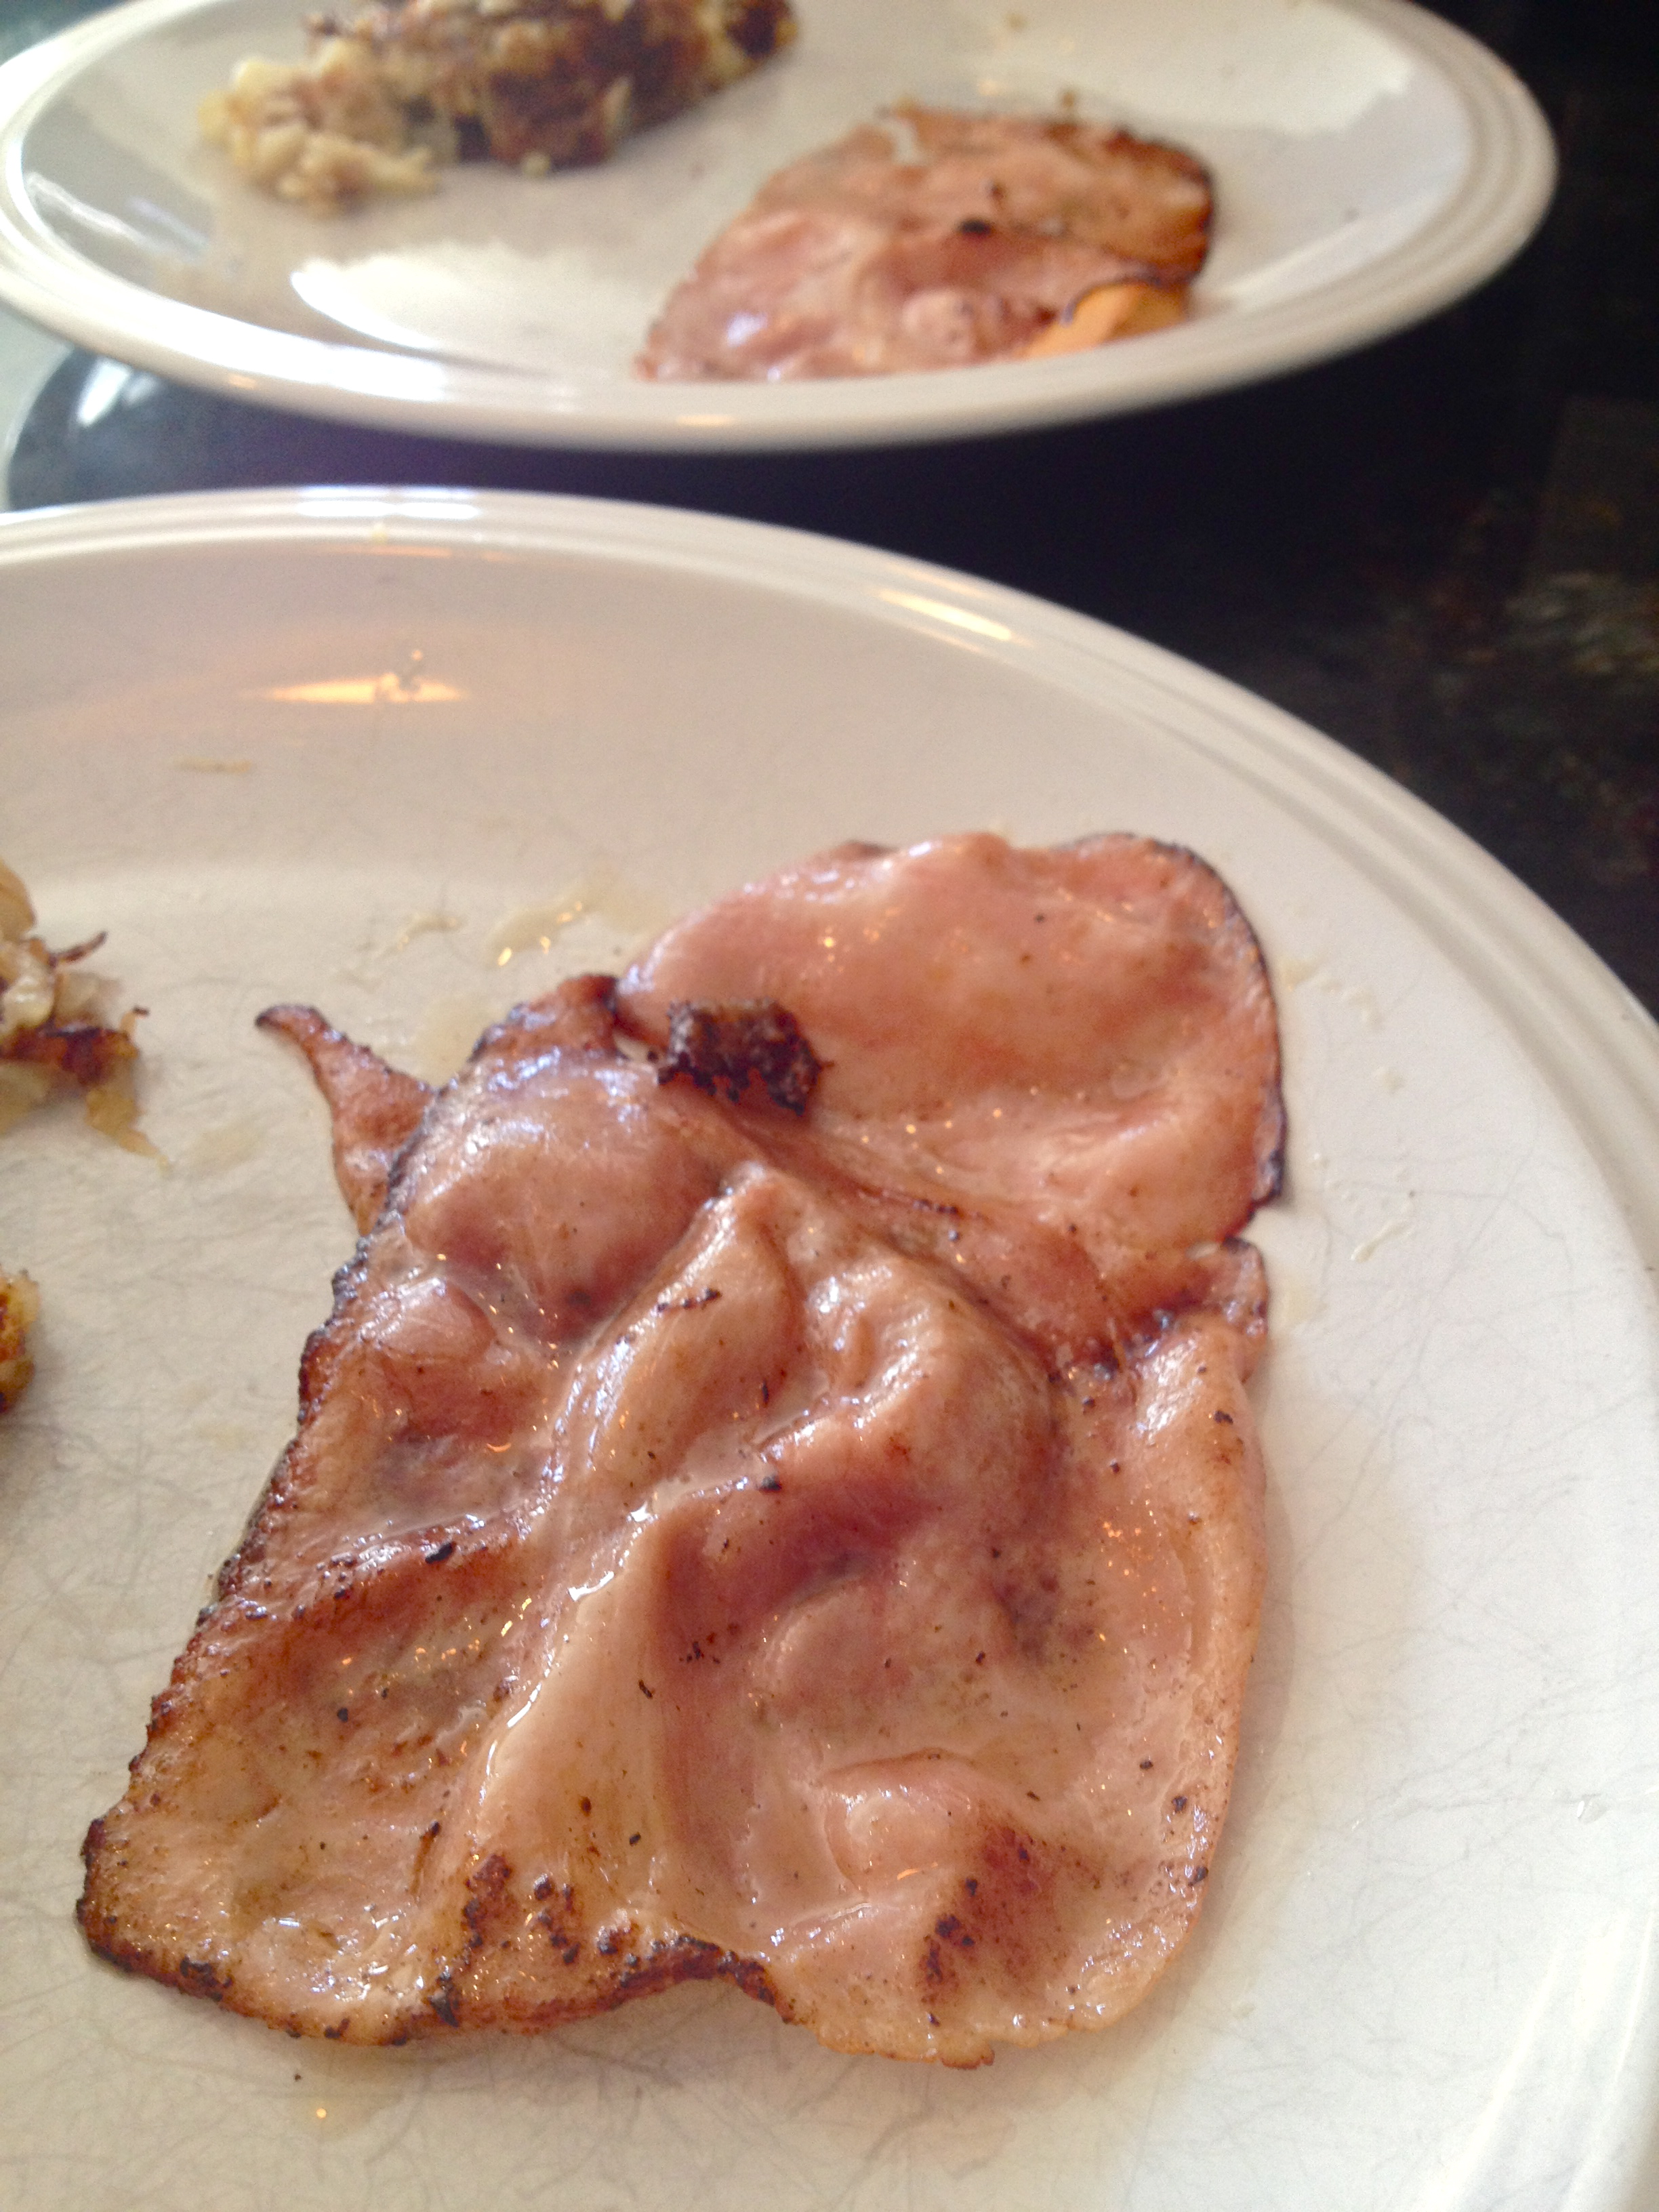
Heat the same pan over medium high and cook the ham, just to give it a bit of color on each side. Set aside.

IMG_6627

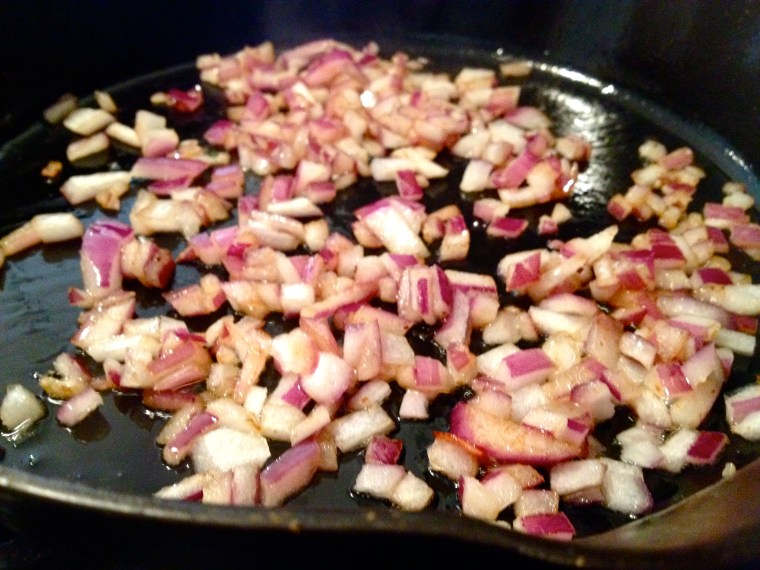
Finally, cook the onions. They’re best cooked last because they can soak up all that flavor goodness leftover in the pan after the ham! Add a bit of olive oil and cook until softened. Set aside.

IMG_6628

When 30 minutes have passed, take the tart dough out of the fridge. Let it sit 5 minutes before you roll it out on a floured surface. Then roll it to the general shape of the pie dish you’re using (I used a spring-form cake pan because I left my tart shell at my apartment – whoops).

Drape the dough over the pan and use your fingers to press it into shape. This step always take me a while because I’m not very good at getting the dough to stay in one piece while I’m moving it! Notice how I have no photos of this; I get distracted. A good trick is to roll the dough onto your rolling pin and move it that way, but even this doesn’t make my life much easier. Look at it this way – it’s food. Who cares if your tart shell is a little uneven?

After you’ve gotten the tart shell into the pan, put it back in the fridge for 15 more minutes.

Preheat oven to 350 F.

When the shell is chilled, put a sheet of parchment paper on top of the dough and fill the shell with dried beans, or something else heavy. When I don’t have my baking beans on hand, I use another smaller pie pan.

Bake the crust for 20 minutes, until just starting to turn golden. Remove from oven and remove the beans and parchment paper.

IMG_6633

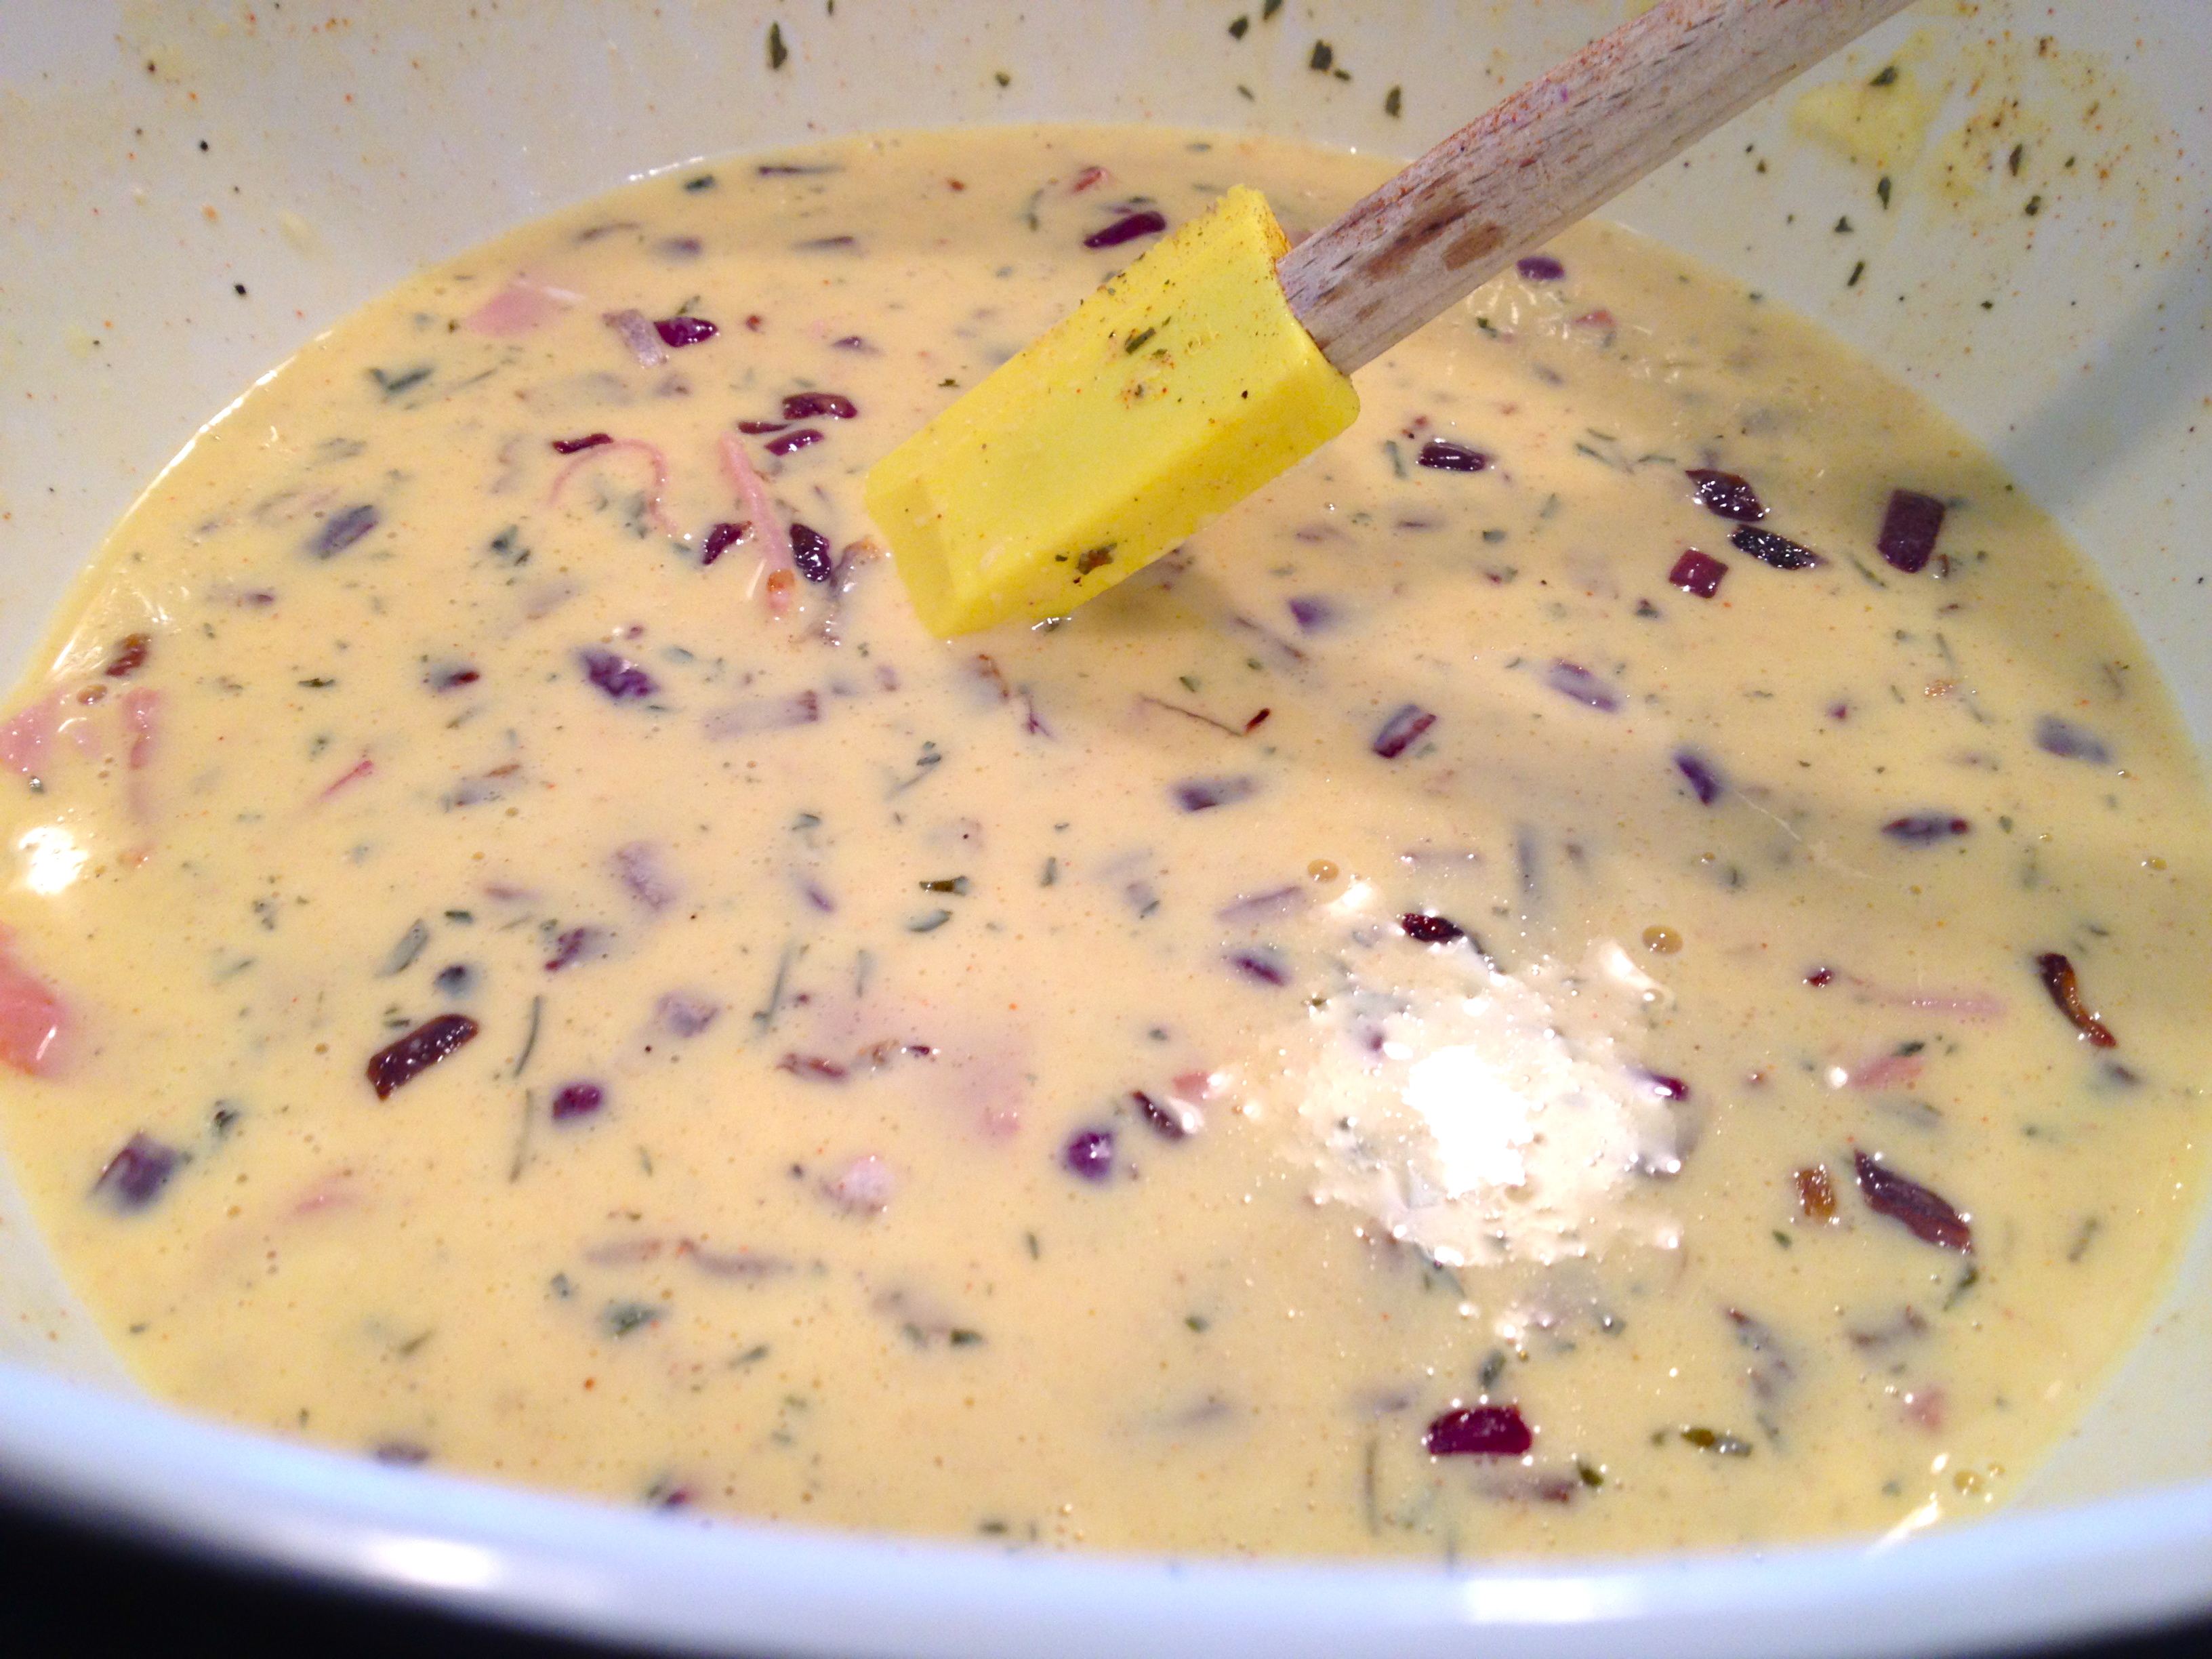
While the shell bakes, mix up the liquid part of the filling. Whisk together the yolks, egg, yogurt, and stock. Add parsley, paprika, mustard powder, and salt and pepper to taste. Stir in the onions and ham, and set aside.

IMG_6630

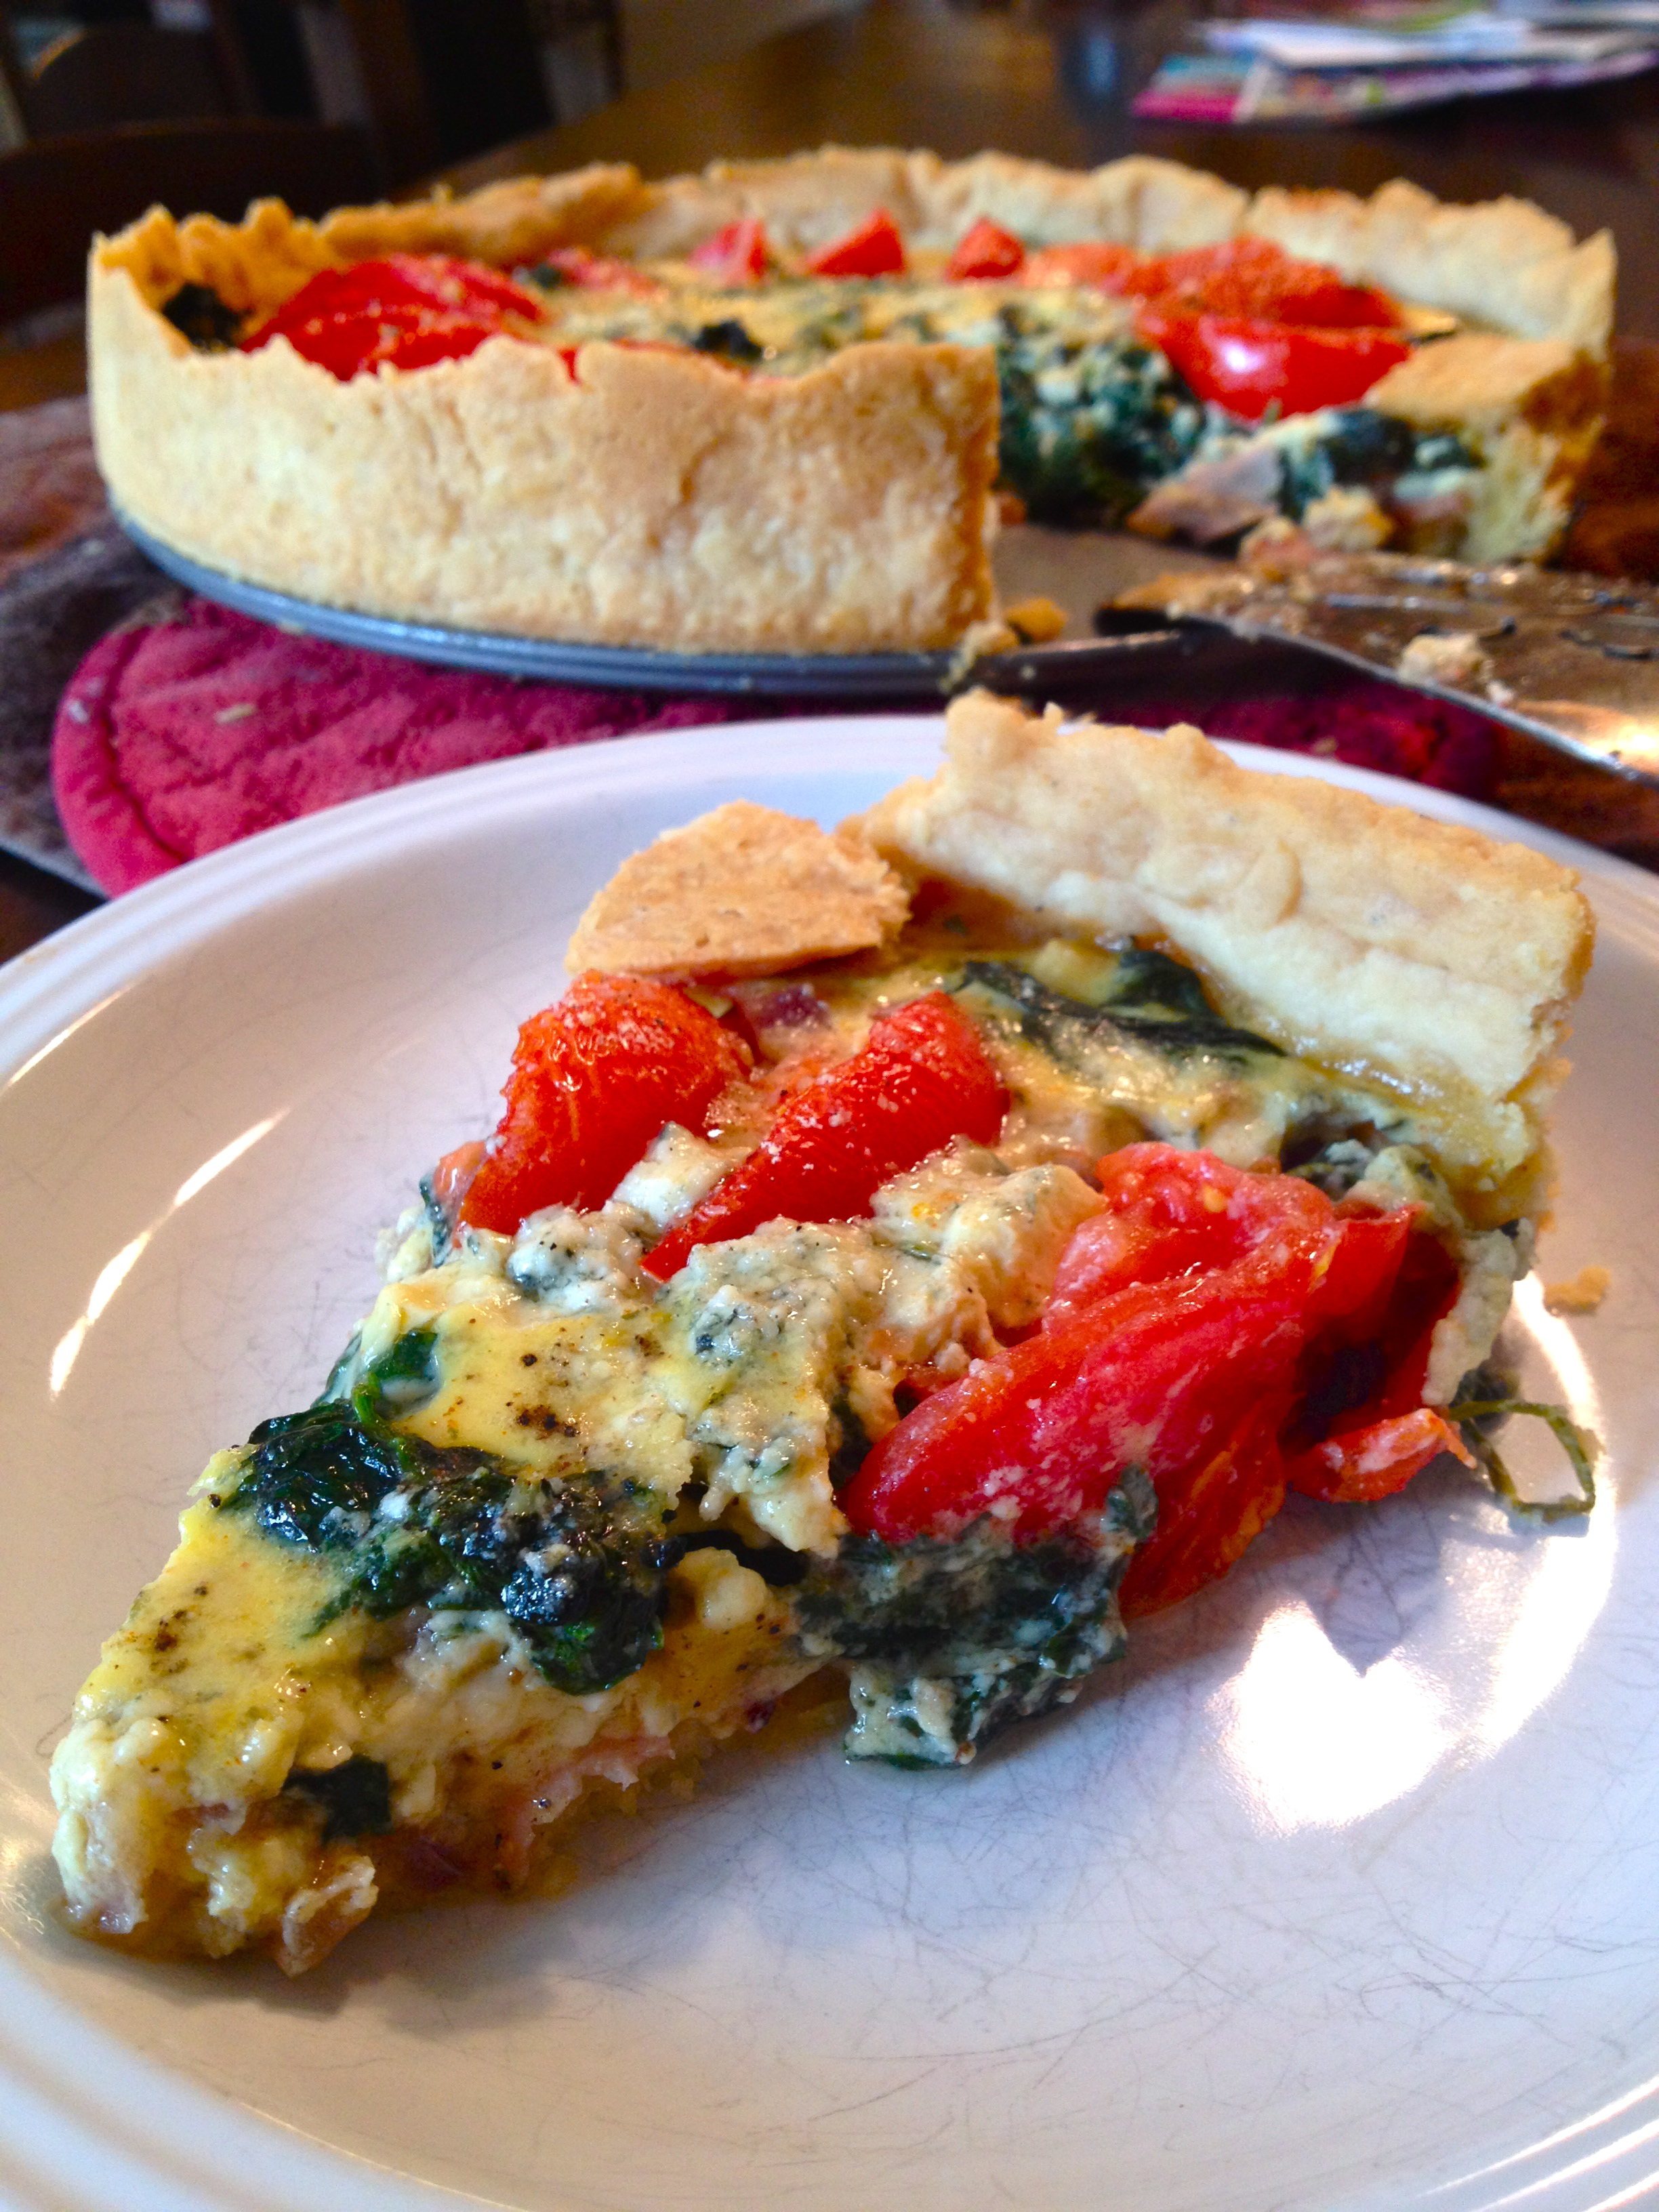
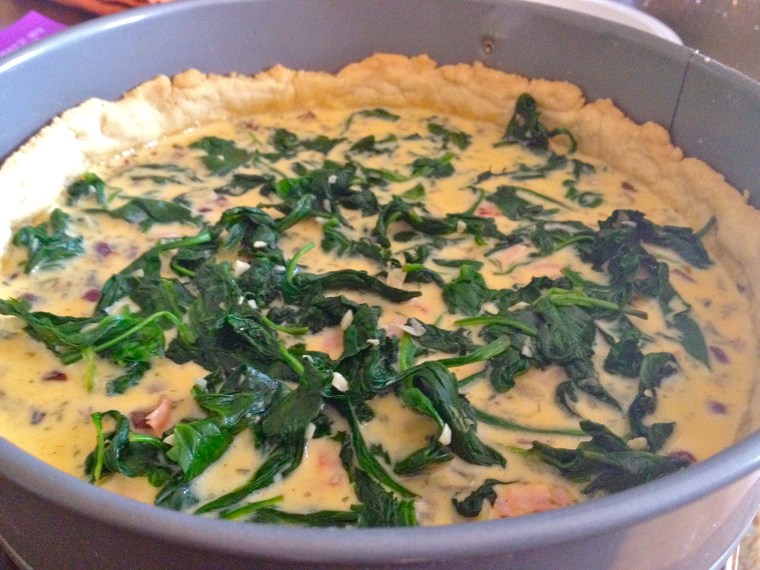
Pour the filling into the baked shell. Scatter the spinach evenly over the top.

IMG_6640

Lay the tomato slices on top in a circular fan pattern, and top with bleu cheese. Be careful not to use too much cheese; the other flavors are delicate, and too much bleu could easily overwhelm the tart. See this picture? I used just a bit too much, so learn from my mistake!

IMG_6643

Drizzle the tomatoes with olive oil, season with a bit more salt and pepper if you like, and pop it back in the oven for about 25 minutes, until the filling has set. Serve immediately; also good at room temperature.

IMG_6651